Hello Everyone:
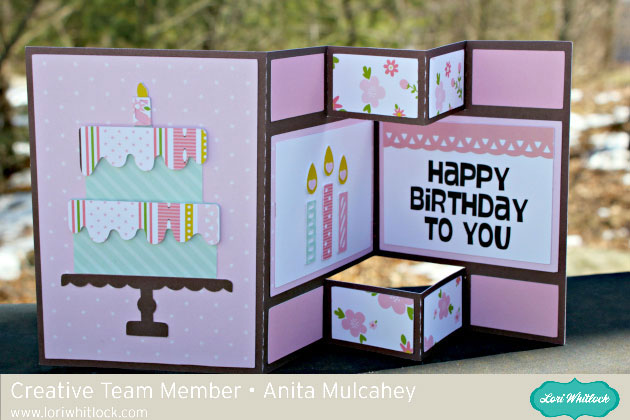
Anita here with a fun and easy tutorial for the Flat Front Shutter Card Birthday which you can find here in Lori’s store and here in the Silhouette Design Store. I used one of Lori’s brand new Echo Park lines called Sweet Baby Girl. It was perfect for a soft and feminine card.
 Here are all the pieces. There are several that are small so remember to keep track of them.
 I put together the pieces of the card and glued everything down before I started folding. It is much easier to work on the folds that way.

Your first step is to crease the fold to the right of the cake and you will be folding it so it pops up when lying flat.

I held the card in my left hand and pressed gently down on the middle score line with my left hand and held it in place while I used my right hand to score it across the fold. You will be creating a valley fold here. As you can see the folds on the top and bottom of that section just naturally pop up the way that they are supposed to be creating hill folds.

I folded up the right side of the card and used a bone folder to gently strengthen my score marks. On the smaller pieces you will be scoring through two of the folds.

Here is a view from the top so you can see exactly what it should look like.

Lastly, here is the closed card and as you can see it lays flat and can be popped in an A2 envelope to be sent off to someone sweet.
Thanks for looking and be sure to check out Lori’s shop for more great cards of this type.
Hugs,
Anita

 Hi Everyone:
 Here are the cut out card pieces and the embellishments that I used from her Wish Upon a Star collection for the bolts on the front of the tool box.


 Here are all the pieces ready to be glued into the pocket. I popped three of them up to give the card some more dimension.
 Hi Lori Whitlock Fans:
 Here is a photo of the card folded flat. It folds into a 5 1/2″ X 6 1.4″ almost square.
 Here is the open box.
