Easter Bunny Gable Gift Box Tutorial

Hi everybody, it’s Holly! Today, I’m excited to share with you some darling Easter bunny gable gift boxes. With Easter just around the corner, these would be fun to fill with some yummy Easter candies or little treasures. I’m sure anyone would be just delighted to receive one of these. This box is super easy to put together, you will be amazed! Try it today.
Happy crafting!
Holly

Let’s Make an Easter Basket!


Hi everybody, it’s Holly! Today, I’m excited to share a fun “easy diy” project perfect for spring. This “Easter craft” tutorial shows you how to create an adorable hexagon Easter basket using a file from Lori Whitlock. It’s a great “do it yourself” “craft idea” that results in a lovely “handmade basket” for your holiday celebrations! The paper collection I used “Easter Basket” is also by Lori Whitlock. The beautiful pastel colors in the collection will make you SMILE!

Lori Whitlock Shop 

Silhouette Design Store

Echo Park Paper

Happy crafting!

HollyJo

https://youtu.be/x6GSseC-r6g

https://www.youtube.com/@SmilebyHolly


Easter Bunny Head Shaped Box

I’m hopping into Easter with this adorable new Easter Bunny Head Shaped Box (SVG, Silhouette) !  It’s so cute, and easy to assemble… it’s perfect to hold some sweet treats for your favorite bunnies!!  Take a peek…

I decided to add a little bow to my bunny using this 3D Bow (SVG, Silhouette) which I sized down slightly to fit the ear.  Below, is a quick guide to assembling this box.

When you open the file, the sides of the box top and box bottom are shown in the order they are attached.  Simply glue them together to form one long strip.  Both the top and bottom are assembled in the same manner. They each have 2 bunny head shapes.  One is slightly smaller.   For the top, starting where indicated (X), wrap the sides of the box around the smaller bunny head, gluing the tabs as you go. (tabs go on the outside of the bunny head shape)  Flip the completed piece over, and add the second, slightly larger bunny (be sure to add the black behind the eyes and nose first)  head to the cover, covering the tabs.  Repeat the same process with the bottom.

If you create any of these cute boxes, be sure to tag @loriwhitlock on Facebook and Instagram!  That’s it for me today, thanks for stopping by to peek.

BLOG | INSTAGRAM

Candy Dispenser Bunny Tutorial

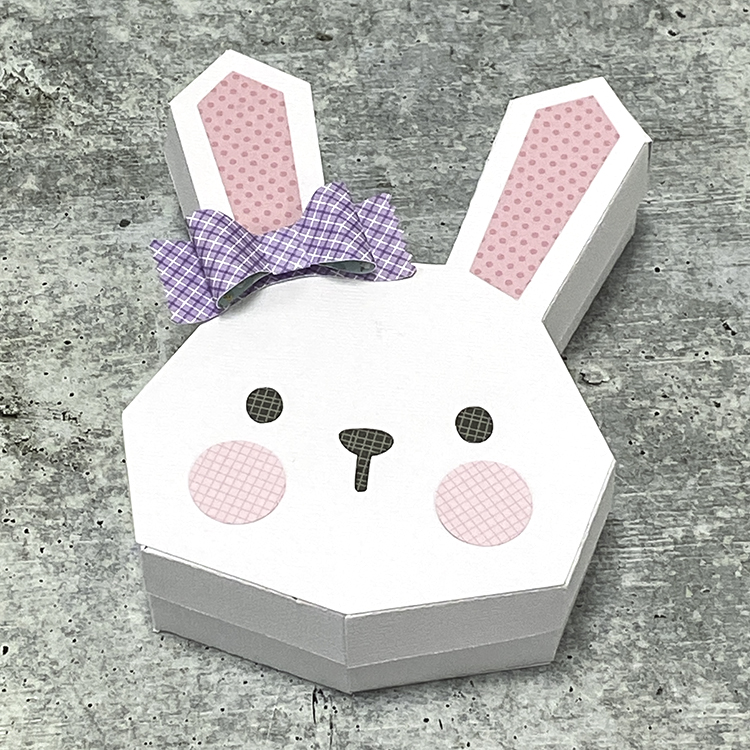
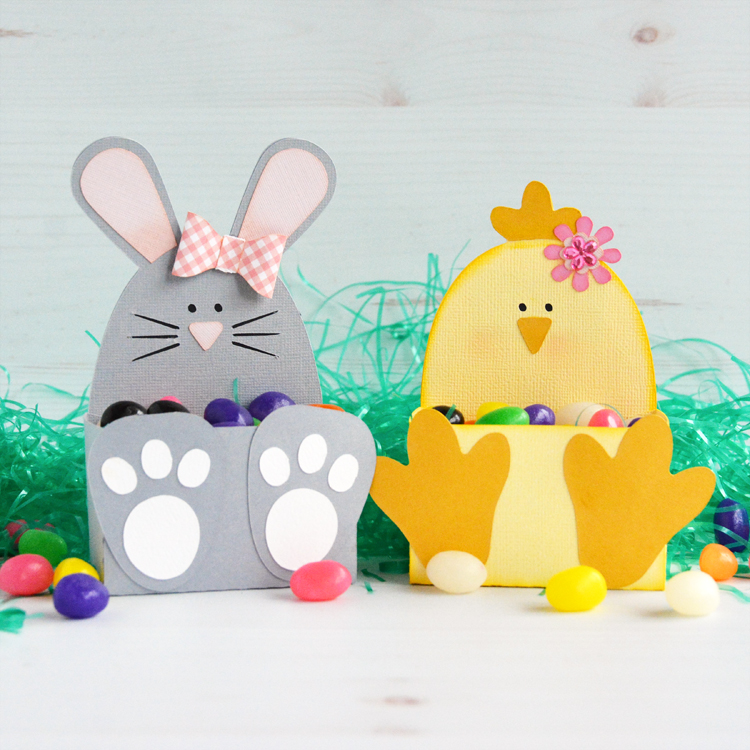
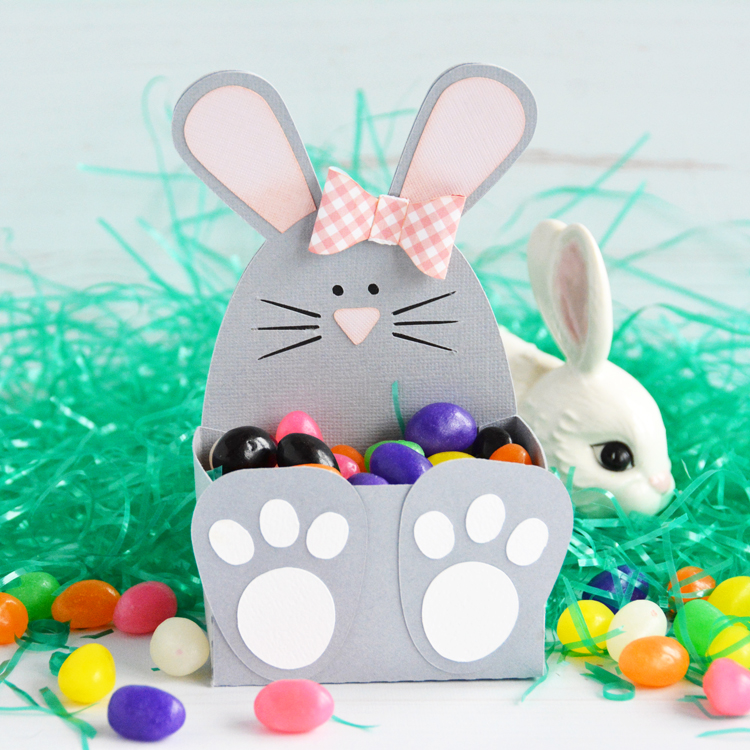
I know it’s still March, but I’m thinking ahead to Easter, trying to get a head start on some Easter crafts!  Looking through Lori’s files, I found this adorable Bunny Candy Dispenser (SVG, Silhouette).  I thought it would be fun to make and give!  Take a peek…


This file looks complicated, but it’s really easy to assemble.  I’ve outlined the steps below…

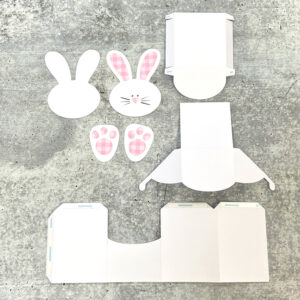
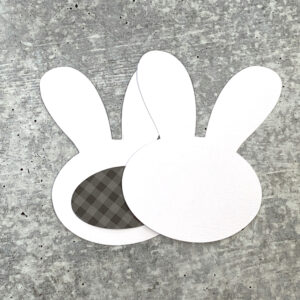
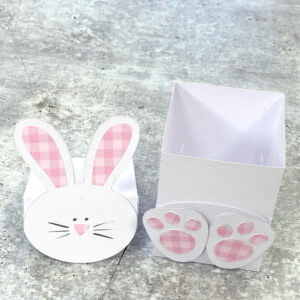
Start by cutting your pieces.  I added the foot pads to the feet, the inner ears & nose to the face.  I also backed the bunny face with the black oval to show through the eyes and whiskers.

Next I covered the back of the bunny face with the solid piece to cover the black oval.

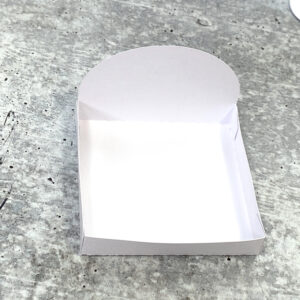
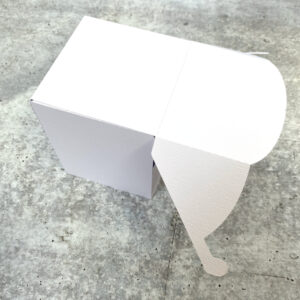
In the third photo I folded up the sides of the cover and glued in place.

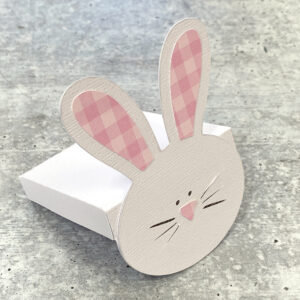
Add the bunny face to the cover, aligning the bottom of the face with the bottom of the rounded part of the cover.

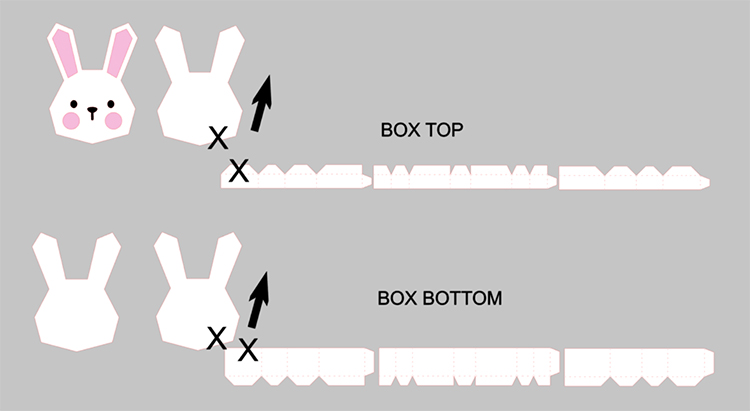
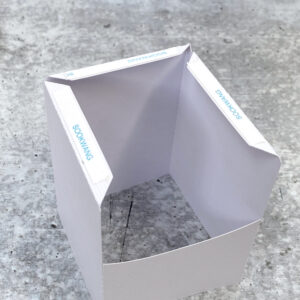
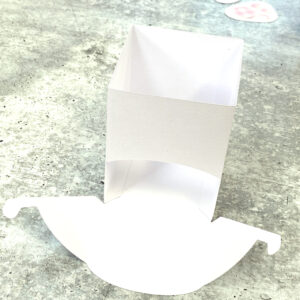
Next Start the base of the dispenser.  Fold the base and glue so it’s a box shape.  You then want to add the bottom to the base.  Fold down the tabs on the base, add adhesive.  Add the bottom panel as shown… you want the “hatch” to be on the side of the opening.

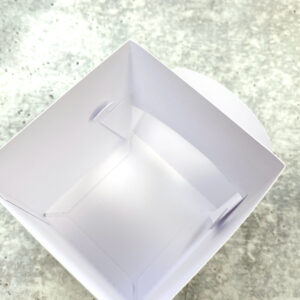
Once the bottom is attached, flip the base over.  To make the sliding drawer part, maneuver the side arms in through the hole in the base.  There are small slits in the front score lines, you want to fit the arms into those slits so they are held in place.  If the opening and closing of the drawer seems stiff, you can add baby powder to the arms before inserting them.  You can also make the slits slightly longer if needed.

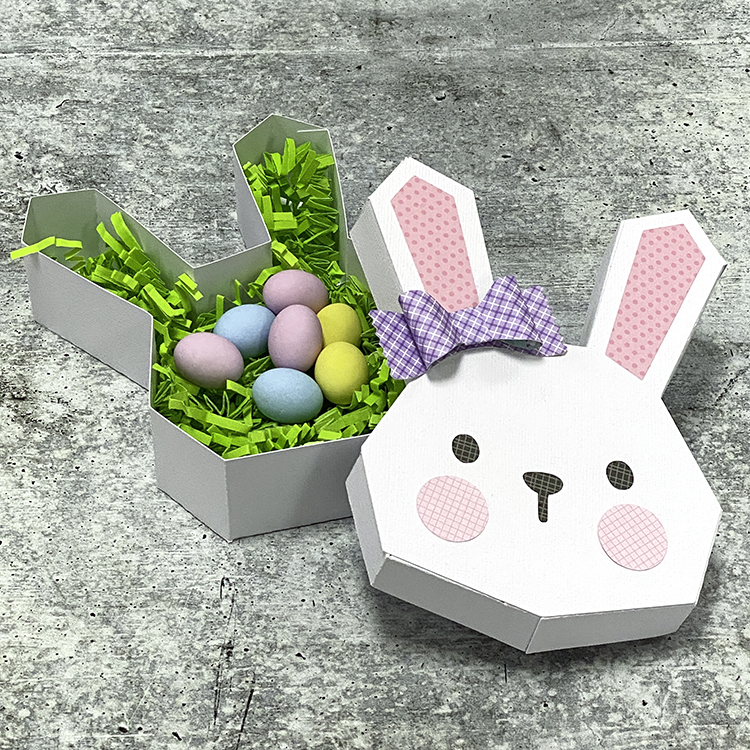
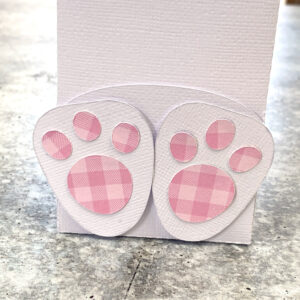
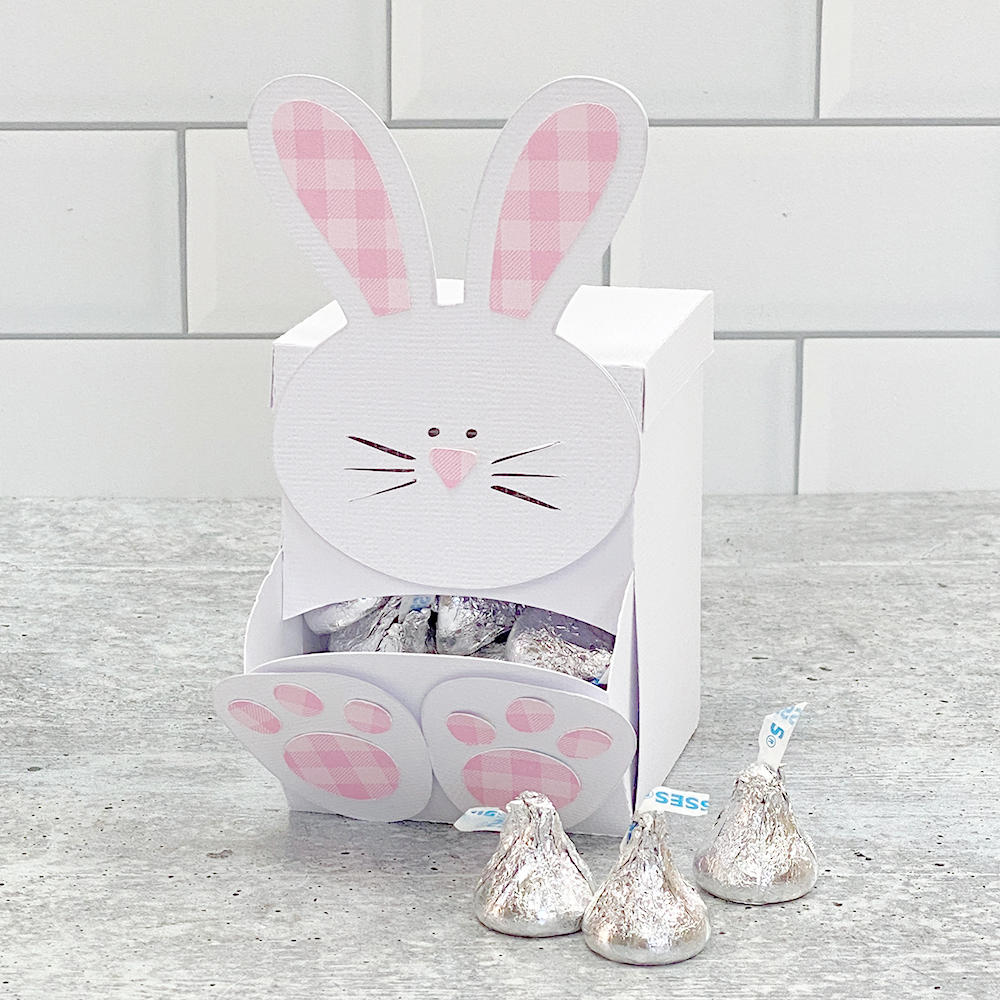
Add the feet to the door of the dispenser.  You can then fill the dispenser from the top and add the cover.  The bunny face overlaps the feet to keep the door closed.

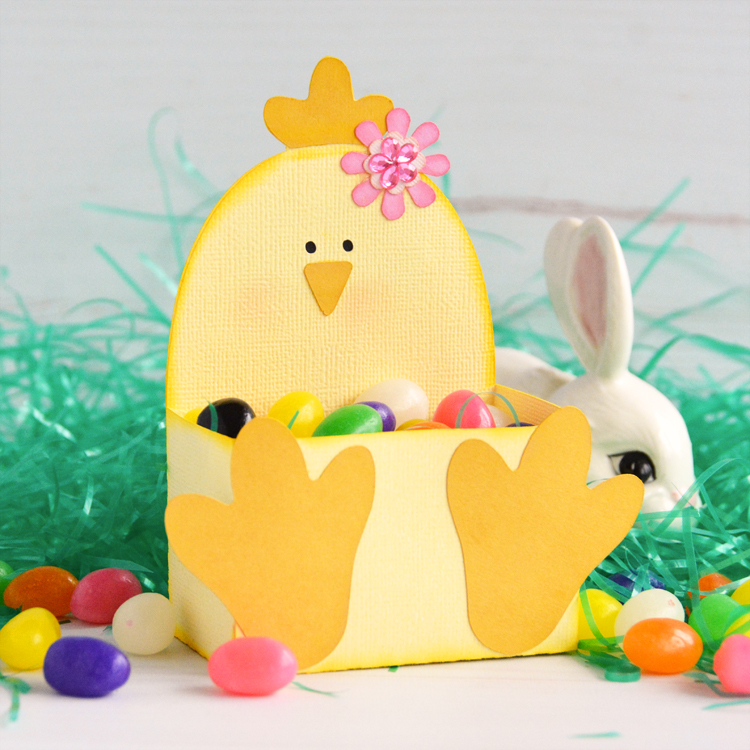
Now all you need to do is to decide what sweets to add to your dispenser!  That’s it for me today, thanks for stopping by to peek!

BLOG | INSTAGRAM


Easter Belly Boxes

Hello everyone! Marcia here today. Since I have Spring fever but its still snowing here, I decided to get busy making some Easter Belly Boxes for my nieces and nephews. The belly boxes come in an array of animals and they are perfect for Easter baskets. I chose the Bunny (SVG, Silhouette) and the Chick (SVG, Silhouette) Belly Boxes. For a quick tutorial, you can see this blog post.

Not only are they adorable but their bellies hold plenty of candy!

Lori has lots of Easter ideas in her shop. Go check them all out and have some fun making your own Easter belly boxes!

Thanks so much for stopping by.
~Marcia