Box Card Truck Front End Easter Bunny Tutorial

Hi Everyone!  Have you seen the adorable Box Card Truck Front End Easter Bunny file (SVG, Silhouette) ? I think this is just about the cutest card I’ve ever seen!  I love the little bunny with his paws on the steering wheel!  Take a peek…

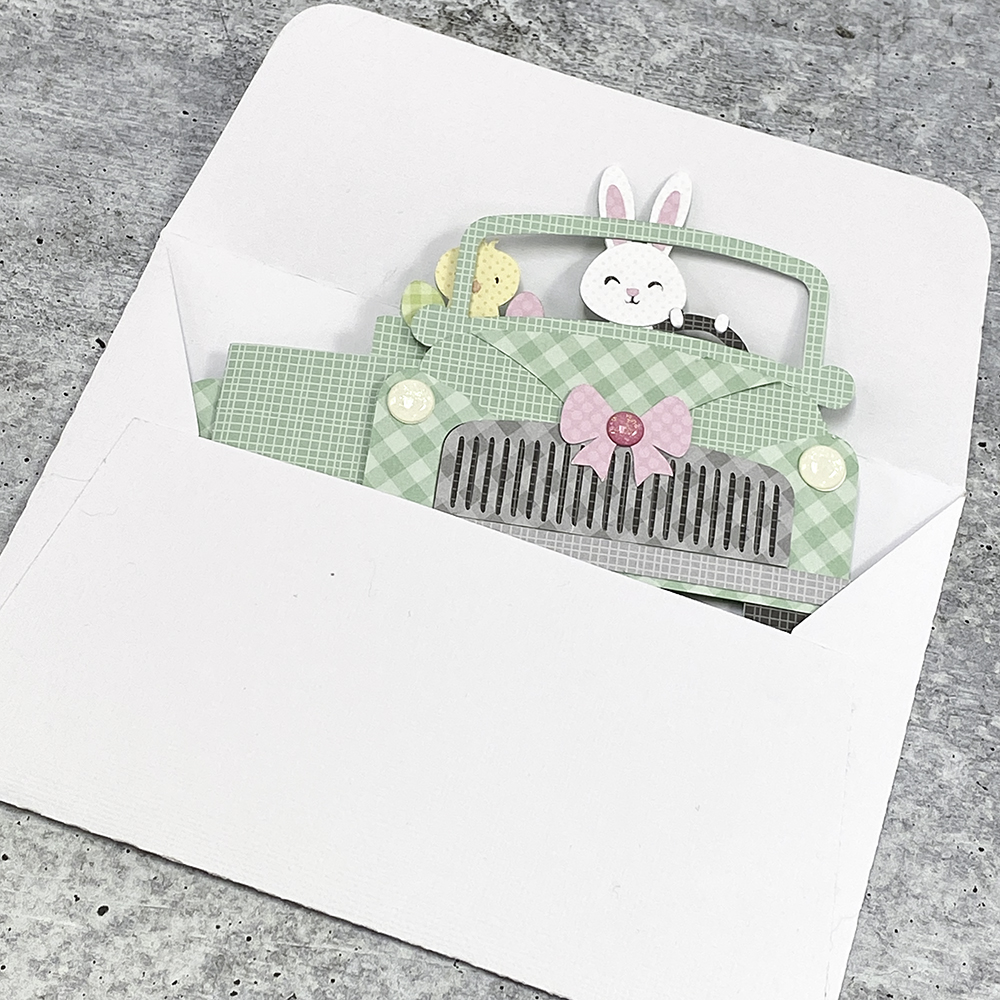
And the card is even cute from behind…  In fact it’s just like Lori’s Box Card Truck Back files, and it’s assembled in the same manner.

Best of all it folds flat and fits into a 5×7 envelope.

This card might look complicated but it’s really easy to assemble.  I’ve outlined the steps for you below.

Above are the pieces that make up the file.  Before starting the main assembly, I print and cut the Easter License plate and glued it to it’s backing piece.  I also glued the chick & bunny to the insert piece and backed the gray grill with the black paper.  Finally I added the tires to the card.  If you ever need help with where to place the little pieces, it’s helpful to reopen the file in your cutting software… Lori groups all of these pieces together so you can see how they go.

I began with the back of the truck.  You can see how I layered the pieces above.  I started by gluing the back base piece to the card base, lining it up just above the tires.  Next I added the decorative rectangle.  It’s positioned slightly towards the top of the card rather than centered.  To finish I added the bumper (there are 2 bumper pieces in the file, the back one is slightly shorter in length), the tail lights and the license plate.

Next I assembled the front of the truck.  Starting with the front base piece, glue on the “butterfly” looking piece, alighing the bottoms and centering the pieces.  Center the triangular piece along the top edge of the base.  Next add the longer bumper piece, the grill and headlights.  Finish off with the bow.  Glue this to the front of the truck, aligning the bottom of the front piece with the bottom edge of the card base.

At this point I added some enamel dots to both the front and back.  It’s easier to do this now.

With the front and back of the truck done, I folded the card base into a “box” shape and glued.  The tab goes on the inside of the card.  Fold the side tabs on the insert backward, and add adhesive to both tabs.  Slide the insert into the box and press the tabs to the sides to secure.  I did mine about a half inch back from the front of the card.  The tops of the tabs should be flush with the top of the card base.  Lastly I added the steering wheel.  It’s glued behind the front of the car, so it sticks up slightly.  It’s easier to do this now because you can line it up with the bunny.

The bunny and chick are now ready to drive off on their adventure!  Don’t forget that this card and all other SVGs in Lori’s SVG Shop are on sale this week.  Get 30% off when you use code MAR2021 at checkout!

That’s it for me today, thanks for stopping by to peek.


BLOG * INSTAGRAM

Doodlebug Design Cut File Feature: Bunny Train

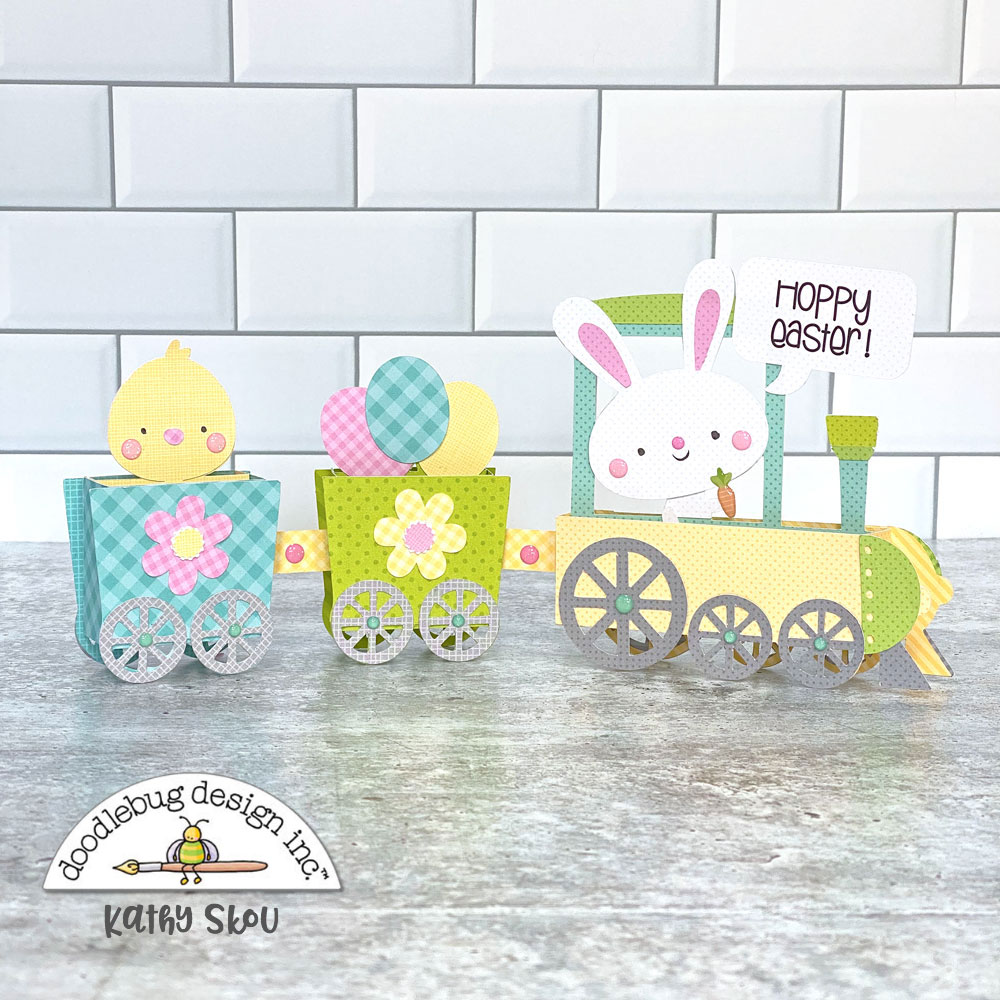
Hi Everyone!  Today I’m showcasing another fabulous project using Doodlebug Design’s cut files!  This combination card & home decor piece was created by Kathy Skou for Doodlebug Design.

Kathy used the Easter Express Train Box Card file which is exclusive to the Lori Whitlock SVG Shop.

For more details and a tutorial,  you can see her original post here.   New Doodlebug Design SVG files are being added to the Lori Whitlock SVG Shop on a regular basis, so stop by to see all of the fun SVG files HERE!

Have a great day!

Box Card Easter Chick

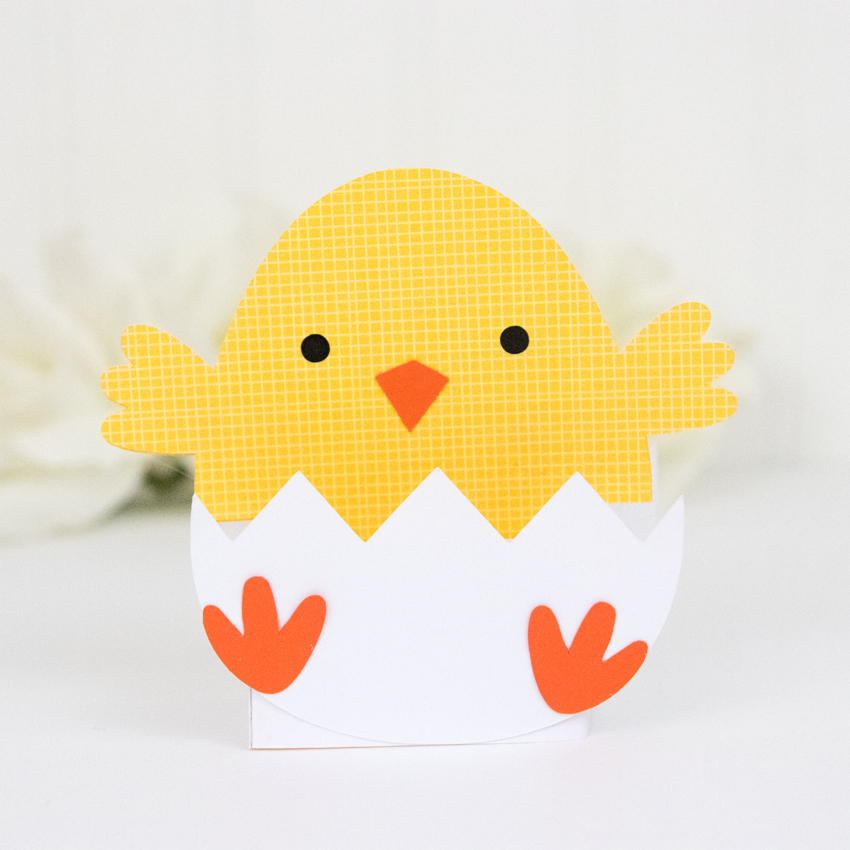
Hi everyone! Corri here sharing a quick assembly tutorial for the Easter Chick Box Card (Silhouette, SVG).  These box cards are adorable and look so cute sitting out on display.

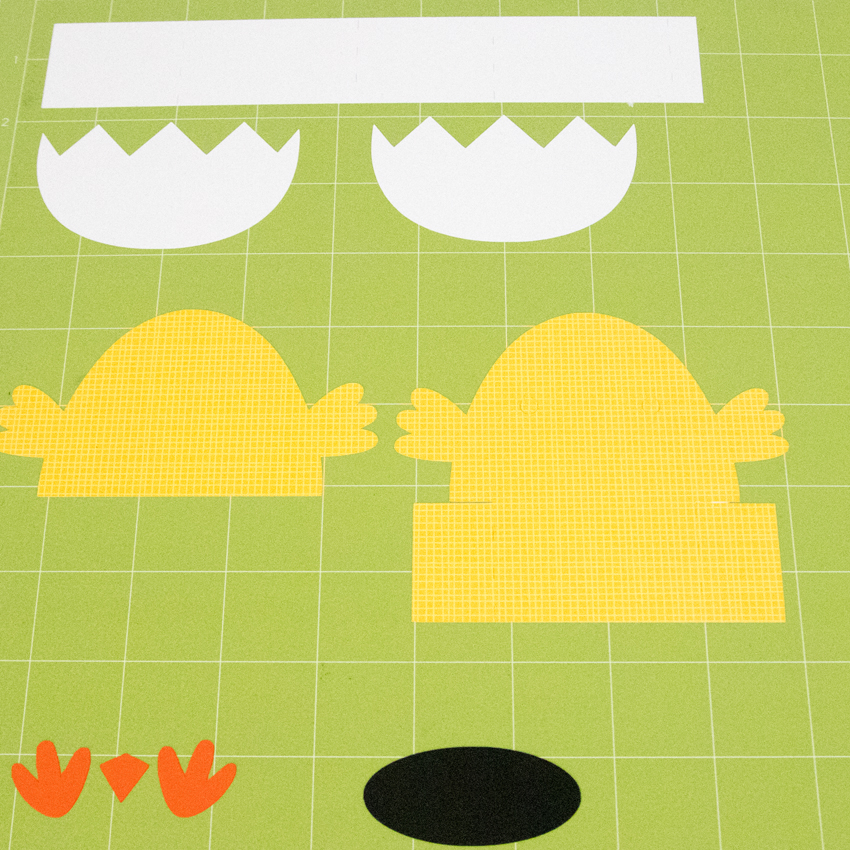
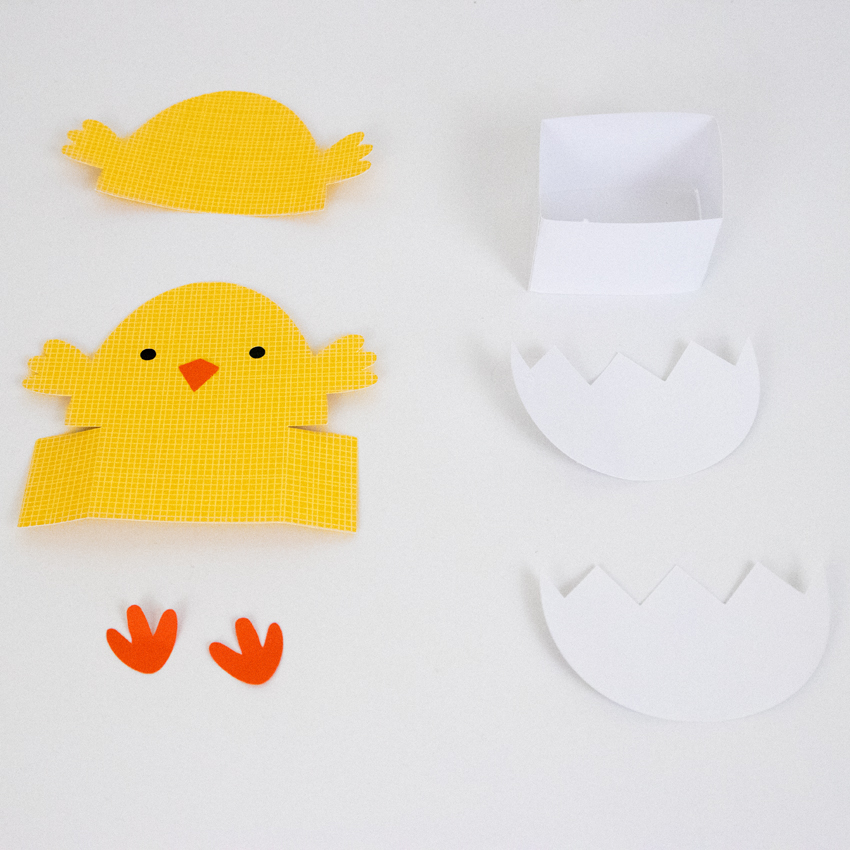
When you cut all the pieces this is what you will have:

First, fold along the scorelines on the white band and the yellow chick.  Glue black oval behind eyes of the chick and glue orange beak in place.  Apply glue to the glue tab on the white strip and glue in place to form the box.

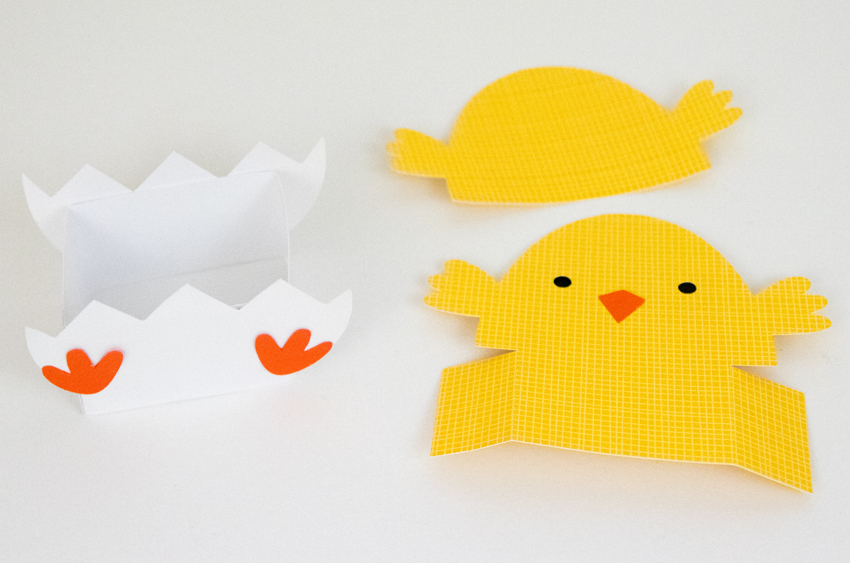
Glue orange feet to the front egg piece and then glue to the front of the box.   Glue the second egg shape to the back of the box.

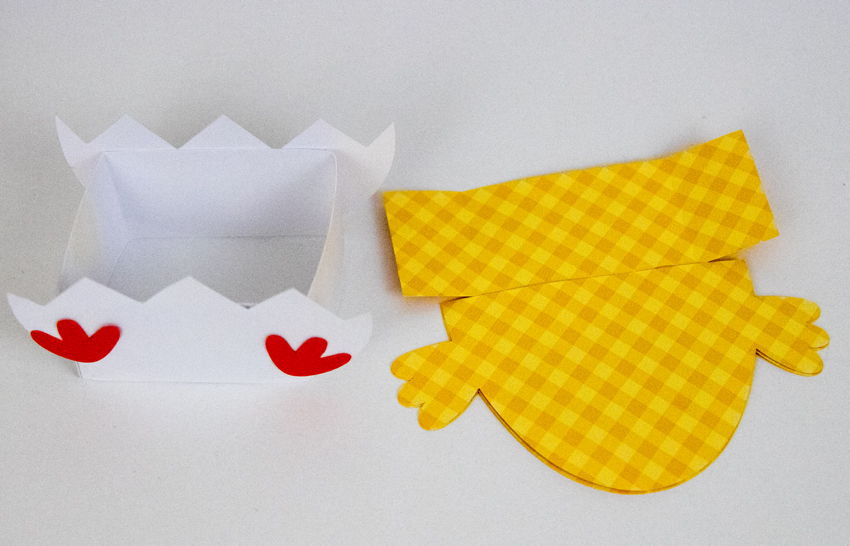
Glue the second chick shape behind the first to cover the black oval.

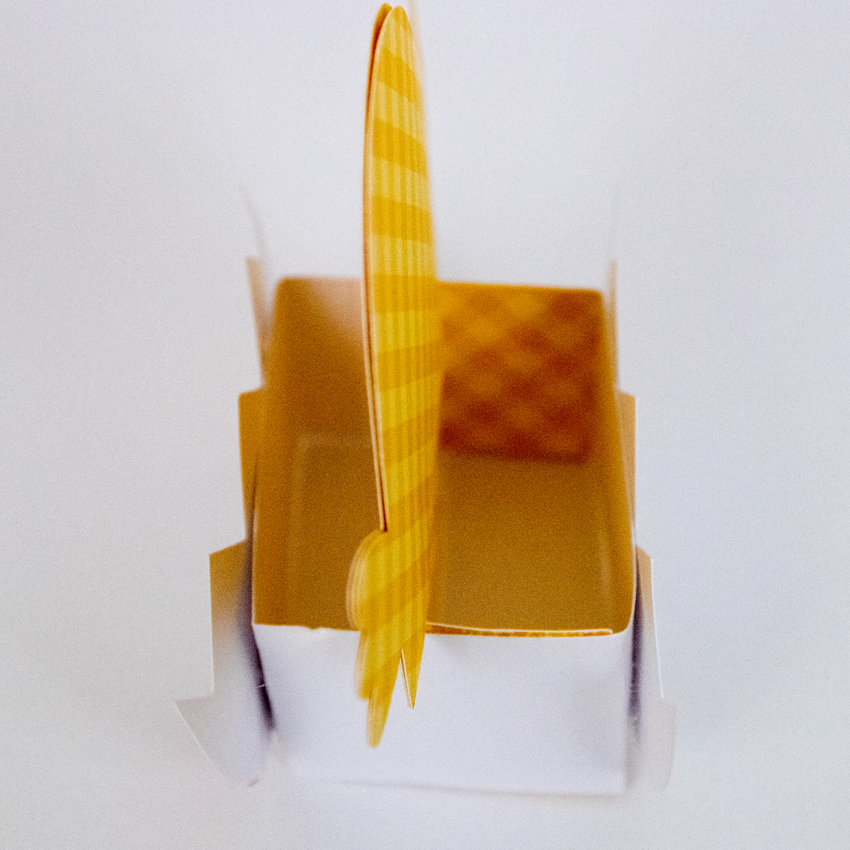
Finally, apply glue to the tabs on the yellow chick portion slide into the box and press the tabs to the sides to adhere.

That’s it!   Super simple and so very cute!

I hope you enjoyed this fun box card!  Head over to Lori’s shop to see all the fun box cards!

Thanks so much for stopping by!

Corri

Easter Lamb Box Card and 50% off All SVGs!

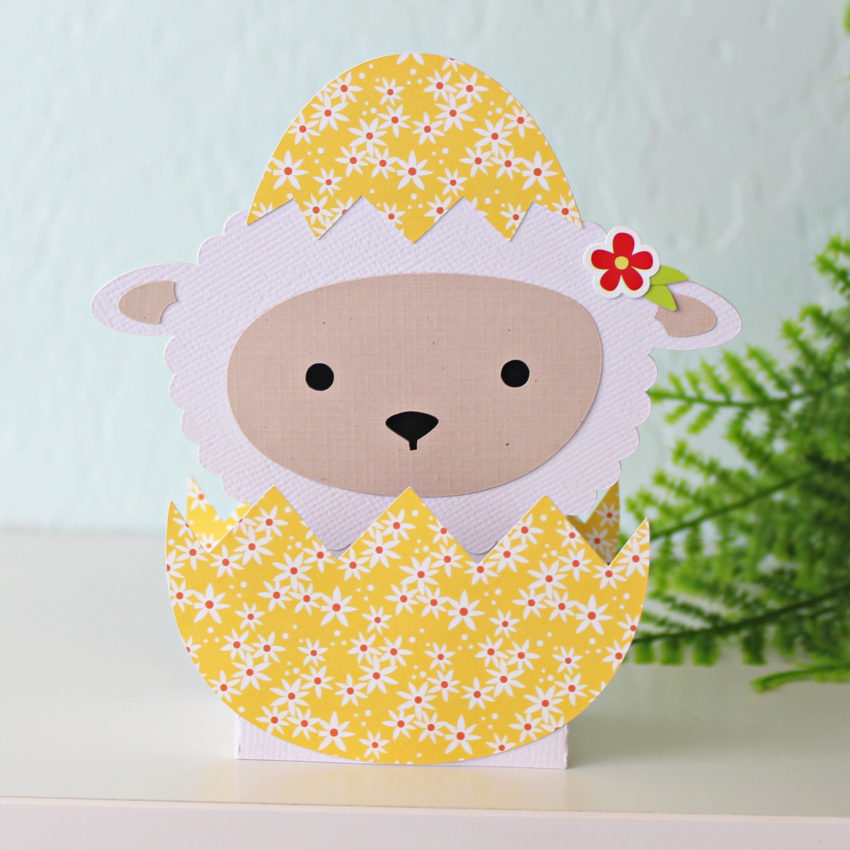
Hi there friends! With Easter just two weeks away I thought I would share the darling new Box Card Easter Lamb (SVGSilhouette). This little card comes together quickly and can be massed produced easily. It only has eleven pieces that can all fit on one cutting mat! For a general assembly tutorial for shaped box cards, see this post.

The pattern paper and flower sticker is from the Easter Wishes collection by Echo Park Paper.

And don’t forget that there is a Customer Appreciation Sale happening now in the Lori Whitlock SVG Shop!  All SVGs, Fonts, Pattern Fills and Commercial Licenses are half off when you use code THANKYOU at checkout!

(These downloads include SVG files that may be used with Cricut Explore, Silhouette (Designer Edition upgrade required), Eclips, Brother Scan and Cut, and any other software that will open SVG files.)

I hope you are all safe and well.

Happy Easter!

Brandie

Bunny Shaker Card Tutorial

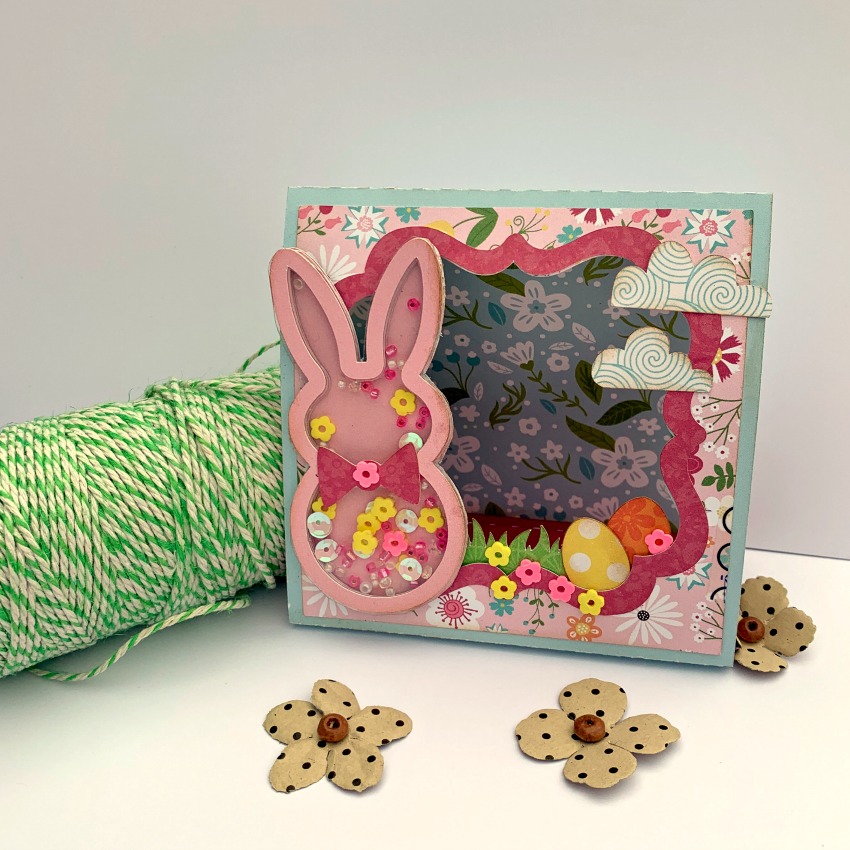
Hi everyone!  I know we are all trying to navigate through what’s going on in the world today, I hope you are all safe and well!  I am spending my time creating, it relaxes me and gives me focus in this uncertain time.  So with all that said, I have a little project to share with you.  It takes a bit of time, but I promise it’s worth the effort.  I love using Lori’s shaker card files.  She has lots, but I wanted one for Easter, so I decided to create my own.  After making several of Lori’s shakers, I’ve kind of figured out how to make my own.

I started with a this Easter Bunny Candy Wrap (SVG, Silhouette) in my Silhouette Software.  First bring up the box in the design page of your machine (box 1). Next release the compound path and ungroup.  You should be able just to select the bunny shape and bow now, (box 2 and 3).  Enlarge your bunny and bow to whatever size you need (box 4).

Now use the internal offset button and set to .145, move that little inset bunny over now from the original bunny.  On the inset bunny, now click the offset button and set to .145 and group the together.  Now your bunny perfectly matches up with the original shape (box 5).  Now keep your solid bunny shape and duplicate your outline shape 8 times (box 6).  You need 7 bunny shapes to make your shaker deep enough to fill with little sprinkles.  Now cut your shapes (box 7).  Layer 7 outline bunny shapes to the original bunny shape with liquid glue, stacking them on top of each other, box 4. Save one outline bunny to glue over the acetate.

Your stack of bunnies should be thick like below, make sure to let it dry really well (box 8).

Now for the fun part….add all your favorite little bits and glue a piece of acetate on.  Let it dry really well before trimming the acetate away.  Finish with your last bunny outline shape to make a nice finished shaker.

After my shaker was complete, I attached it with scor-tape to Lori’s 3D Stand up Easter Card (SVG, Silhouette) .  I just removed the original brown bunny and added my shaker bunny.  I used Echo Park Paper’s All Girl and I Love Sunshine papers.

Stay safe and well ~Cathy