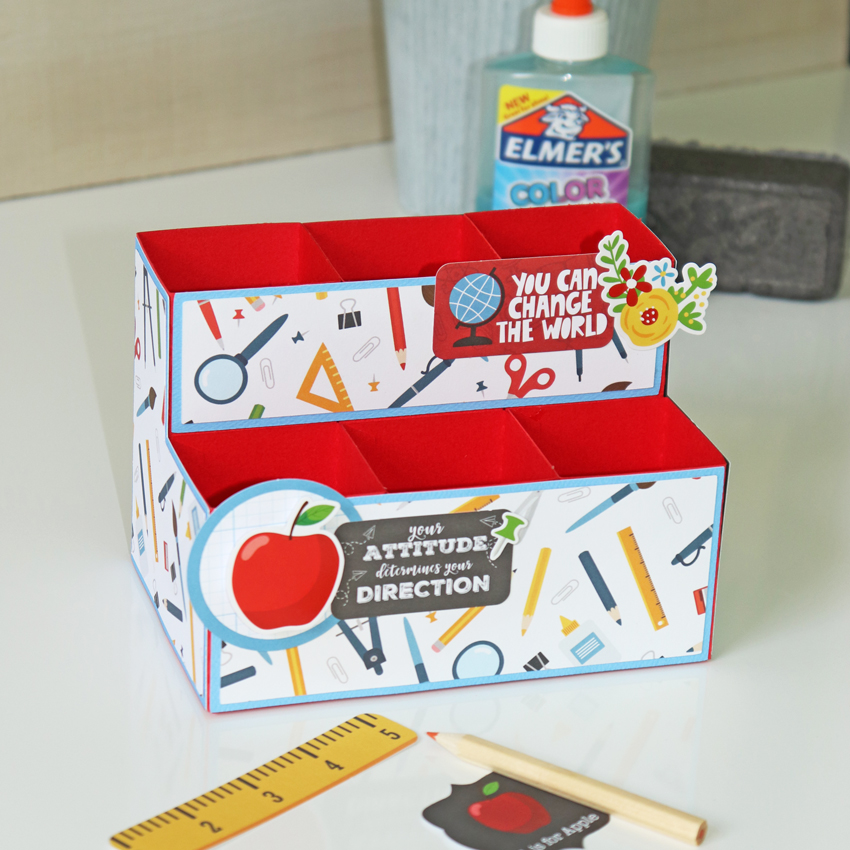
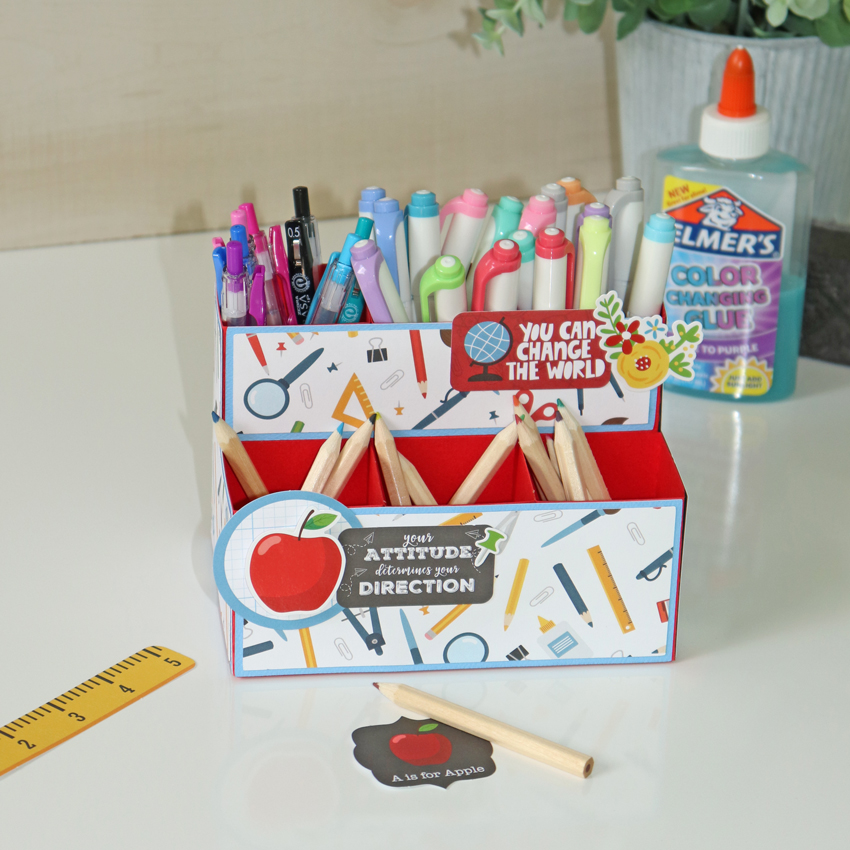
Hi there paper crafting friends! It’s Michelle Starcher, aka the Bookish Designer, hopping onto the blog to walk you through the steps to create Lori’s 4 Drawer Organizer (SVG, Silhouette). This organizer is perfect if you need extra organization for your office. There are several sizes available including a 6 Drawer (SVG, Silhouette) and 8 Drawer Organizer (SVG, Silhouette). The assemble is the same for all sizes, so you can use this tutorial when putting together all of your drawer organizers.

In this photo tutorial, I will break down the steps to create this 4 Drawer Organizer. I wanted my box to match the Disney inspired organizers I made at the beginning of the school year, so I used Lori’s new collection, A Magical Place, from Echo Park Paper Co. When I opened the file in Cricut Design Space, I had a note telling me to make four copies of the drawer and base file, so I made extra copies of those and sent the project to my machine.

My next step was to assemble the drawers for the organizer. I folded the drawers along the score lines and added adhesive tape as shown on the backside of my red cardstock. Next, fold in the top and bottom portions as show in the top right image. Be sure to remove the paper from your adhesive if needed. Fold in the flaps next to the drawer front (the one with the circle cut-out) and adhere those to the tabs. You should have the start of box as shown in the bottom left image. Then, remove any paper from your adhesive strips and fold in the left and right flaps. There are tabs on each side that fold inside the box to hold everything together. Repeat this process for all four drawers.

Now, you are ready to assemble the box. Before you get started, fold along all of the score lines and add adhesive as shown in the top left image. Next, remove adhesive paper and fold each of the bottom flaps up as shown in the top right image. Fold the four panels to form a box shape and close using the tab (bottom left image). Then, close the box by folding the remaining piece up and close using the three tabs. You should have an open side, which will hold one of the drawers you made earlier. Repeat this process for all four of the base pieces.

Next you will assemble the four base pieces to create the organizer. Stack the pieces to create a 2×2 square with all four openings facing you. Add adhesive to the connecting sides of each cube. Combine organizers bases two at a time and stack. 

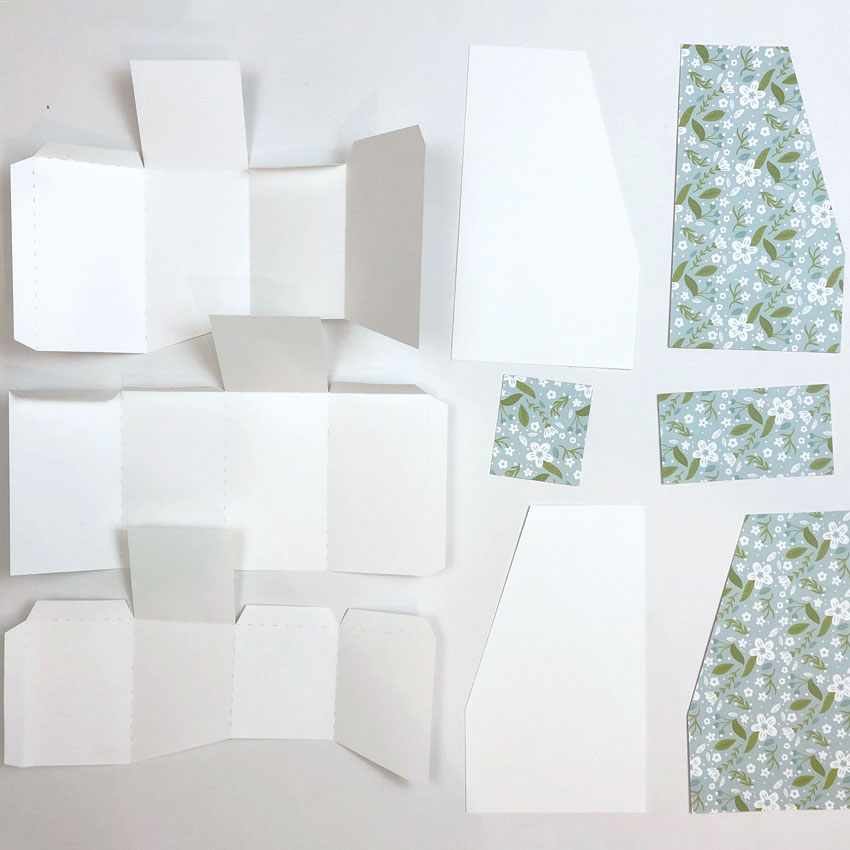
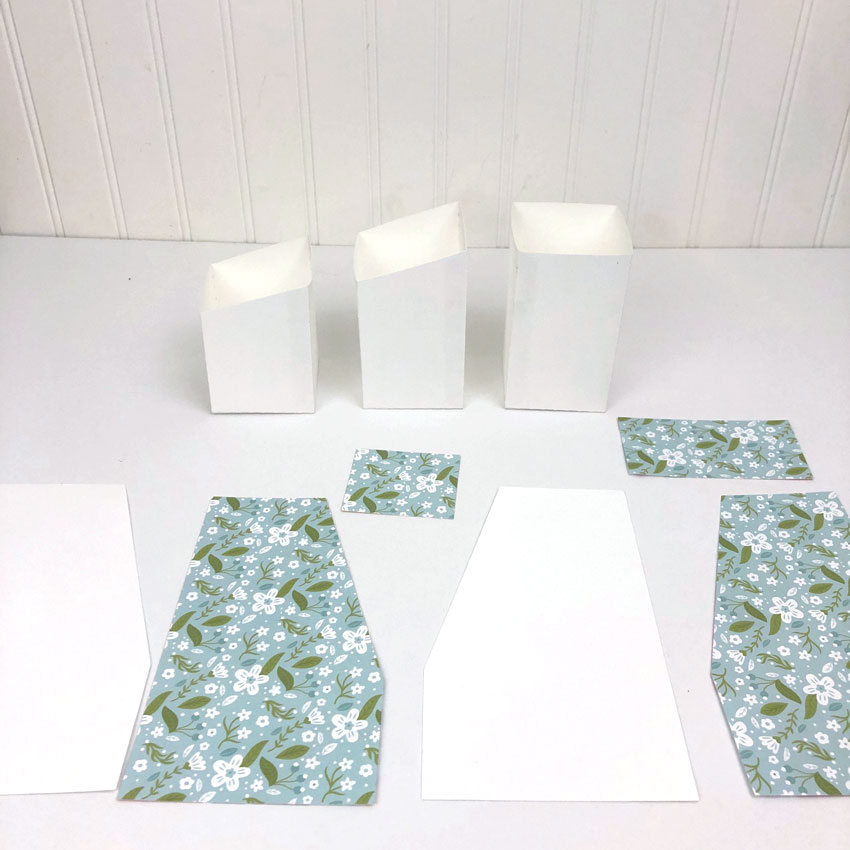
For your final step, you will attach the large square and four rectangles to the case of your organizer to hide seems. The square will go on the back of your organizer and the four rectangles will go on the top, bottom, and sides of the organizer. The four rectangles are the same size, so unless you used a pattern paper, it doesn’t matter where you place them (top, bottom, or sides). Next, add the pattern paper to your organizer and drawer fronts. Same rules apply as when you adhered the cardstock pieces. Finally, insert your drawers into the organizer. If you want, you can add embellishments to the front of your drawers.

Don’t forget you can make this organizer in a variety of sizes including 4 Drawer (SVG, Silhouette), 6 Drawer (SVG, Silhouette), and 8 Drawer Organizer (SVG, Silhouette). It is perfect for holding paperclips and other office supplies.
Until next time,
Michelle


