Welcome to my Thursday Tutorial !
We are so close to Halloween and I’ve always wanted to make this Halloween Scene Decor file (Lori Whitlock Store or Silhouette Store)-so here it is. It’s actually very easy but it is a decor file so it is much bigger than normal creations.
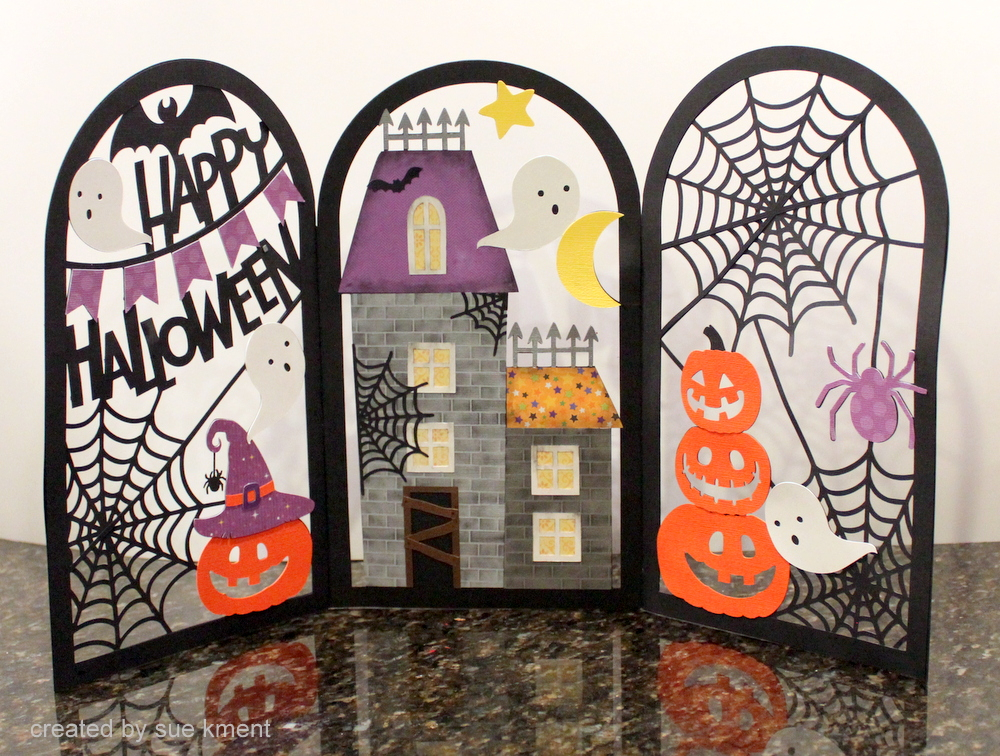
Here it is all done! It’s over 18 inches long and very cool!
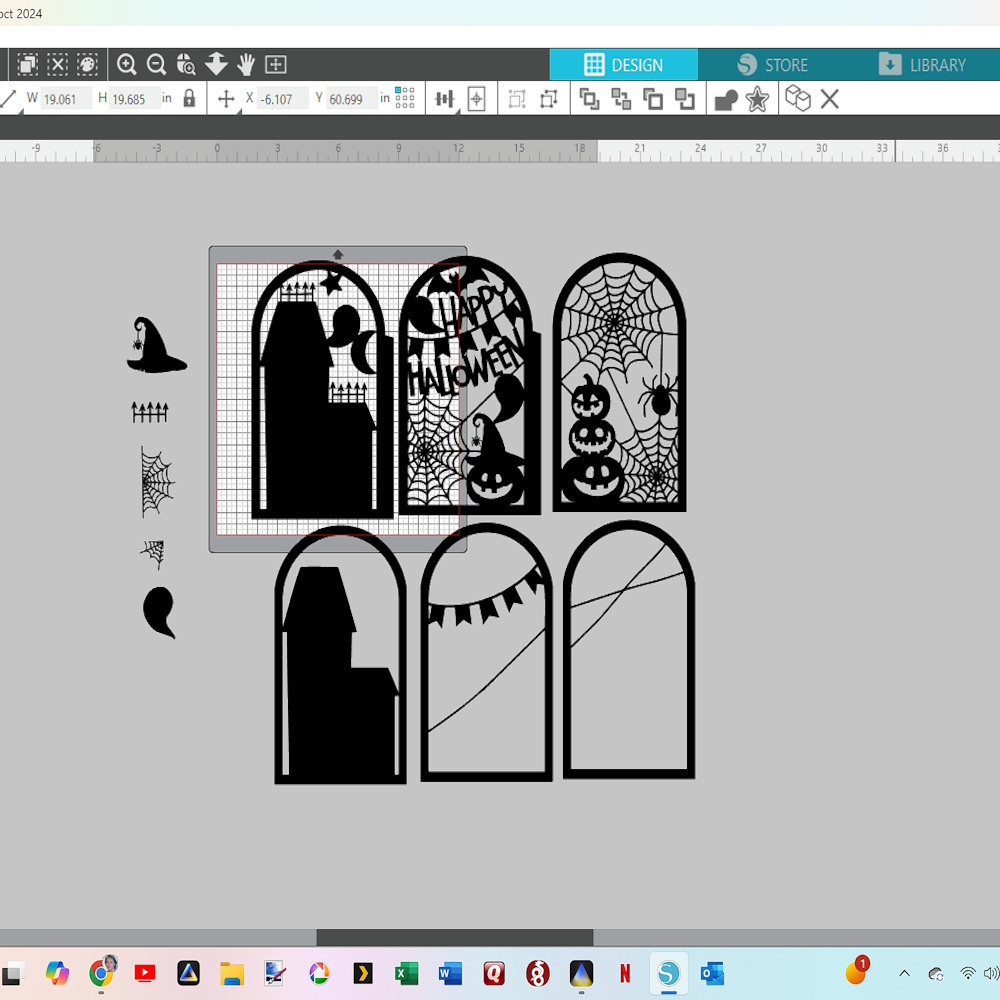
Here you can see the six panels. The bottom three panels are glued on top of the main panels.
You will cut 6 panels with different scenes. They are big–11.5 inches tall and a bit over 6.5 inches wide for each panel. Plan on using 6 pieces of black cardstock with extra left for other projects. I used Michaels paper 65lb cardstock because it cuts details so well, but it wasn’t really strong enough for this stand up scene. My solution was to cut 3 extra panels for a bit more extra strength. I would suggest using heavier paper and all will be good!
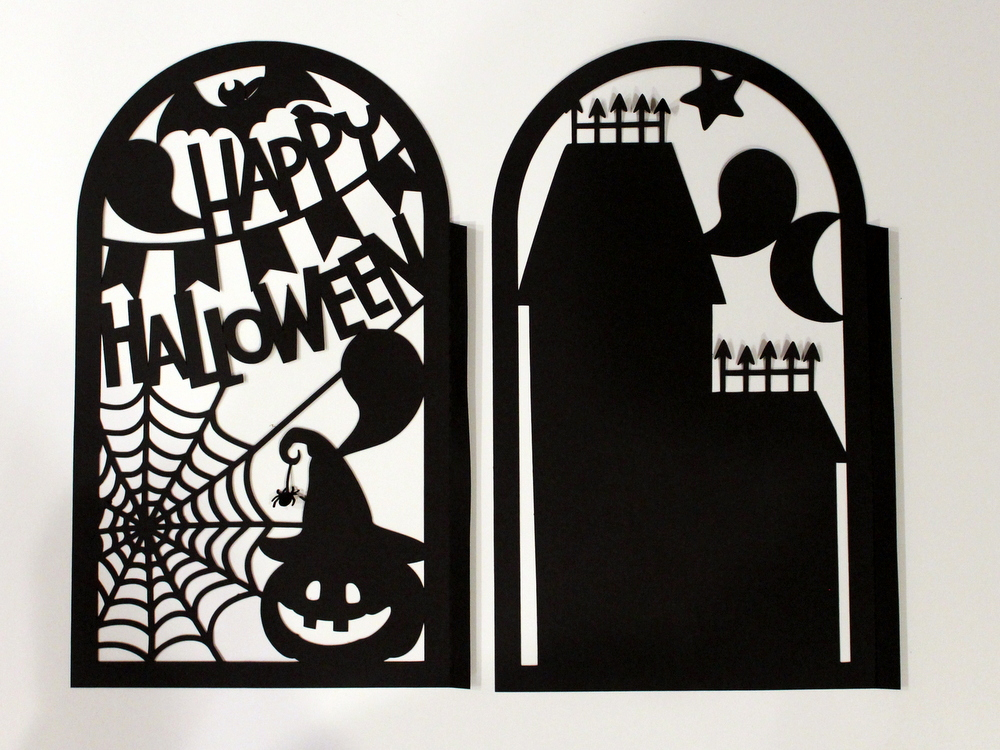
You will glue the three full scene panels together. Two panels have a tab. Glue those together and then add the third panel. I would then glue the other three top panels to the main panels, making sure to line up the elements.
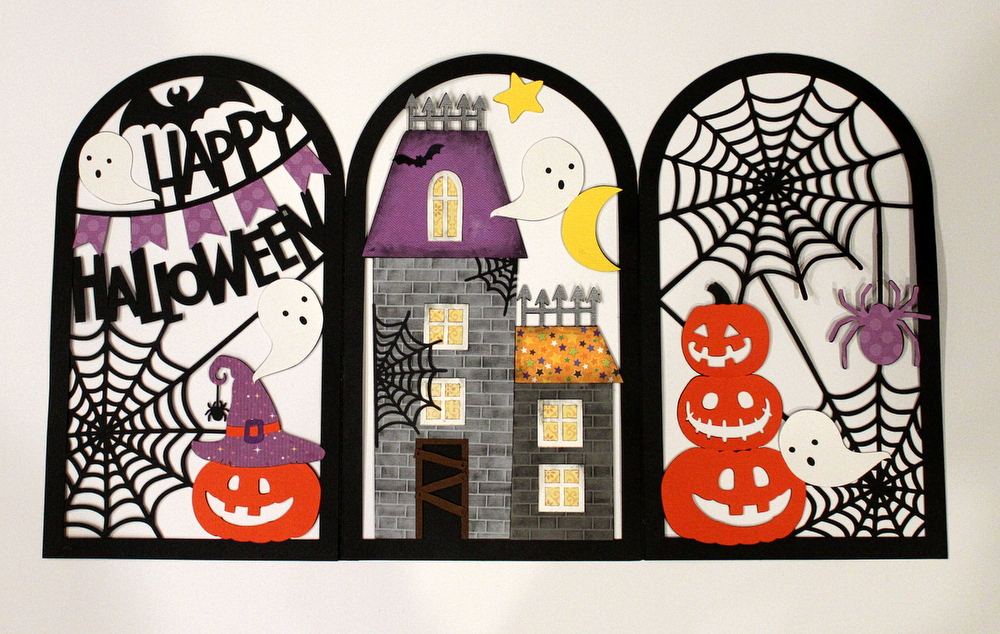
You can cut the top panels different colors but I stuck with all black for the panels and changing up the colors for the paper piecing. You can see all the pieces laying on the glued panels so you can see the placement .
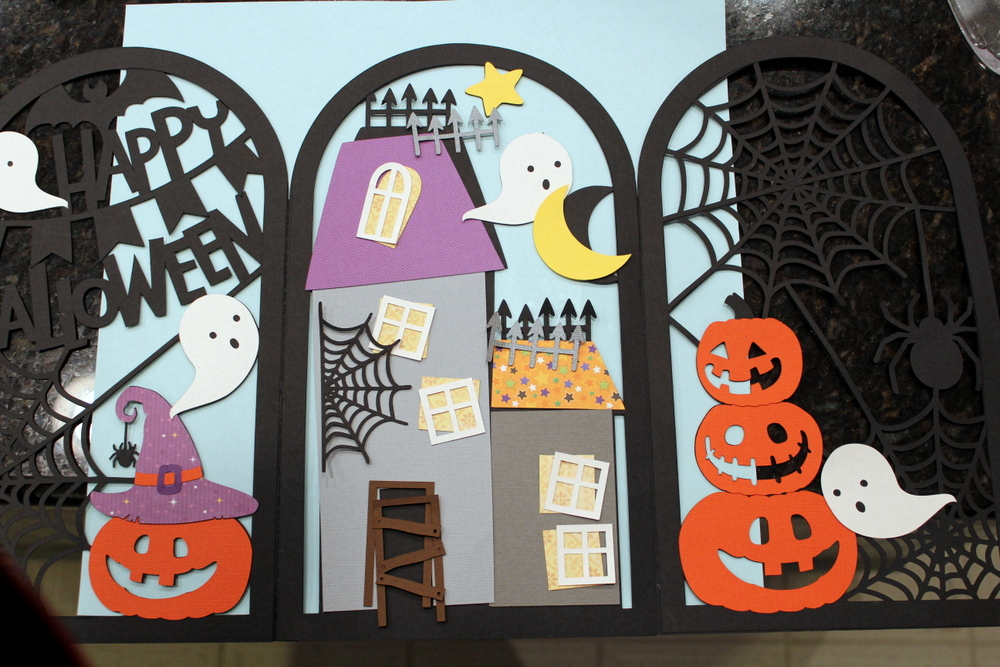
Here you can see where all the pieces should be placed. I did cut a purple spider for that third panel for a little more color balance. To isolate the spider I made a copy of that panel (in the Silhouette software hit the Ctrl key and arrow key to make a copy of the selected piece you want) and then I used my knife tool and cut it out of the panel. A little extra trimming with my scissors after it was cut and I was ready to add it to the panel. My favorite pieces of this file are the little brown door boards. They even have itty bitty nail holes at each end! Such detail!
I also used a brick stencil on my buildings to make them look like haunted castles. Scuffed up the rest of the pieces with black chalk and then glued them on. I found a little black bat on my floor so had to add that LOL! I have a lot of Halloween things floating around. Ha! I think it would be fun to add velum behind each panel and then add lights behind it…I might still do that!
I’m excited to add this to my Halloween decorations-it will look spooky on my mantel!
Sue