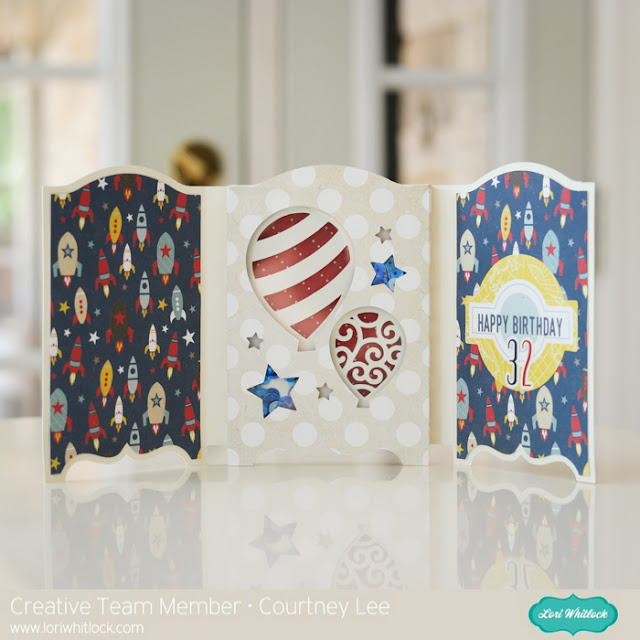
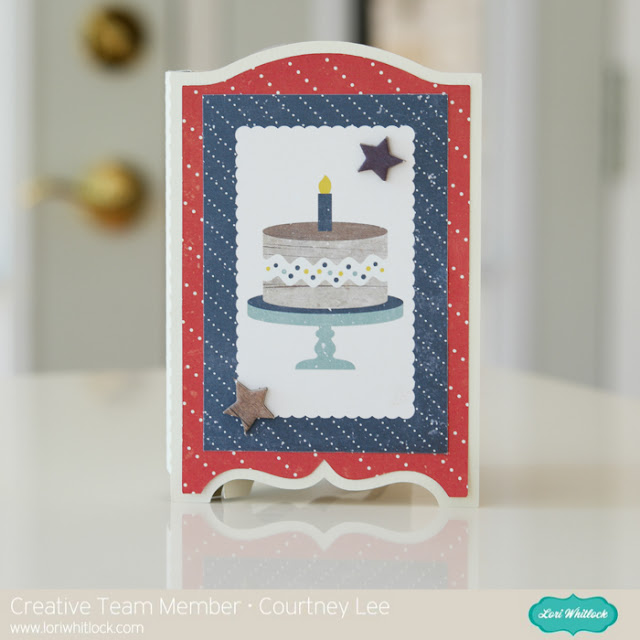
Tri-Fold Shadow Box Card Tutorial with Courtney

Hey all! It’s Courtney Lee from Court’s Crafts here with your Thursday tutorial!

Okay, so this is both a tutorial and a “what you can do with the product” tutorial so I am going to show you the traditional way this is put together, but I am going to then deviate slightly by making the stars into mini shakers.. so hang with me.

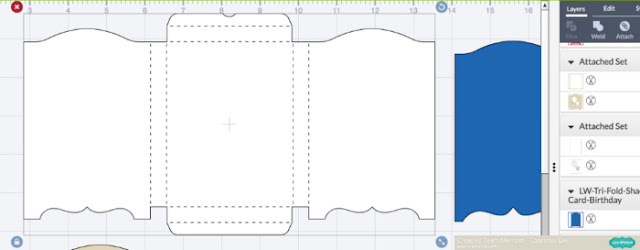
Before you start anything when you import to the Cricut Design Space software you want to right click and ungroup everything. Then you want to highlight a whole segment and “attach”. The reason you want to do this is so that the scoring lines actually end up in the correct places. It’s a weird funny “glitch” but if you don’t then the scoring lines think they want to cut out of black and even if you make them white they still will try to “cut” as a different object. This took me quite some “you-tubing” to figure out. 🙂

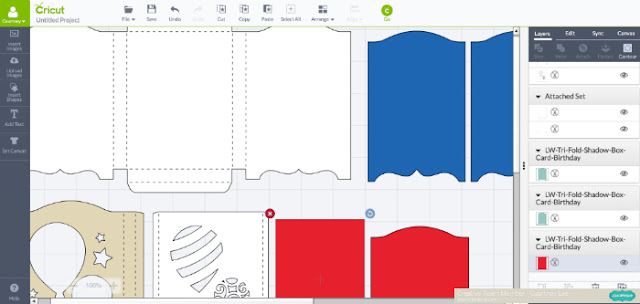
First of all I duplicated both the mirror looking layer and the background rectangle. The extra mirror looking layer is for the front of the card and the extra background rectangle is for acetate to make this a shaker-shadow box. Those are shown as a red piece and a black piece (not pictured) respectively on my screen shot. I’m so sorry I cannot get all of it into view! The Cricut software doesn’t put it on different mats it just puts it in different colors (or you choose them) and it divides it onto different mats accordingly. I LOVE it for saving me time, but it’s not super for pictures for a tutorial. 🙂

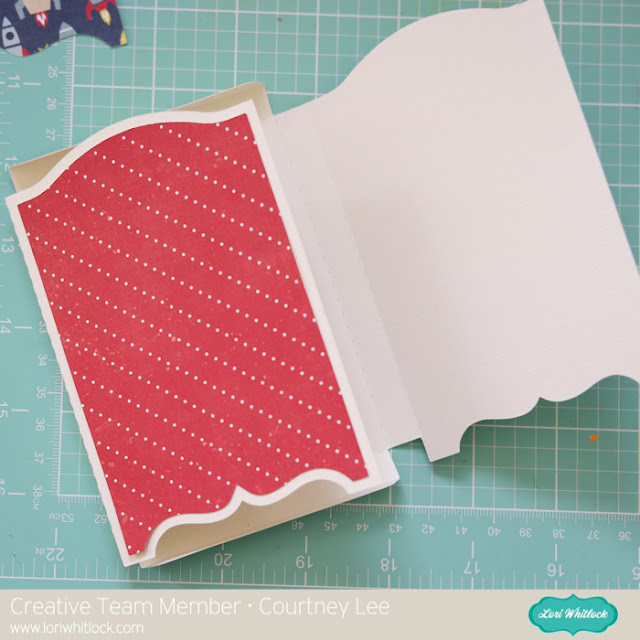
Step 1: I adhered the red polka dot panel (the extra mirror looking layer) to the front of the card.

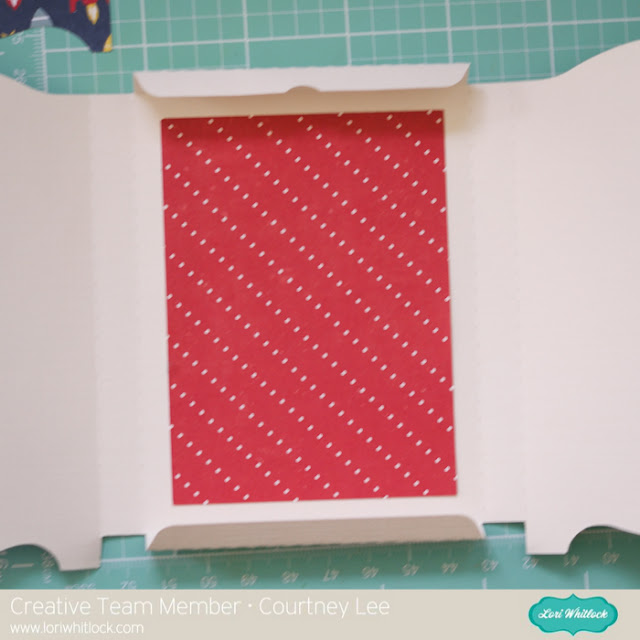
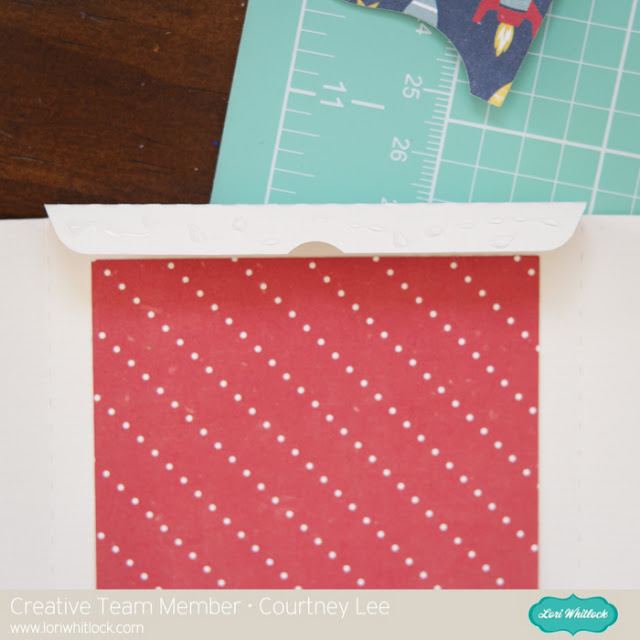
Step 2: I adhered the red polka dot rectangle to the back middle of the card.

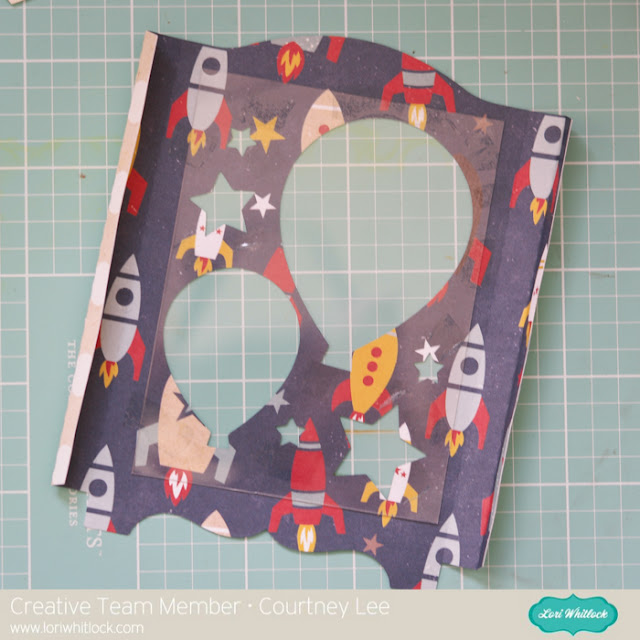
Step 3: Adhere the acetate to the back of the tan and white polka dotted panel.

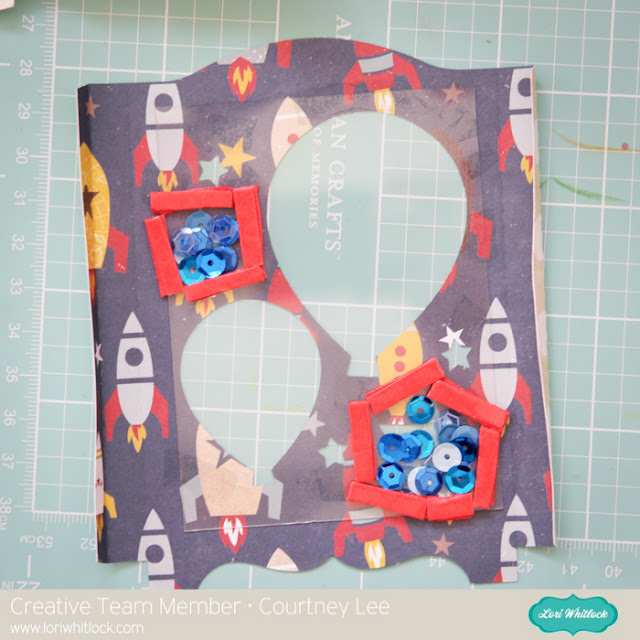
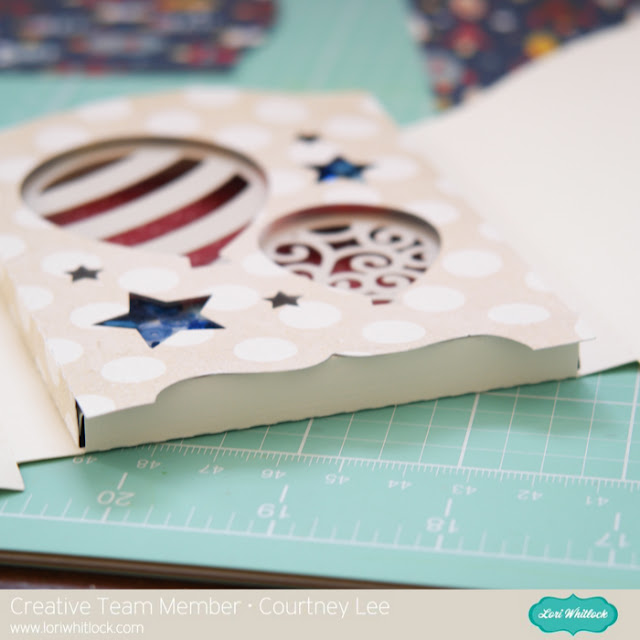
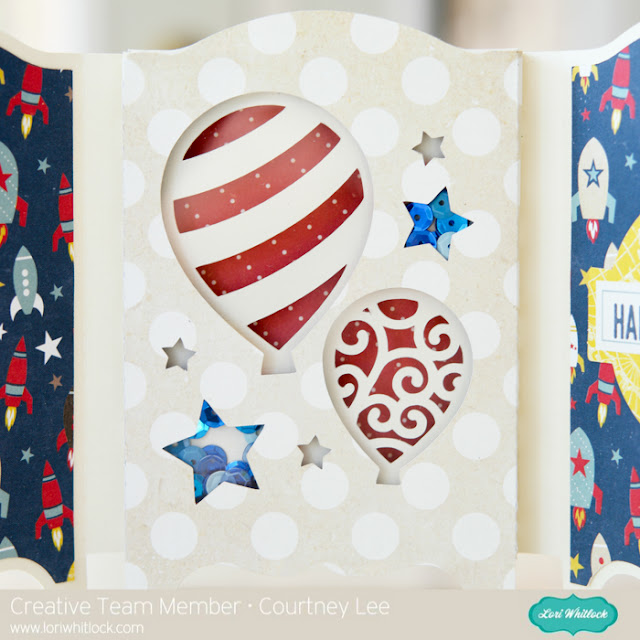
Step 4: I added the foam dimensional tape around the stars and then added a second layer of tape to increase the thickness and then fill the stars with sequins.

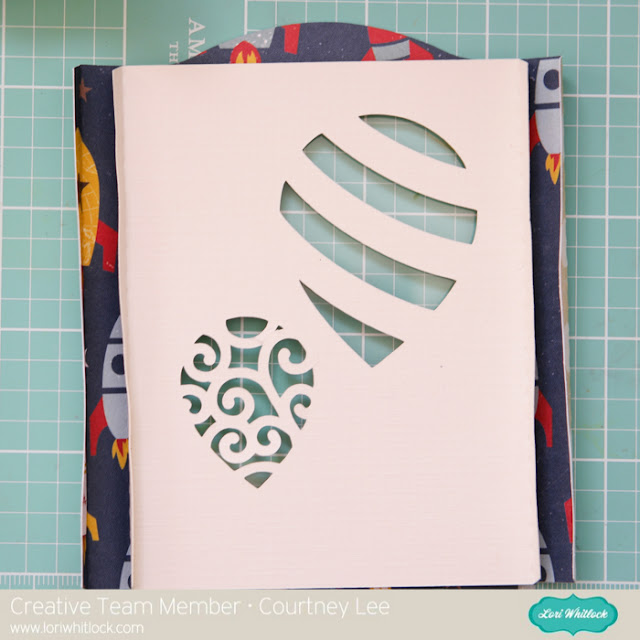
Step 5: Put the cream layer upside down onto the foam dimensional tape. Line it up by using the top and the bottom line of the bottom panel.

Step 6: Put liquid glue on the skinny sides of the cream layer, the outside of the whole panel you have been working on, and the top and bottom of the “box”.

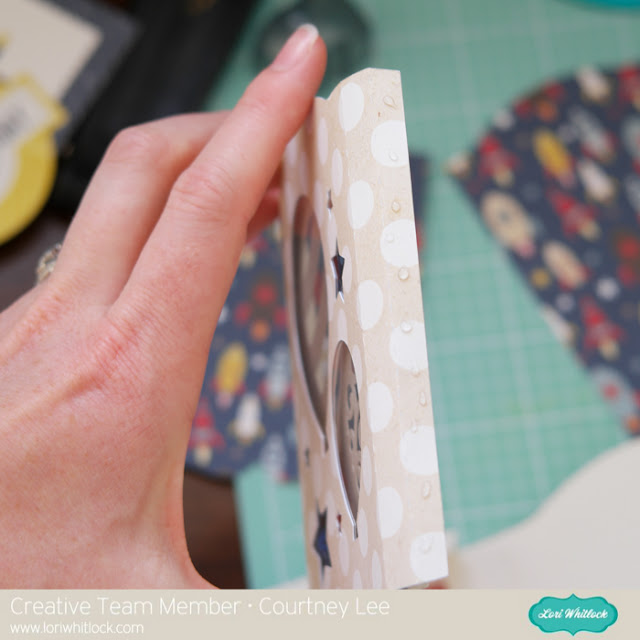
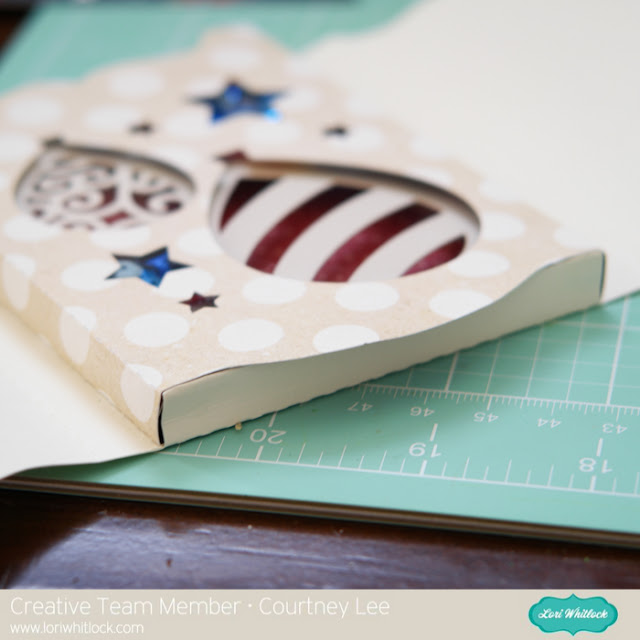
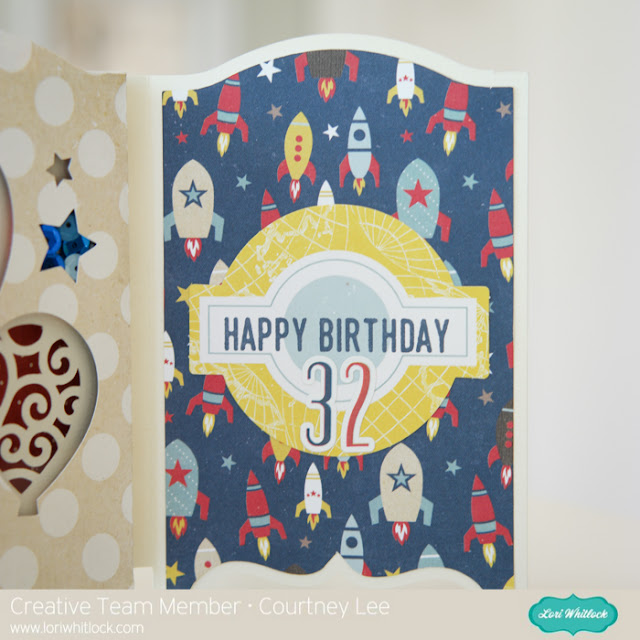
Step 7: Tuck the top and bottom of the box in between the cream layer and the rocket layer.

Step 8: Adhere the panels to the sides of the frame and decorate! 🙂

Recipe:

Lori’s Shop: Tri-Fold Shadow Box Card: Birthday

Silhouette Shop: Tri-Fold Shadow Box Card: Birthday

Lori Whitlock’s Pinstripes collection for Echo Park Paper

Pinstripes: Boy Bingo Cards (PS104010)

Pinstripes: Rocket Ships (PS104005)

Pinstripes: Alpha Stickers (PS104015)

Pinstripes: Adhesive Chipboard (PS104022)

Pinstripes: 6×6 Paper Pad

acetate

liquid glue

tape runner

Tulip Box Card Tutorial with Courtney

Hello Lori Whitlock fans!!! This is Courtney from Court’s Crafts here with a tutorial on Lori’s new Tulip Box Card! I made this card for upcoming Mother’s Day! I know, I know… I’m a little early but with three kiddos if I am not on top of it then it will never happen!

Step 1: Cut all pieces out with your Cricut Explore or Silhouette Cameo.

Step 2: Emboss green stems and leaves.

Step 3: Lori added the numbers on the tabs for you. This helps in two ways: ordering them from front to back on the card and also the numbers allow you to orient them so you can tell which is the front and which is the back of the piece.

Step 4: Ink around the edges of the green stems and the tulip tops.

Step 5: Using foam adhesive tape, adhere the stems to the green backs.

Step 6: Add the first layer directly to the back of the front of the tulip box card.

Step 7: Using foam adhesive tape pick randomly which tulip tops you want popped and which ones you just glue down.

Step 8: Add your sentiment.

Enjoy your finished product!

Recipe:

Lori Whitlock for Echo Park: Happy Summer 6×6 Paper Pad (HS105023)

Lori Whitlock for Echo Park: Happy Summer Blue/Green (HS105018)

Lori Whitlock for Echo Park: Happy Summer Yellow/Teal (HS105019)

Lori Whitlock for Echo Park: Little Man: Cars (LM99004)

Cricut Explore

Lori Whitlock’s Tulip Cut File

Silhouette Store Tulip Cut File

Baby Boy and Birthday Boy cards with Courtney

Hi cut file fans! I’m Courtney Lee from Court’s Crafts here with a couple cute boy cards for you!

First up I have this awesome ducky easel card. This was so much fun to make. I used Lori Whitlock’s Little Man collection for Echo Park paper for all my paper.

I added some small touches: a border sticker, twine bow, and a doily. Voila. This card is ready for my friend’s new baby boy! I replaced the sentiment with a sticker I had on hand. 🙂

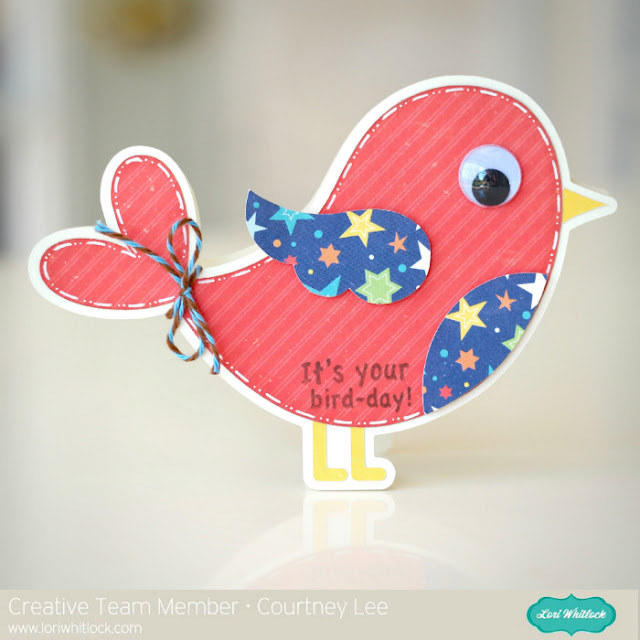
Next up we have this shaped bird card. This cut is so versatile: boy or girl baby card, happy bird-day card, hello friend, congratulations, baby shower card.. really the list goes on. But I needed a little boy’s birthday card so I again grabbed Lori Whitlock’s Little Man collection for Echo Park paper and went to work! 🙂

This cut file is fast and simple. I just added a twine bow, some inking, and some faux stitching. Easy peasy and totally cute.

Supplies:

(Lori’s Store) Lori Whitlock’s A2 Bird Card

Lori Whitlock’s Little Man collection for Echo Park paper

Birthday Easel Card with Courtney

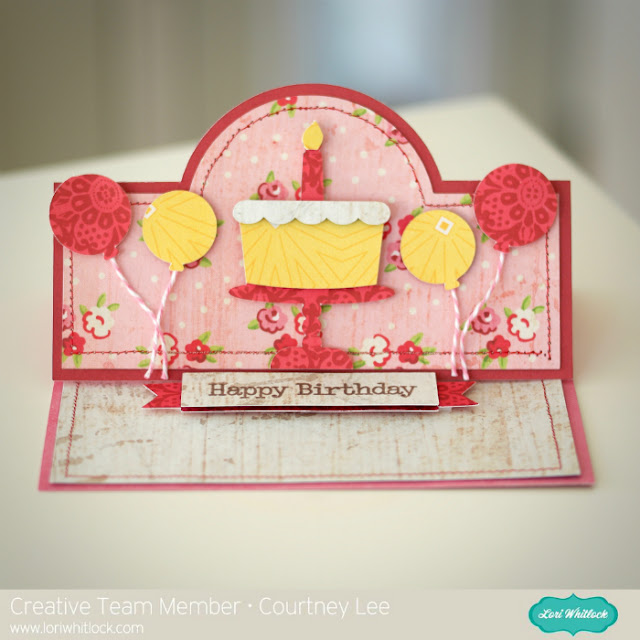
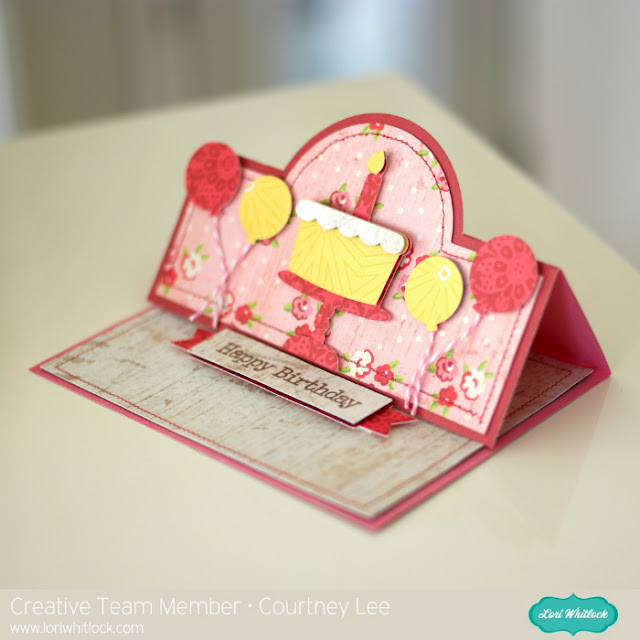
HELLO out there in bloggy world! This is Courtney Lee from Court’s Crafts with another super fun Lori Whitlock cut file example! Lori just came out with these easel cards a few weeks ago. My grandma’s 86th birthday just happened and I made this for her.

I grabbed the A2 Easel Birthday Cake file and Lori’s Jack and Jill – Jill Collection for Echo Park and went to work! 🙂 The colors of this collection are so bright and happy! The neutrals in the collection  meant that I didn’t even have to pull out other cardstock. 🙂 Love it. The first thing I did was to stitch around the outside of my frame on top. I loved the old fashioned nature of these prints and wanted to add to that feel.

I stamped my sentiment second. You don’t have to. The cut file comes with the Happy Birthday sentiment that can be cut out letter by letter. 🙂 Lori has you covered! I popped the sentiment piece up on the pennant base and then popped that whole thing up.

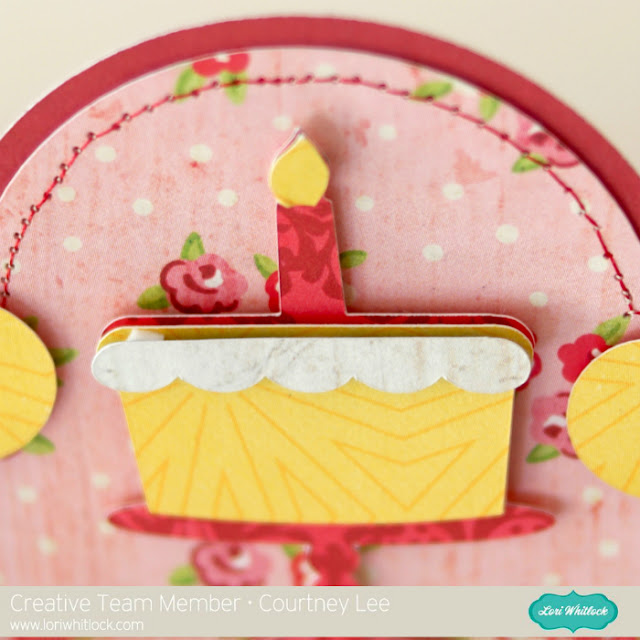
I LOVE dimension. I think it just adds so much to have that depth to a card. I popped the flame and you can see the layers popped here as well. This card comes together so easily!

I also added twine to the balloons to “anchor” them to the bottom of the card. I popped the balloons as well.

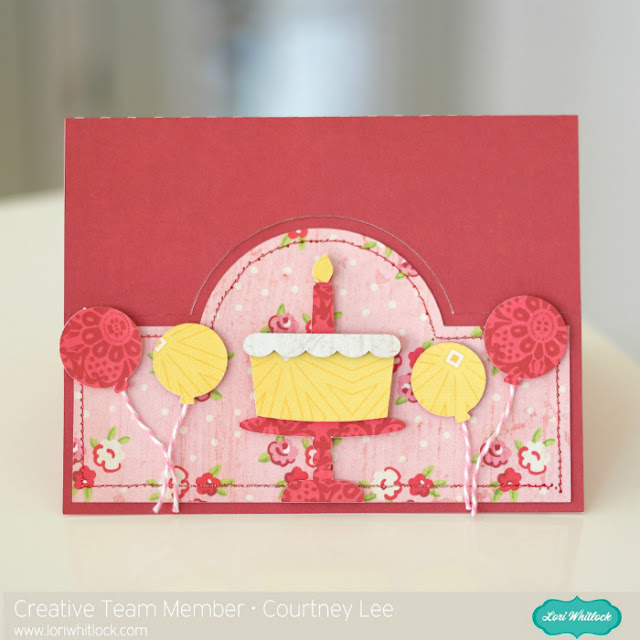
We always see easel cards when they are open but I wanted to show you the card closed as well to show you how pretty it is. I feel like not all cards are designed where they are attractive when they are closed as well as open. Here you can see that right when it is taken out of the envelope your recipient will be impressed!

As you can see this is a gorgeous card that can be made with masculine prints just as easily as girly ones. I’ll be pulling out this cut file again and again!

Link to the file in Lori’s Store

Link to the Silhouette Store

3×3 Pop-up Valentines Using Print and Cut with Courtney

Hello Lori Whitlock fans! 🙂 This is Courtney Lee from Court’s Crafts  with my first official Creative Team post and I am here to inspire you to make those last minute valentines for your kiddos! I know it seems easier to buy them at the store… but I promise this is SO simple, unique, AND you can just print them again next year!

I used four different files to create these valentines (and actually two different machines!) Valentine Print and Cut Set 1, Valentine Print and Cut Set 2, Valentine Print and Cut Set 3, and the 3×3 Valentine Pop-up Cards.  I was determined to get to know my print and cut feature on my Silhouette so I resized the digital file to fit the front of the 3×3 card from the 3×3 Valentine file. You can just print them out as they come and you will have super cute valentines! I printed 6 extra for the girls because they were just too darling. Here are the outsides.

After I printed and cut them, I cut them down to a smaller size to fit on the front of the 3×3 cards. The front is actually 3 x 2.75 because of the way they fold. I corner rounded some of the edges and started on decoration! I used border stickers, stickers, and enamel shapes to add some depth and interest.
The insides were too cute. I cut all of the 3×3 Valentine bases and insides with my Cricut Explore Air. It was made SO simple because the different layers are color coded and you can sync them so easily. I moved a bunch of color layers together so that I wouldn’t have so many mats to cut and so the valentines would have some super cute continuity. Here are the insides. I arranged the collage so you could see how they coordinate with the outsides above.

Have fun with the decoration! I tried not to over-think it and I just had a blast. I love that when you decorate the bottom of the pop-up that you also get to see it on the inside of the card. It’s super fun.
I hope this inspires you to grab some of Lori’s adorable valentine files! There are SO many cute ones to chose from and the kids have such a great time helping you make them! My two littles are fighting over who gets which ones! Time go to make some more! 🙂 The SVG links to Lori’s shop are above in the text. Here are the Silhouette File links.

Silhouette Files:
Butterfly and Heart Valentine
Elephant and Rocket Valentine
Frog and Fish Valentine
Owl and Hearts Valentine
Dinosaur Valentine
3×3 Valentine Pop-Up Dinosaur Card
3×3 Valentine Pop-Up Owl Card
3×3 Valentine Pop-Up Rocket Card
3×3 Valentine Pop-Up Butterfly Card
3×3 Valentine Pop-Up Heart Card