Coffee and Candy 3D Pocket Card Bundle
Hey there crafty friends! Tamara here and today I’m sharing a fun project that makes an cute card for a birthday.
It’s a 3D pocket card that’s sized perfectly to fit a mini choco bar, or other sweets of course. I created mine for a 9th birthday using the “Simple Split Birthday Numbers” but … you could embellish this for ANY occasion! You can find it here in Lori’s shop, SVG.
The green card with the Split birthday number has enough space on the back to leave your birthday wishes!
This model is also available in other styles!
Have a great day!
Tamara
Vinyl Application Tutorial on a Travel Mug
Happy Thursday Everyone:
Anita here with a tutorial on the application of vinyl to a travel mug. I wanted to make this for one of my friends for Valentine’s Day as one of her true loves is coffee. I used Lori’s SVG called I Only Need Coffee on Days with “Y” (SVG, Silhouette). I used some Cricut silver matte vinyl for my project. I selected matte vinyl for my cutting surface. You do not need to mirror the design when using regular vinyl on a project.
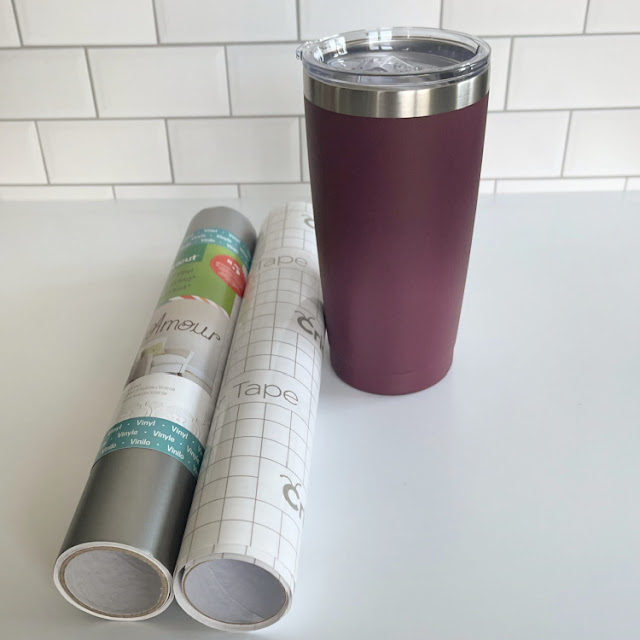
Here are the materials that I used for my project. You will want to pick up some transfer tape if you don’t have any as it makes these vinyl projects so much easier.
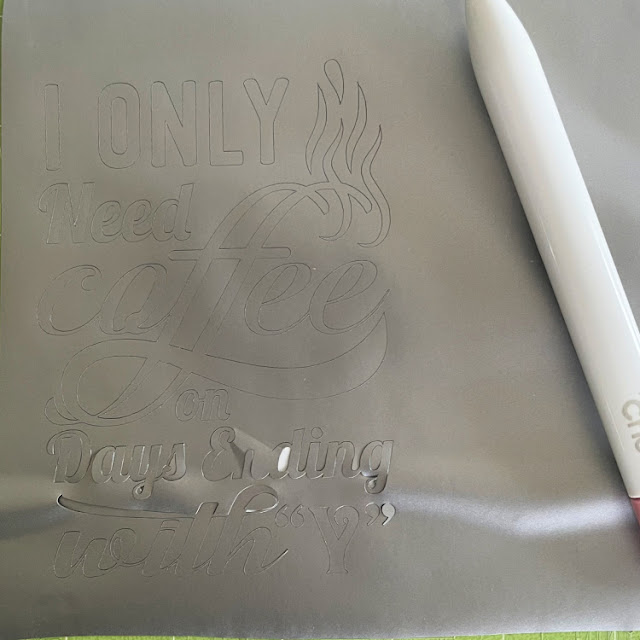
Here is the design cut out and that is my weeding tool from Cricut which is next to the design. It has a hook on the end which makes fishing out those tiny little pieces so easy. You can use a pin and I have used a seam ripper in the past too. You are going to want to remove all of the pieces of design that you don’t need to be there. I started in one corner and slowly peeled the excess away from my design. If there are fine elements to your design you might need to hold onto the design with one hand as you pull the excess away so that your design doesn’t tear.
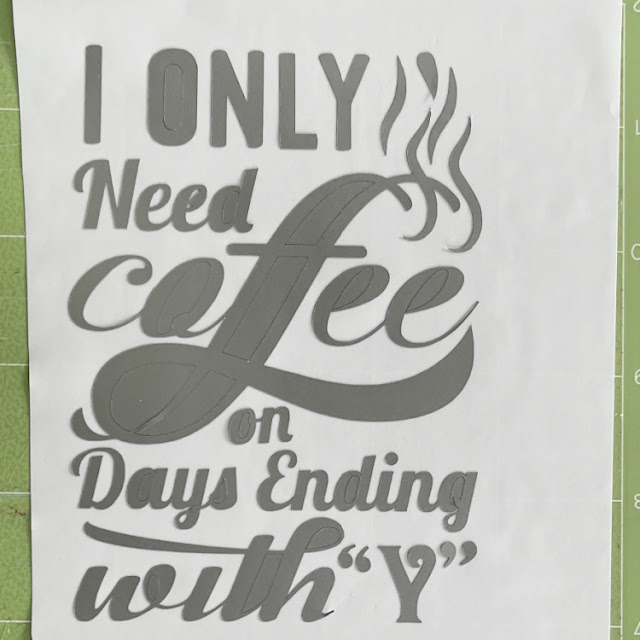
Here is what my design looked like after I peeled away all of the excess piece which came off in one piece, Next, I needed to go in and grab those extra little bits to help define my design more. I used my weeding tool for this. You can use a pin as well.
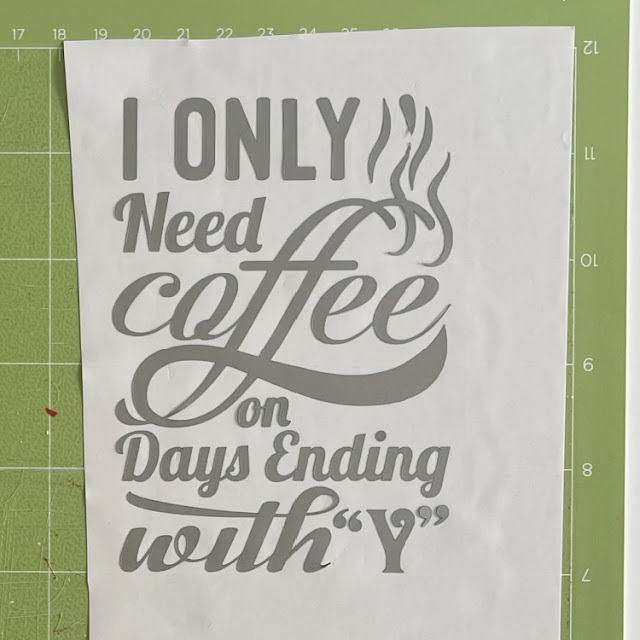
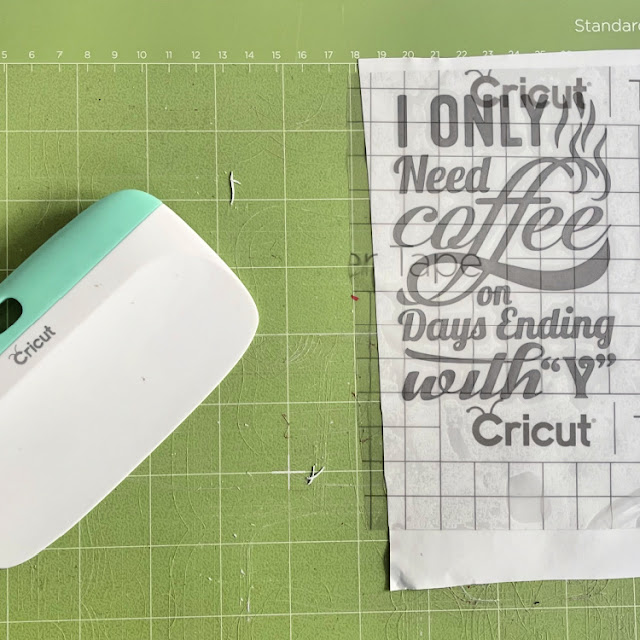
My design is now all weeded and ready for the transfer tape to be applied directly on top of the design. I cut a piece of transfer tape a little larger by 1/2″ or so around your design. Then I peeled off the white piece on the transfer paper leaving the sticky side exposed and then stuck that down on top of my design. I leave my design on my mat through these steps as it is easier to work with. At this point, you need to burnish the transfer tape onto your design. Essentially you want the tape to pick up just the vinyl from the backing paper so that you can adhere it directly to your mug and see exactly where it will go. I used my Cricut scraper that I bought but you can certainly use a popsicle stick for this step. Check to see if you successfully got the vinyl to adhere to the transfer tape. If not, continue to burnish until it all comes off the backing paper.
This photo shows the transfer tape on and the tool that I used to burnish the vinyl onto the transfer tape. And my well-loved mat, lol.
Lastly, I placed my transfer tape onto the mug. I started carefully at one edge laying it on and let it gently fall where it wanted to given that the cup is rounded. I then used my fingers to smooth out the transfer tape. Once I was happy with the placement, it was time to again burnish the design to get it to adhere to the cup. It came out great and I’m sure that she will love it.
Thanks for looking and have a great day.
Hugs,
Anita


