
All New Release SVG Files are 25% OFF this week!
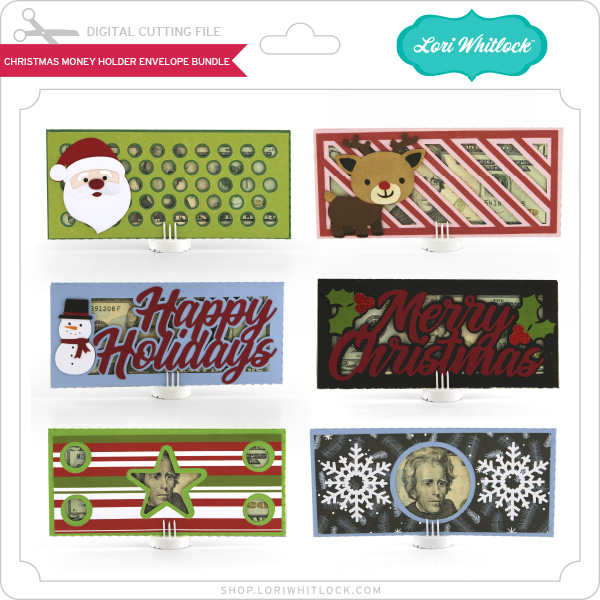
Happy Tuesday, everyone! Can you believe that Christmas is just ONE week away? That means it’s crunch time. One thing that I love to give is money because the recipient can use it to buy whatever they need and want. Do you like to give the gift of money? If so, are you looking for a creative way to package it? If so, I’ve got you this week! I designed some darling money holders and some super cute money envelopes. These money holders are so quick and easy to assemble and your loved one will think it’s such a creative way to receive their favorite gift.
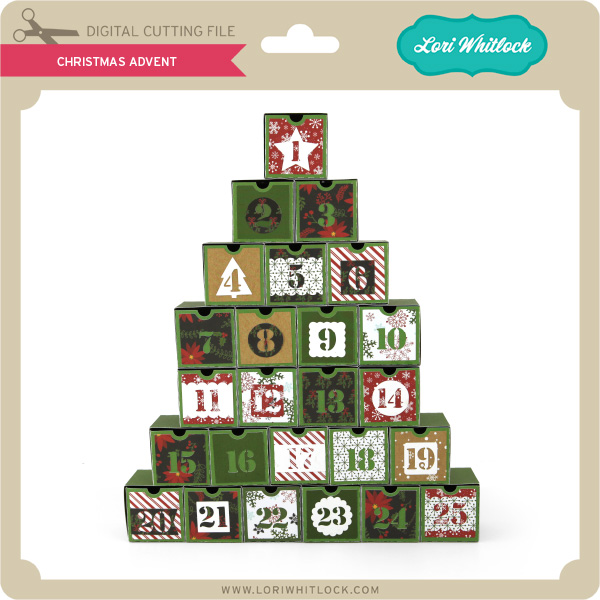
You’ll also see some new SVG files in the shop this week from Jillibean, Pebbles, and Quietfire. Be sure to check out the cute 3D train by Quietfire. So cute! All new releases are ON SALE 25% OFF through Sunday at midnight in the Lori Whitlock SVG Shop. Take a peek at a FEW of the new releases (be sure to visit the link below to see them ALL)…


ALL WEEK, this SVG file is FREE with any $1.99 purchase!
Hi Everyone! We have a new FREE file with purchase this week! To get it, simply place an order of $1.99+ in the Lori Whiltock SVG Shop and this Gnome Treat Box will automatically be added to your cart for FREE! No coupon code necessary! This offer is good through next Monday.

(Your cart must reach $1.99+ before the FREE file will automatically be added. The files will be available for immediate download after you pay for your order by visiting ORDERS > ORDER # > RED DOWNLOAD ARROW)
Another deal we have going until the end of the month is the FREE 2023 December Kit of the Month with any $20+ purchase (purchase must be in one transaction). Simply place your qualifying order in the Lori Whitlock SVG Shop and this file will be automatically added to your cart for FREE. No coupon code necessary. This offer is good through December 31, 2023. Grab this one while you can.

(Your cart must reach $20+ before the FREE file will automatically be added. The files will be available for immediate download after you pay for your order by visiting ORDERS > ORDER # > RED DOWNLOAD ARROW)
Thanks for checking out the NEW FILES and be sure to go grab the freebies of the week/month with your purchase.
Have a great day!
Lori


.jpg)
.jpg)
.jpg)
.jpg)
.jpg)
.jpg)
.jpg)
.jpg)
.jpg)
.jpg)

