3D Pumpkin Black Cat Tutorial

 Hello everyone, Marcia here. Halloween is creeping up and Lori just came out with these spooktacular 3D Pumpkins that with a tealight inside make for amazing luminaries. I was obsessed with the lantern luminaries last year and made a bunch to light up my sidewalk for Trick or Treaters. I couldn’t wait to add to my collection with the 3D Pumpkin Black Cat (SVGSilhouette). As a crazy cat lady with two black cats, the cat choice was a given. If you are not a fan of cats, check out her other designs in the store.

This looks complicated but I promise you it is easy to make. Let me show you how.

1. Choose your papers and cut out all the pieces. I chose to make an all-black pumpkin, but these look great in white or orange as well.

2.  The three pumpkin-shaped pieces have notches cut in the stem and at the bottom. Carefully slip one pumpkin inside the other and attach two of the pumpkin pieces together at the stem using the notches and then at the bottom doing the same. Now add the third piece in the same manner. The pumpkins should be able to lie flat after connecting.

3. Spread the pumpkin out. Using one of the round disks, place it inside the pumpkin at the base matching up the notches.

4.  Take the second disk and place it inside the pumpkin at the top, again matching up the notches.

5.  Adhere the vellum pieces to the back of each panel. Go light on the glue to prevent it from seeping out where it can be seen.

6.  Curl the panels a bit before inserting the bottom portion of the panel through the slot in the disk at the base of the pumpkin. Then place the top of the panel through the slot at the top.

7.  Repeat for each panel. Add an optional tealight before placing the last panel. I chose to add some raffia grass to the top of my pumpkin.


Be sure to check out all the new 3D Pumpkin designs. They are all spooktacular!
 
Thanks so much for stopping by! Have a great week,
~Marcia
Pop Up Drawer Birthday Cat

Hello everyone, Marcia here today. I love giving gift cards for all occasions and am always looking for a unique way to present them. For my cat-loving friends, you would love the Birthday Cat Pop-up Drawer Gift Box (SVGSilhouette). I used pattern papers from the Lori Whitlock Life Is Beautiful collection. It looks like a normal box when closed.

When you pull the drawer open, the panel with the cat pops up. Inside the drawer, there is a gift card holder. You could place other things in the box instead if you wish like candy or other treats.

This cut file can be found in Lori’s Store along with many other varieties of pop-up drawer gift boxes. Have fun creating!

Thanks so much for stopping by,
~Marcia
4×4 Accordion Envelope Mini Album

Hello friends! Traci here and today, I’m sharing a tutorial on how to make this fun envelope-style mini album! I love creating small scrapbooks so when I’m looking for a new idea, I know Lori will always have something awesome. For this project, I used her SVG cutting file called  Silhouette4×4 Accordion Envelope Mini Album
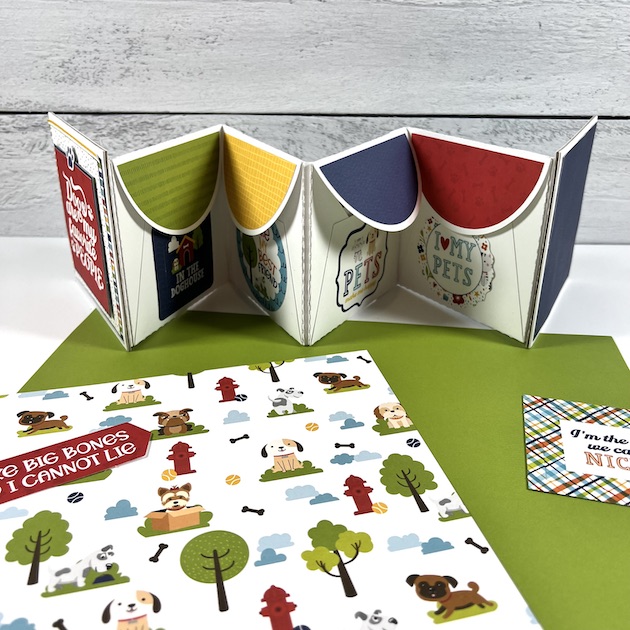
Dog scrapbook mini album Tutorial with envelopes


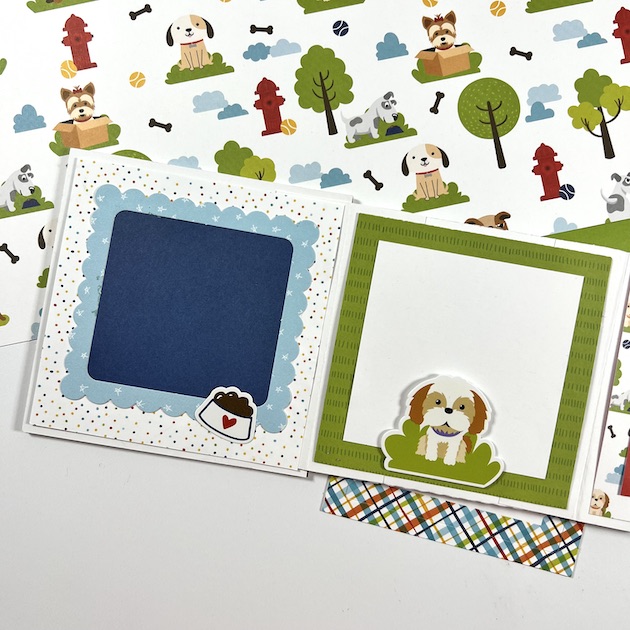
I wanted this to have a dog theme so I chose the super cute Echo Park Pets Collection (also designed by Lori). I used the 6×6 paper pad, both sets of die-cut ephemera, and the 12×12 sticker sheet. 

Dog scrapbook mini album Tutorial with envelopes


Here’s what this accordion-style mini looks like opened up. On one side there are envelopes where you can store photos and small memorabilia. On the back side, there are mats so you can add more pictures. 

Here’s how I made it …

Scrapbook mini album Tutorial with envelopes

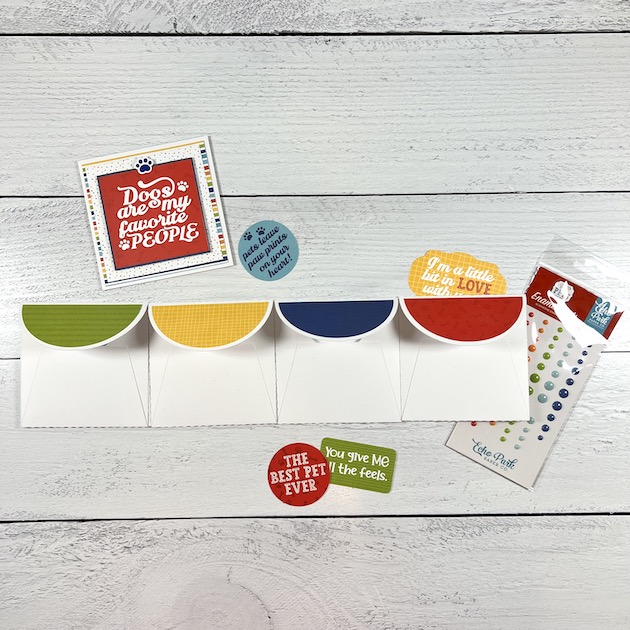
First, I cut out all of the pieces. There are 4 envelopes, 3 hinge pieces, 2 covers, and the pattern papers for embellishing. I used cardstock for everything except the cover pieces. I used chipboard for those.

Now that everything was cut, I created each envelope by folding the 2 sides in and the bottom piece up. I added
double-sided adhesive to the bottom portion to seal everything together, then adhered the colorful embellishment piece to the flap.

Scrapbook mini album Tutorial with envelopes

Next, I attached the 4 envelopes to each other using the 2.25″ x 4″ hinge pieces to create a row. Be sure to leave about 1/8″ in between the envelopes so that there’s room for the fold.

Scrapbook mini album Tutorial with envelopes


Now, it’s time to add the cover pieces to the first and last envelopes. Again, leave a little space in between for the pages to bend. 

Once all of the album’s base pieces are adhered together … fold it, making sure to alternate the direction of each page to create the accordion shape. Now, it’s time to embellish!

Dog scrapbook mini album Tutorial with envelopes

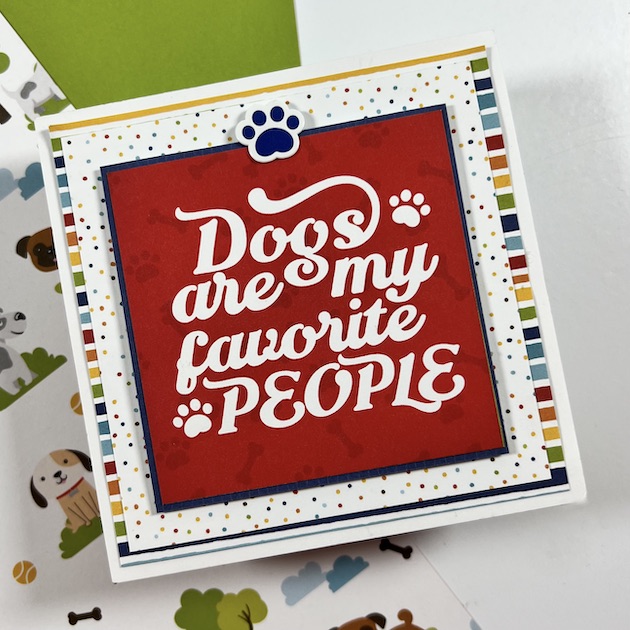
On the cover I layered the stripe, polka dot, navy blue print, and the 3×3 card on
top of each other. These are all from the 6×6 paper pad. 

Dog scrapbook mini album Tutorial with envelopes

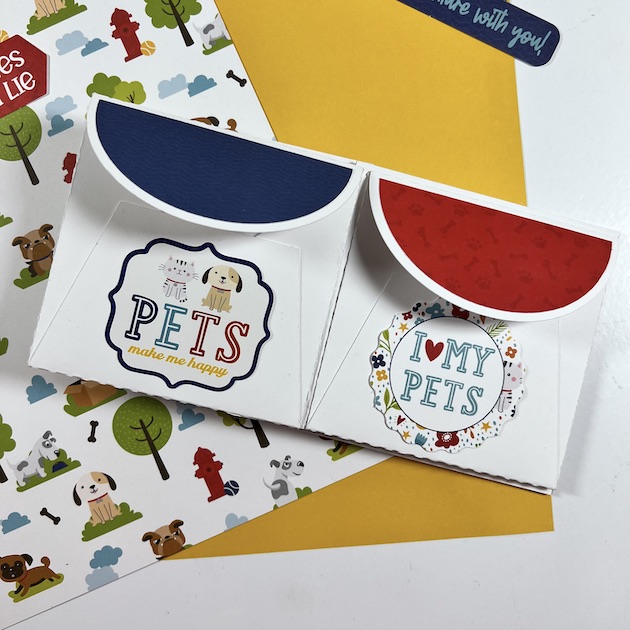
Inside for the envelope pages, I added cute stickers from the 12×12 sticker sheet and die cut
pieces from both packages of ephemera.

Dog scrapbook mini album Tutorial with envelopes


 Dog scrapbook mini album tutorial

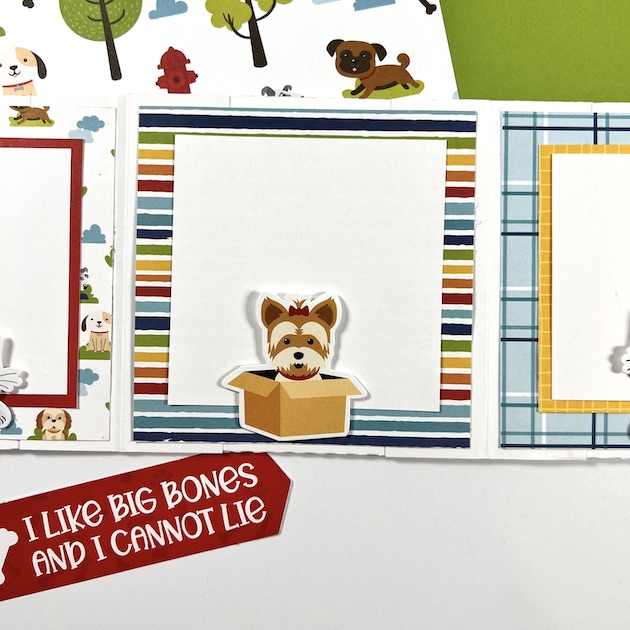
For the other side of the envelopes, I created photo mats for lots of cute puppy dog pictures. I added colorful pattern papers and more embellishments.

 Dog scrapbook mini album tutorial

Lori has a great tutorial that shows you how to put everything together here:


This would make a great mini album for your pet’s photos or a sweet gift for
ANY pet parent. The Echo Park Pets Collection even has options for
cats, birds, hamsters, guinea pigs, lizards, fish, and rabbits!

Thanks for stopping by the blog today. I hope you’ll try this cutting file and wonderful paper line for your next project. Have a great day!

Blog * Facebook * Instagram * Pinterest


Tuesday New SVGs + FREEBIE!

ALL WEEK, this SVG file is FREE with any $1.99 purchase!

Hi Everyone! We have a FREE file with purchase all this week! All you need need to do is place your qualifying order and the free file will be added to your cart automatically! Simply place an order of $1.99+ in the Lori Whiltock SVG Shop and this A2 Box Card Valentine Hearts file will automatically be added to your order for FREE!  No coupon code necessary!  This offer is good through next Monday.

(Your cart must reach $1.99+ before the FREE file will automatically be added. The files will be available for immediate download after you pay for your order by visiting ORDERS > ORDER # > RED DOWNLOAD ARROW)
You have one more week to grab the 2023 February Kit of the Month FREE with any $20+ purchase (purchase must be in one transaction). Simply place your qualifying order in the Lori Whitlock SVG Shop and this file will be automatically added to your cart for FREE. No coupon code necessary. This offer is good through February 28, 2023.
(Your cart must reach $20+ before the FREE file will automatically be added. The files will be available for immediate download after you pay for your order by visiting ORDERS > ORDER # > RED DOWNLOAD ARROW)

NEW FILES – 25% OFF this week!

Check out the new SVG files we have for this week! The NEW SVG files will be ON SALE 25% OFF through the weekend in the SVG Shop. These downloads include SVG files that may be used with Cricut Explore, Silhouette (Designer Edition upgrade required), Eclips, Brother Scan and Cut, and any other software that will open SVG files. Be sure to go get them while they are on SALE this week.

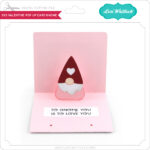
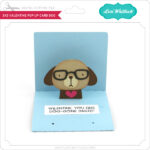
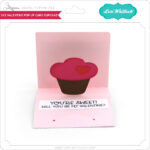
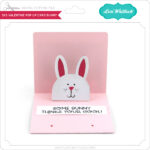
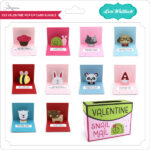
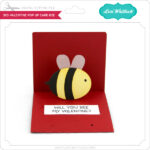
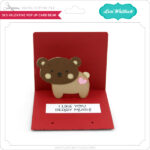
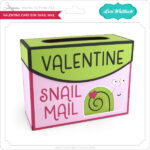
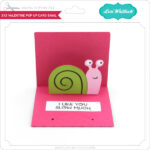
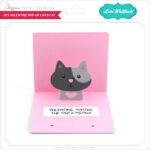
Are you looking to make some sweet little Valentine cards or a Valentine box this week? We have 10 adorable new 3×3 pop up Valentine Cards and an adorable Valentine “snail mail” box for you! Below you’ll see a short video demo now the card and box. This week we also have some great new SVG files from Quietfire, Jillibean, Bella Blvd, and Dresden.

Have a great day!