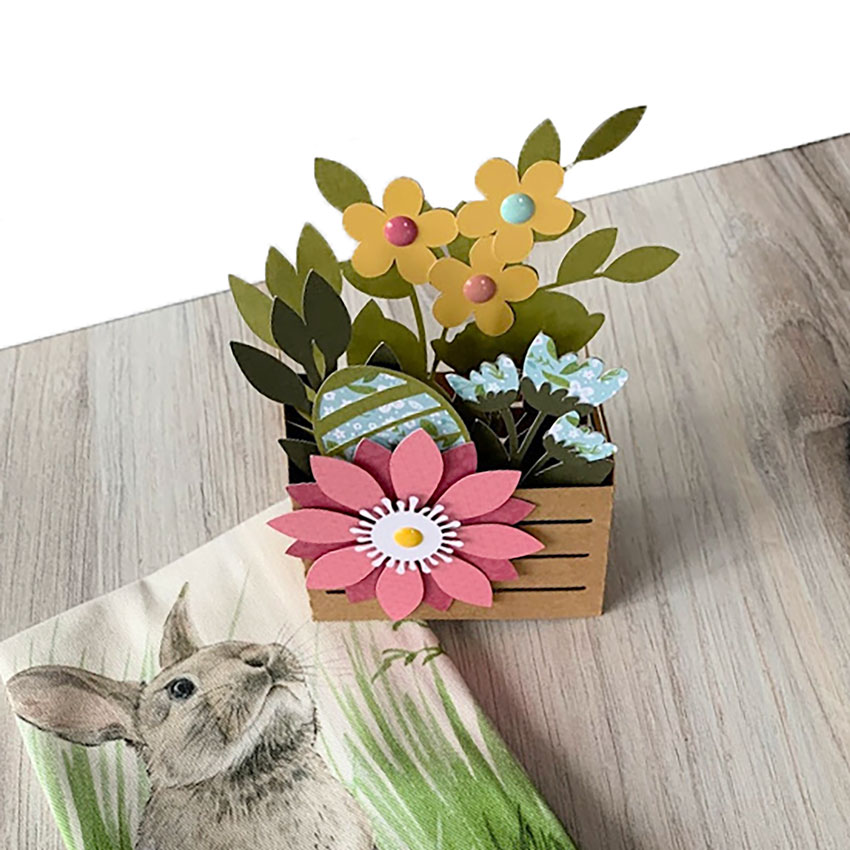
Box Card Easter Flower Crate

Hi Everyone:

Anita here from MA where we are practicing social distancing and trying to help end this pandemic.  My creative endeavors have kept me going while having to be at home so much.  Lori has lots of wonderful cut files that you can easily whip up to bring some joy to a friend or loved one.  I created this Box Card Easter Flower Crate which was so easy to put together and as you can see in the second photo, folds flat for mailing.  You can find this cut file here in Lori’s SVG shop and here in the Silhouette Design store.  I used some of Lori’s Echo Park collections including her newest ones called All Boy and All Girl.  I also used My Favorite Christmas, My Favorite Winter and Easter Wishes.
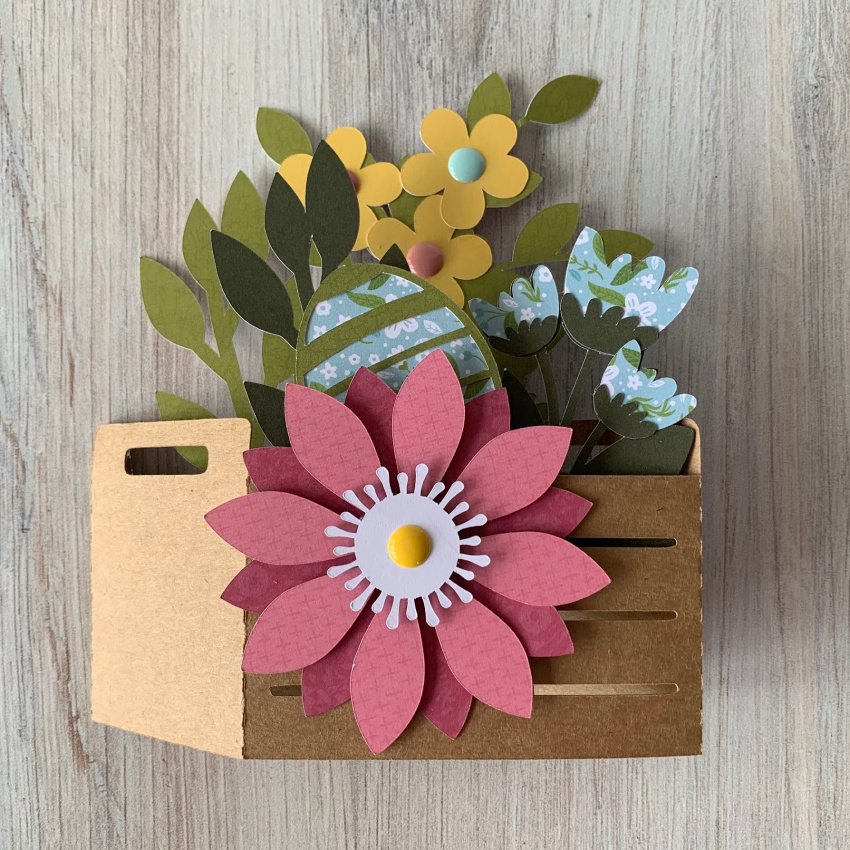
Thanks for looking and have a great day.

Hugs,

Anita

Send a Card Today!

Social Distancing is a must, but it can make many people feel alone. Now is the perfect time to send a card to friends and family. Not sure where to start? There are thousands of ideas at the Lori Whitlock site. Here are a few favorites that I’ve made.

For the people who just want to get away from it all…

Box Card Surf Truck (SVGSilhouette)
Flexi Card Camper (SVGSilhouette)
Box Card Camping (SVGSilhouette)
Box Card Tropical Suitcase (SVGSilhouette)

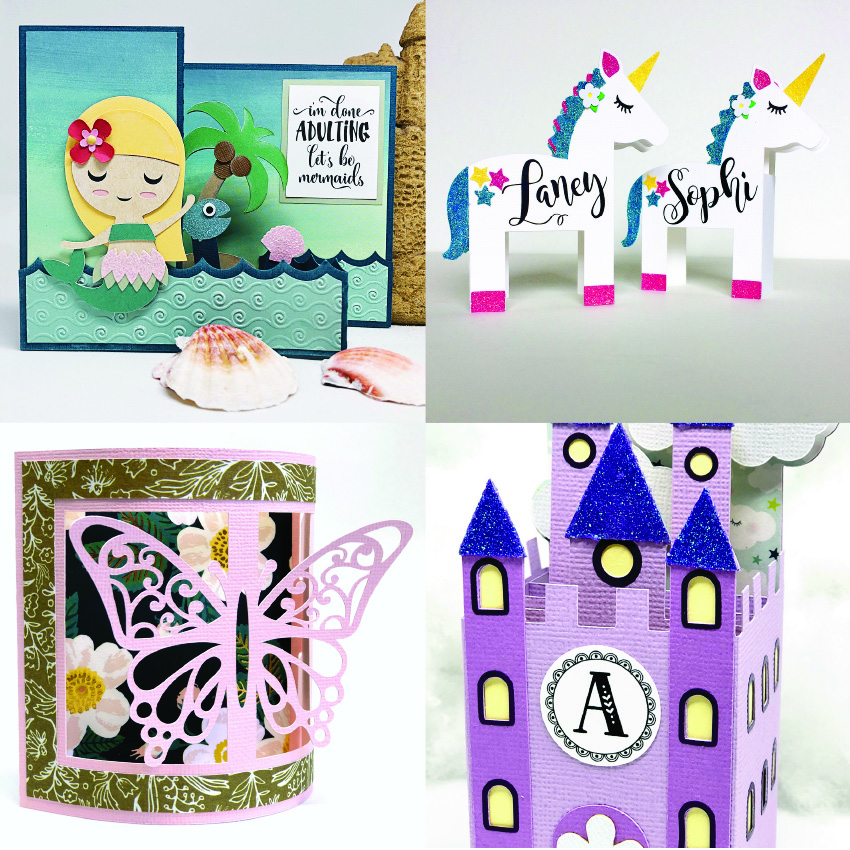
For the people who live in a fantasy world…

Pop Up Box Card Mermaid 2 (SVGSilhouette)
Box Card Unicorn (SVGSilhouette)
Flexi Card Butterfly (SVGSilhouette)
Box Card Castle 2 (SVGSilhouette)

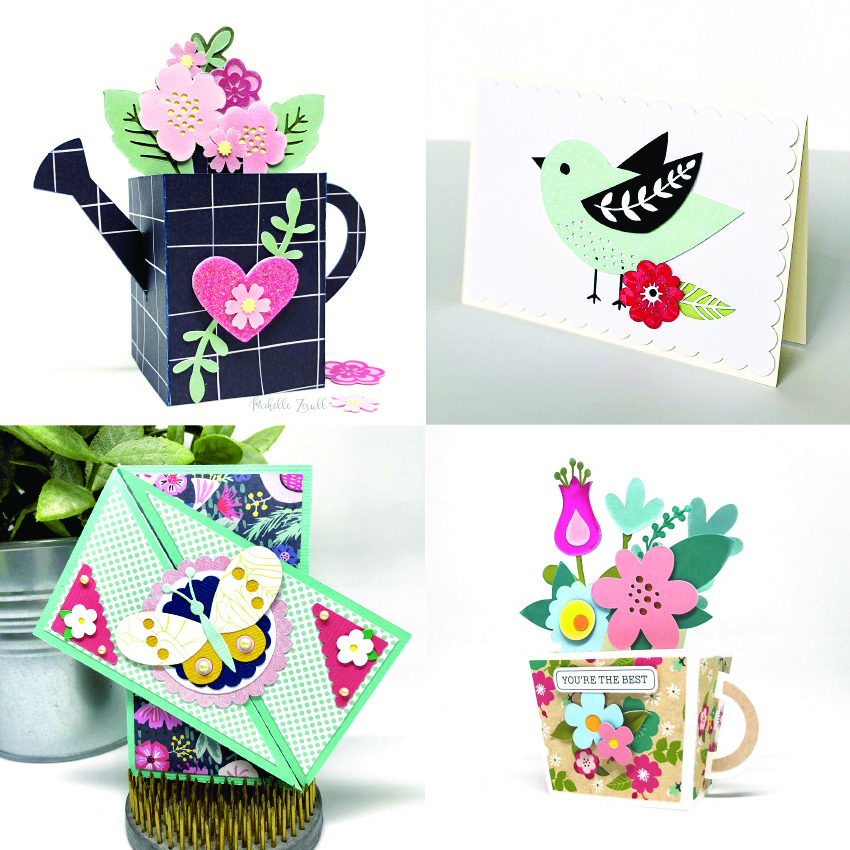
And for those who just want pretty things…

Watering Can Bouquet Box Card (SVGSilhouette)
Pop Dot Card Bird (SVGSilhouette)
Twisted Gatefold Card (SVGSilhouette)
Box Card Teacup (SVGSilhouette)

Download the files and make a card today. You’ll be glad that you did!  Stay healthy!

Michelle Zerull

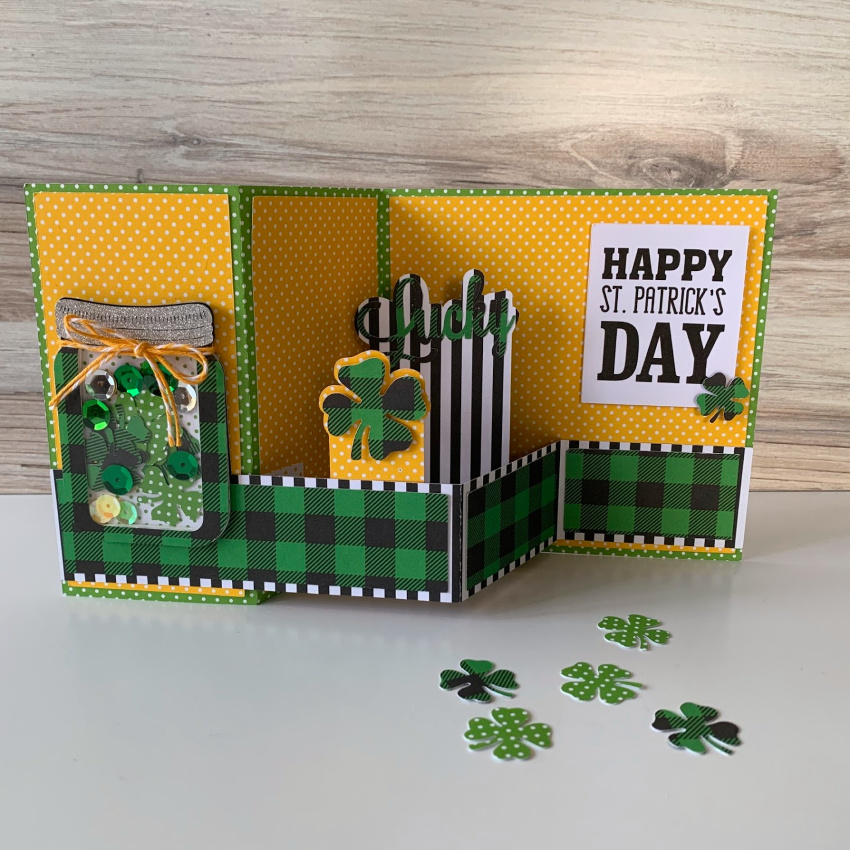
Pop Up Box Card St. Patrick’s Jar Shaker Tutorial

Anita here with a tutorial to make Lori’s lovely cut file for the Pop Up Box Card St. Patrick’s Jar into a shaker card.  You can find the SVG file here in Lori’s shop and here in the Silhouette store.

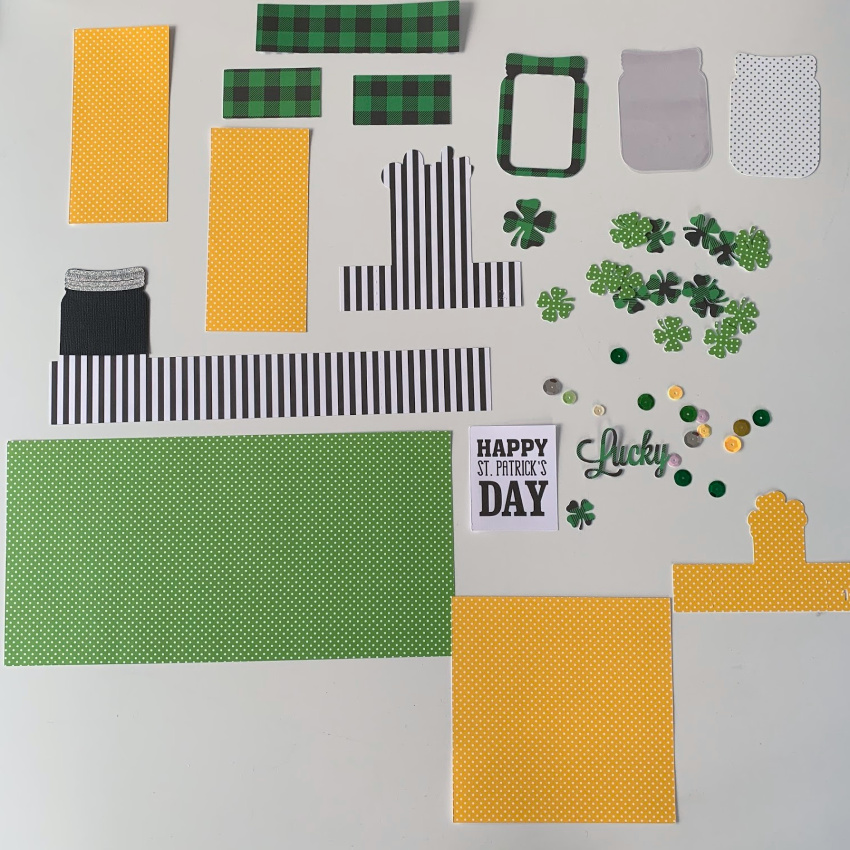
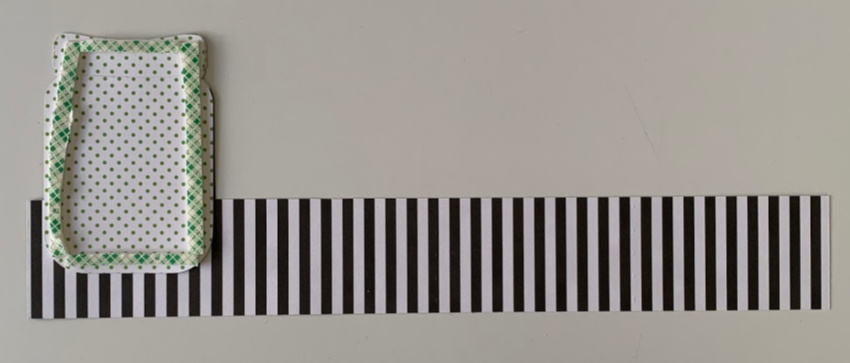
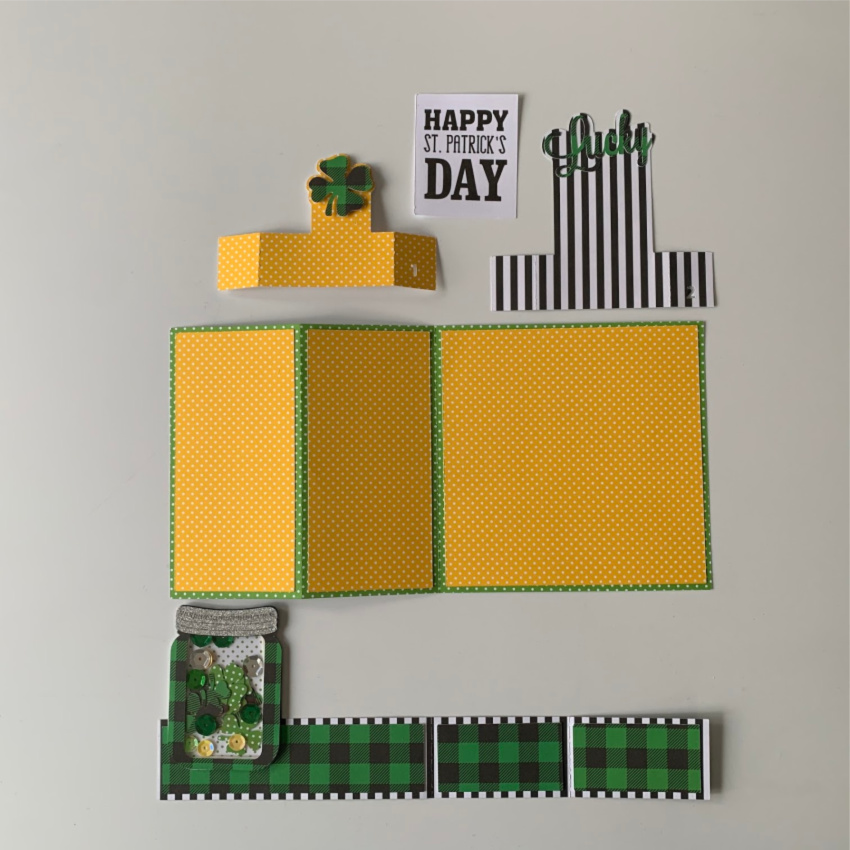
Here is a photo of the parts of the card after I cut them out.  I cut a piece of overhead projector plastic the same size as the jar.  I used the rectangle shape tool in Silhouette to cut out the center of my green plaid jar top piece for the window.  I also cut an extra jar out of black and trimmed it even with the top of the lid so that you could see the details in the jar cover.  Those are shown glued down in this photo.

Next, I took the green dot jar piece and used foam tape to create both height and space for the shaker materials as you can see from the photo below.

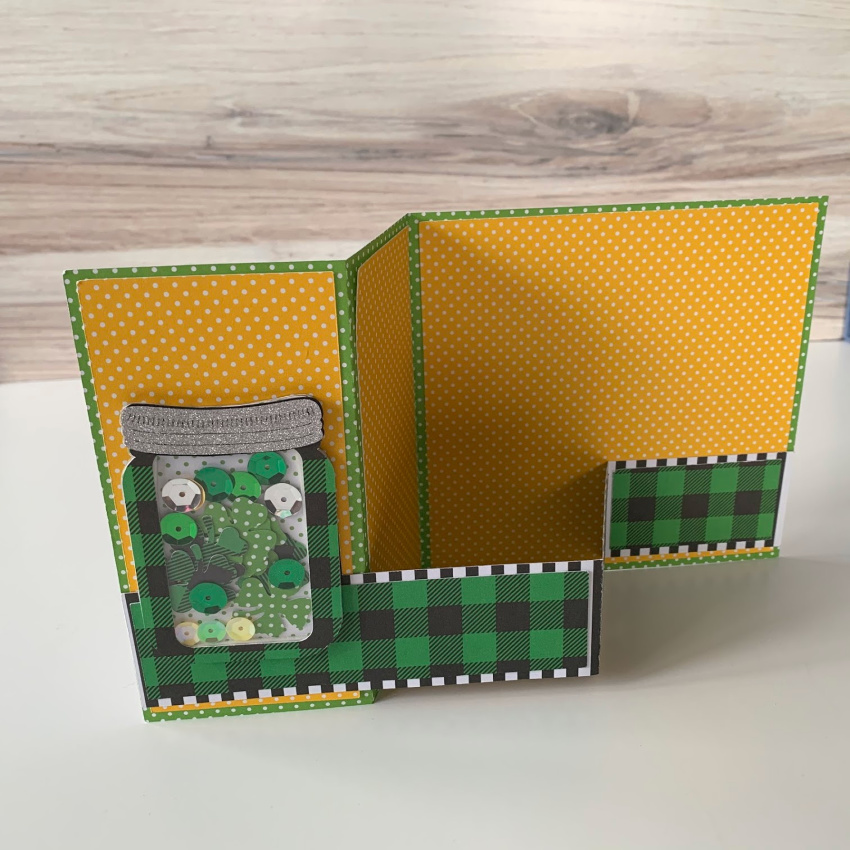
I started to assemble the card which is very easy to put together. (Lori has a Pop Up Box Card Tutorial Here)   I tend to use a wet adhesive as at first it is forgiving and you can move the pieces around a bit and then it holds better than regular adhesive.  I lined up the pieces and then closed the card to make sure everything was where I wanted it.  Here are some photos of the embellished card parts. I added the transparency piece behind the plaid jar outline to create a window.  I filled my shaker with extra shamrocks from the cut file and some sequins.  After filling the jar, I peeled the adhesive from the foam tape and placed the jar with the window on top.   I love how festive it is.

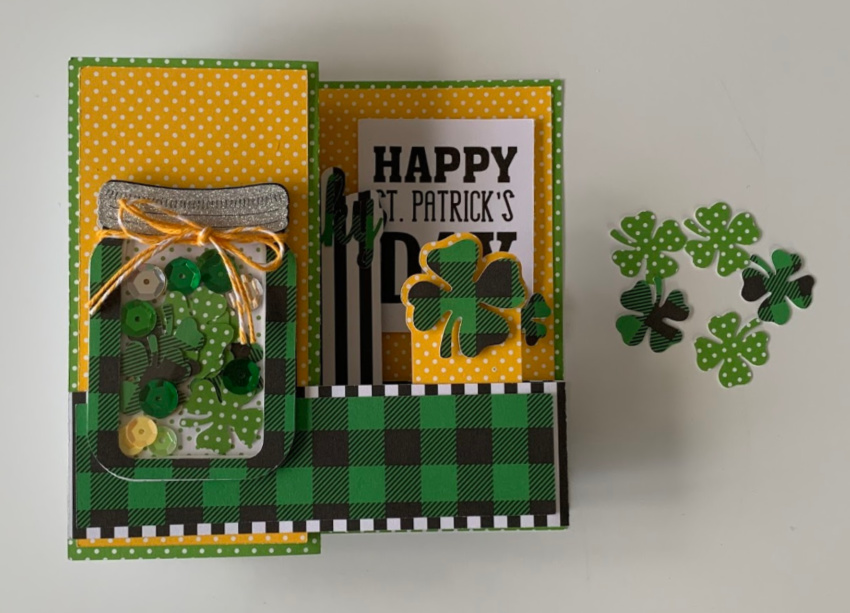
Lastly here is a photo of the card when it is closed.  Lori has many wonderful St. Patrick’s Day files which you can whip up quickly to brighten someone’s day.  Thanks for looking and have a great day.

Hugs,

Anita
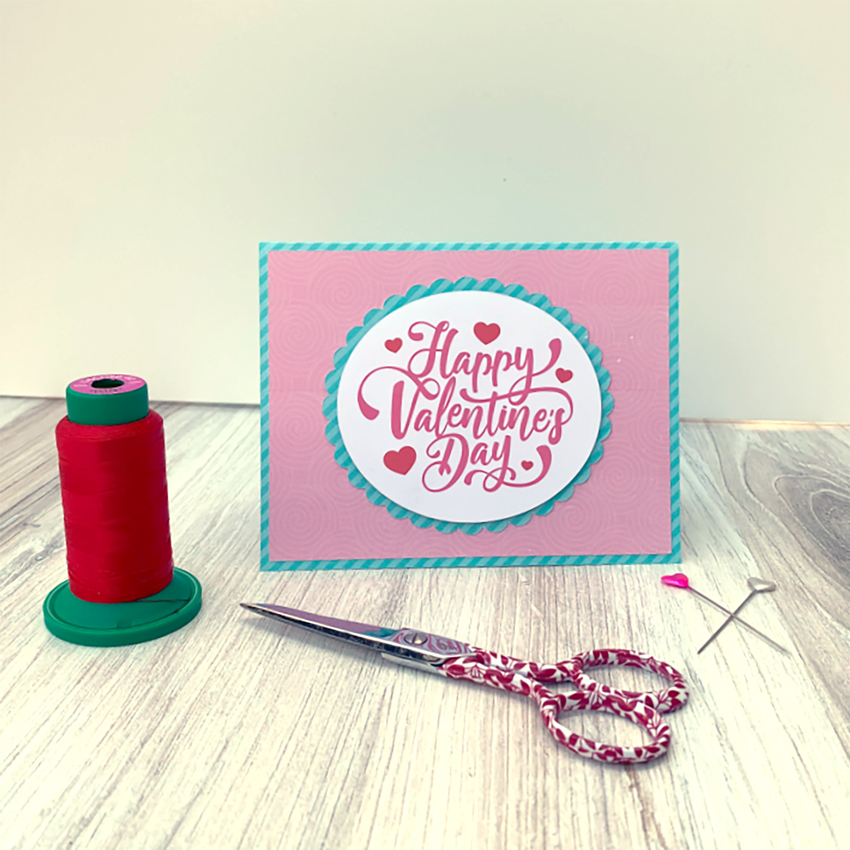
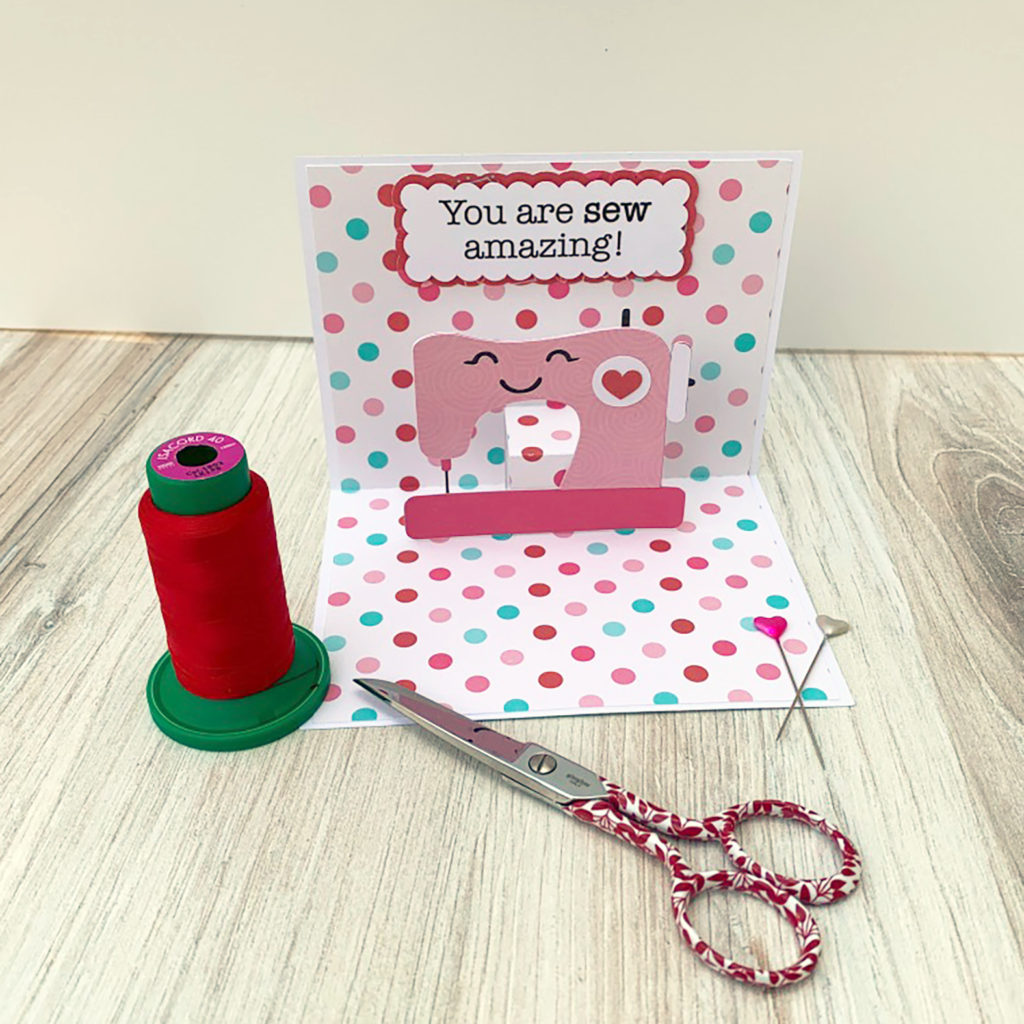
Pop Up Card Valentine Sewing

Happy Monday Everyone:
I hope that your new year is off to a great start. My second favorite holiday after Christmas is Valentine’s Day. I love celebrating all the wonderful people and things in life that make it special. Of course, there is chocolate too which is a great bonus.
I have a group of great friends  I sew with so I decided to make a sewing themed Valentine for each lady. I used Lori’s SVG file called Pop Up Card Valentine Sewing and you can find it here in Lori’s SVG shop  and here in the Silhouette store. I got the bundle that Lori sells as I fell in love with all of them. You can find the bundle here.

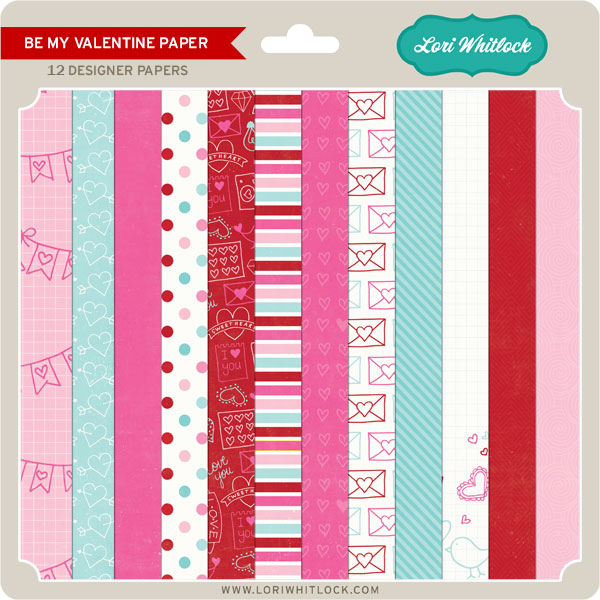
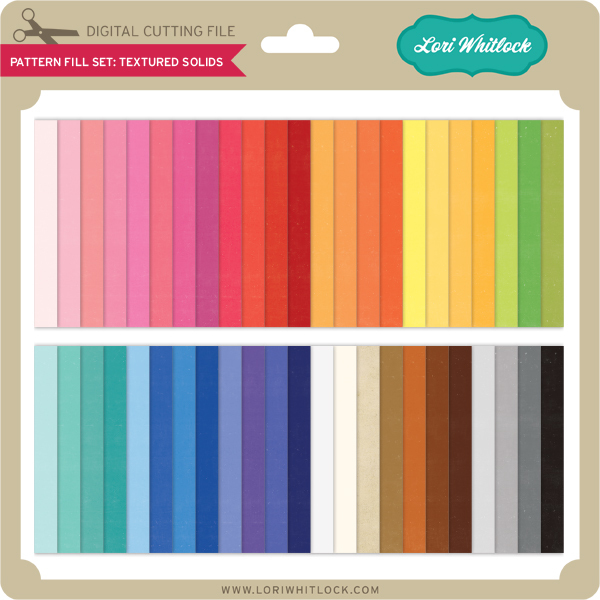
Did you know that Lori has fill papers in her store? This was my first time using these files. I downloaded the file and opened and printed them from my Silhouette software. For this card I used Be My Valentine Fills.  You can find that set here in Lori’s SVG store. I used patterns numbered 4, 5, 6, 10, 11 and 12. I also used Lori Whitlock Pattern Fill Textured Solids which you can find here in Lori’s SVG store. Be sure to check out all the different fill paper options that Lori has.

That’s it for me. Have a great week.
Hugs,

Anita

Gatefold Wreath Card Tutorial

Hello Everyone:

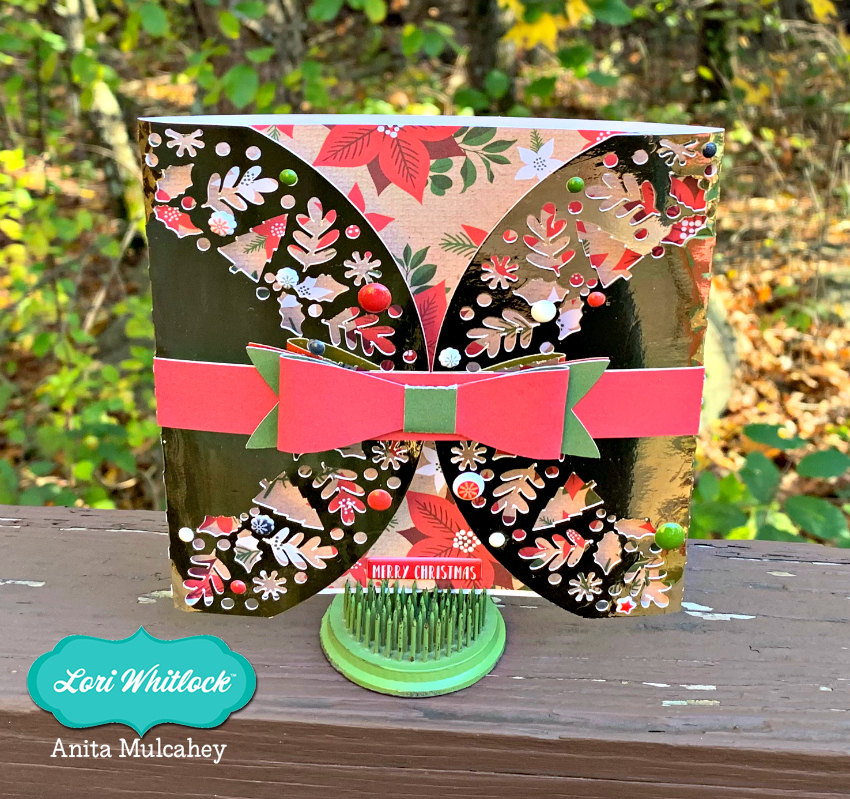
I hope that everyone is enjoying the most magical time of the year.  I have a tutorial for all of you today on how to put together Lori’s Gatefold Wreath Card.  I love Lori’s Gatefold cards and even used one of hers to make all the wedding invitations for my son and daughter-in-law.  They are so elegant and so easy to put together.  You can find this Gatefold Wreath Card file here in Lori’s store and here in the Silhouette store.  I used one of Lori’s new Echo Park Paper collections called My Favorite Christmas.

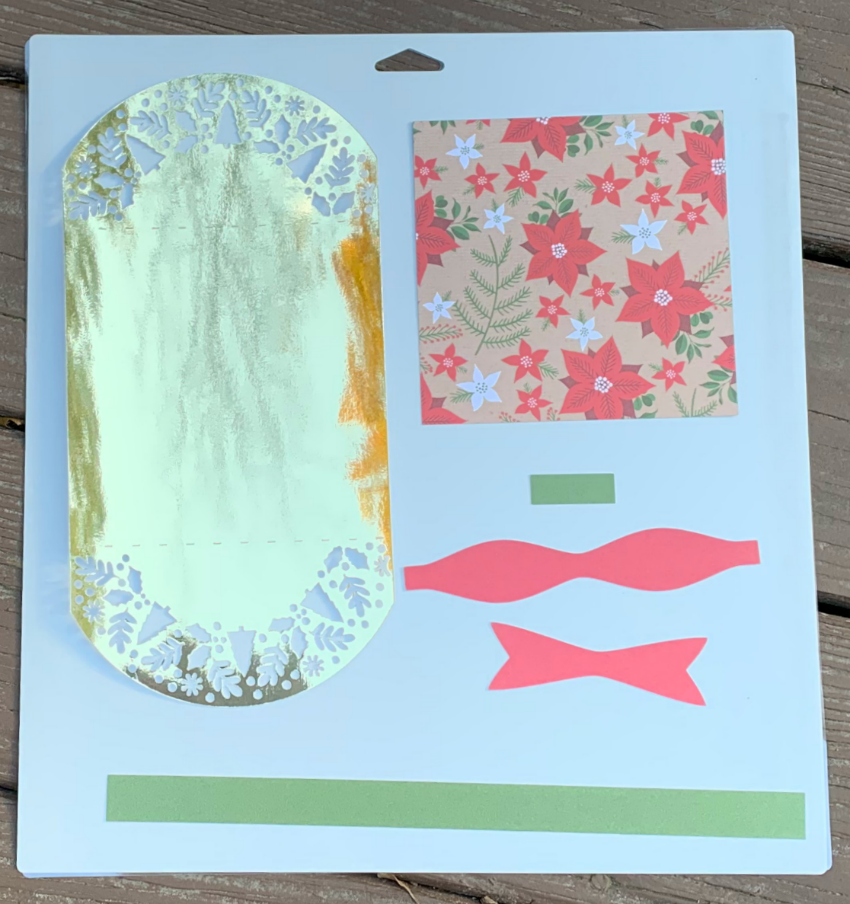
Here is a photo of the cut file pieces.  You want to start by adding the square insert inside the folded card base.

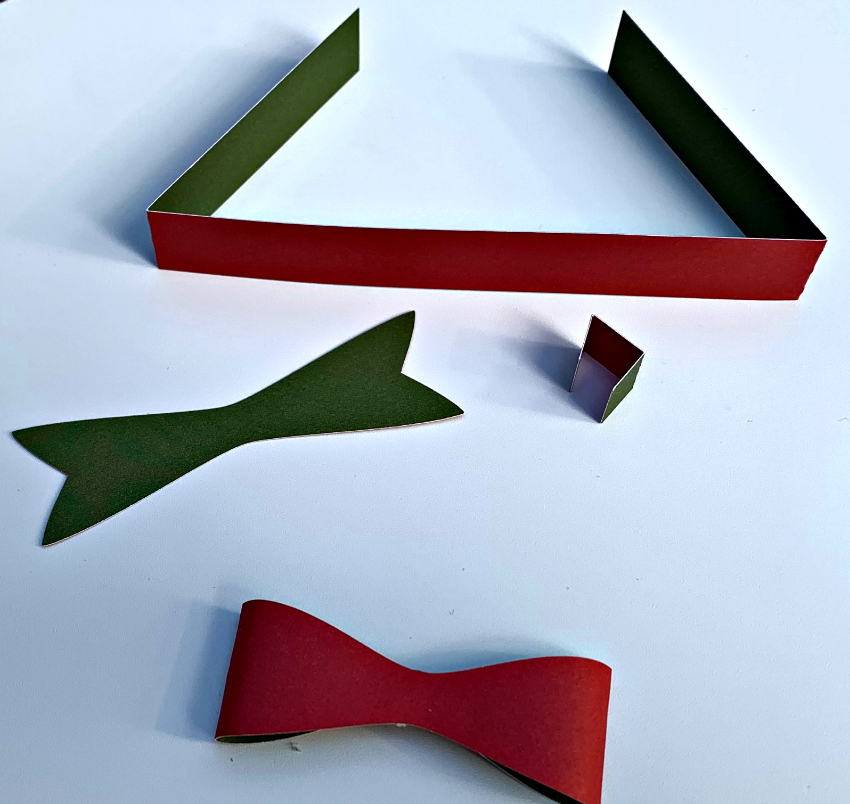
Here are the ribbon pieces folded along their score lines. Glue together the overlapping ends of the bow. Next glue the flat ribbon segment to back of the formed bow and lastly wrap the center around both piece using a tiny bit of glue on both sides.

I slipped the band on the folded card and added some embellishments which are a wonderful part of this collection.

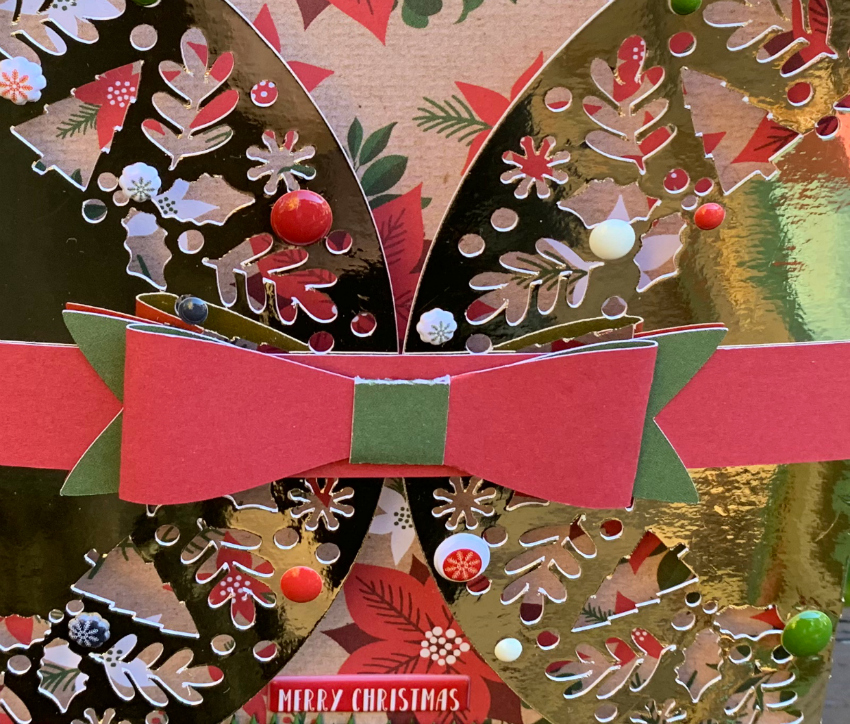
Here is the last photo which is a close up of the embellishments.

That’s it for me today.  Have a great day and be sure to check out Lori’s gatefold card cut files.

Hugs,

Anita