Shop Friday $5 Bundle HERE
~Lori
~Lori
Anita here with a tutorial for assembling Lori’s A2 Grad Cap Card (SVG, Silhouette). I also used a tutorial that one of my fellow Creative Team Members created to make the tassel for my card. You can find Teri’s tutorial here. Below are the pieces that you will need to cut out to make this card.
Here is what the card insert looks like with the grad cap topper on the base and a brad through the holes.
Hello everyone! Marcia here today. Since it is July and Lori just came out with some new Christmas box cards, I thought I would get a jump on making my Christmas cards. Do you start making Christmas projects in July? My mother-in-law loves gingerbread, so I thought the Gingerbread Man Christmas Present Box Card (SVG, Silhouette) would be perfect for her. There are similar new Christmas Present Box Cards with Santa, Reindeer, Snowman, etc…
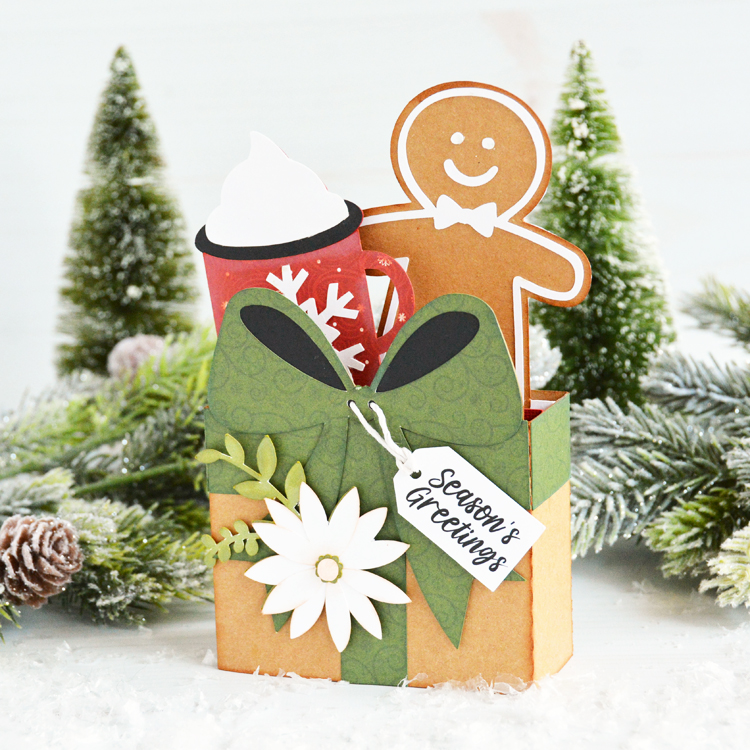
Let me show you how easy these box cards are to make.
Step 1. Decide on cardstock colors and/or pattern papers and cut out all pieces. I like to match the base cardstock as close as possible to the pattern paper I am using. The cut file comes with a tag and three different sentiments. You can use the print and cut feature of your machine to create the tag. Otherwise, a stamped sentiment works well too. Before assembling, I ink the edges of my papers to give the shapes dimension. Here I have the pieces roughly arranged in layers.
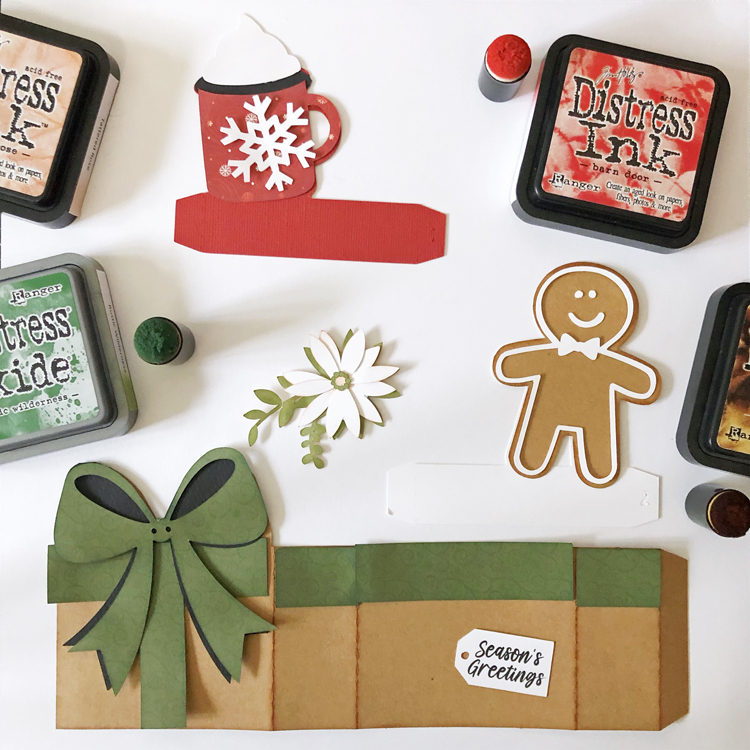
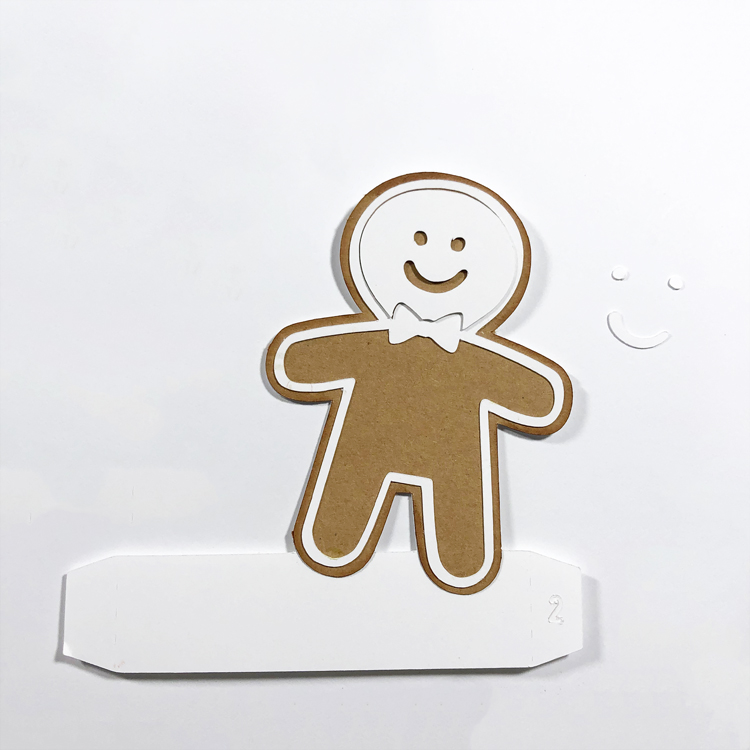
Step 2. Adhere the Flower together, the Mug, and the Gingerbread Man. To get the eyes and mouth just perfect, save the negative piece and use it as a guide. You’ll never again have eyes too wide apart or a crooked smile ever again! Adhere the ribbon and bow paper pieces onto the card base.
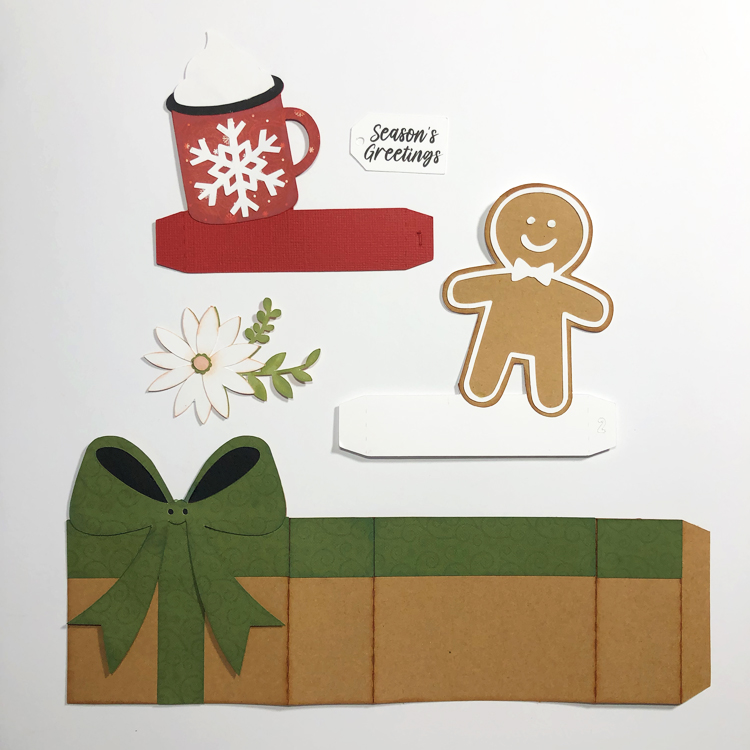
Step 3. Cut a piece of twine and attach to the tag. Using a sharp pick, poke holes in the bow using the dots as a guide. Thread the ends of the twine through so you can tie it off in a knot in the back of the bow. I secured the tag in place with foam tape. (Optionally, you could thread the twine through before adhering the bow front the the bow back.) Glue the side tab to the opposite side to form the card base. Using foam tape, add the flower to the front.
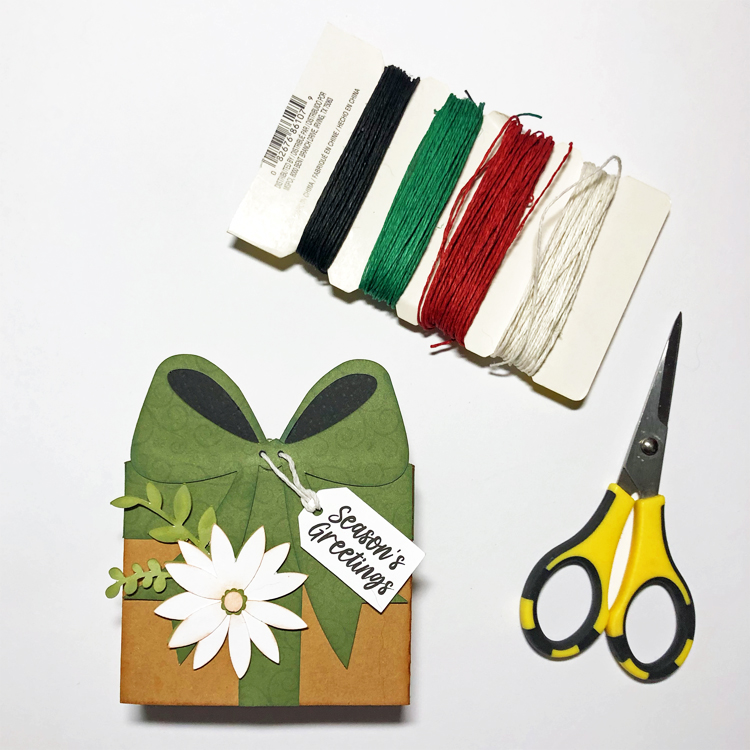
Step 4. Adhere the inserts into the card base placing the mug in front of the gingerbread man.
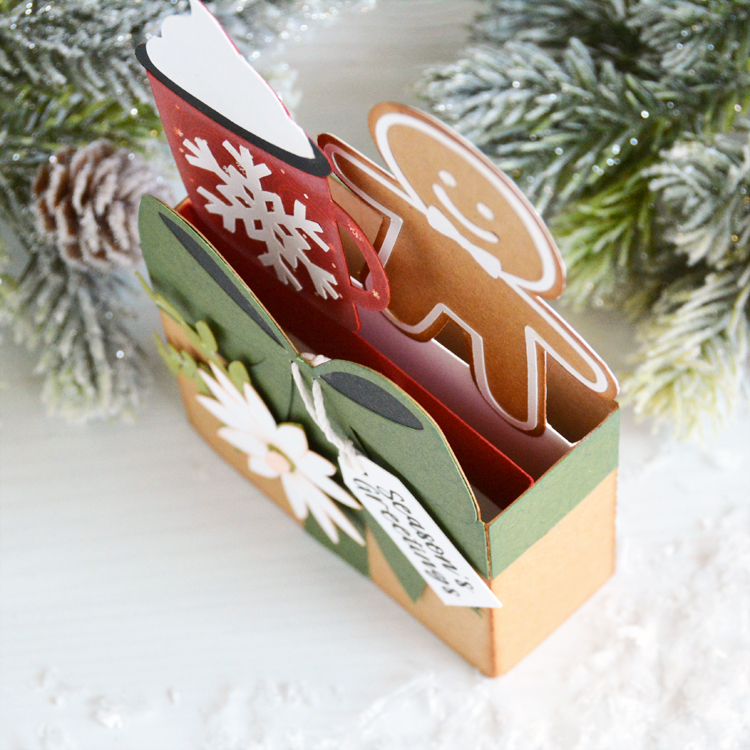
These cards do fold flat for mailing in a 5×7 envelope. Lori has lots of Christmas card ideas in her shop. Go check them all out and have some fun making your own cards!
Thanks so much for stopping by.
~Marcia
I’m sharing today a quick tutorial for the Delicate Flower Card. This card is so pretty and easy to assemble! It folds to fit into a standard A7 envelope.
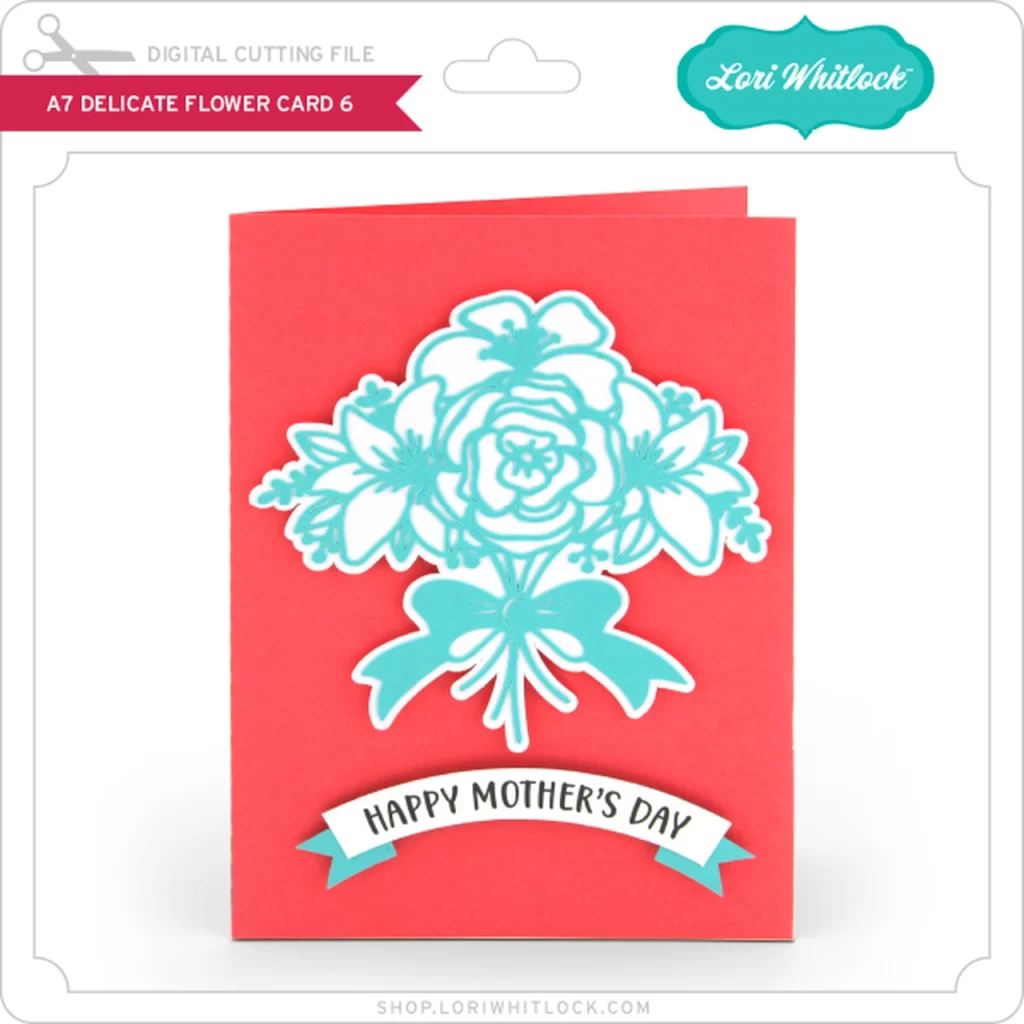
This card has only 5 pieces to cut and assemble. The sentiment is done using the print and cut function of your machine.
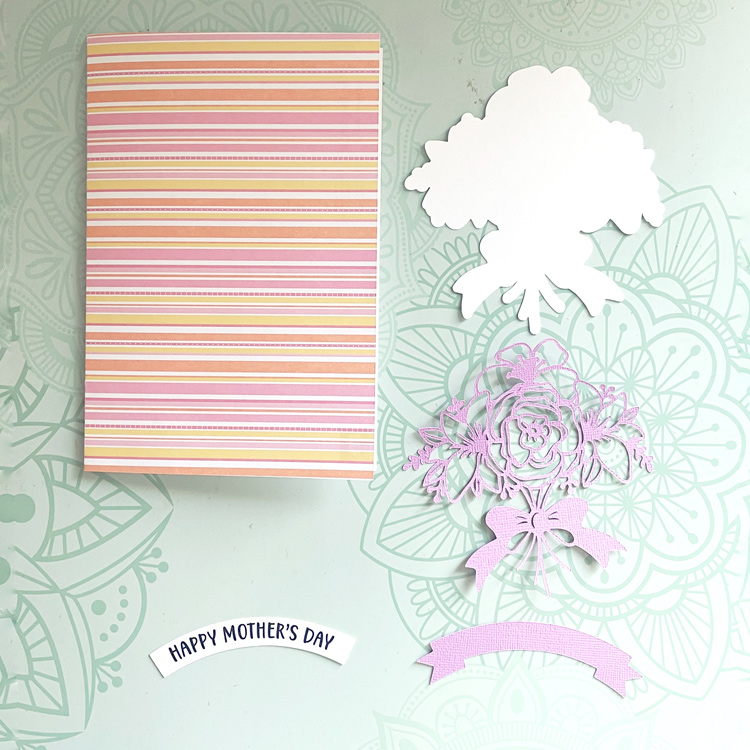
After cutting the pieces, adhere the delicate floral piece to the white floral backer. It’s best to use an adhesive with a fine tip. Carefully adhere the piece. Add the sentiment to the banner. Then adhere the assembled pieces to the card. The banner can go above or below the bouquet, whatever your preference.
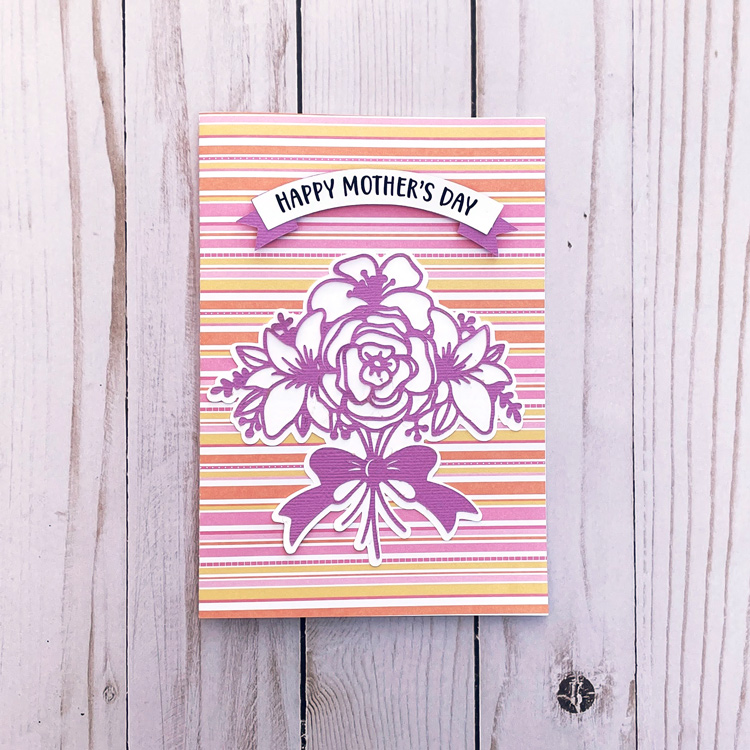
Lori has several other delicate floral cards. Check out the bundle here.
Have a great day!
Ashley
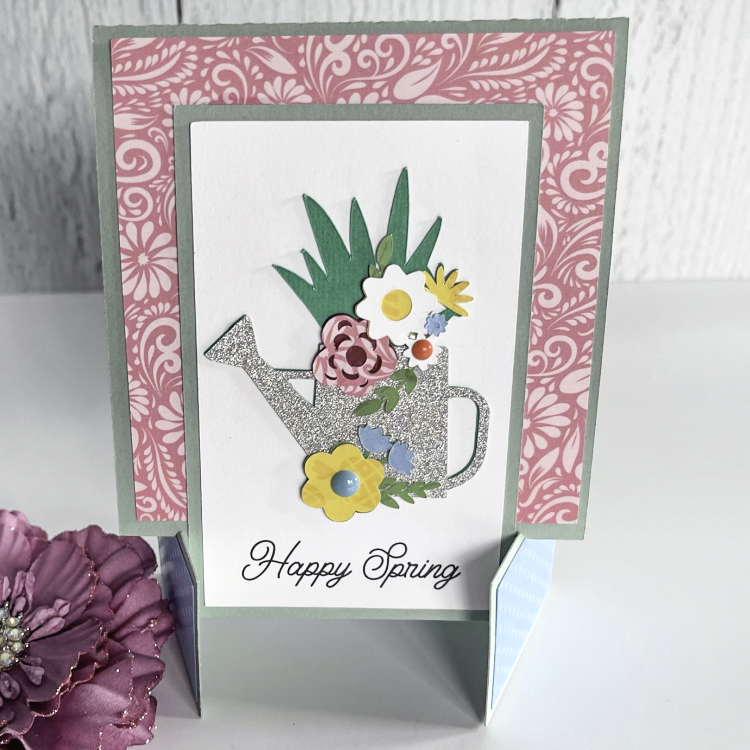
Happy Spring Everyone:
Anita here with a new style card that Lori created recently that is just so lovely and perfect to use to send some spring cheer. It is called French Door Easel Card Spring (SVG, Silhouette). She has many different styles so be sure to check them all out. I used two of her newest Echo Park Paper collections including Our Little Princess and Endless Summer to piece my card together. This card folds flat for mailing and has a nice space inside for written sentiments.
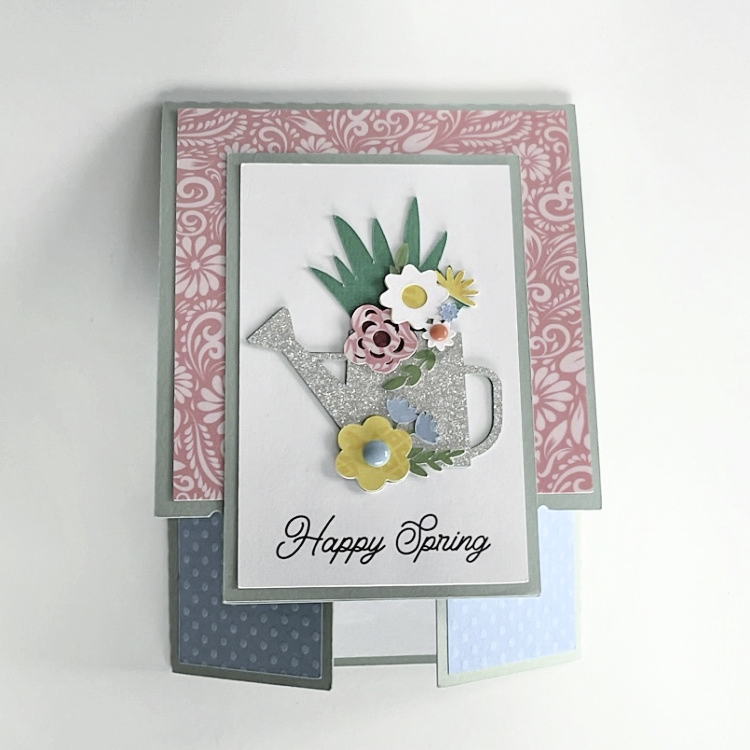
Here it is folded flat for mailing.
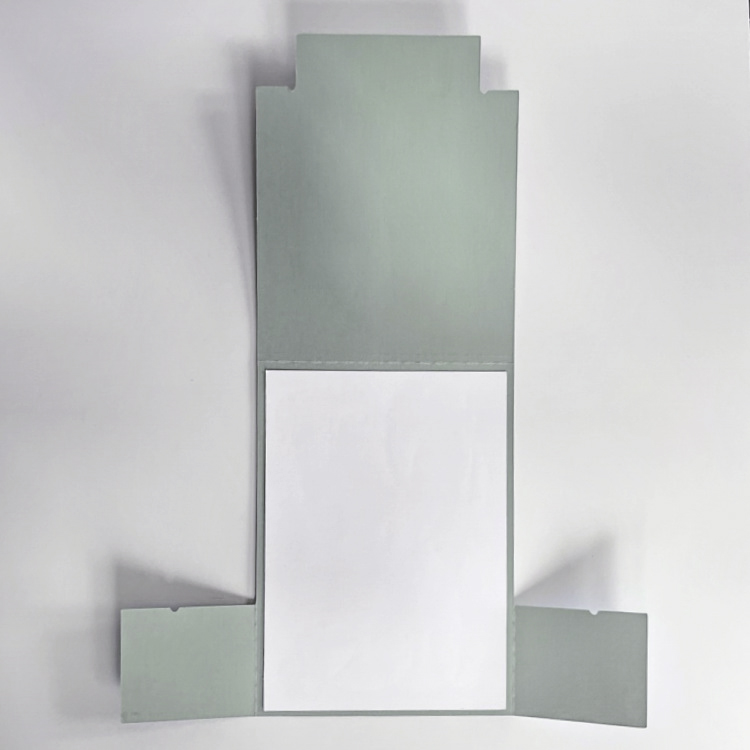
Above you can see the card open with a large space to write a lovely note. Thanks for looking and have a great day.
Hugs,
Anita