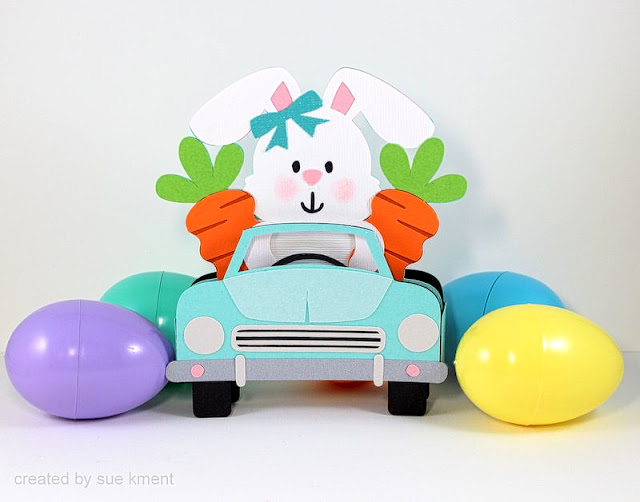
Box Card Easter Bunny Car Single file
(Lori Whitlock Store, Silhouette Store)
 Sue
Sue

 Sue
SueHello crafty friends!
I created this “Box Card Easter Bunny Carrot Car” because, before you know it, Easter will be here! Follow these simple steps to make your own easter card.
Materials Needed
• Orange, green, white, black and pink cardstock
• Cutting machine ( I used my Silhouette Cameo 5)
• Glue
• Ink (for decorating the carrot)
• Lori’s Cutting file ( SVG / SILHOUETTE )
Step 1: Cut Out the Parts
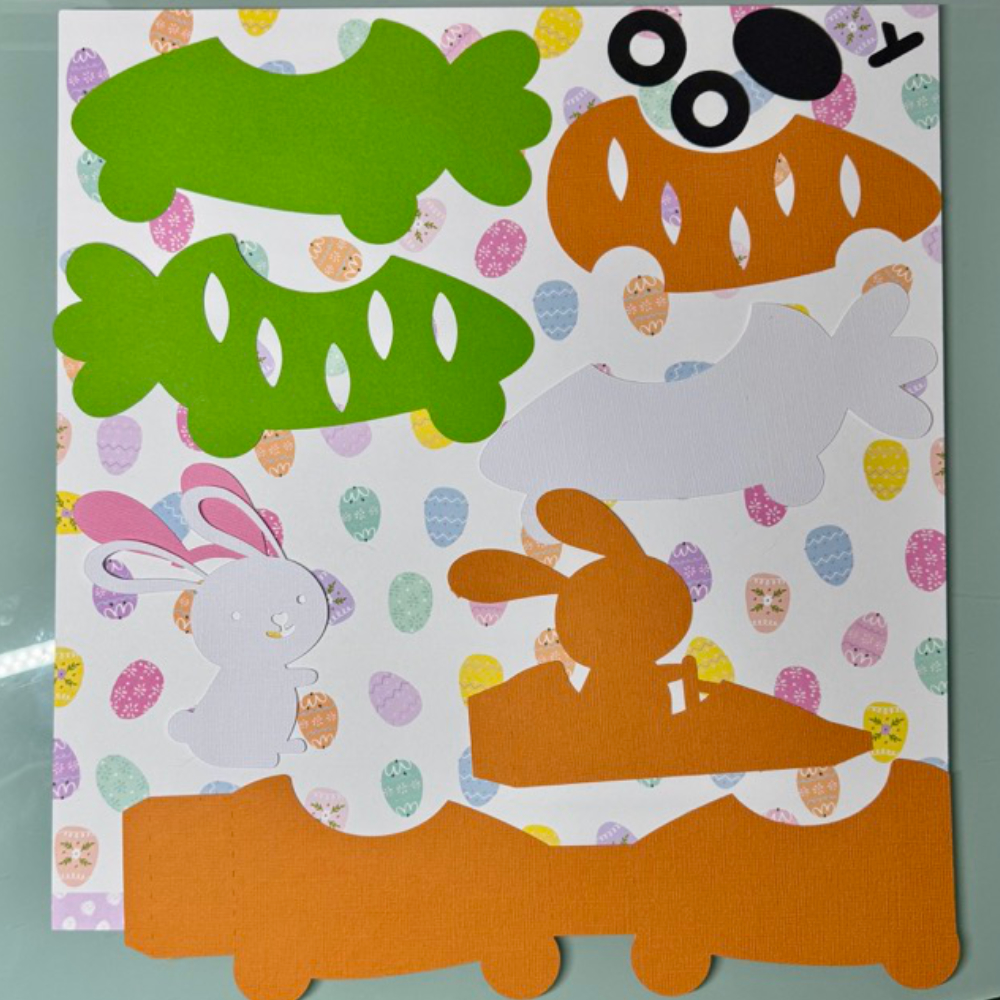
Using cutting machine, you cut out all the necessary components for your card. This includes the shapes for the carrot, the Easter bunny, and card base.
Step 2: Assemble the Orange Card Base
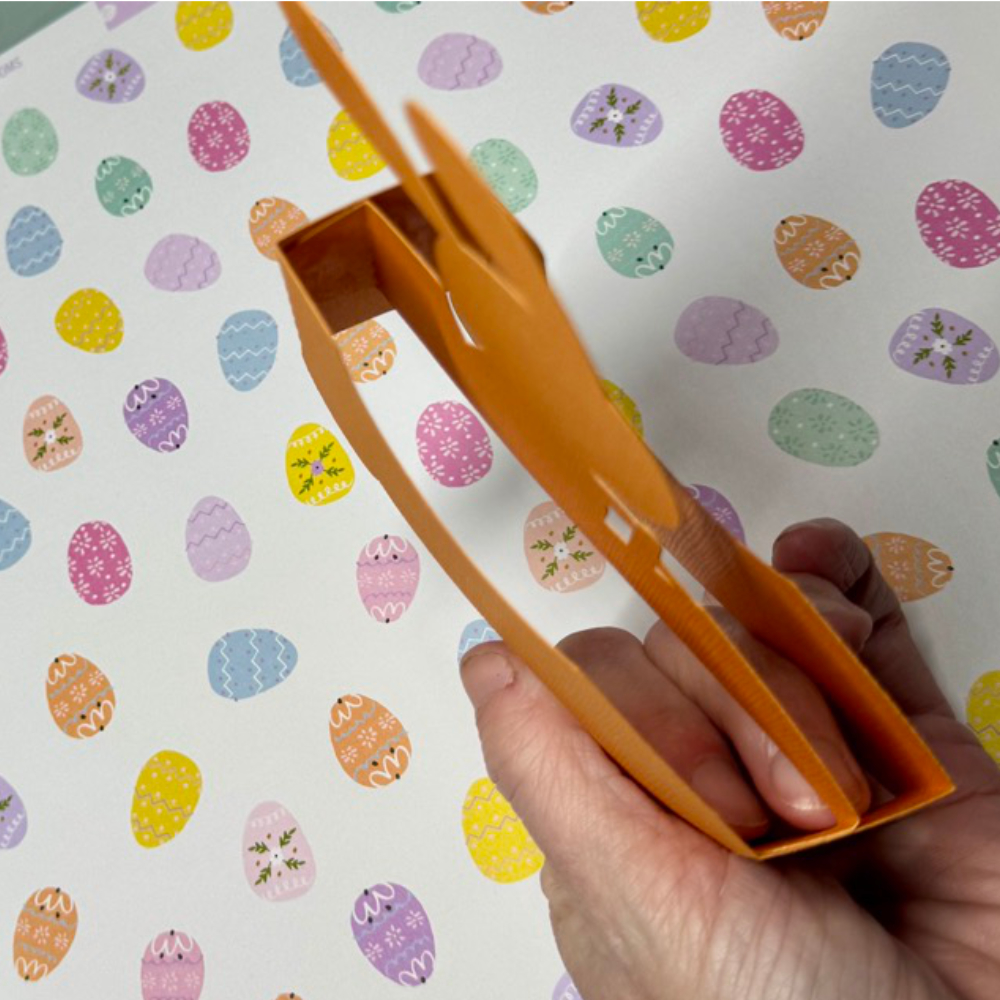
Take your orange cardstock and begin assembling the card base. Apply glue where needed to join the pieces, making sure the base is sturdy and neatly put together. This vibrant orange foundation will set the tone for your design.
Step 3: Construct and Attach the Easter Bunny
Now, focus on the Easter bunny. Glue the individual pieces of the bunny together until it forms a complete figure. Once assembled, attach the bunny securely onto the orange card base.
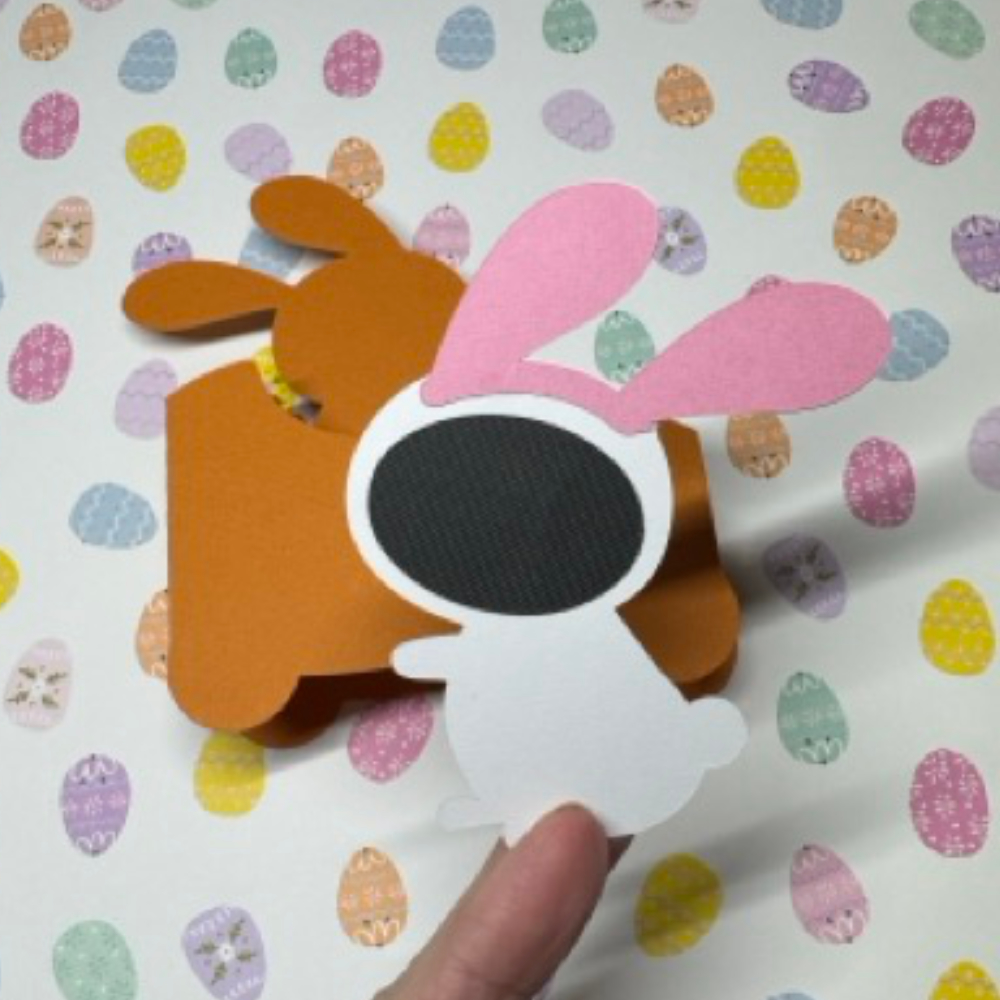
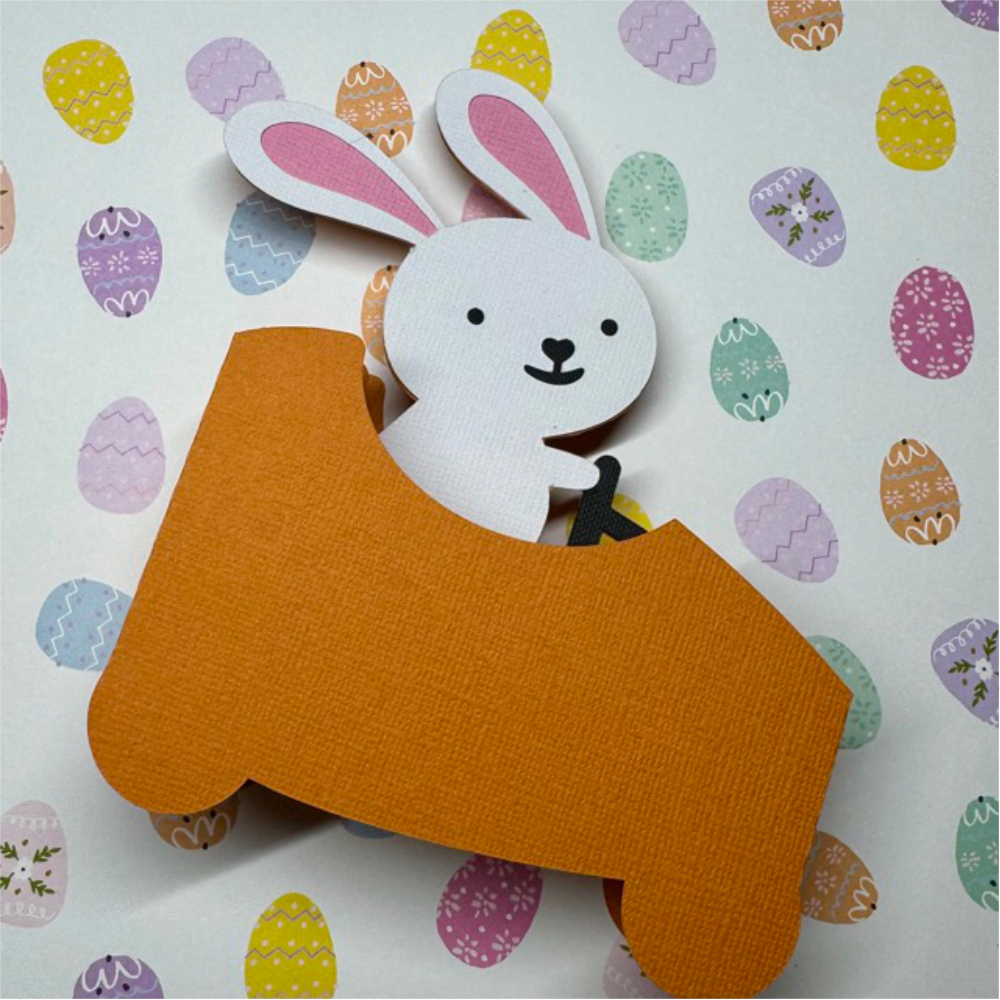
Step 4: Decorate and Assemble the Carrot
Next, add some creative flair to the carrot. I Use ink to decorate the holes in the carrot piece to create a shadow effect. Glue the parts together carefully. This step gives your card a unique, handmade touch.
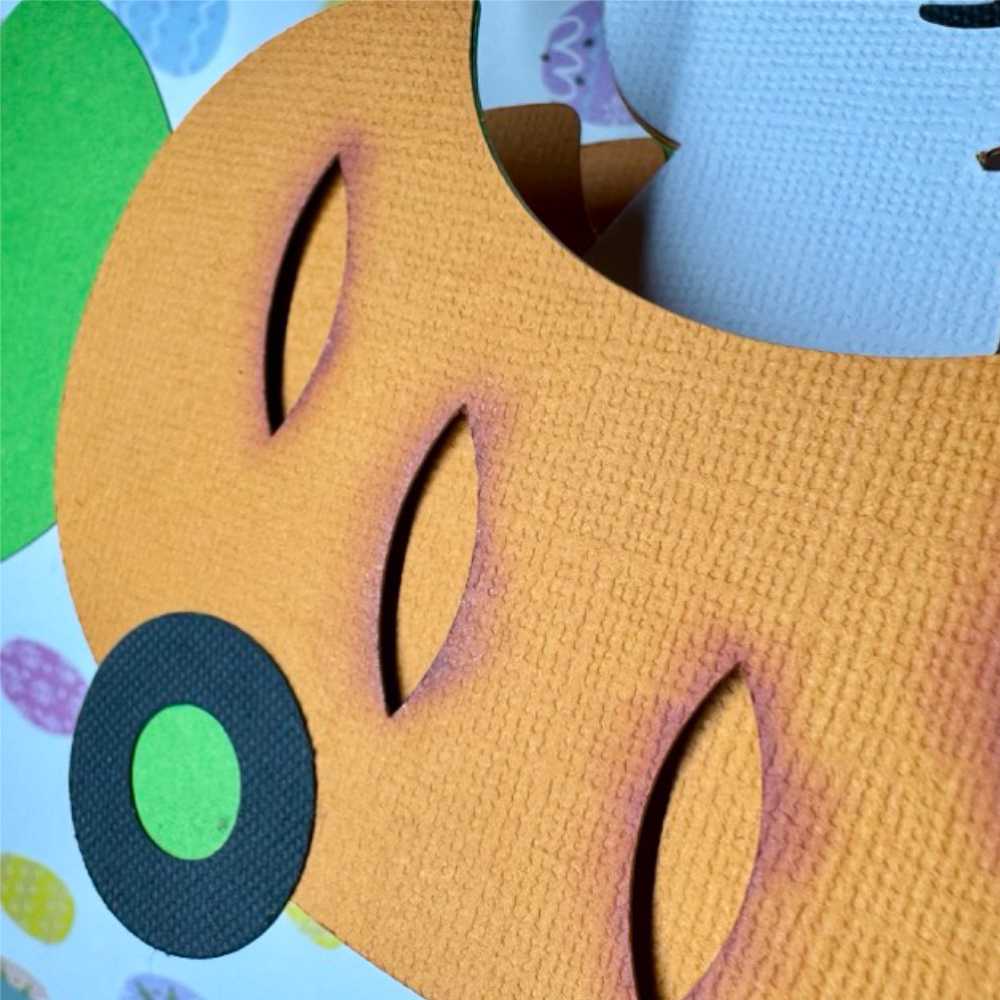
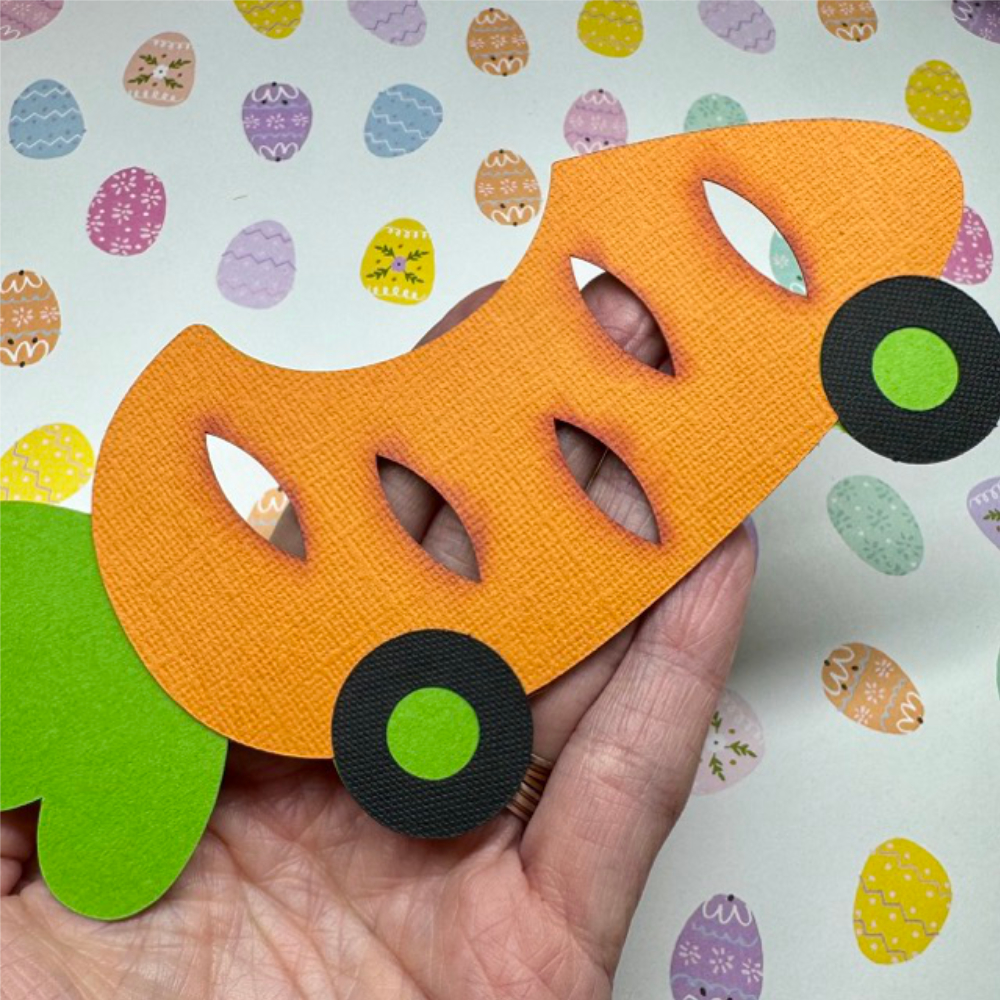
Step 5: Attach the Green-White Backside
Finally, complete your project by attaching the green and white cardstock to the back of the orange base. This additional layer not only provides contrast but also reinforces the structure of your card. This backside you can use to write your message on.
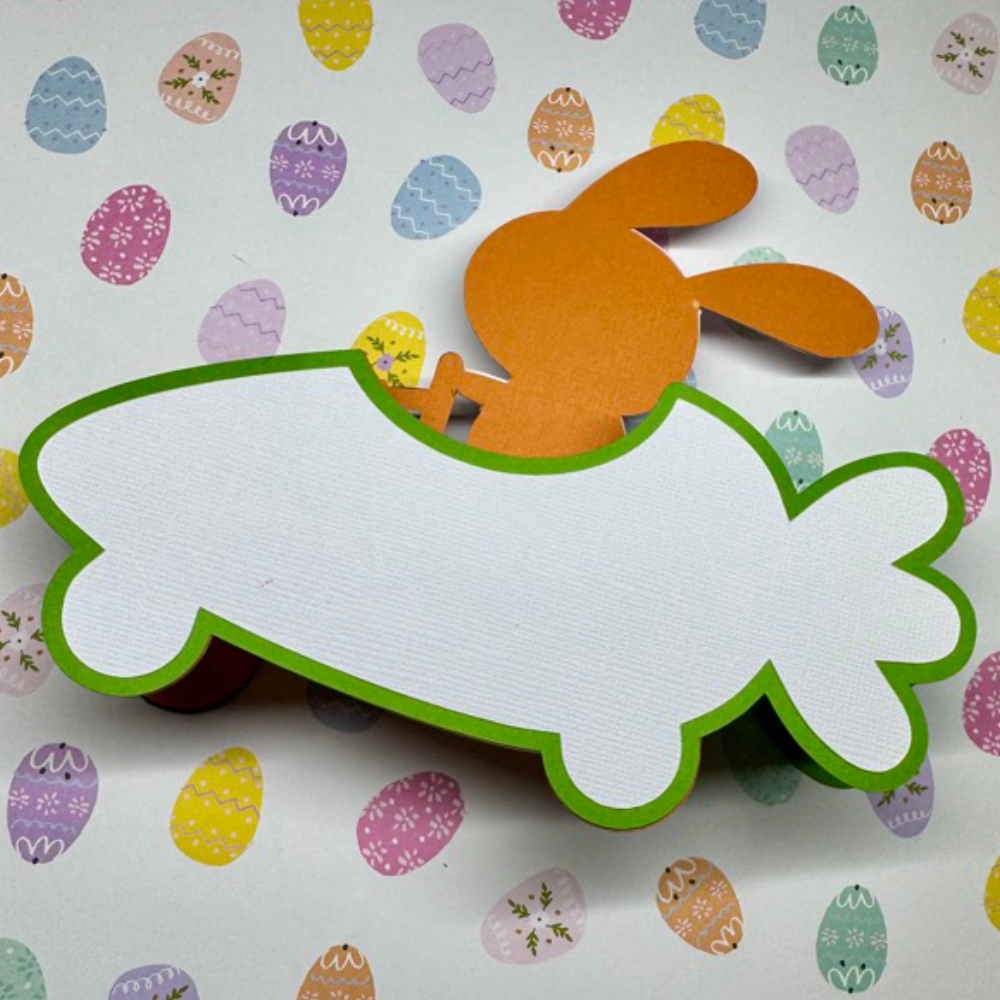
And there you have it, a cute carrot card ready to celebrate Easter!
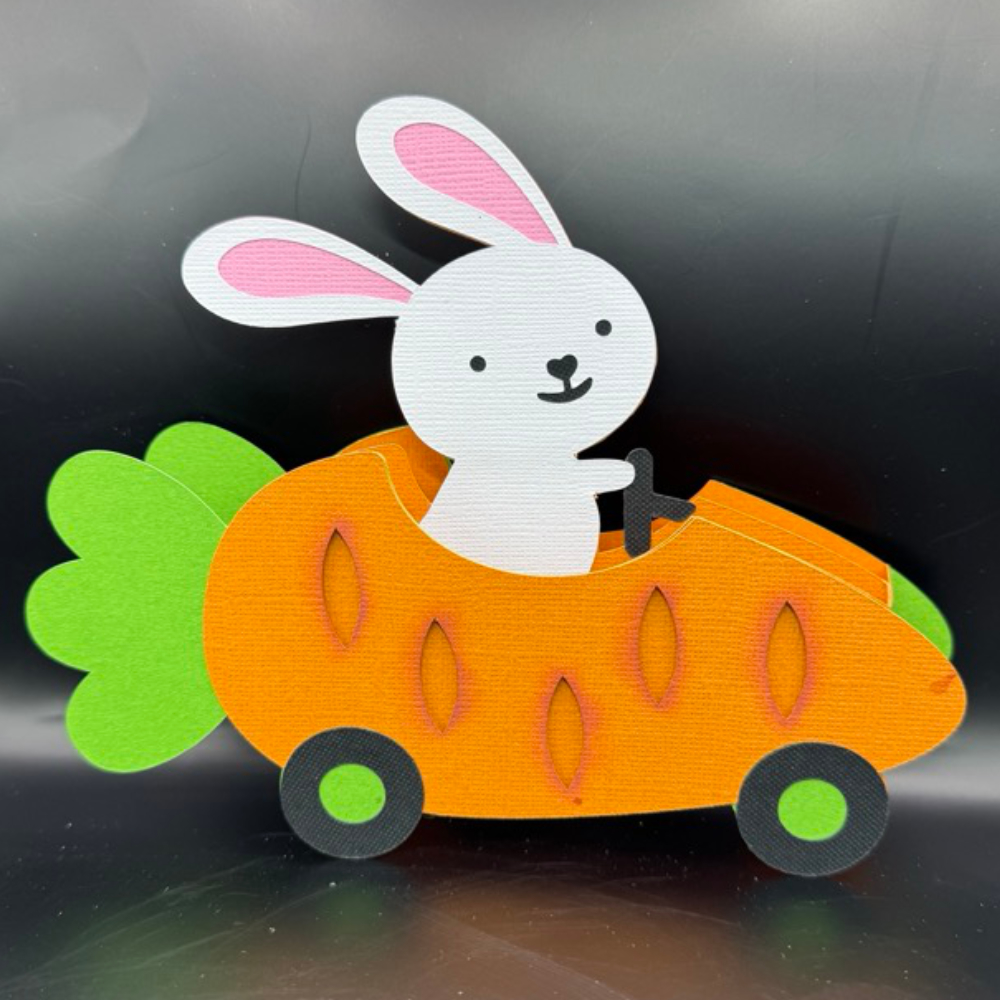
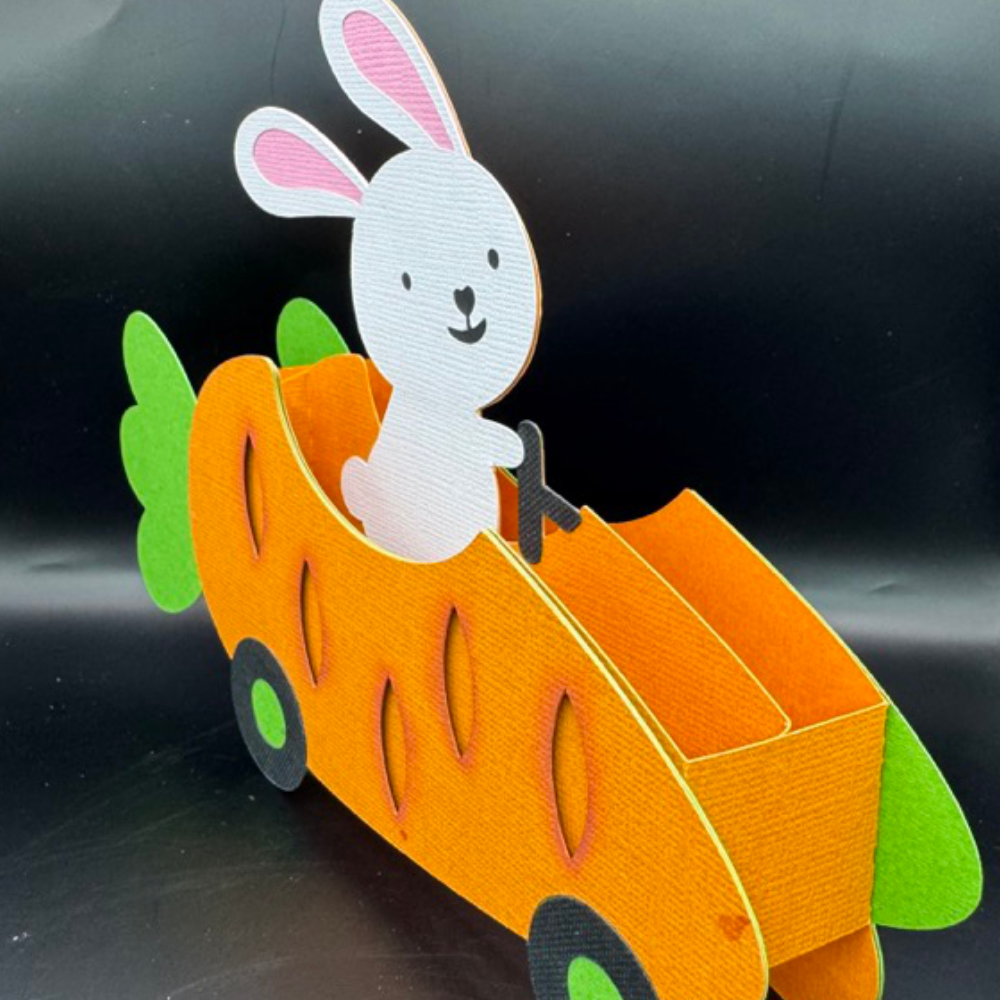
Enjoy crafting and have a wonderful day!
Tamara
Did you catch our latest Friday Five Dollar Bundle? These five beautiful and charming cards are extreme pop-up cards, each filled with festive cheer. Inside, you’ll find a charming snow globe snowman, jolly Santa Claus, a whimsical snow globe reindeer, a snow globe Christmas tree atop a car, and a spooky haunted house. These cards fold flat for easy mailing in an A7 (5×7) envelope, making it simple to send some holiday magic to someone special. Don’t miss out as this deal is only available until Sunday at midnight. Check out our tutorial HERE to get started on creating these fantastic extreme pop-up cards!

** Because Friday $5 Bundles are already heavily discounted they are not eligible for further discounts including monthly, seasonal and flash sales.
Have a great weekend!
Lori
Hi! Are you ready for spring yet? Here in Utah, the weather is undecided. We’ve had beautiful spring like weather and then the next day, snow. Fortunately, for us, it melted quickly! For me, spring and Easter are synonymous and with that I want to show you how to put together Lori’s adorable Box Card Easter Bunny and Chick Carrot Cars. Here are the Silhouette links: Box Car Easter Bunny Carrot Car and Box Car Easter Chick Carrot Car
To start with, I cut out all my pieces. I’m making multiples to send to my grandkids so there are many pieces.
I then inked a few of the pieces. I wanted my yellow accents on the chick to stand out a little. I also like to add a light gray to the white edges of the eggshell. And of course, orange and green to make the carrot pop.
I then glued the main base piece together. With making multiples, I didn’t want the seam to open up while I was working on the next piece so I clamped them together with a binder clip.
Then I added the layered pieces of the front and the back to the main base.
Next are the cute little drivers. I started with the eyes on the chick and then flipped it over to add the other pieces. With the bunny, I started with the ears and then the eyes.
Next, glue the character to the insert and then add the insert to the base with the tabs bent to the back. I like to flatten the card after adding the insert to make sure that the card will lay flat for mailing.
And that’s it! You have an adorable carrot car box card.
Teri
Hi Everyone:
Anita here with a tutorial on assembling Lori’s Box Card Easter Bunny Carrot card (SVG, Silhouette). My grandson loves everything to do with cars and trucks and I thought that he would love this card for Easter. Lori has so many fabulous designs, be sure to check them out for your spring card needs.
Here are the pieces for this fun, interactive card.
Glue the pieces that go together and set them aside for now.
Here is the box glued together and the bunny glued inside it. When making these cards I always fold them closed to make sure that things are lining up like I want them to.
Here is a top view where you can see where the bunny center piece was placed within the car body.
Here is the back of the card. I love the way Lori has the sentiment and room for me to write my grandson a message.
Here is the card folded flat and ready for mailing.
That’s it for me today. I hope that you have a wonderful spring weekend this weekend. Happy Easter to those that celebrate it.
Hugs, Anita