Gift Set Tutorial by Brigit

Hello there, it’s Brigit here today sharing a quick tutorial. I needed a gift bag for a friend and since she’s a cat lover I thought the cat on the pop up drawer birthday cat would be perfect for a gift set. You can get this file also from the Silhouette Design Store here.

I uploaded the pumpkin favor box and pop up drawer birthday cat into Cricut Design Space and deleted the pieces I didn’t need, leaving just the box and card with the cat. You can also get the pumpkin favor box from the Silhouette Design Store here.

I grouped the card with the cat and resized to 4″ x 5.25″ and then ungrouped. Since the sentiment is a print n cut I selected both the top banner and text to flatten, this turns it into a printable single image.

Next I duplicated the cat and sized it so it fit between the score lines on the front of the box. Then cut out the project using my Cricut Maker.

Hope you enjoyed this gift set, thanks for stopping by and have a wonderful day!!

Holiday Gift Tags with Michelle

Gift giving is my favorite holiday activity. I really enjoy shopping and wrapping and making each gift uniquely special. This is Michelle, and I would like to share some holiday gift tags that I made using using files from the Lori Whitlock SVG Shop.

I crafted a set a four different holiday tags and packaged them in their own special box, which I also made with my Silhouette Cameo. The tag set includes an adorable Santa, a Snowman, a Penguin and a Polar Bear that can be purchased individually from the Silhouette Design Store, or you can purchase them all together in a Christmas Tag Bundle at the Lori Whitlock SVG Shop.

These are easy to assemble and are so much fun to put together! A touch of felt and glitter really makes the designs “pop.”

Using papers from the Echo Park “A Perfect Winter” Collection, I made a sweet little box to house the tags. These are perfect for gift giving, but I’ve decided to keep these cuties for myself! When the tags have been used, I will use the box to hold to store ornaments until next year. The box is actually a Candy Box with removable insert compartments that have a sweet scalloped edge. The Candy Box and can be found in the Silhouette Design Store along with the Compartment Inserts, or, you can purchase the Candy Box at the Lori Whitlock SVG Shop. I enlarged the Box a little bit to house the tags. To do this, simply group all of the pieces together before enlarging. The lid has a clear acetate insert so I can see how many tags I have left.

I hope that you’ve enjoyed my Holiday Tag Set.

Happy Crafting!

~Michelle

Cutting Acetate with the Silhouette Tutorial by Tya

Hi friends – today I am here to show you a fun technique using acetate! I am a sucker for cute packaging so when I was pondering about what to do my tutorial on for this month I knew I wanted to share this one with you. I decided to do a couple of colorful St. Patrick’s Day Favors to show off this technique. It just wouldn’t be the same if you couldn’t see the Skittles and Gold Coins that these boxes hold, so when you really want to show off what is inside your packaging or if your treats fit a holiday or a theme like my treats do, acetate is the way to go!  It may seem basic and easy, but it is so fun to use something other than cardstock and pattern paper when using our digital cutting machines.


I use this brand of acetate (also know as transparency film) for my projects. It cuts beautifully in my Silhouette machine.  Apollo Transparency Film

Apollo® Plain Paper Copier Transparency Film, Clear, 8 1/2in.(W) x 11in.(H), 100/Box
Here are the steps to my project –
1- Open up Silhouette program.
2- Find the 2 box cut files and place them in the workspace.
When deciding what boxes to use from Lori’s library – I chose to use 2 of my favorite boxes to use with acetate. I love these boxes because they require no gluing – which can be tricky with acetate because a lot of the adhesives show through so these boxes were perfect. I used the Santa Petal box (minus the “santa” parts) and the No Glue Gable Box.I used some of Lori’s darling Hang Tags well.
Links below

3- Since the acetate is fairly thick, I used the textured cardstock settings (Blade Depth 6, Cutting speed 3, Thickness 33. I also checked the Double Cut box to make sure that the cuts are nice and deep and this also helps when you go to fold up the boxes.

So my challenge to you is to go pick up some of this fun medium from your local office supply store and try your hand at this fun technique. Thank you for stopping by!


Favor + Invite from Brigit

Here’s a cute matching set, perfect for a barbecue invite and favor or a summer birthday party.

The paper and elements are from Echo Park’s A Perfect Summer collection designed by Lori, I absolutely love it, so bright and cheery!

For the card I welded the flipflops together from Lori’s Don’t Bother Me set, Corri has a great tutorial on how to create a shaped card in Silhouette Studio, you can find it here.

The stamped sentiment is from Jaded Blossom’s Happy Summer set and the Trendy Twine is Tickled With Teal.

The candy tube holder was so easy to make, I used Lori’s Firecracker Box and sized the whole thing to 13.25w (check lock aspect ratio).

I ungrouped and deleted the other pieces, select all and grouped the box and score marks together again, (it should measure 5.9h x 6.410w.)  Then I centered a 1″ circle on the top flap of the box for the cutout, (depending on the tube you use you may have to make the hole slightly larger.)

The back piece is just a rectangle cut at 1.535w x 6.75h and glued onto the back.  The two top inside flaps have to be trimmed a little so they don’t block the hole.

I used some Orangesicle Trendy Twine on the tube and filled with some Reese’s Pieces.

Thanks for stopping by, I hope you enjoyed my summery project!!

Stationary Set by Traci and Centerpiece by Corri

Today we have some fabulous projects by Traci and Corri
Hi Lori fans!
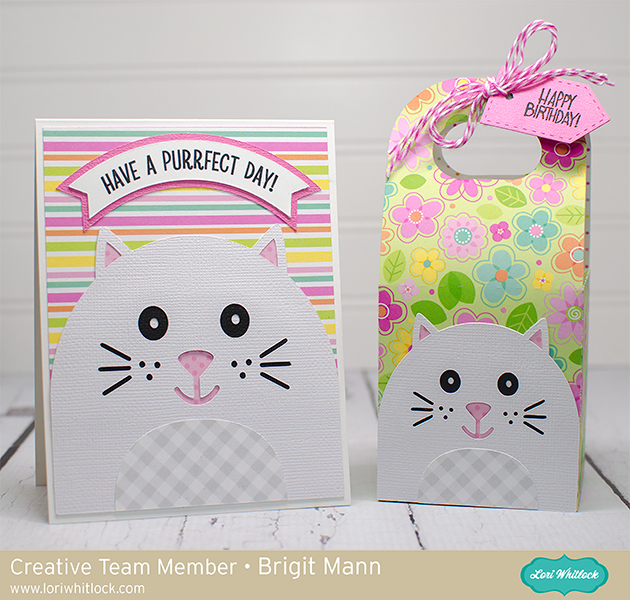
I’m so excited to be on the blog today sharing a really fun, and pretty quick, project with you.  As many of you may know, I’m a mini album girl.  They are my all-time favorite project.  Despite my mini love, I also love giving fun gifts with cute packaging.  So today I decided to share my love of little gift notes.  A 3×3 gift note is the perfect little “accessory” to a perfectly wrapped present.  I make several at a time so that when I have a birthday, wedding, or new baby gift to wrap, I already have a cute little hand-made gift enclosure to go with it.
Here is some gift note inspiration for you — complete with Lori’s adorable 3×3 stationary box to keep the cards in until you need them.
I love all of Lori’s digital cutting files, so it’s never hard to find the perfect addition to any card or project.  For this one, my favorite part of each card are the sentiments.  Lori designed the “Happy Birthday”, “Thank You’ and “Hello” pieces with an adorable font and a great background piece.  The ability to cut a white background allowed each of my sentiments to “pop” off any pattern paper I layered it onto.  I also love the cupcake for this card…especially with the little heart cut out.
I have always been a fan of Echo Park…especially the paper and embellishments that Lori designs for them.  Most of the papers I’ve used in this card set are from the “My Girl” Collection.  For the card below, I added a fun little branch from the sticker sheet and set an adorable bird up on pop dots for dimension.
For the “Thank You” card, I found Lori’s mason jar cutting file
This design can be used for so many things — I cut the design and then added a flower sticker and brad from the “My Girl” collection and finished it off with a knot of twine.
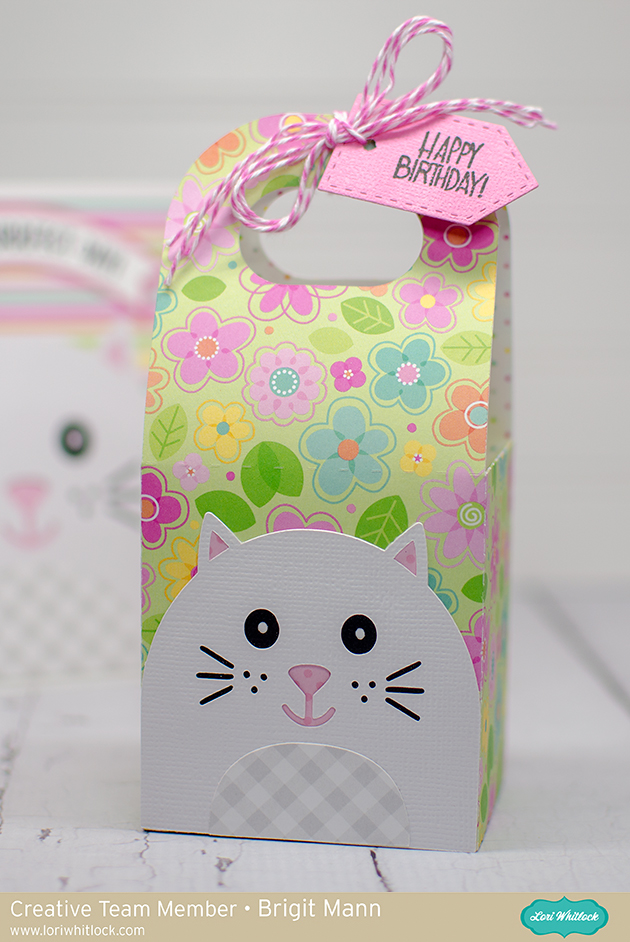
For the 3×3 box, I cut the file and also created an “inset” shape for each side.  After adding the inset accent pieces, I cut one of Lori’s new 3D flower designs for the front.  The flower also serves as a little accent to tuck the tab behind so that the lid stays closed 🙂  So, so, cute!
Thanks so much for visiting today!  Please stop by my personal blog, Artsy Albums, to say hello!
Traci
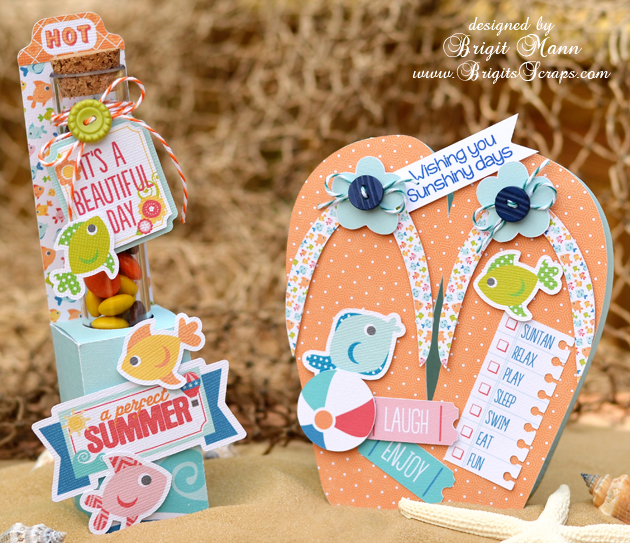
Next we have this adorable center piece by Corri.
I have a fun project for you today that would be great for a Memorial Day or July 4th table decoration.
I cut Lori’s Octagon Flower Pot as sized in the file from some kraft card stock.
For the rim of the pot, I used the red wood grain paper from Echo Park’s “Perfect Summer” collection which Lori designed.
I cut 3 of the Spiral Stars (size reduced to 2.795″h) and 2 Spiral Flower 1 from some navy card stock and some pattern paper from the “Perfect Summer” collection.  I cut an extra base layer for each flower, then hot glued a wooden skewer to one of the base layers and mounted the assemble flower to that with foam dots.
To add some stability, put something with a little weight in the bottom of the flower pot.  I used a few tokens from Chuck E. Cheese!   I used some more hot glue to glue a 4″ foam ball in the pot and then arranged my flowers and covered with some paper shreds.
You could change up this cute project for all kinds of summer parties.  Add some graduation caps and 2013 on your sticks for a cute graduation party center piece. Corri