Boo Treat Box with Ashley

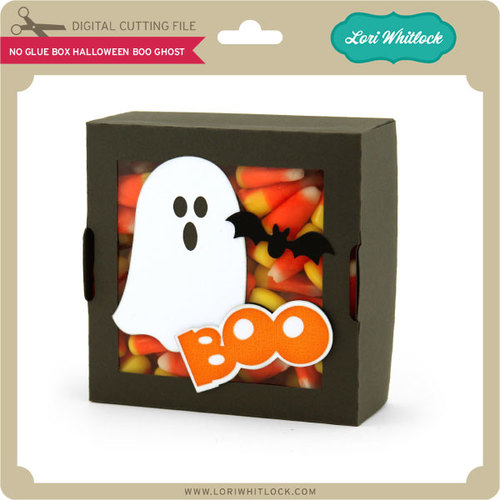
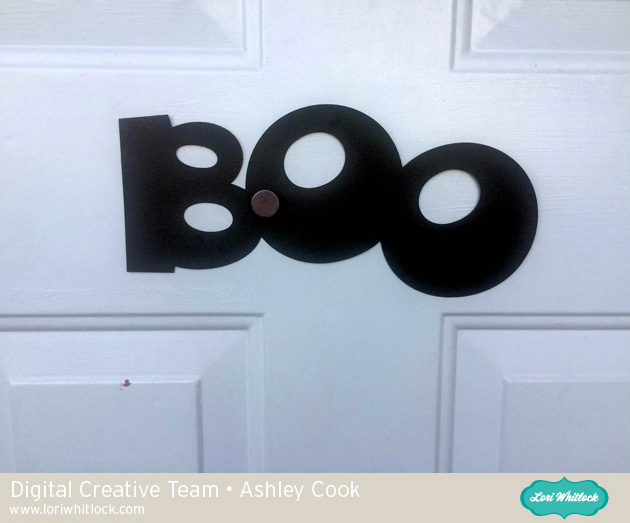
Have you ever been “Boo’d” by your neighbors?  Or do you want to start the fun neighborhood tradition?  It involves leaving a treat secretly at a neighbor’s door with a note telling them to “Boo” another neighbor and posting a sign that they have been “Boo’d.”

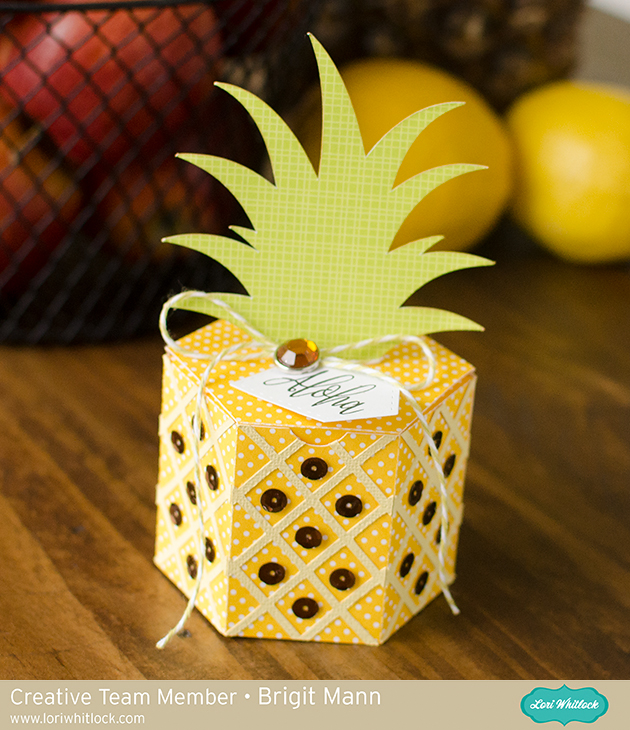
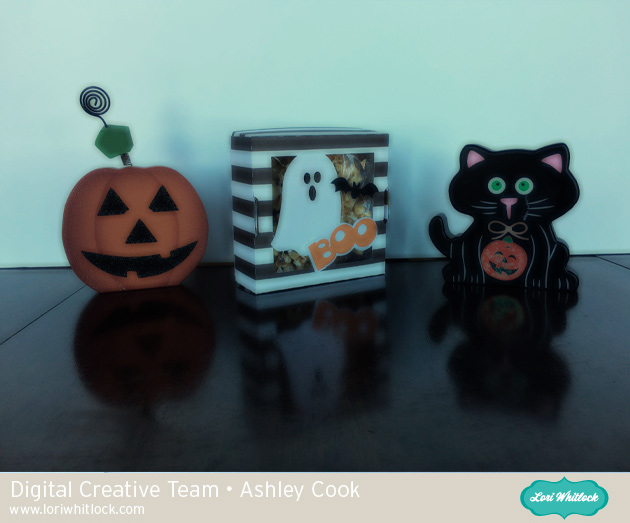
Well some very cute neighbors boo’d our house the other day.  And if something is going on my door, I want it to be cute!  Lori has several Halloween treat boxes, and the one I used includes the word Boo.  I created the treat box, then I sized the Word BOO as big as my paper.  I think it looks so cute on the door.  And the treat box is oh so fun too.  It’s ready to go to another neighbor! Silhouette Store; SVG

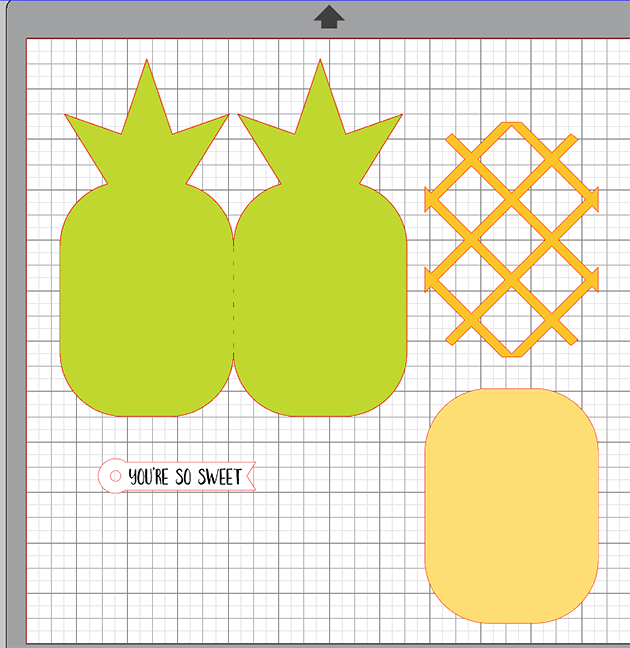
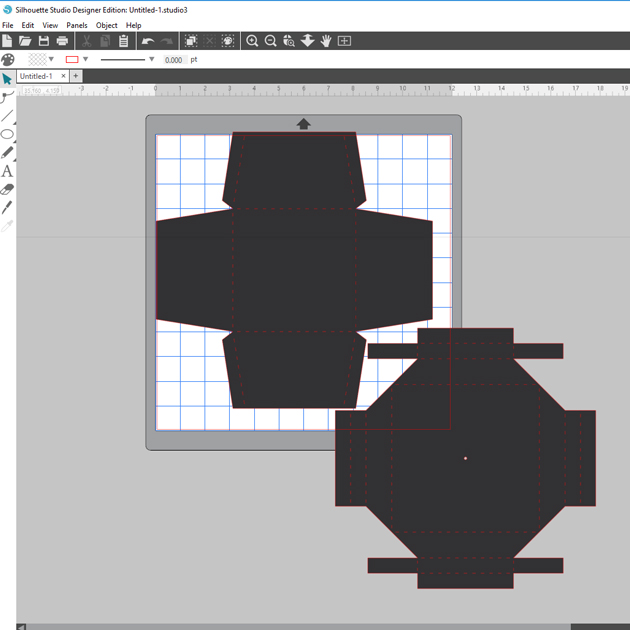
Here are the pieces of the box.  This box is really fun; it requires no glue for the box part.  Just a little adhesive to add the pieces onto the top.

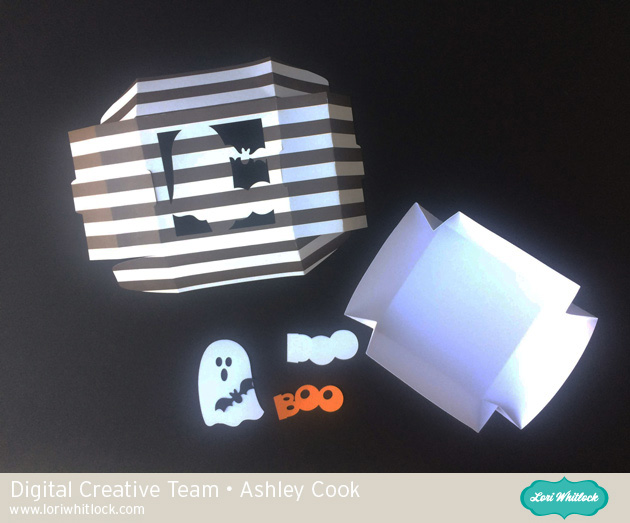
If you cut out a big Boo in black, save the inner piece of the B.  It fits nicely behind the ghost’s eyes if you happen to use a patterned or white piece of paper.


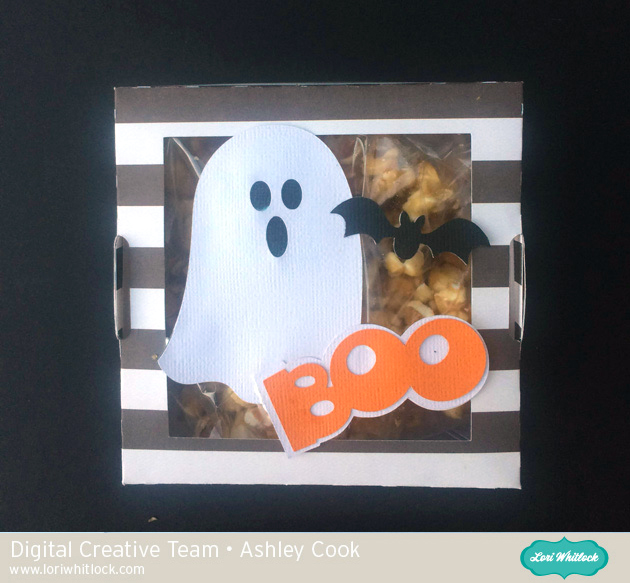
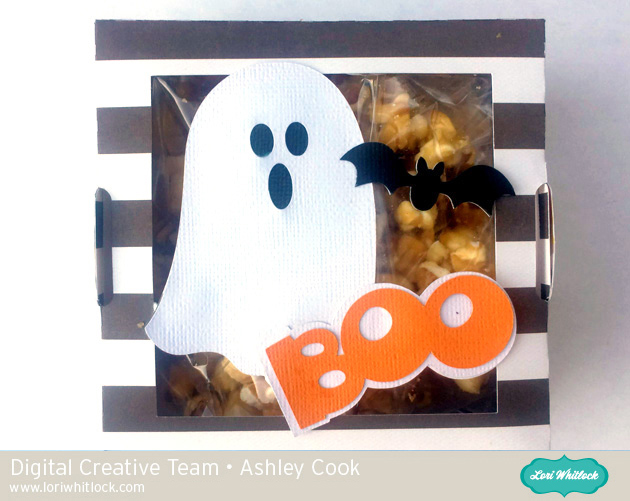
I sized up the whole box just a little bit to fill the width of a 12 x 12.  The finished dimensions of the box are 5″ x 5″ x 1.5″.

Enjoy your week and maybe BOO a neighbor or 2.


4 Drawer Organizer Tutorial with Anita

Hi Everyone:

Anita here with a tutorial to create this adorable four drawer organizer.  I am going to show you how to put this cutie together and was thinking that you could customize them for every season.  I am going to put chocolates into mine and give it to a friend.  You can find the 4 Drawer Organizer cut file here in Lori’s store and here in the Silhouette Design store.  I used one of my favorite Echo Park Lori Whitlock designed paper lines called Sweet Baby Girl.Here is a screen shot of the cut files on my mat.  You will need to cut four of the outer box and the inner box as noted in black bold type near the boxes cut files.

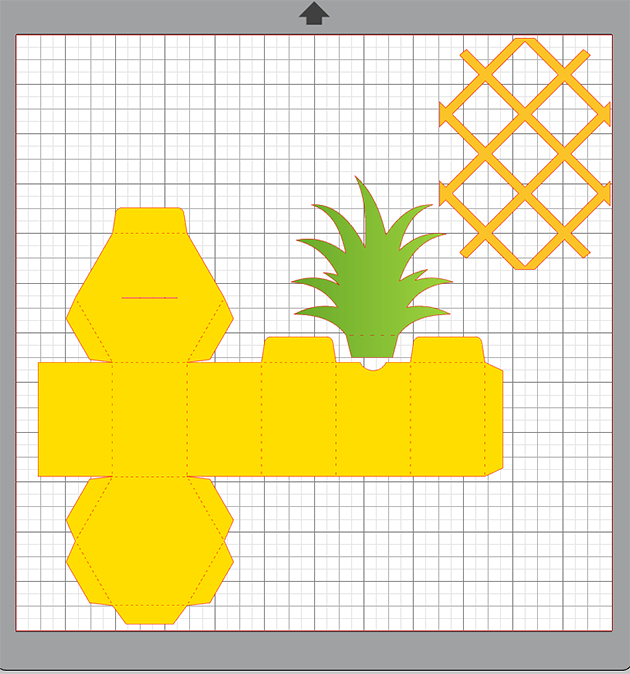
Here are the pieces that you will have once you have cut everything for your project.

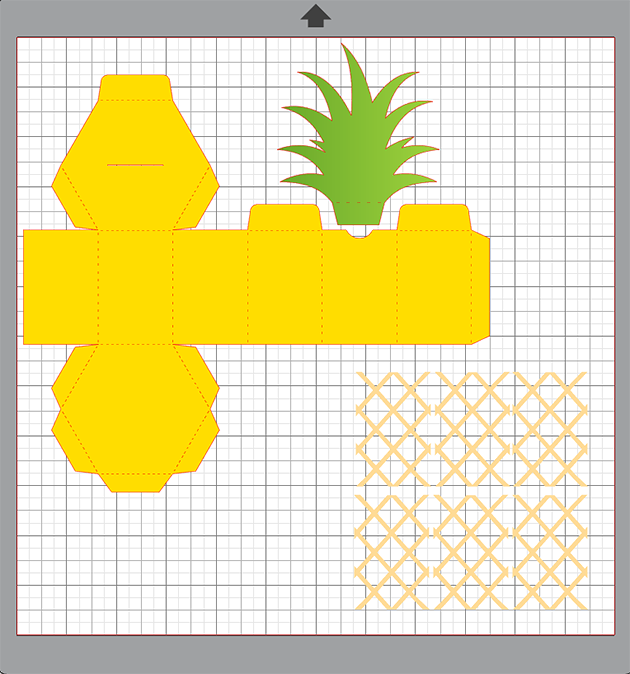
I always start my projects by folding the score lines as you can see by the photo above.

For the inner box you are going to want to glue the tabs from the back of the box to the side of the box.

Next you will glue the back flap into the box.

Next you will glue down the front flap into the box.

Lastly, you will glue in to the box the two last flaps and your inner box is done.

Now onto the outer box.

There are flaps along the bottom of the box cut file and you will be gluing the tabbed pieces together and leaving the flaps alone for now.


Here you can see that I have started to glue together the tabs on the outside box and am ready to glue the last side onto the box with the flaps left alone for now.


Here you can see that I glued together the last part of the box and the flaps are open and at the top.  They are going to get glued into the box and will make a lovely clean box with smooth insides which allows the inner box to slide easily in and out.

And that is how you put together both of the boxes.  Next, you will stack the four outer boxes two by two and glue them all together.  Make sure that you put enough glue to hold them together.  Lastly, you are going to glue on your accent pieces to finish off your box.  You could also add any cute embellishments that you want.

Hugs,

Anita

Teacher Thank You With Anita

Hi Everyone:

Anita here with an adorable lunch bag teacher treat holder.  I used Lori’s cut file called Lunch Bag Thank You Teacher and you can find it here in her store and here in the Silhouette Store.  I used Lori’s brand new collection from Echo Park called Celebrate Autumn. I used her wood grain embossing folder to give the bag some dimension.

This was so easy to create and would fit a gift card perfectly as well as some chocolates.  A little gift to the teacher to get the year off to a great start.

I love the print and cut little chalk board that is part of this set.  Hope you have a chance to check out this cute and so easy to put together gift set as well as many other wonderful fall and back to school designs.

Hugs,

Anita

3D Graduation Cap Favor Box by Aimee

Hi crafty peeps!! Aimee here with you today with a tutorial on how to assemble and create the new Graduation Cap Favor Box. I made this box for my niece Katie who will soon be receiving her Masters in Early Education and I couldn’t be more proud of her!

This fun and adorable box svg is available at the Lori Whitlock store *here* and at the Silhouette Store *here*. I also added some of the beautiful Lori Whitlock flowers after seeing a lot of graduates are now decorating the top of their caps which is a fabulous idea!! Wished that was a thing when I graduated!! (Rolled Flower 11 – Lori Whitlock or Silhouette, Rolled Flower 20 – Lori Whitlock or Silhouette)

Alrighty, let’s get started! I resized the original file to create a bigger sized box.

Since each piece was so big I used 2 sheets of cardstock…1 for the top piece and 1 for the bottom piece.

After I had each piece cut out, I folded each cut line.

The bottom piece is easily assembled by adhering the gluetabs to the inside of the box.


For the top piece, start with the 2 sides with the extra gluetabs and adhere them down to the base of the hat. Follow along as I step you through it in the following pictures.

And this is what the underside of the top piece should look like after you’ve adhered all pieces down.

Now comes the fun part of decorating the top of the Graduate Cap!

That’s it for me today! I hope you enjoyed this tutorial and Congrats to all those graduates!!

Aimee

Pineapple Box Tutorial with Brigit

Hello everyone, it’s Brigit here today sharing a quick tutorial on making this adorable pineapple box. I just added the criss-cross panels from the shaped card pineapple file. You can get both of these files from the Silhouette Design Store, here and19 here.

I used Silhouette Studio to edit my project, I have the business edition and use the files from Lori’s shop so I’m able to save my project as an svg and cut it out with my Cricut Maker.

I imported the pineapple shaped card and only kept the criss-cross piece.

I imported the pineapple box next.

I zoomed in really close and sized the criss-cross to fit inside one of the sides.

I double clicked on the criss-cross piece which brought up point editing and I selected the point in the corner and moved it so it would reach the score lines, I did that on all four corners.

I duplicated until I had 6 pieces, saved, imported into Cricut Design Space and cut out.

Added some twine, decorative brad from Echo Park’s For the Record 2 collection and some brown sequins. The sentiment is from My Creative Time and paper is from Doodlebug Design.

Hope you enjoyed this project, thanks for stopping by and have a wonderful day!!