.jpg)
Hello Everyone:
Anita here with a quick tutorial on taking one of Lori’s Candy Box SVGs and resizing them to fit the candy bar size that I need. I used Candy Box 6 Candies (SVG, Silhouette). I used Lori’s two Echo Park Paper collections including Our Little Princess and All About a Girl.
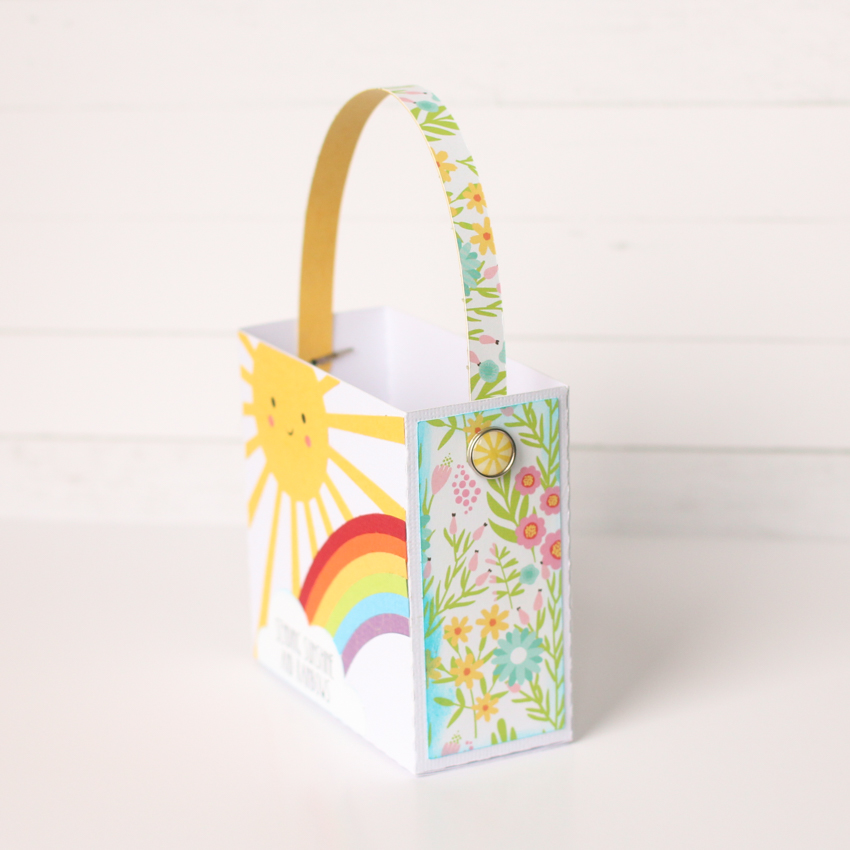
I wanted to make my own chocolate bars for Valentine’s Day given that there are food allergies in our family and wanted a pretty box to put them in. I picked this box as it seemed like it would fit the candy bar mold that I have. This file comes in two parts, Part 2 is for the box and part 1 is for the scalloped inserts. I used Part 2. When I imported my file into Silhouette Studio I used the grid lines on my mat on the screen to determine the size of the unaltered file. I knew what size I needed to fit my candy bar and with the file still grouped together I dragged the corner until the dimensions were what I needed them to be. Be sure that you don’t ungroup them before doing the resizing. As you can see from the photo above I did a pretty good job of getting my box to fit my candy bar.
.jpg)
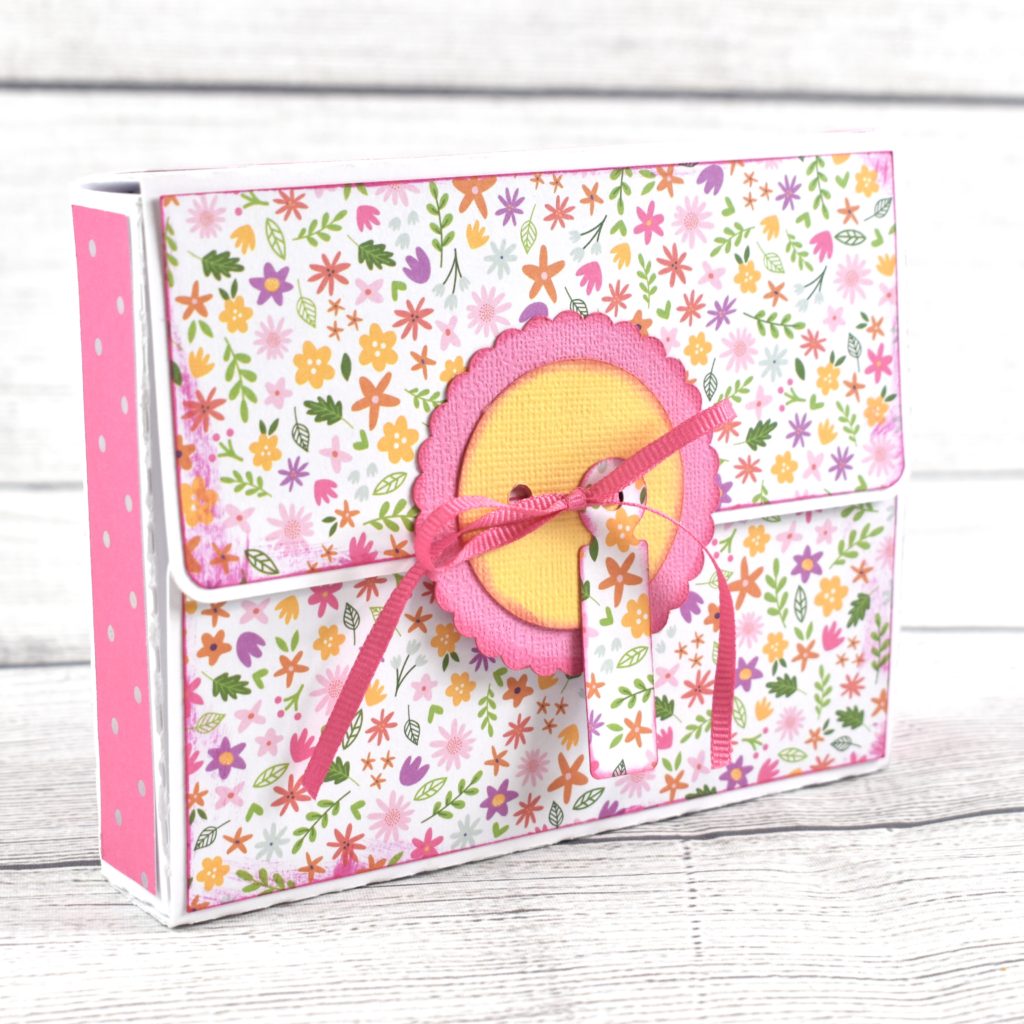
These are the cut file pieces for my box. I opted to use the decorate overlay around the inner edge but you wouldn’t have to if you were short on time. I often put an acrylic sheet over the opening when making boxes but decided that the chocolate bar looked better with the hole open.
.jpg)
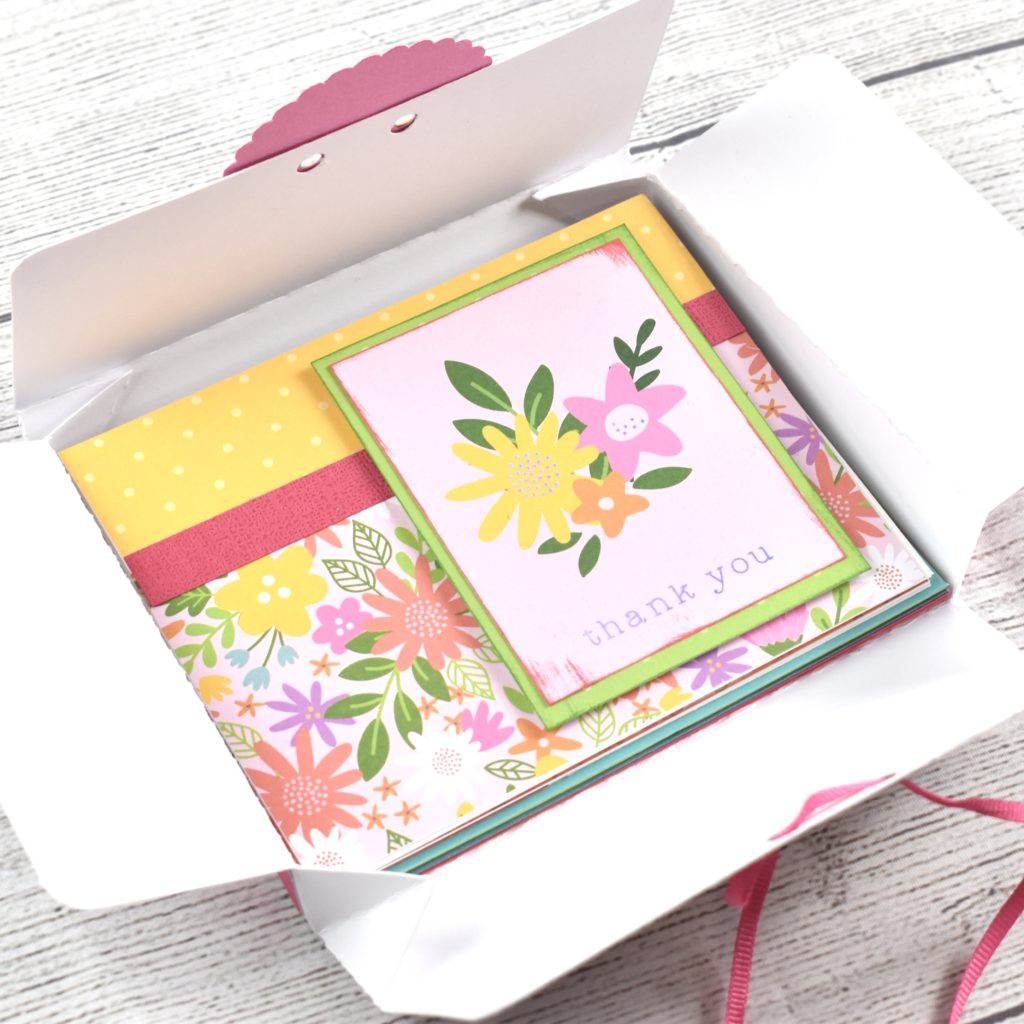
These are the box pieces assembled and ready for my chocolate bar. That’s it for me. Be sure to check out all of Lori’s Valentine’s Day files.
Hugs,
Anita