Hello everyone! Marcia here today. Have you seen Lori’s new Our Little Princess collection from Echo Park Paper? There are lots of coordinating die cuts that you can use to create a truly special card for your little princess. I love making dimensional cards so I selected the Castle 3 Box Card (SVG, Silhouette).
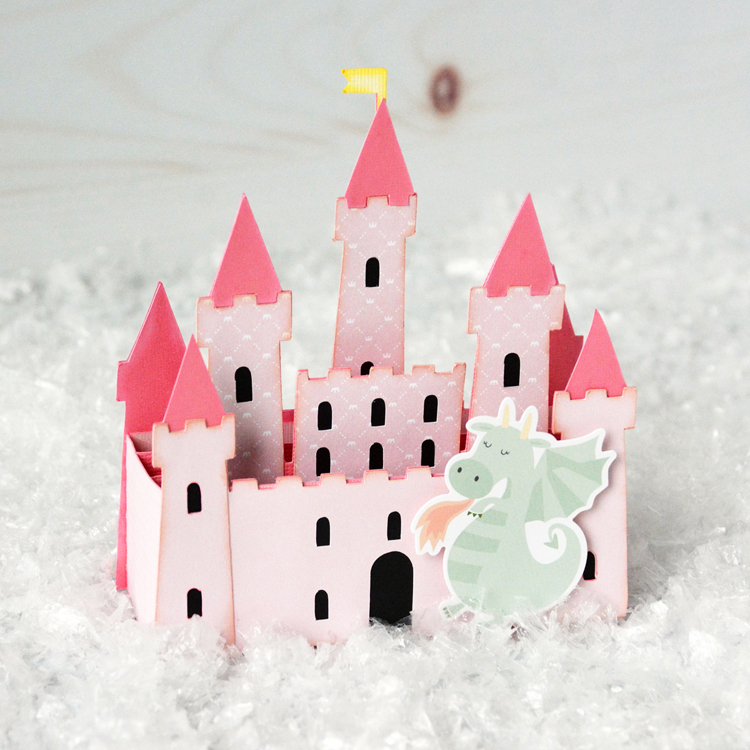
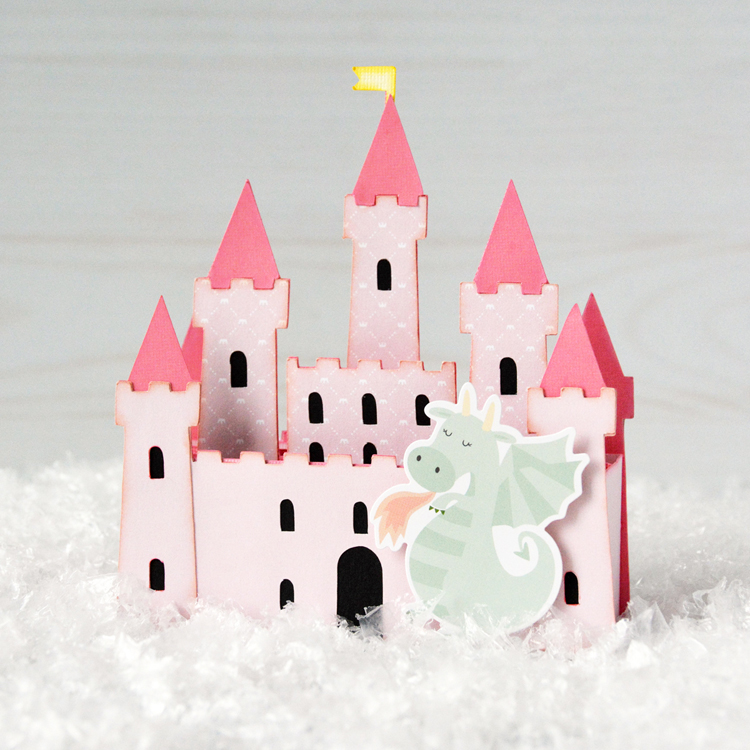
Let me show you how easy it is to put together.
- Cut out pieces with your electronic cutter. You can use the print and cut feature for the sentiment on the back of the card or use a sticker from the collection. If the pattern paper you are using is different colors on the front and back, you will want to cut 2 of the castle backs that the sentiment piece is adhered to. This is so when viewed from the front, it is the same color as the rest of the card.
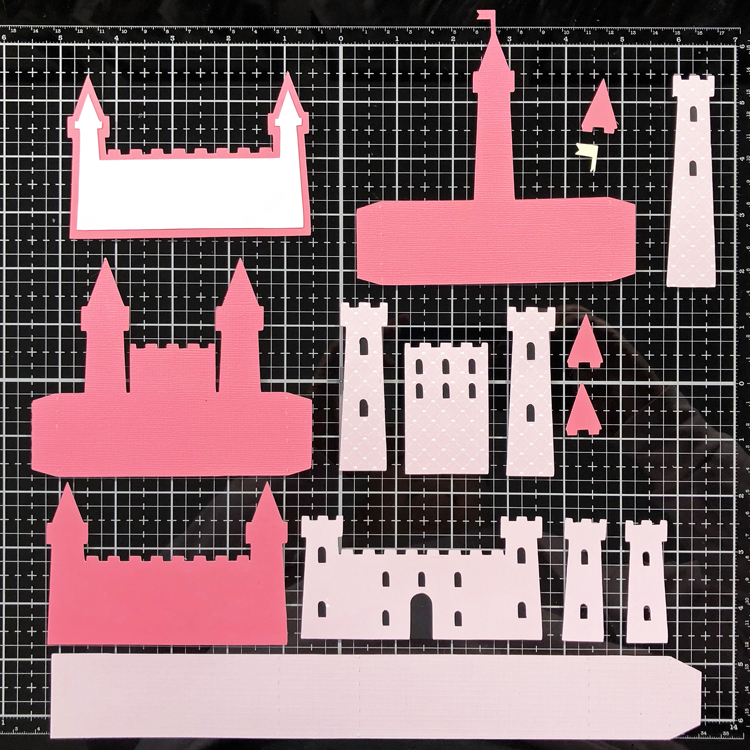
- Glue the black cardstock pieces behind the windows and door. Use coordinating ink to ink the edges of the paper to add dimension.
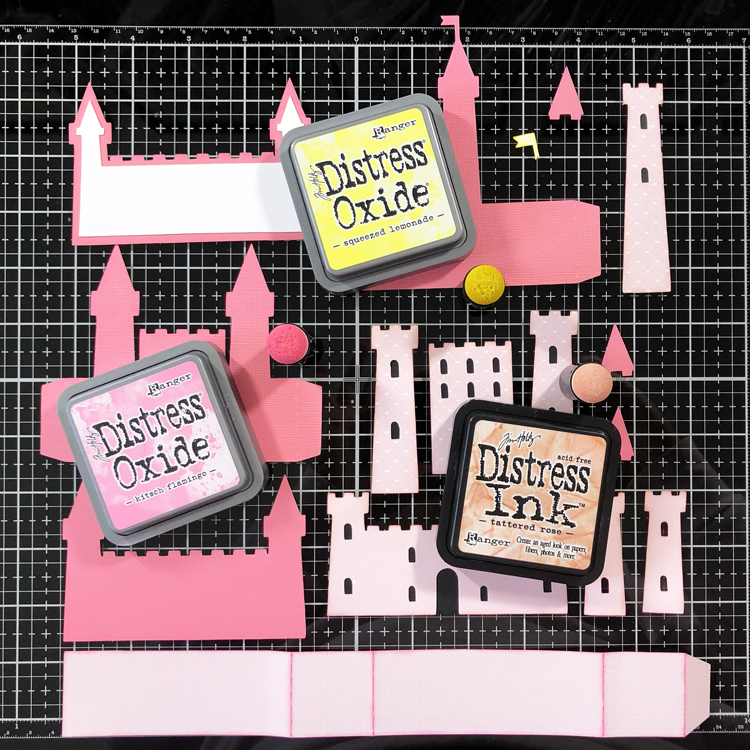
- Assemble the card front panel, the back panel, and the 2 castle inserts.
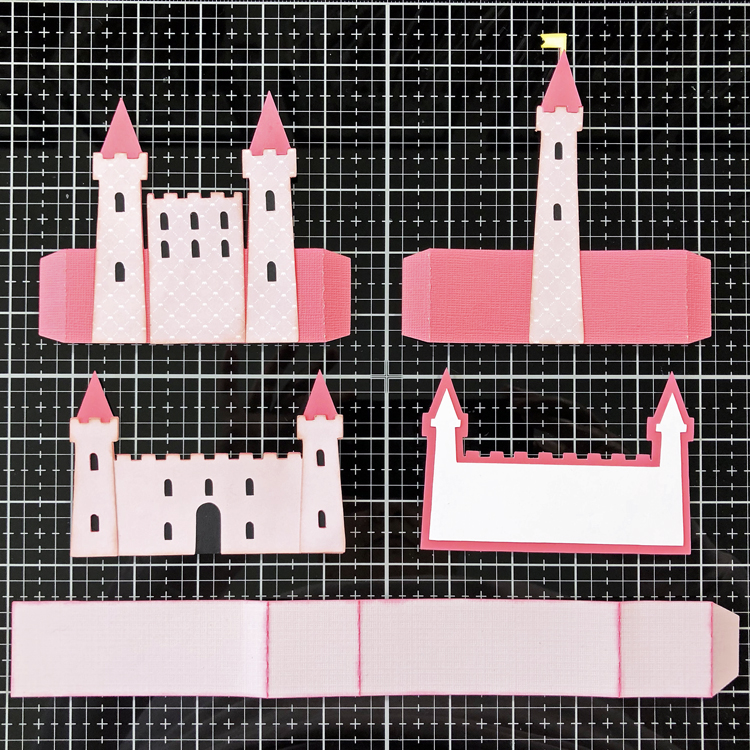
- Glue the card base to create a rectangle and then adhere the card front and back panels to the base.
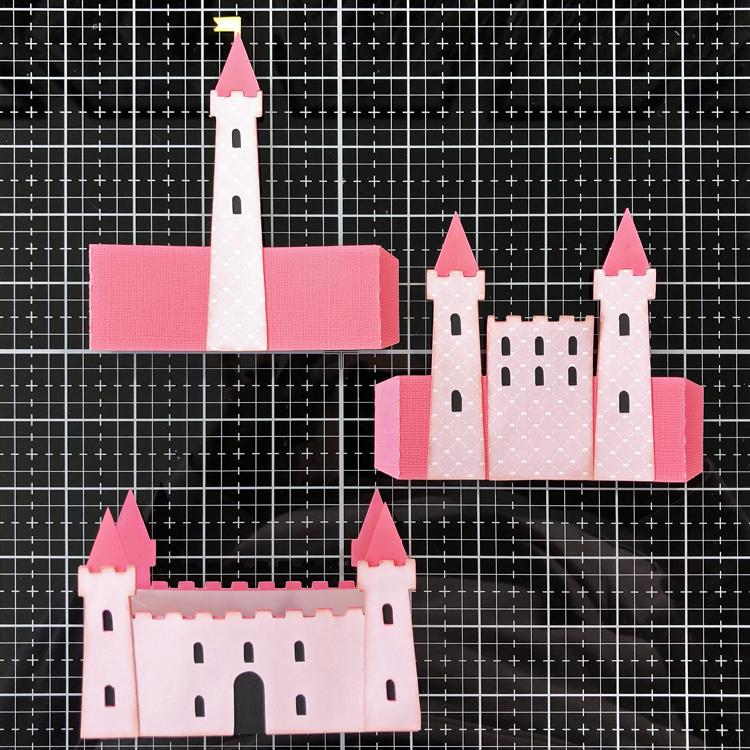
- Add the box card inserts and then embellish with stickers from the Our Little Princess collection.
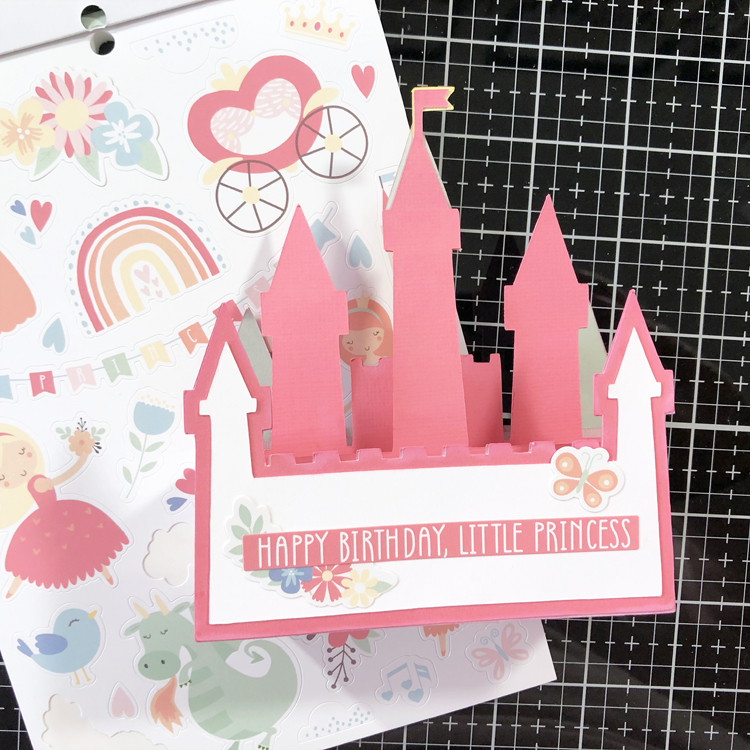
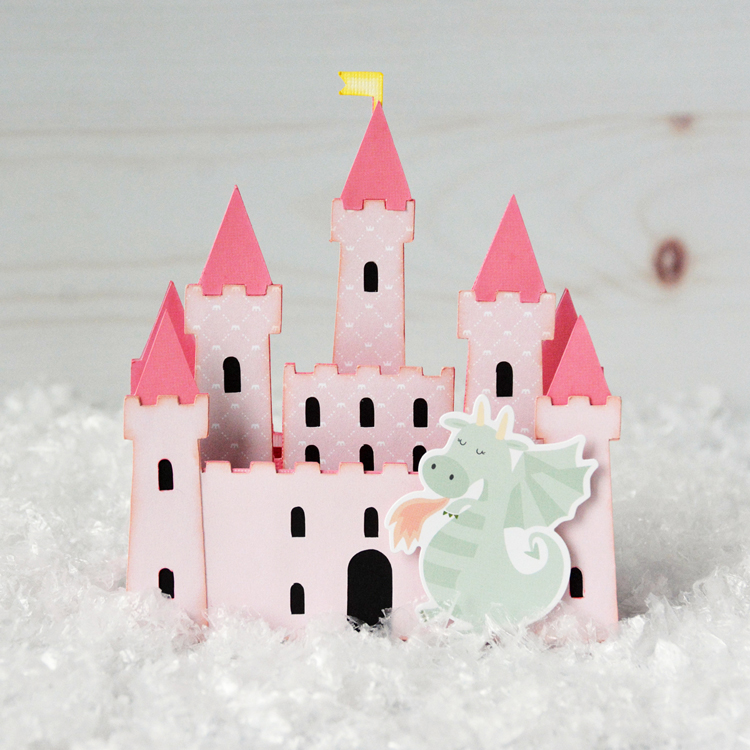
This card folds completely flat for mailing (A7 envelope) and is sure to bring a smile to the lucky recipient’s face. Be sure to check out all the other castle cut files in Lori’s store too.
Thanks so much for stopping by.
~Marcia
