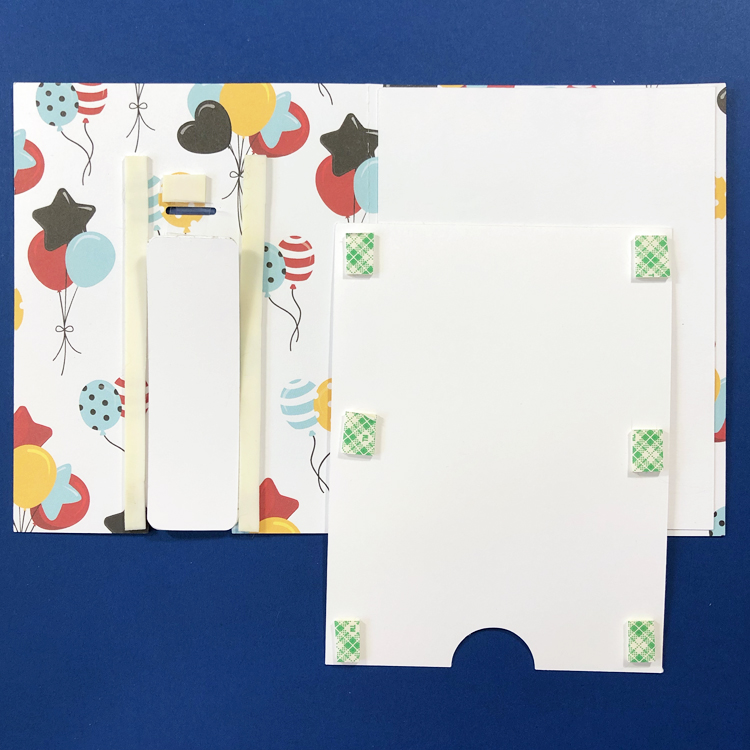
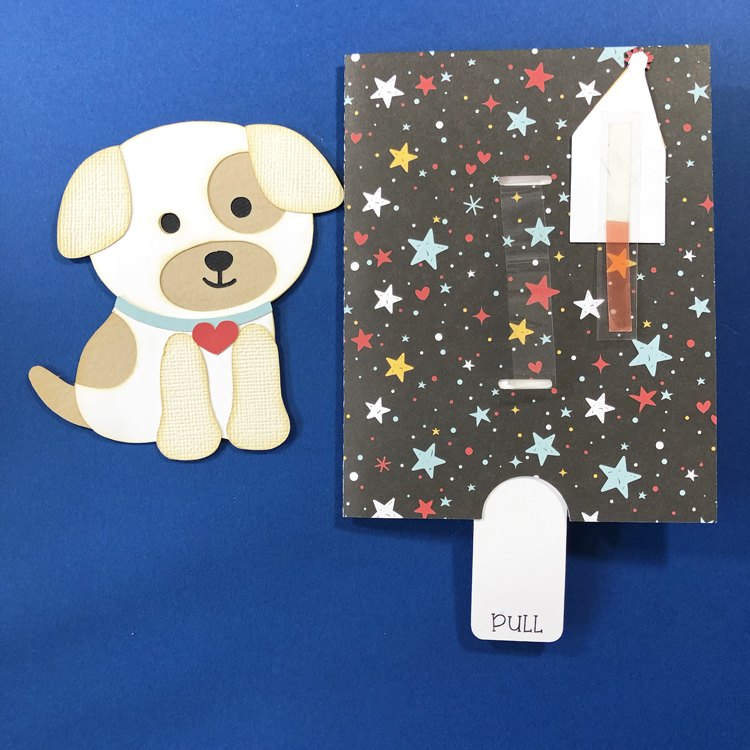
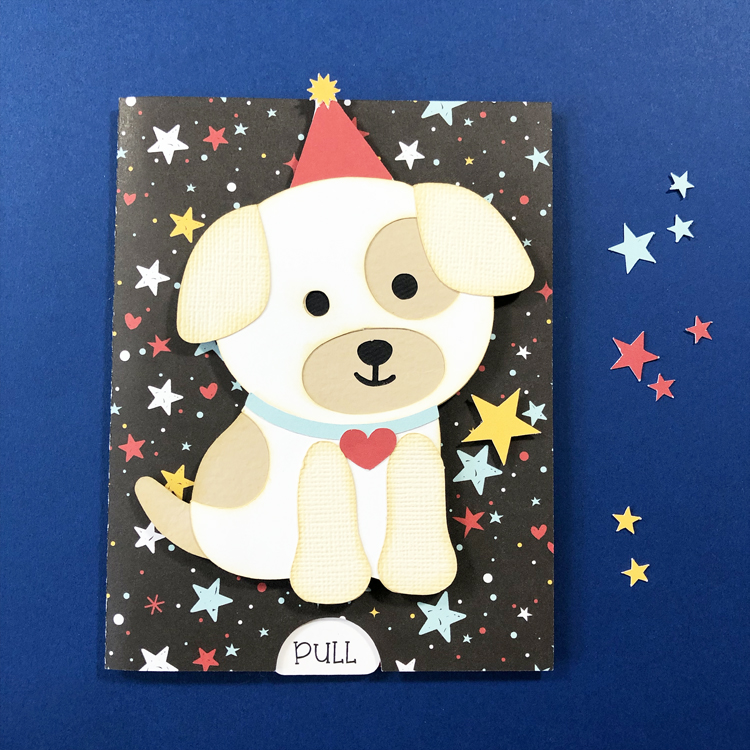
Hello everyone! Marcia here today. I thought I would get a jump start on some of the birthday cards I will need in the coming months. My daughter is turning 30 at the end of the month! I can’t believe it!! Since she is a veterinarian and partial to dogs, so I thought I would make her this Rectangle Pop-Up Dog Birthday Card (SVG, Silhouette).
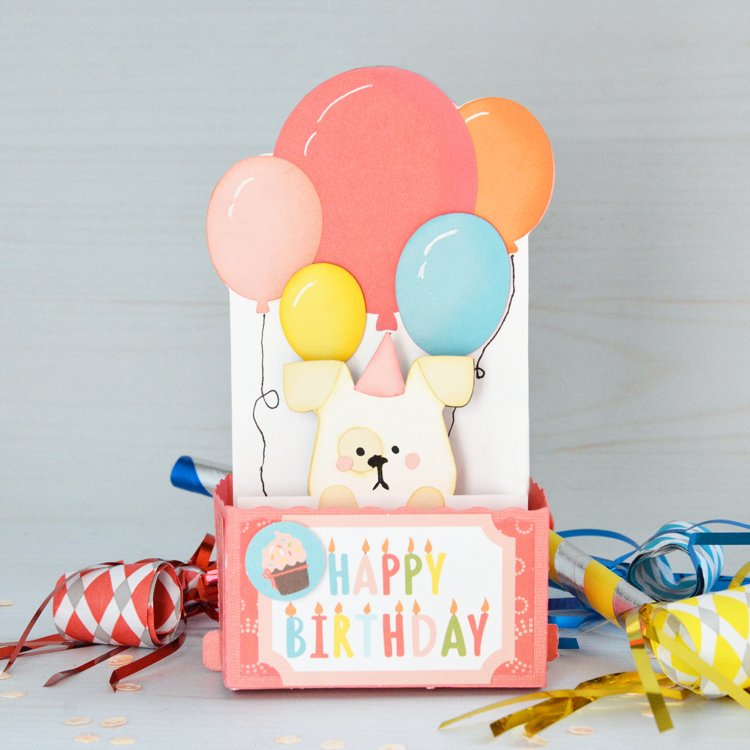
The card is shown in Lori’s store in bright boy colors, but I wanted my card to be girly. My daughter’s favorite color is pink, so I select a pretty pink pattern paper from the new Lori Whitlock Birthday Girl collection from Echo Park Paper to use for the card panels around the base. I also used die cut ephemera from the same collection for the sentiment on the card front. You can use the print and cut feature to use the Happy Birthday sentiment that comes with the cut file instead if you desire. The balloons were cut with paper from the coordinating Birthday Girl solid color paper pack. I inked the edges for dimension and added highlights with a white gel pen. With a black marker, I even added strings for my balloons.
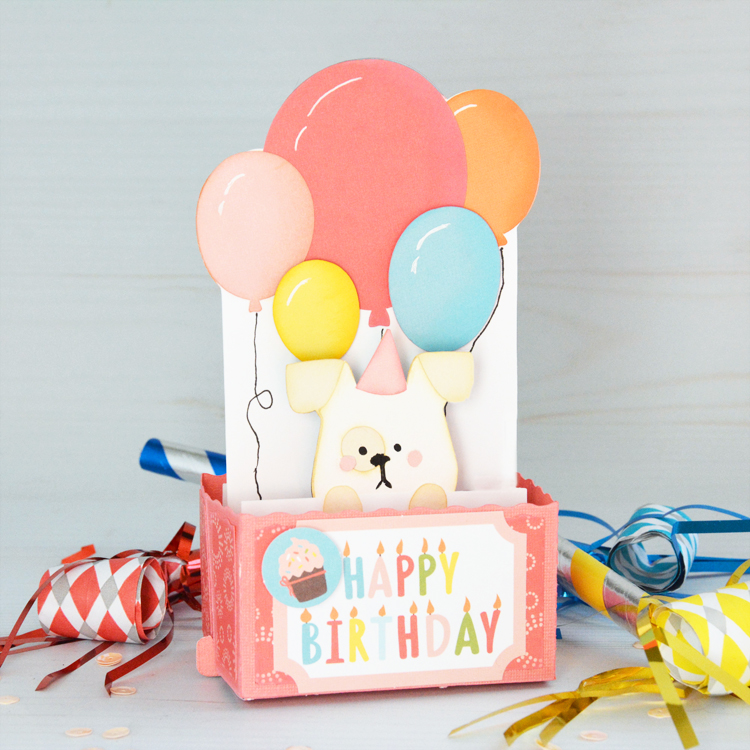
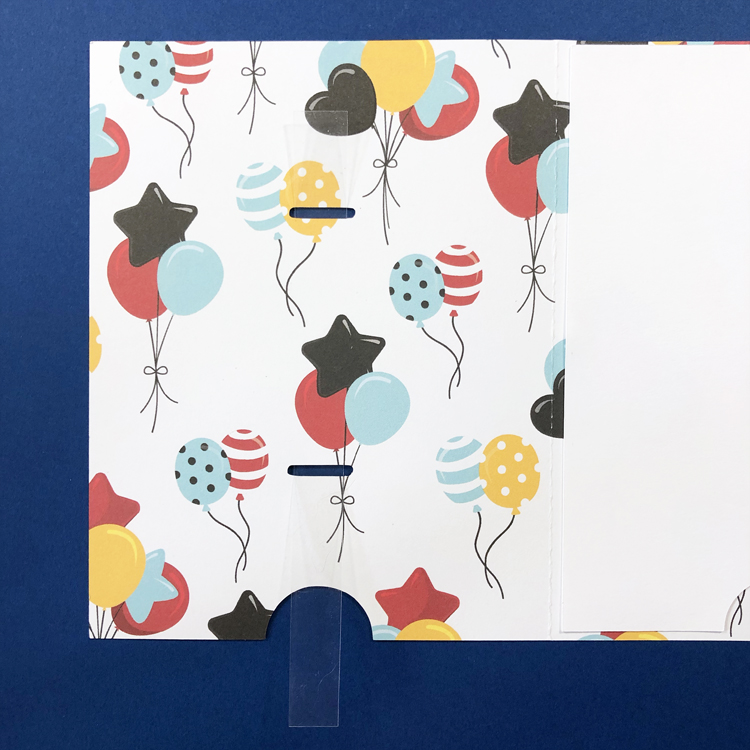
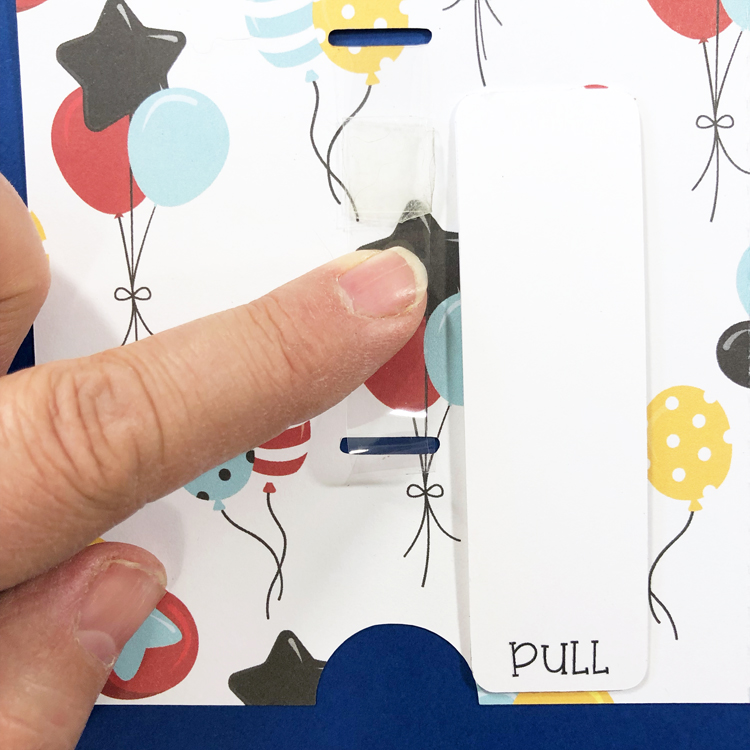
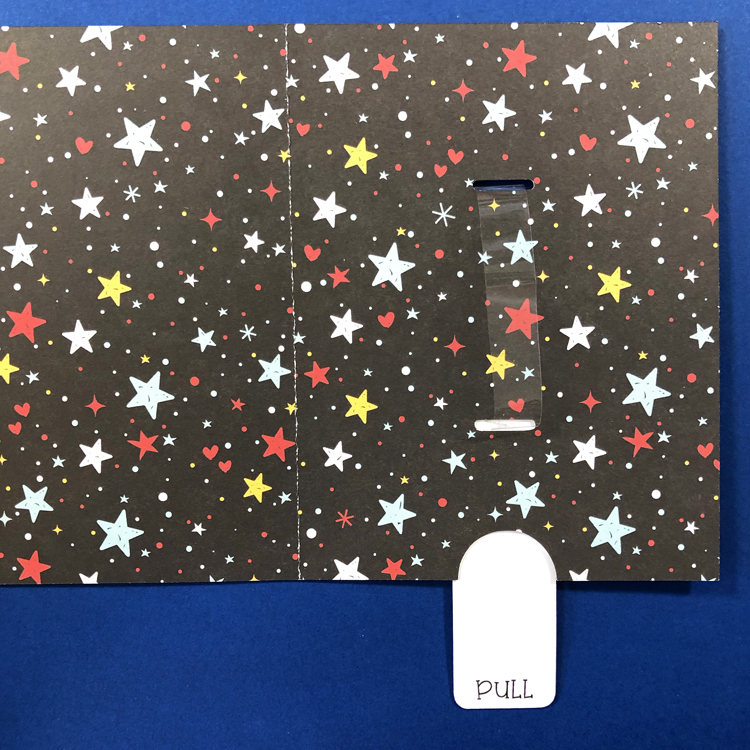
The back side of this card is just as adorable as the front …
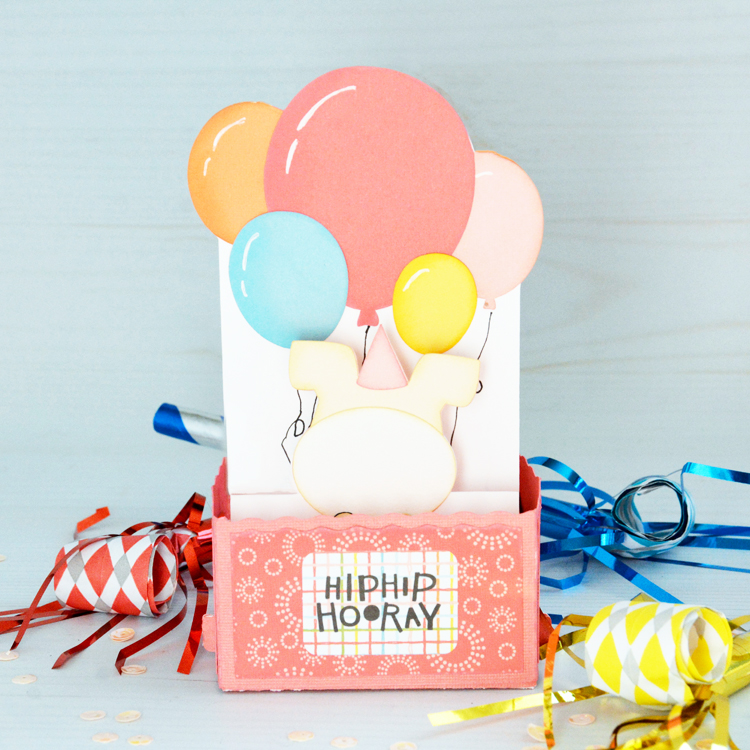
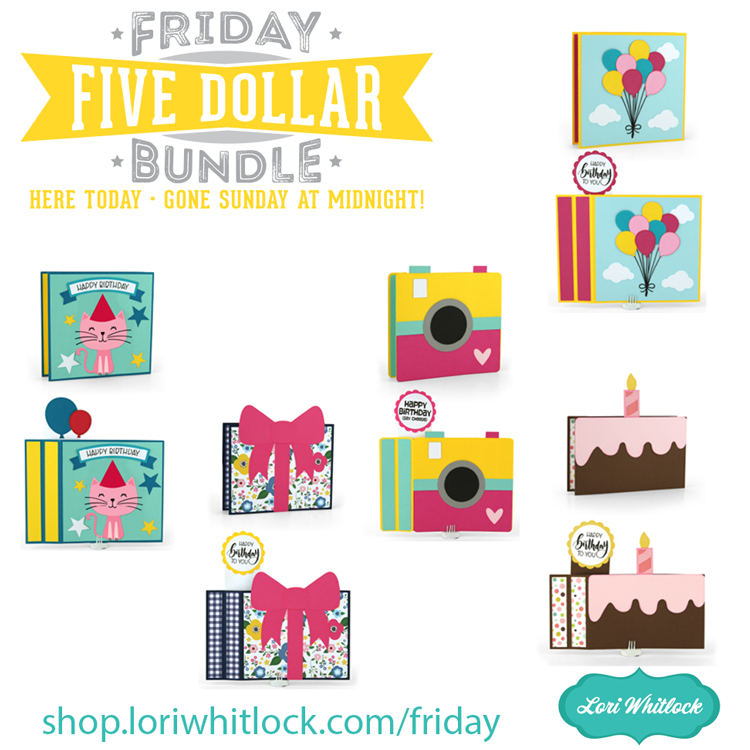
This card folds flat for mailing in a 5.5″ x 6.5″ or bigger envelope. Lori also has a tutorial for her rectangle pop up cards here. There is a super cute cat version of this card as well. Be sure to check it out in Lori’s store.
Thanks so much for stopping by. Have a great week!
~Marcia

