
Oh my Gosh everyone! Lori has designed the cutest new collection for Echo Park and I just couldn’t wait to play. Dino-Mite is just that, dynamite. The cutest dinosaurs, colors and patterns. I had so much fun putting my project together and digging through the collection to find all the perfect pieces for my explosion box. You can find the Dinosaur Explosion Box here in Lori’s Shop or here in the Silhouette Online Design Store.
First, cut all of your pieces. Sort your pieces to make assembly easy. I started with the lid of the box.
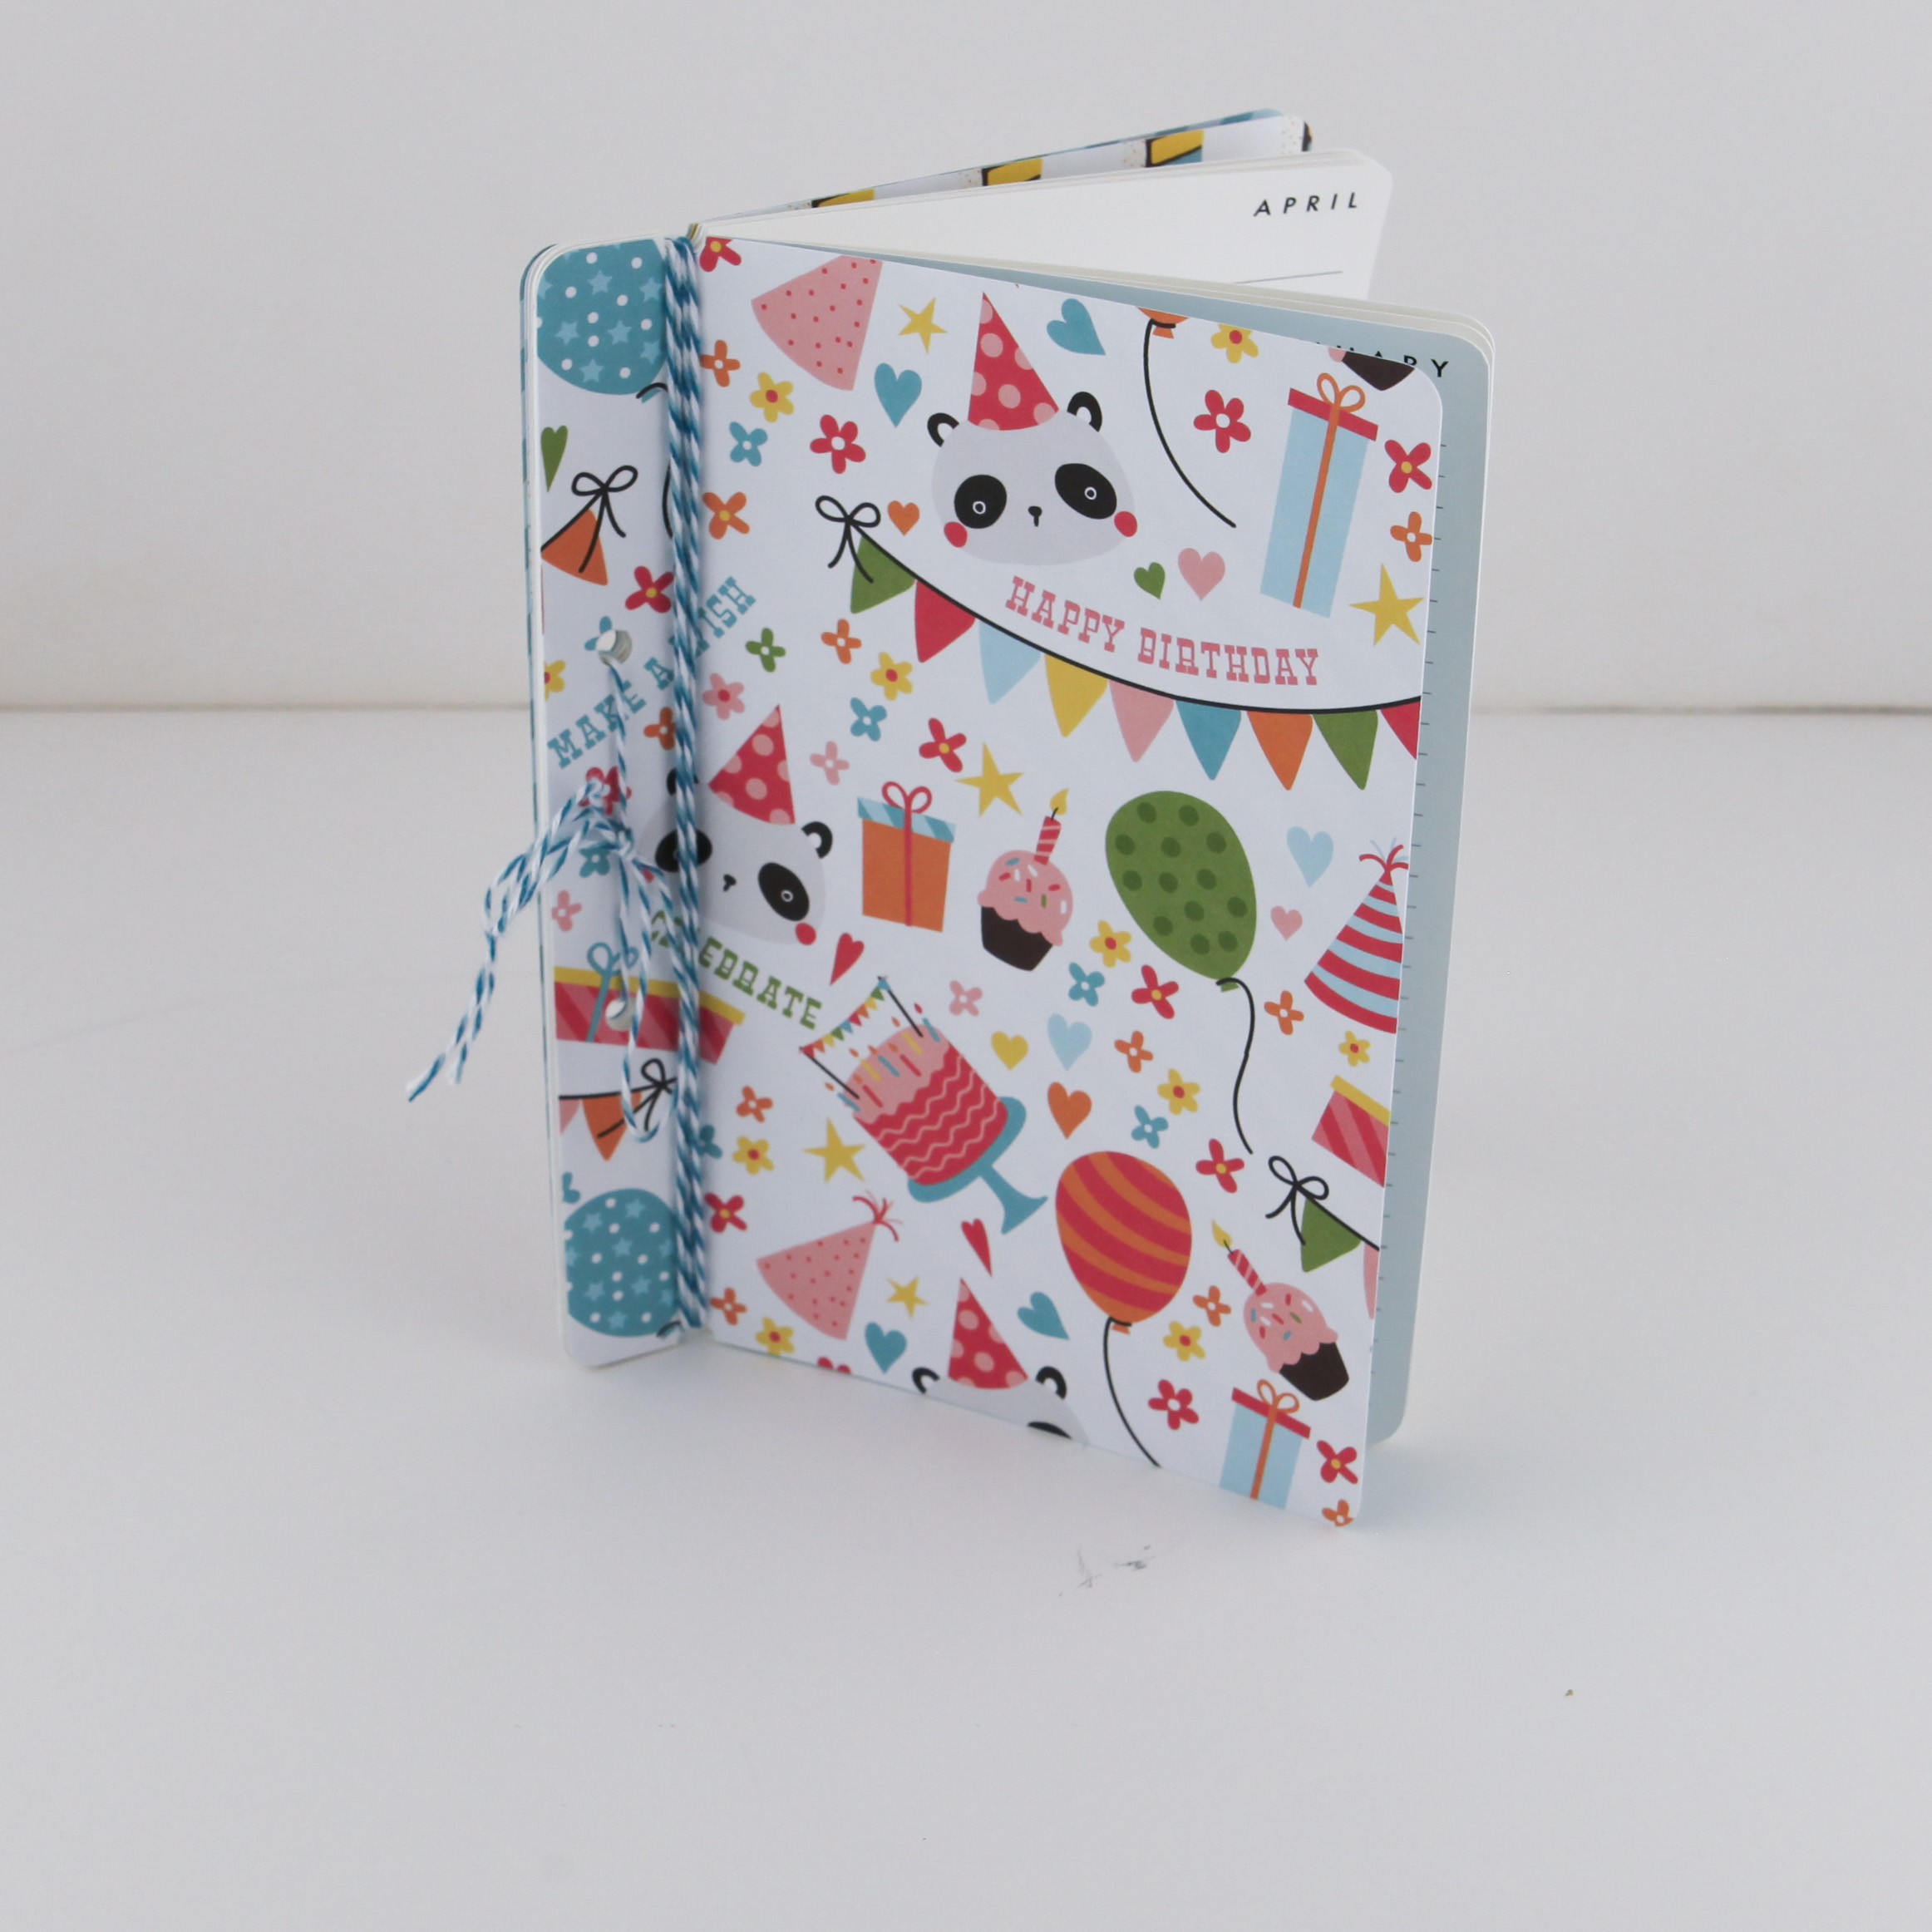
Fold your lid on the score lines to start to create the shape, adhere your patterned paper pieces and then add scor-tape to the tabs.
.jpg)
.jpg)
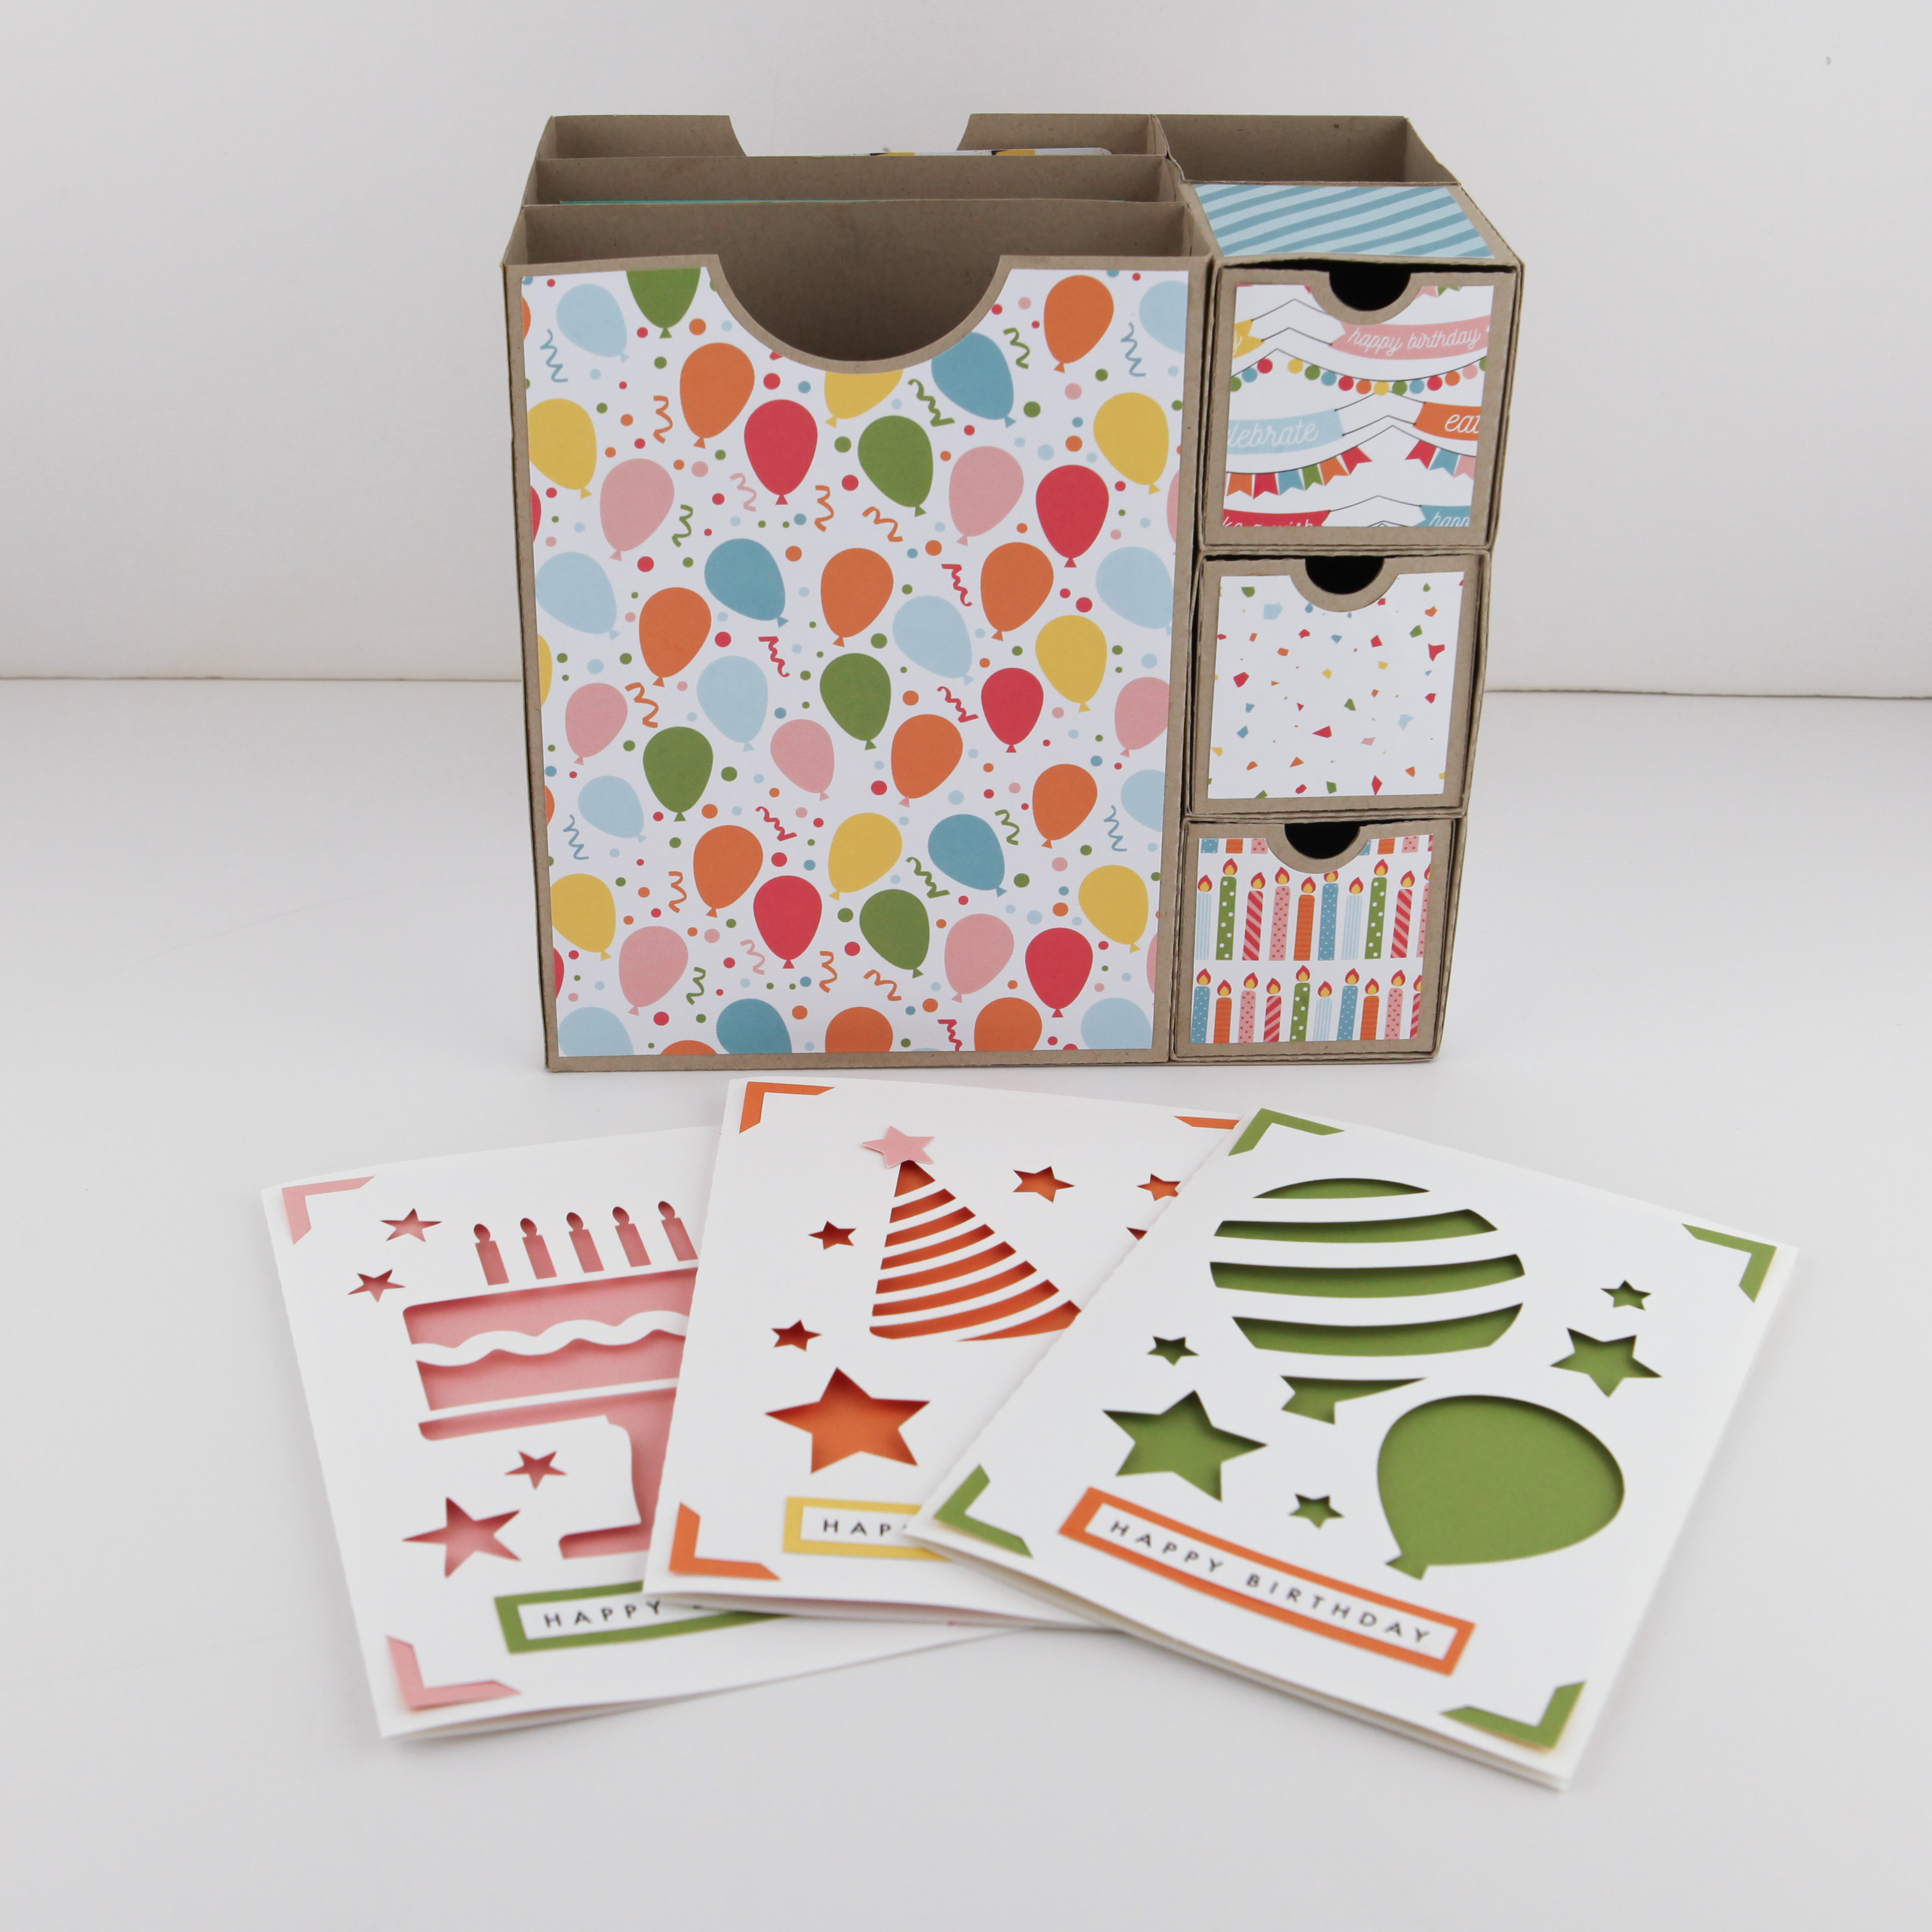
Next, we will create the bottom of the explosion box. On one side you will add the 3 panels for the bottom the box and scor tape on the 5 tabs. The extra piece you see here is the very bottom of the box, which goes on last.
.jpg)
Flip the bottom of your explosion box over and add the remaining pieces as shown.
.jpg)
.jpg)
.jpg)
.jpg)
.jpg)
.jpg)
.jpg)
.jpg)


