Be sure to go grab these SVG files while you can.
Shop Friday $5 Bundle HERE
~Lori
Be sure to go grab these SVG files while you can.
~Lori
Hi friends! Today I am sharing a Valentine idea. I love the belly boxes and Lori has several on her site (SVG). I used the Belly Box Hippo (SVG, Silhouette). To make him more of valentine I used pink papers as accents and added some hearts to the feet. I then filled the belly part with some of my little guy’s favorite candy. I love how he turned out. These little boxes are easy to assemble and don’t have to many pieces. Definitely something that can be mass produced if needed.
Thanks for stopping by!
Brandie
Hello everyone! Marcia here today. Since I have Spring fever but its still snowing here, I decided to get busy making some Easter Belly Boxes for my nieces and nephews. The belly boxes come in an array of animals and they are perfect for Easter baskets. I chose the Bunny (SVG, Silhouette) and the Chick (SVG, Silhouette) Belly Boxes. For a quick tutorial, you can see this blog post.
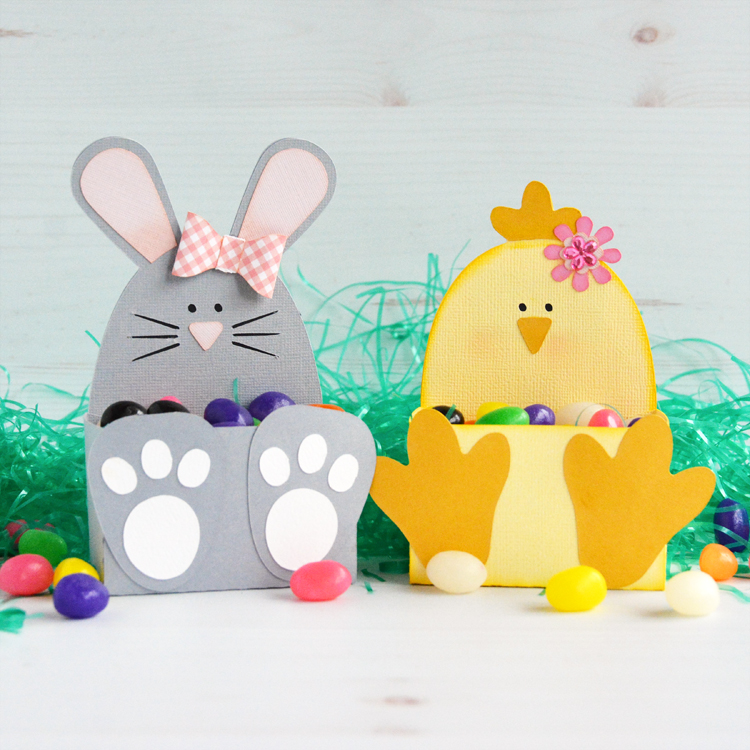
Not only are they adorable but their bellies hold plenty of candy!
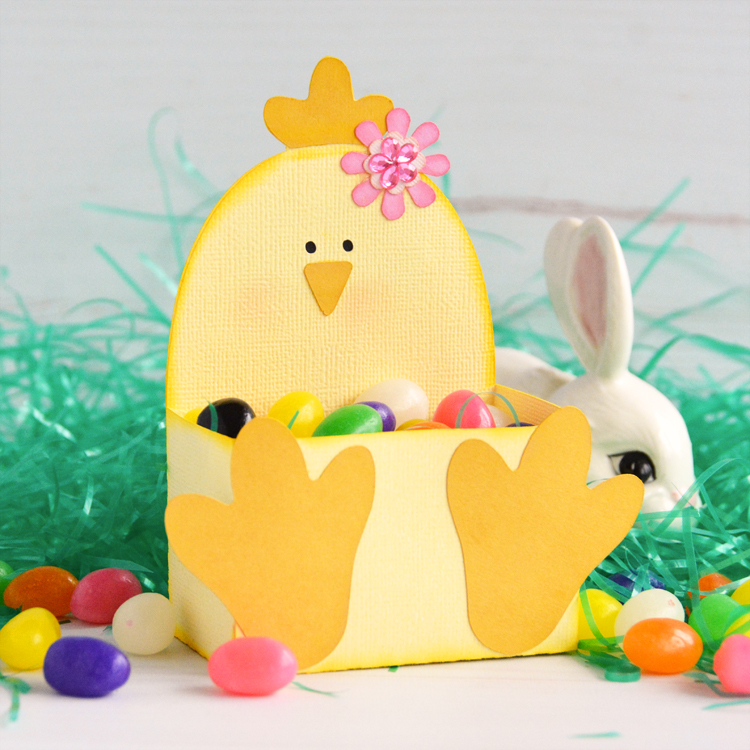
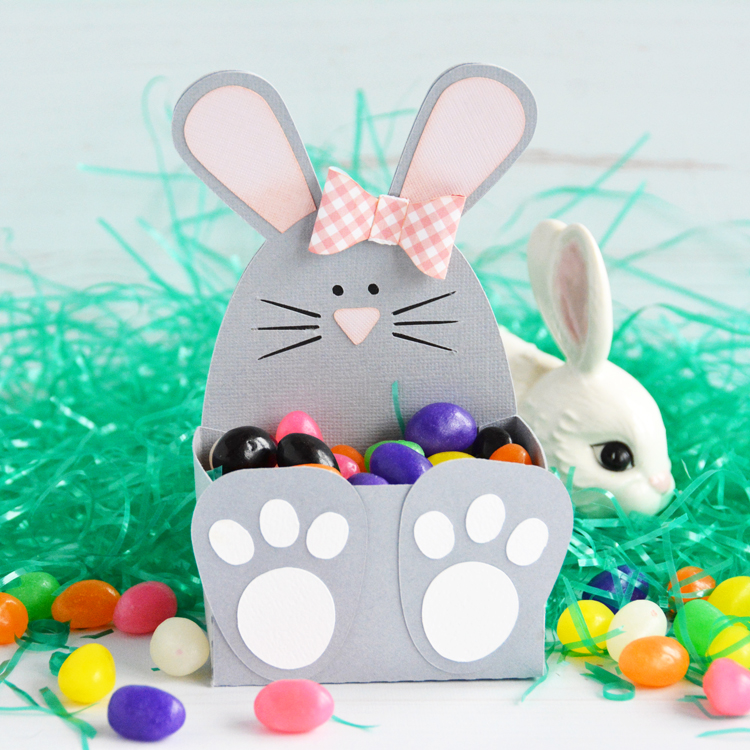
Lori has lots of Easter ideas in her shop. Go check them all out and have some fun making your own Easter belly boxes!
Thanks so much for stopping by.
~Marcia
Hello friends! Marcia here today. Now that September is here I am starting to think of Fall papercrafts to make. This little Fox Belly Box (SVG, Silhouette) would make an awesome party favor, gift, or adorable table décor. Fill it’s belly with your favorite fall candy.
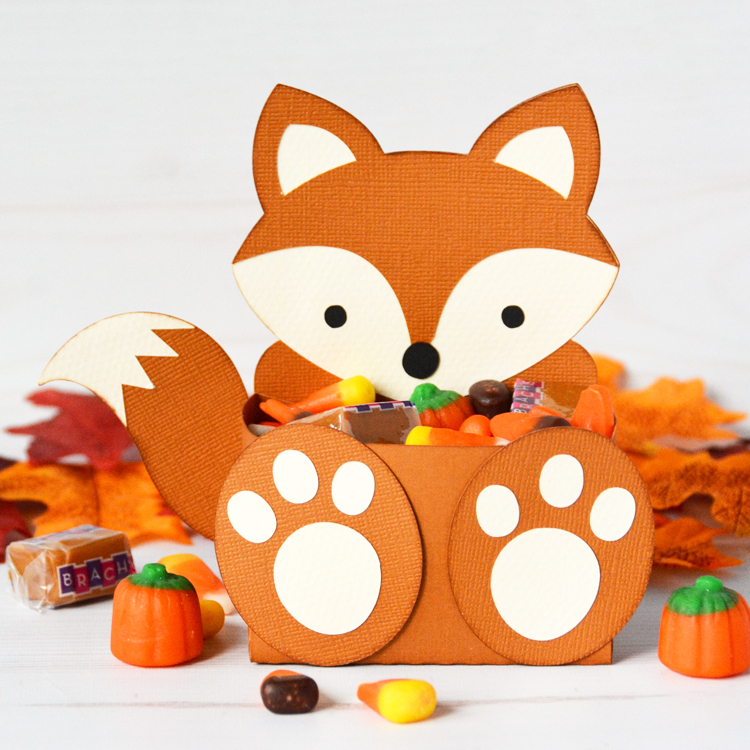
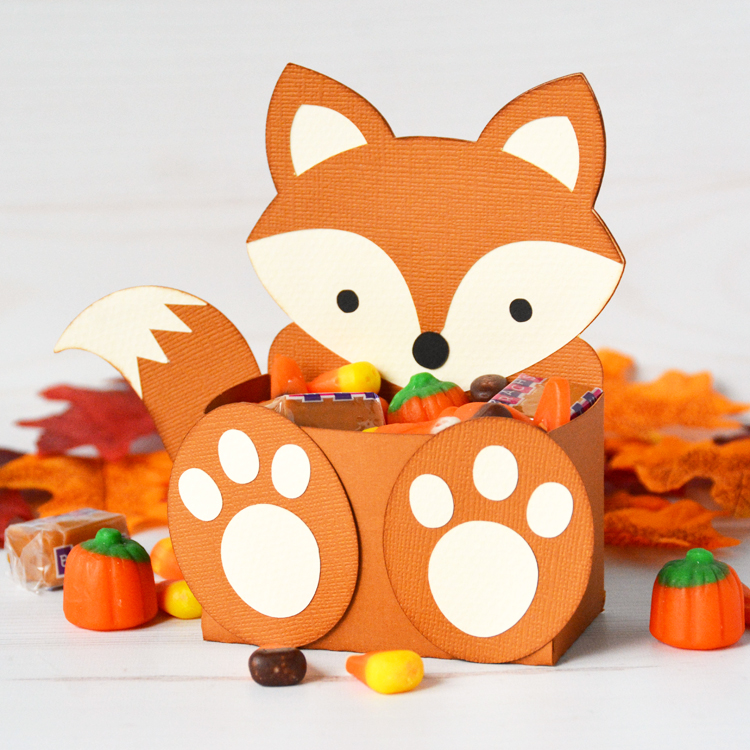
If foxes aren’t your thing, there are lots of other animal belly boxes just as adorable. Check them all out in Lori’s store. Thanks so much for stopping by.
~Marcia
Hi there paper crafting friends! It’s Michelle Starcher, aka the Bookish Designer, hopping onto the blog to walk you through the steps to create Lori’s Belly Box Easter Bunny (SVG, Silhouette). This adorable little treat holder is part of the 2021 March Kit of the Month (SVG), which is FREE with any $20 purchase from the Lori Whitlock Shop during the month of March. Look for the coupon code in the item description.

In this photo tutorial, I will break down the steps to create this cute little bunny box! I wanted my box to be a little bit bigger than the original design. After opening the file in the Cricut Design Space, I increased the size by dragging the arrow in the bottom right corner. If you are resizing a file, do it while all the elements are still grouped to keep the ratio between elements. I set my file size to 13.848 x 11.5″ since my Cricut Maker doesn’t like to cut files larger than 11.5″ without using oversized papers. The process is similar in Silhouette.

After cutting the file pieces, I inked the edges of the pieces. After inking all of the individual pieces, I attached the paw pads to the paws and the ears to box bunny face. At this point, it doesn’t matter which side of the bunny make the front, unless you are like me and your cardstock is a different color on each side.**

Next, you are going to attach the black rectangle to the back of the bunny face. At this point, I folded the bow as well. The pieces fold back to form the bow, and then you “tie” the matching strip around the bow. Hopefully, you can see the how the bow comes together in the picture below.

Attach the box-less bunny face over the back of the box bunny to cover the black rectangle. Fold the box along the score marks, and add adhesive to the tabs on the box.

Attach the tabs to the front of the bunny and the front rectangle to create the box. Then add your paws, bow, and bunny nose using foam tape. (You can use regular adhesive, but I always like to add a little “pop” to my projects!)

Fill your Bunny Belly Box with candy, and it is ready to give to some-bunny special this Easter.
Don’t forget this adorable little treat holder is part of the 2021 March Kit of the Month (SVG), which is FREE with any $20 purchase from the Lori Whitlock SVG Shop during the month of March. Look for the coupon code in the item description.
Until next time,
Michelle
**Since my cardstock was light gray on one side and dark gray on the other, I cut two copies of the bunny belly box. I cut off the box portion of the second one and attached it to the front of my bunny box. I did this because I didn’t want my bunny face and the box body to be two different colors.**