
Spring seems to be just around the corner…I am sure there is more winter to come here in South Dakota…but I am remaining hopeful. And with Spring just around the corner, it’s time to think about gardening and bees. So I broke out Lori’s Bee Happy collection. This is such a fun collection, and it’s perfect for Spring and Summer.
First, I used Lori’s A2 Honey Card. Silhouette Just the cutest little shaped card.
.jpg)
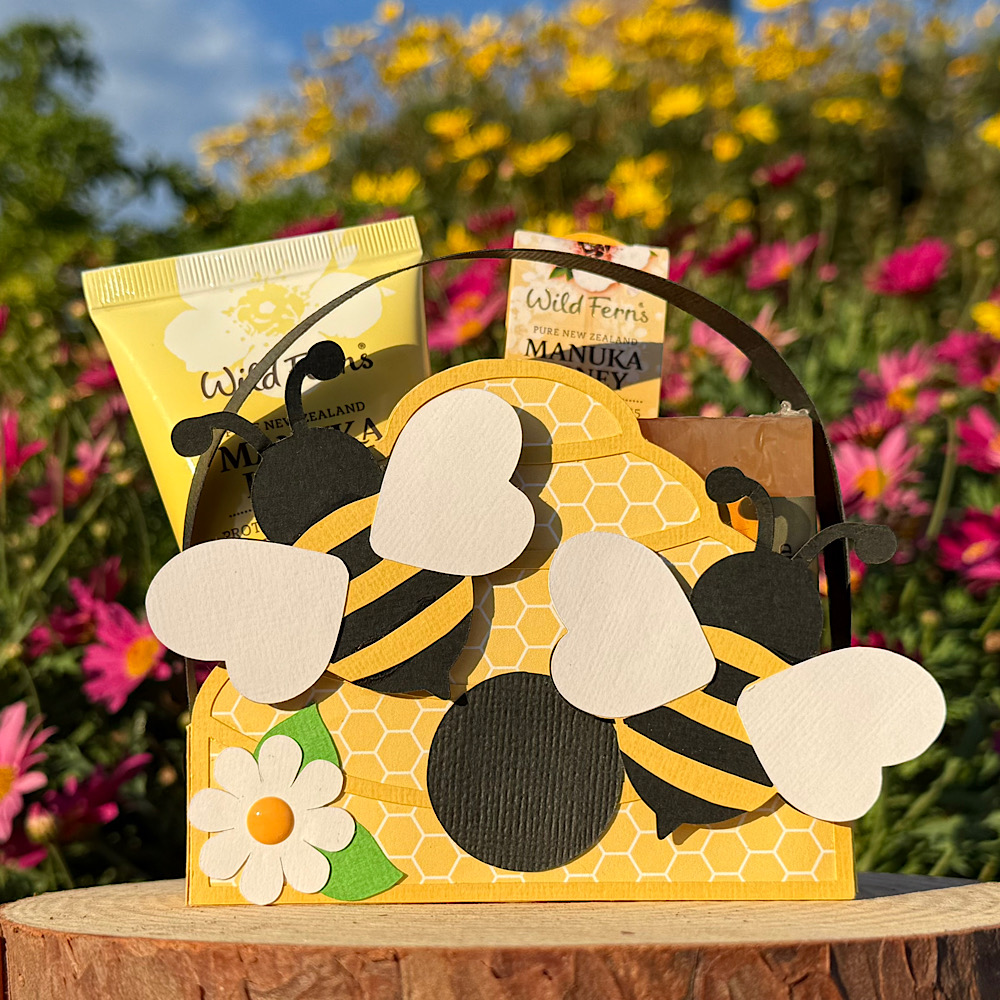
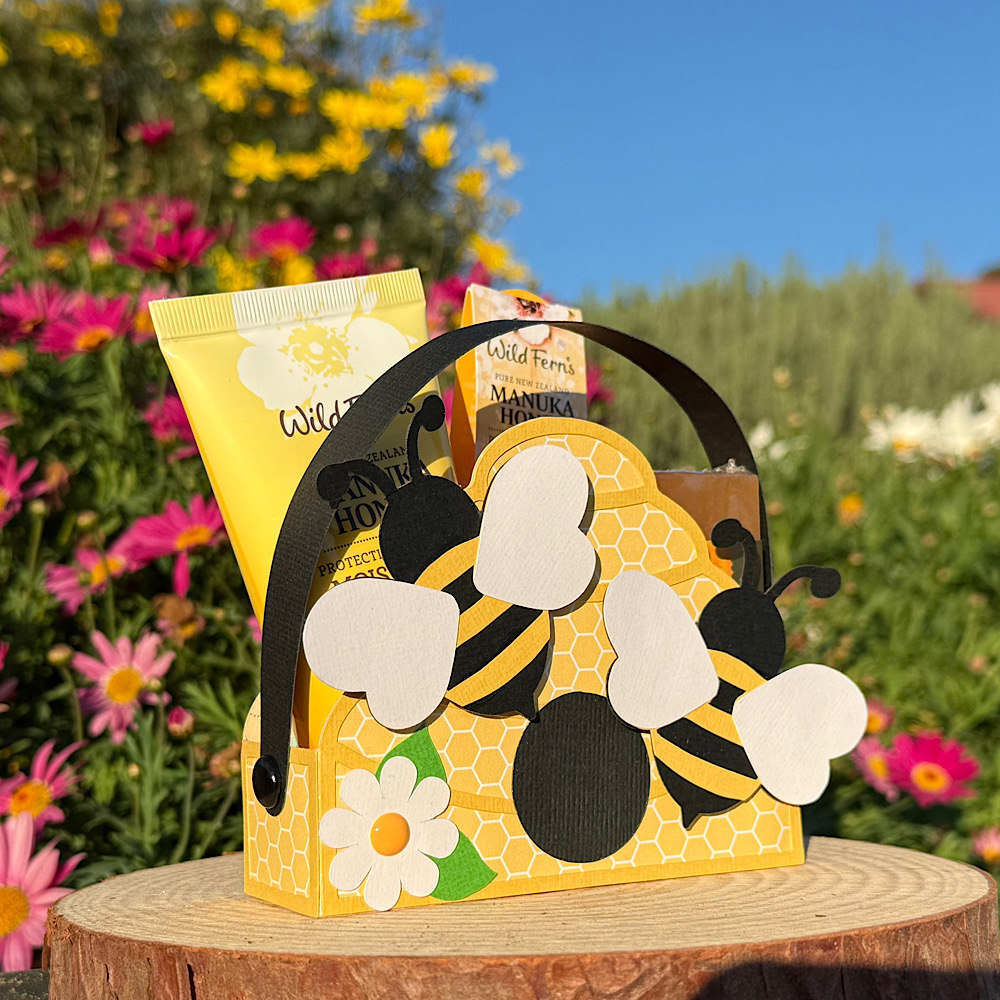
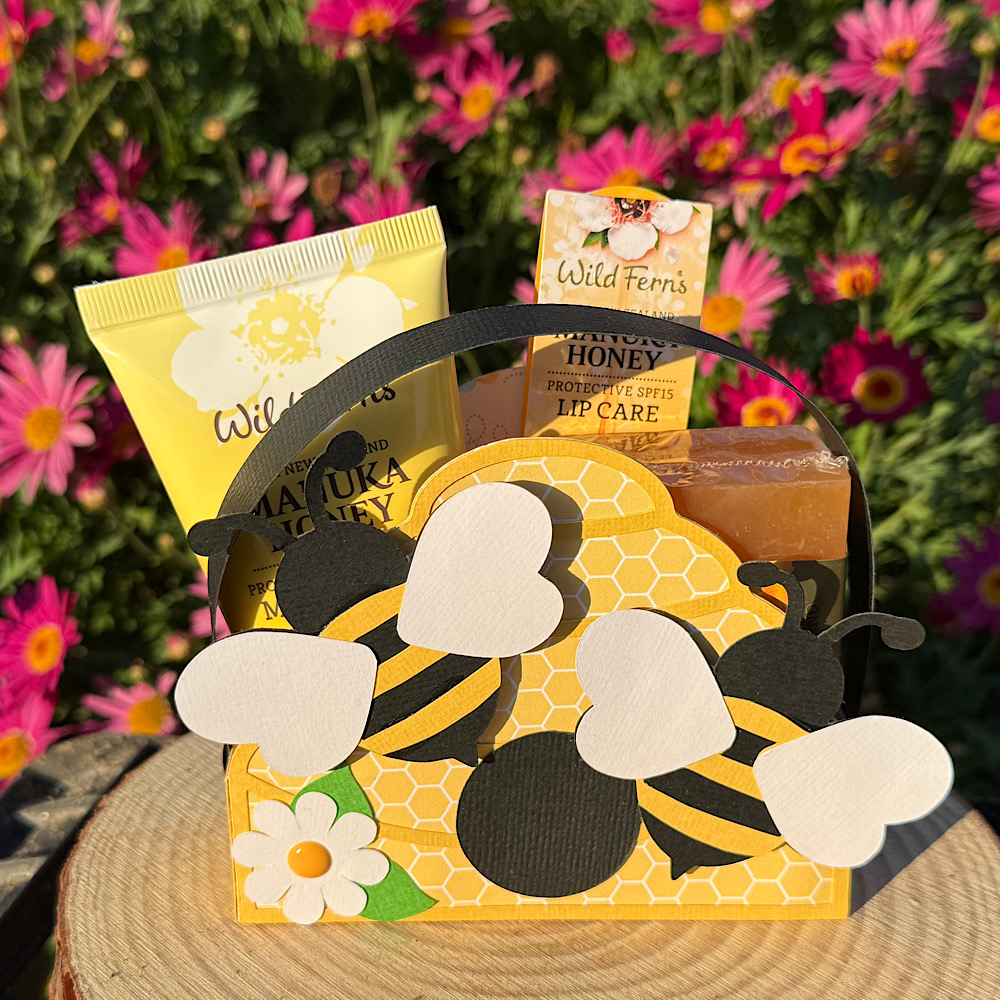
And next Lori’s Beehive Box Card. SVG I love to make both styles of these cards. Always my favorite and I get to use lots of embellishments from the collection.
.jpg)
Here’s hoping Spring is on the way and that the bees visit my garden


.jpg)
.jpg)
