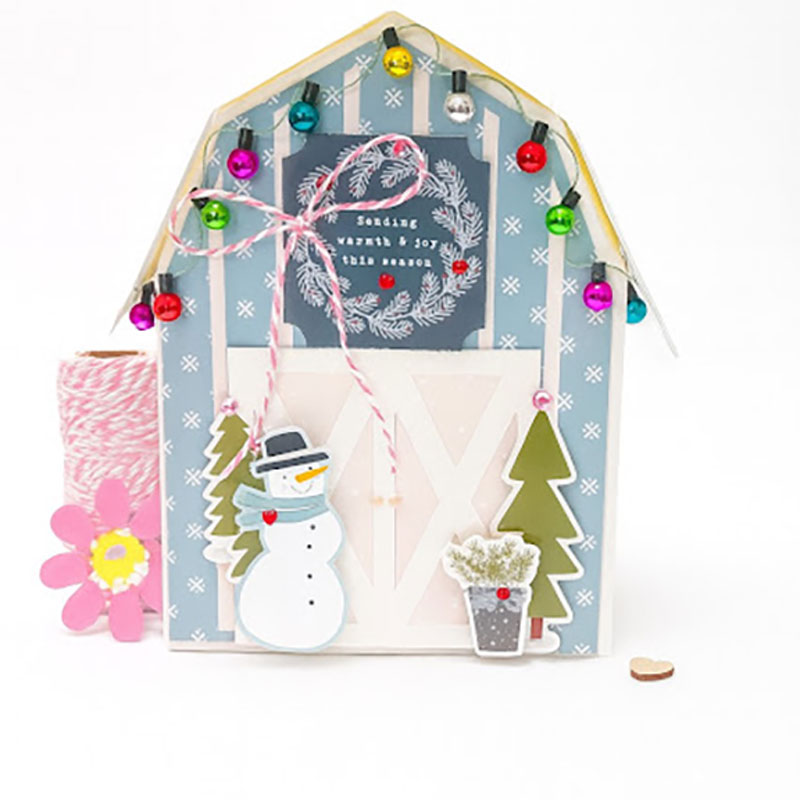
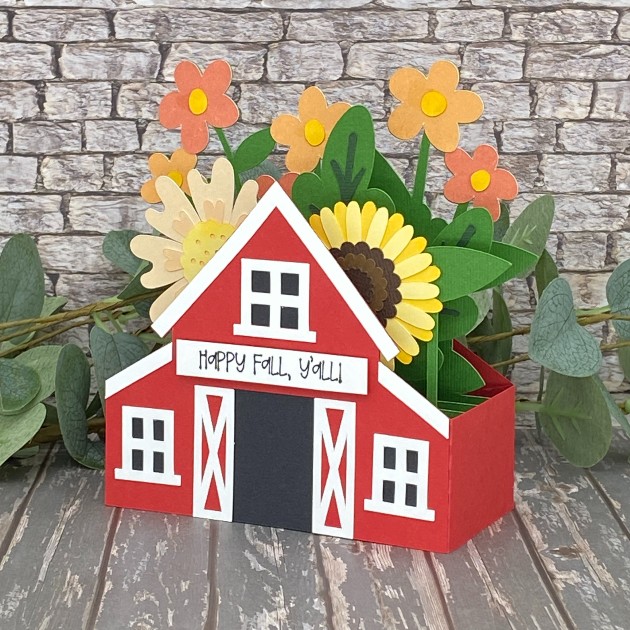
Hi friends, I hope you’re having a great week! Can you believe this month is almost over?! Leslie here, sharing a tutorial for making a Fall themed barn box card. If you love box cards as much as I do, be sure to check out Lori’s shop because she has some really awesome ones. I used the Box Card Barn Flowers SVG cut file (Silhouette)(from the A2 Box Card Autumn Bundle) along with papers from the Pattern Fill Set Autumn Joy for the flowers. So let’s make a box card!
Cut The Pieces
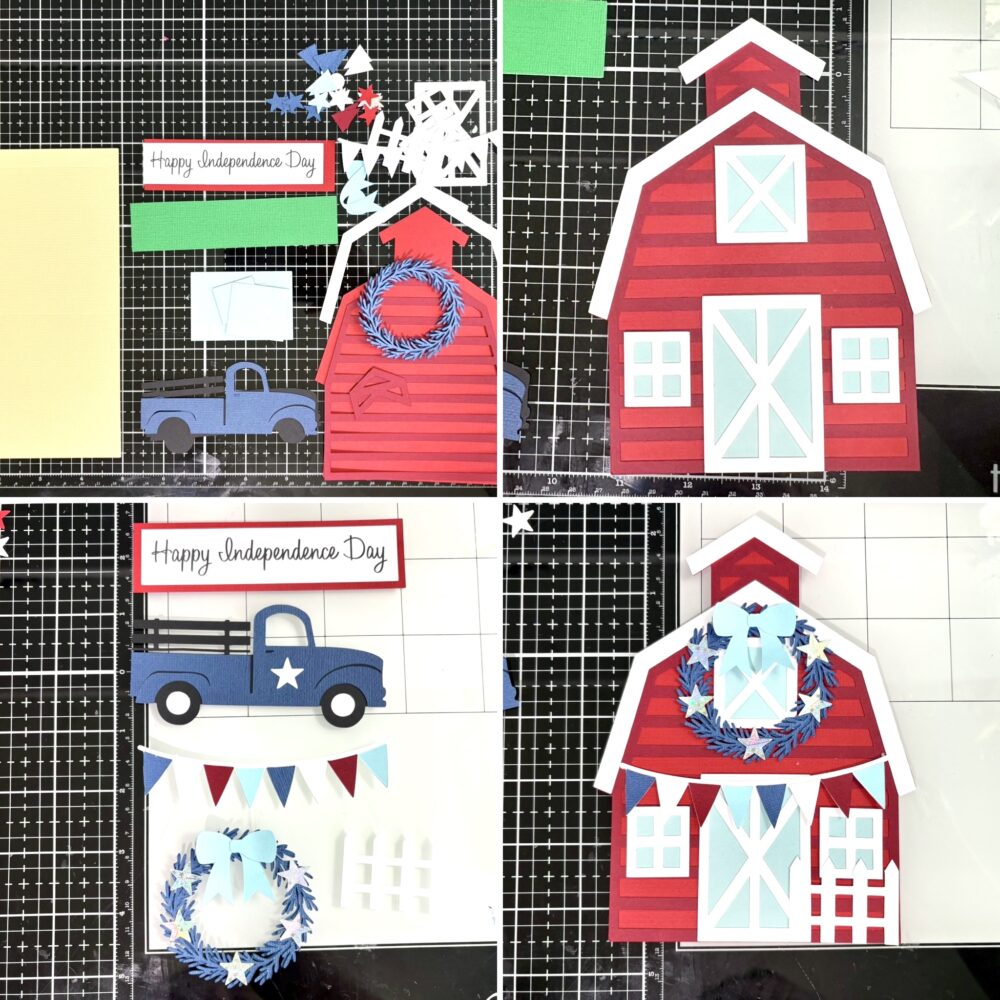
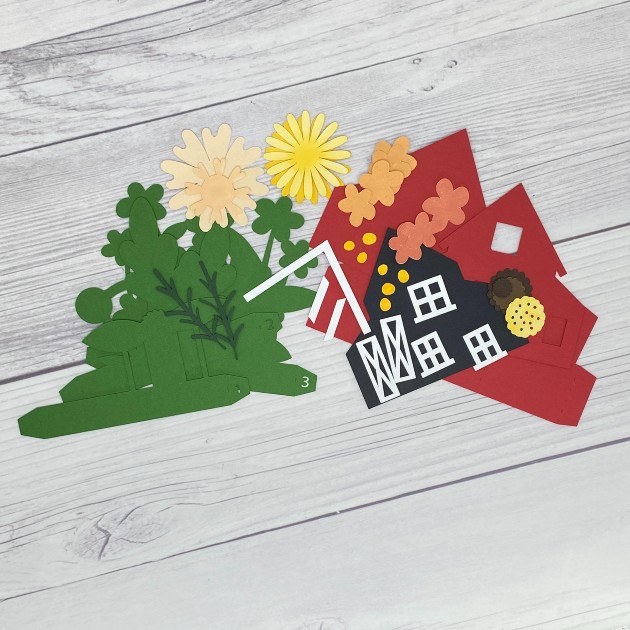
Using your choice of cardstock and patterned paper, cut all the pieces. I used a variety of cardstock in my stash for most of the pieces along with designer papers from Lori’s Pattern Fill Set Autumn Joy for some of the flowers.
Build Front, Back and Inside Panels
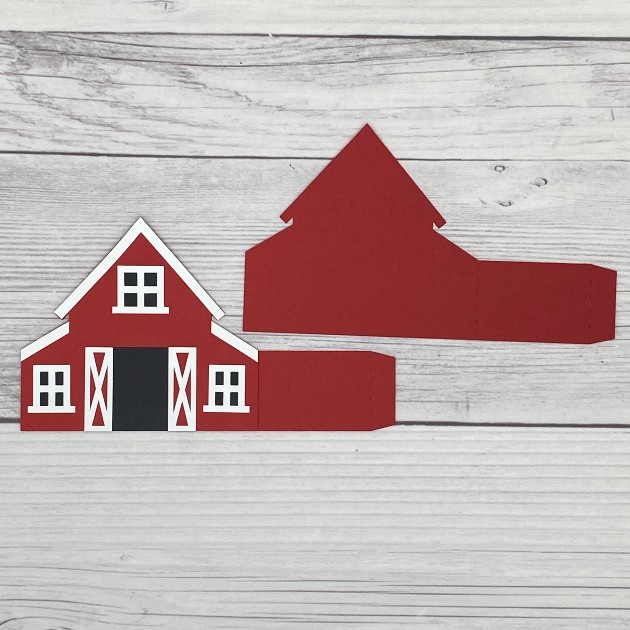
Using your choice of adhesive, build all the panels. I prefer wet glue for the ‘wiggle room’ factor. These are the front and back panels:
First insert:
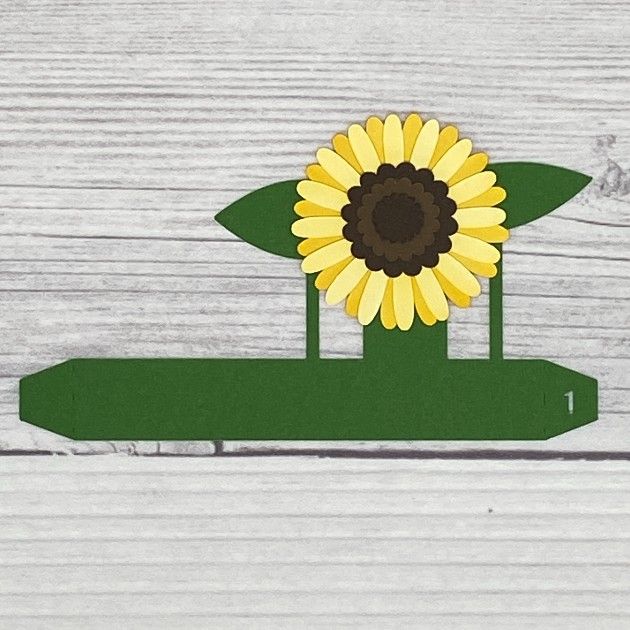
Second (middle) insert:
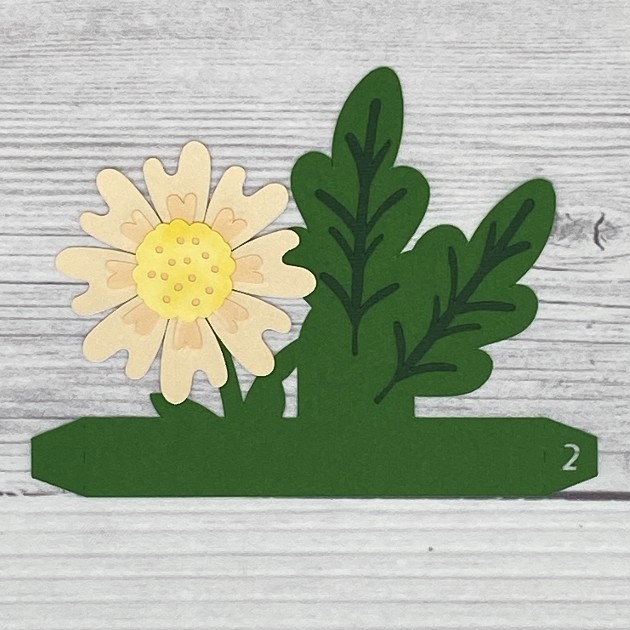
Third (last) insert:
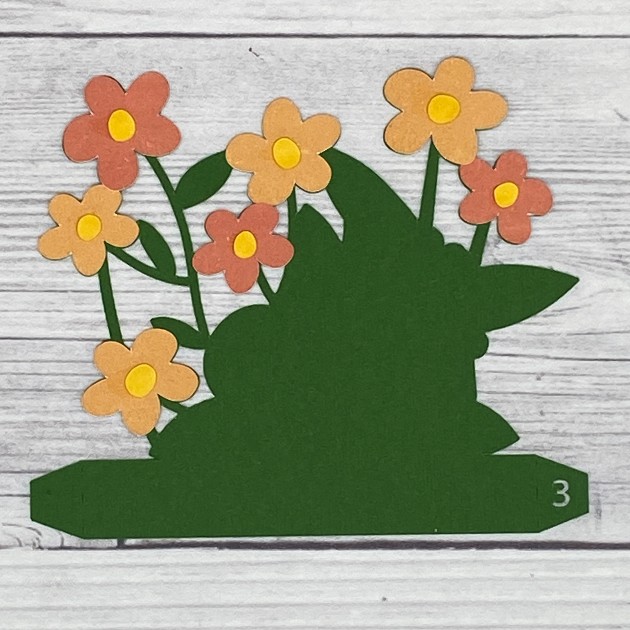
Assemble The Card
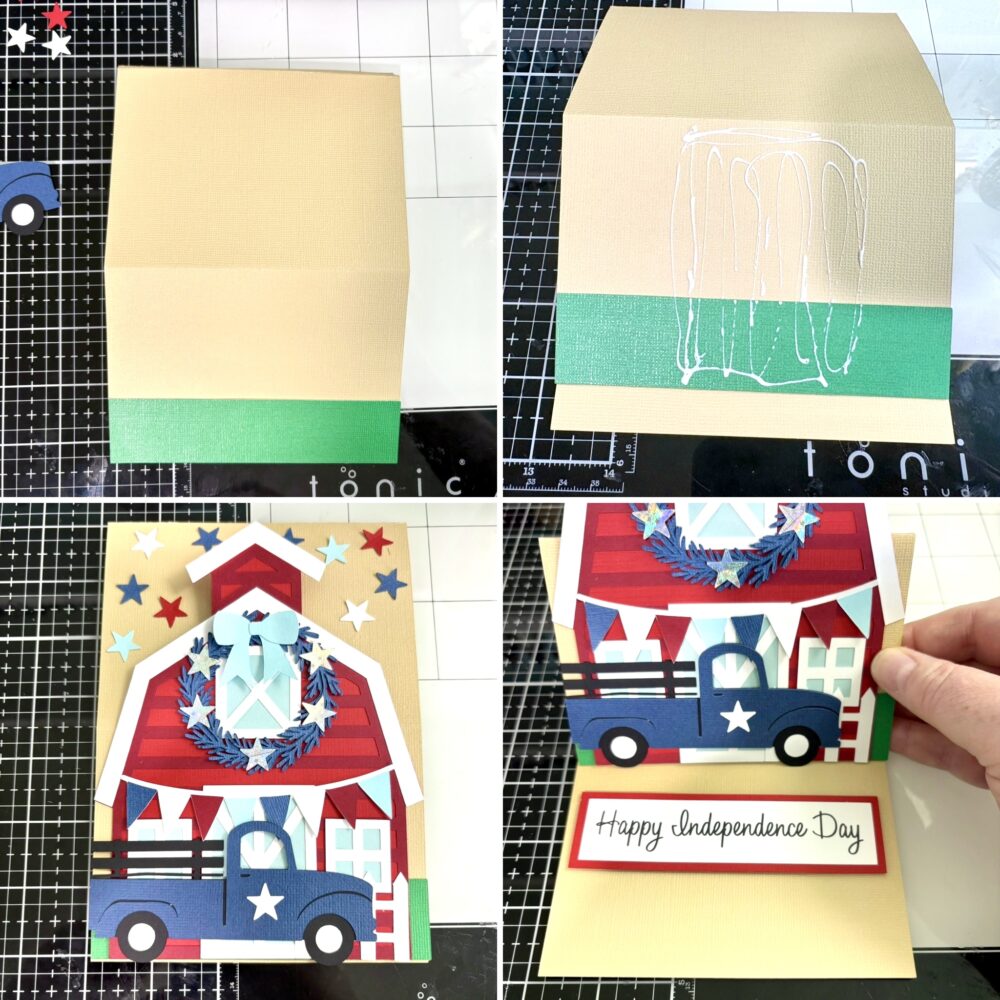
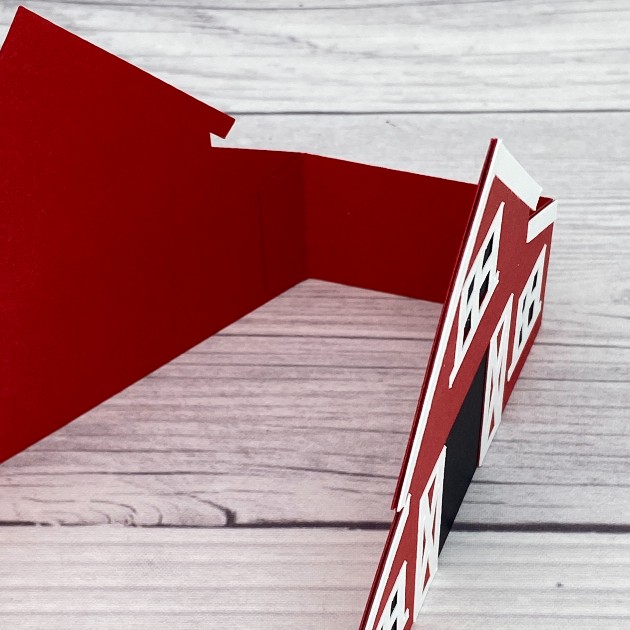
Mountain fold the score lines and adhere the tab on the right side of the front panel to the inside of the back panel.
Starting with the third (last) insert, bend the right-hand tab backwards and adhere it to the inside of the card base just to the right of the score line where you adhered the tab in the last step.
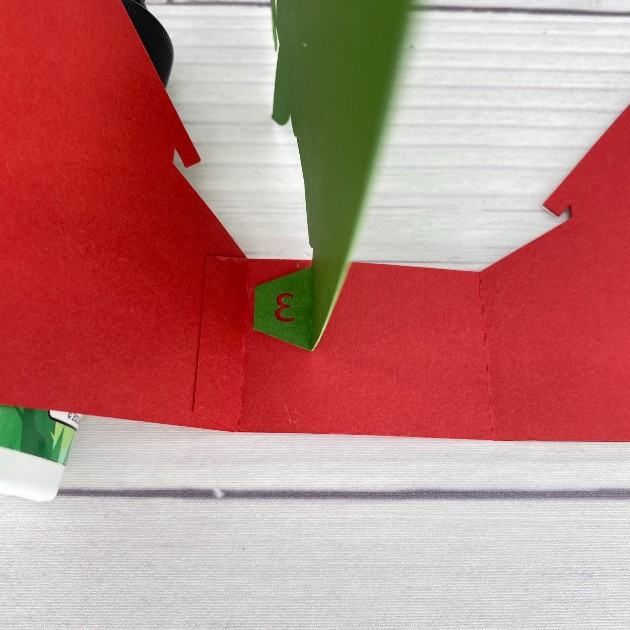
Now come in with the second (middle) insert and glue it just to the right of the third insert. So sorry but I forgot to take a photo of the first insert glued in place (ughhhh), but glue it just to the right of the second insert. They’ll be numbered 3 – 2 – 1 from left to right. The back panel is still on the left and the front panel is still on the right.
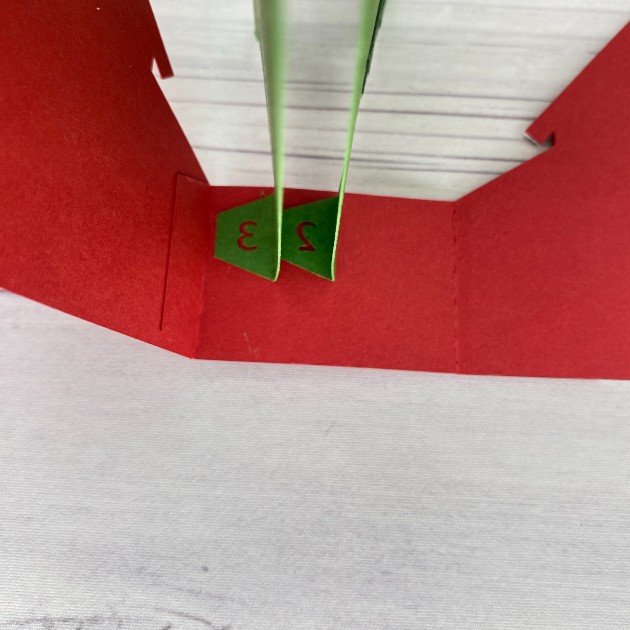
Straighten the back panel and fold all three inserts over toward the left. Be sure the bottom edges line up and apply glue to all three left-hand tabs.
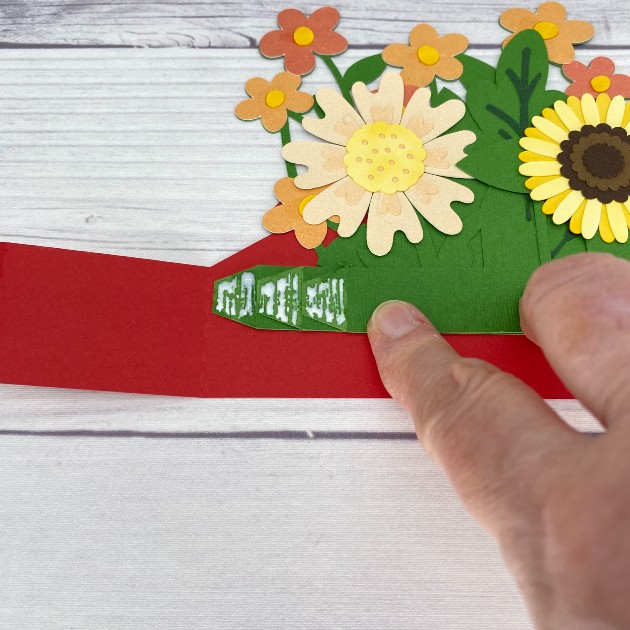
Now fold the side portion of the back panel over toward the left, catching the left-hand tabs on the inserts with the glue on them. Next, apply glue to the tab on the side portion and fold the front panel over toward the right to secure.
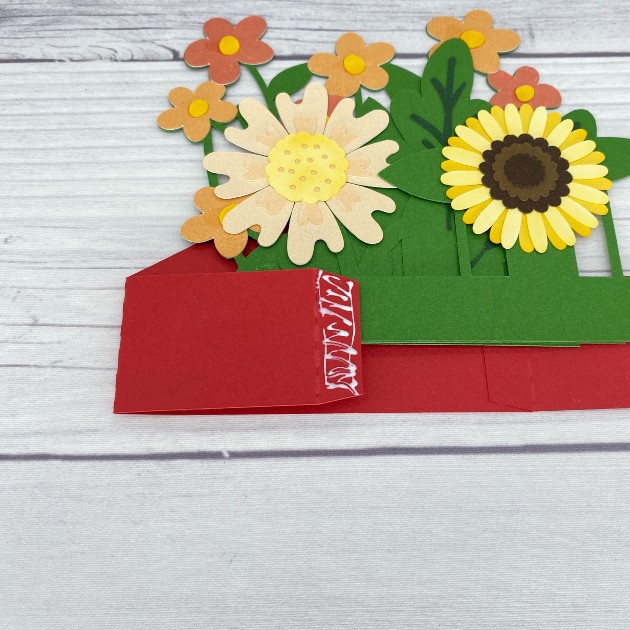
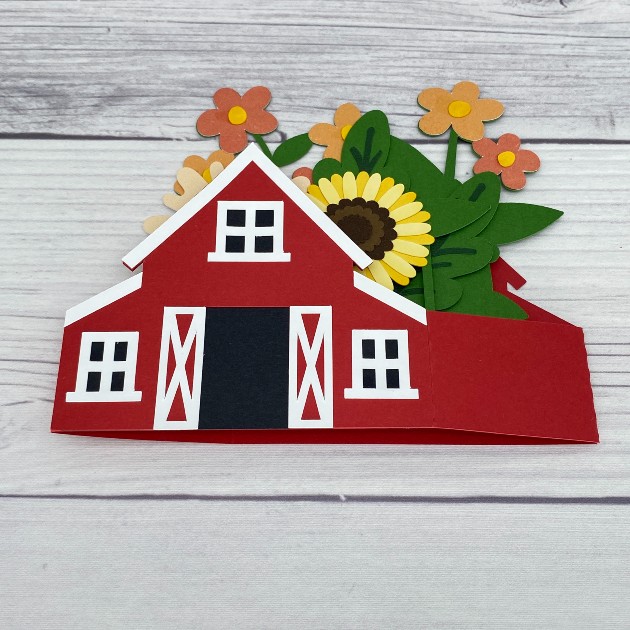
The card will now look like this.
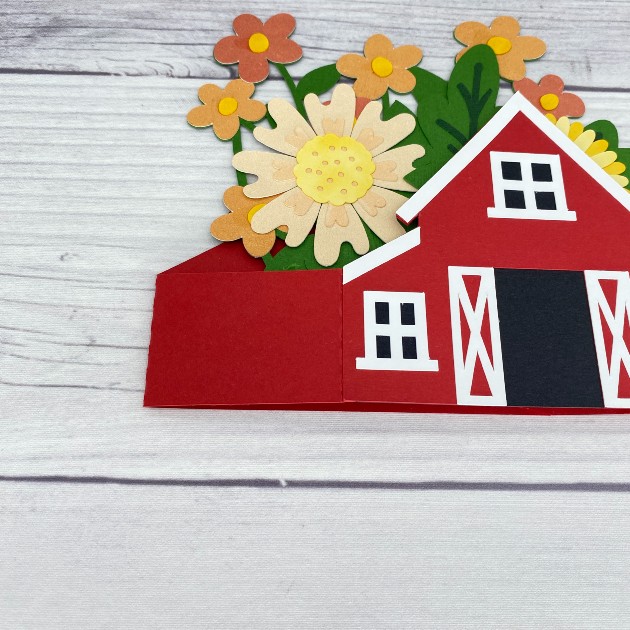
Now push the folds toward the left to help ‘train’ them to fold in either direction.
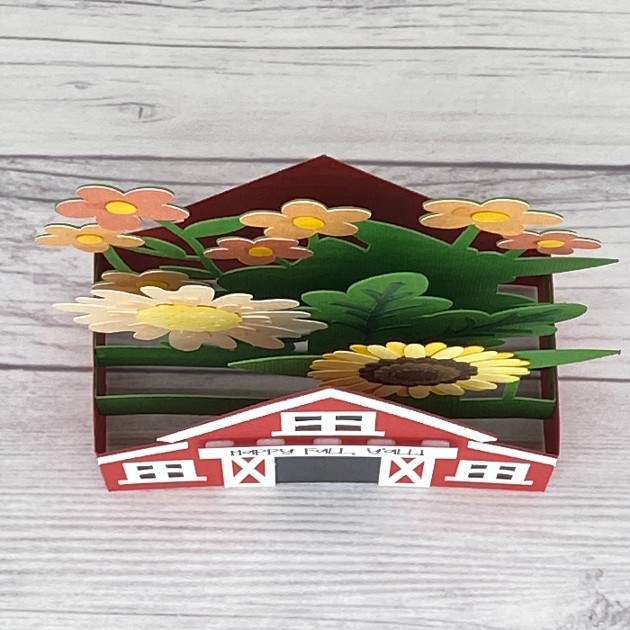
This is an overhead view of the assembled card with all three inserts.
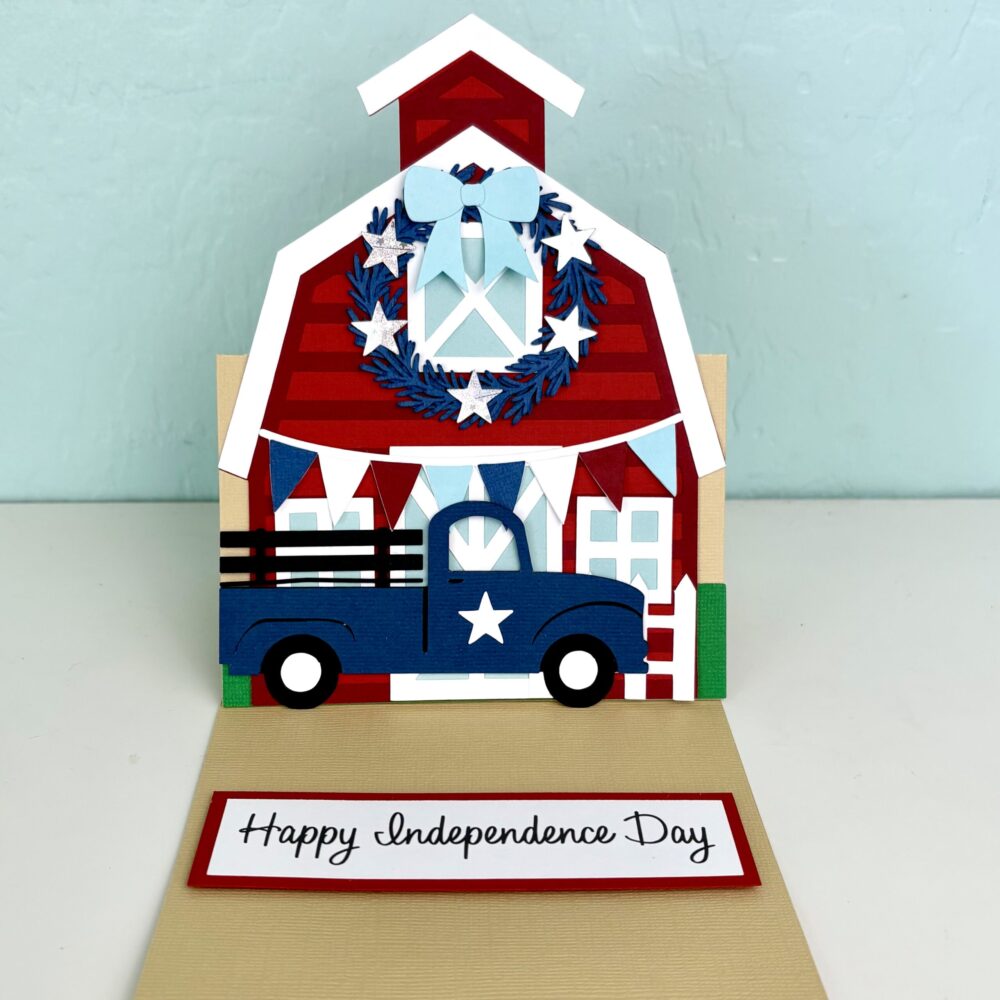
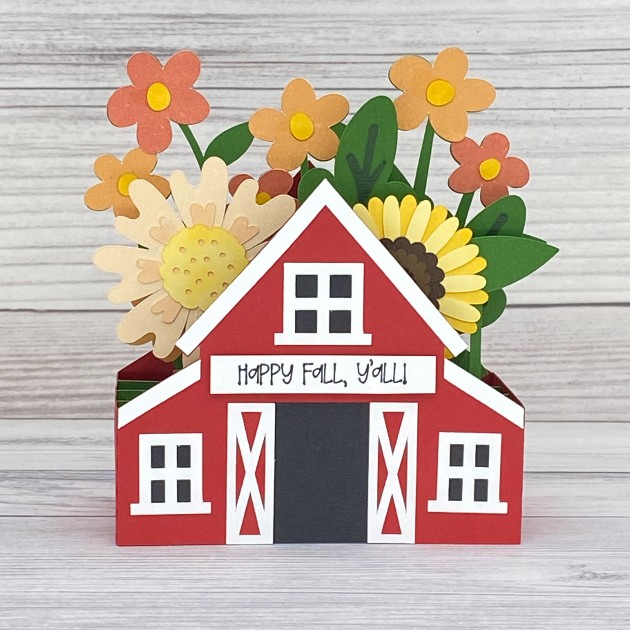
And here’s a finished frontal view. I used the draw function on my Cricut to create a fun sentiment which I popped up on foam squares.
Thanks so much for stopping by today! I hope you’ve enjoyed seeing this awesome Fall themed barn box card and you’ve been inspired to make one. They are so much fun!
Scrappy hugs,
Leslie