Apple Slider Gift Card Holder with Brigit

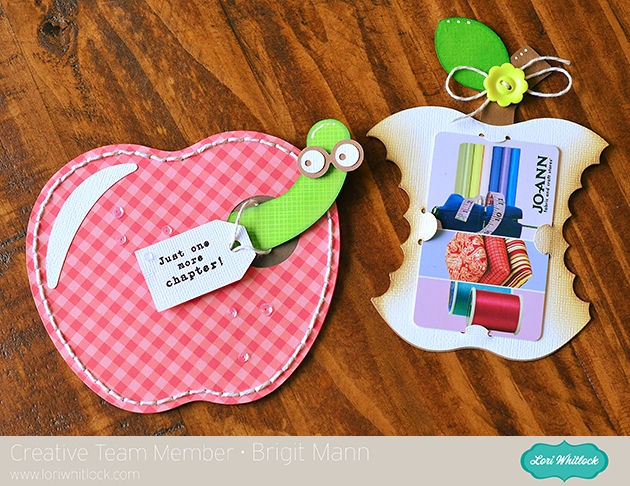
Hello, Everyone!  It’s Brigit today with a cute gift card holder I created using the school apple and worm layered embellishment file from the Silhouette Design Store. This is also part of the layered fall embellishment set at Lori’s shop. I made a couple of adjustments in Silhouette Studio Designer Edition to make it a slide out gift card holder.

I created rhinestone holes, (size 1 spacing .2) around an internal offset of the apple so I could stitch together a front and back layer using some Doodlebug twine.

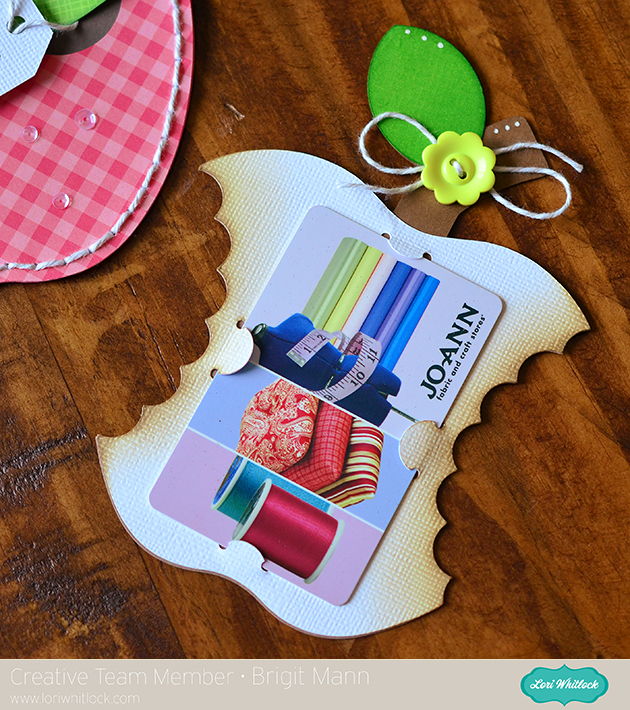
The stitching at the top of the apple is only on the front, I needed a gap so the apple core with gift card could slide in and out.

To create the apple core I made an internal offset of the apple and used one of the nested scalloped circles, (Silhouette store here) to subtracted bites from it, I did this a couple of times. The placeholders are from one of the Christmas ornament gift card set, (Silhouette store here).

A cute way to give a back to school gift!  The patterned paper used is by Doodlebug and sentiment is from My Creative Time.

Thanks for stopping by and have a wonderful day!

//

Digital Inspiration with Ashley

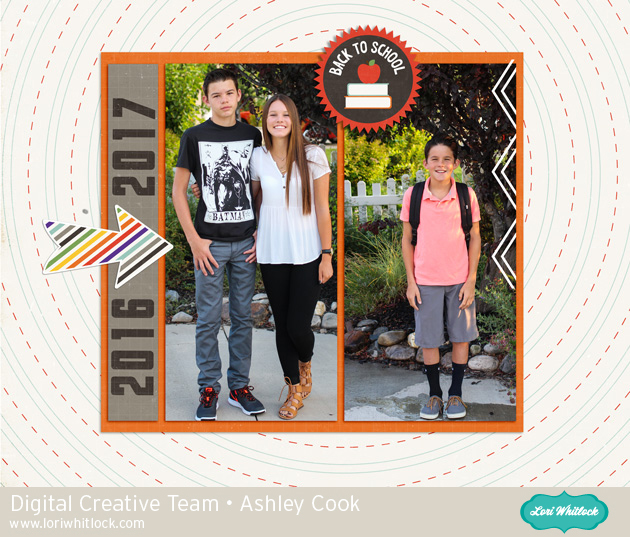
It’s only September, but if you are planning to make some gifts for the holidays, you have to start thinking about it now or soon.  I like to make a personalized calendar for my own family as well as the Grandparents.  Each year, I think I’ll start early, but I don’t usually.  But here I am, putting in a plug, do a little something each week toward your goal!  Here is Calendar topper for one month for my calendar:


Products used:

School Rules

Arrow Brush set 3

LW Thick Font

I also like to double dip with projects I do, so this can easily be made into a 12×12 page for my regular album as well.  Have a great weekend and document your stories.


Back To School Layout by Mendi

Today I have a school themed layout to share using Lori’s amazingly simple Back To School Layout cutting file. For $.99 this layout has tons of bang for the buck!
I created this as an 8×8 page for my Mother-in-laws mini album so I wanted to keep it simple and this pre-designed layout totally fit the bill! I kept my design pretty close to Lori’s with only a few subtle changes.
Rather than use the bracket shaped frame under my photo, I turned it on it’s side and enlarged it to bleed off the page and ground my title. I then paired some twine with a Button cutting file to accent my photo. I also cut extra circles to go under my numbers to add an extra splash of color. I added a second arrow to indicate my second daughter’s grade and switched out the apple for another cute Apple of Lori’s available in the Silhouette Store HERE.
This page came together quickly and I thought had a lot of style and impact for a small 8×8 page! If you haven’t given Lori’s pre-designed layouts I try before I highly recommended checking them out (You can see all the choices HERE).