Shadow Box Card Scene – Fall Fox – Tutorial

Hey everyone!

I’m excited to share my latest creative adventure with you: a fun print and cut project! I know that for many people, the idea of print and cut can seem daunting. But let me assure you, it’s actually a lot easier than it looks!


Files: SILHOUETTE/SVG

When I first started, I was intimidated by the idea of aligning everything perfectly. I thought I’d end up with wonky cuts and wasted materials. However, after diving in, I found it to be incredibly easy!

Cutting the cardstock pieces:
I love to cut as many colors that I can on 1 mat, so I place more than one color on a mat.

Print:
After I sorted the printable items of my design, I printed it out on quality paper. The key here is to ensure your printer settings are correct for the best results. I used semi glossy photo paper.
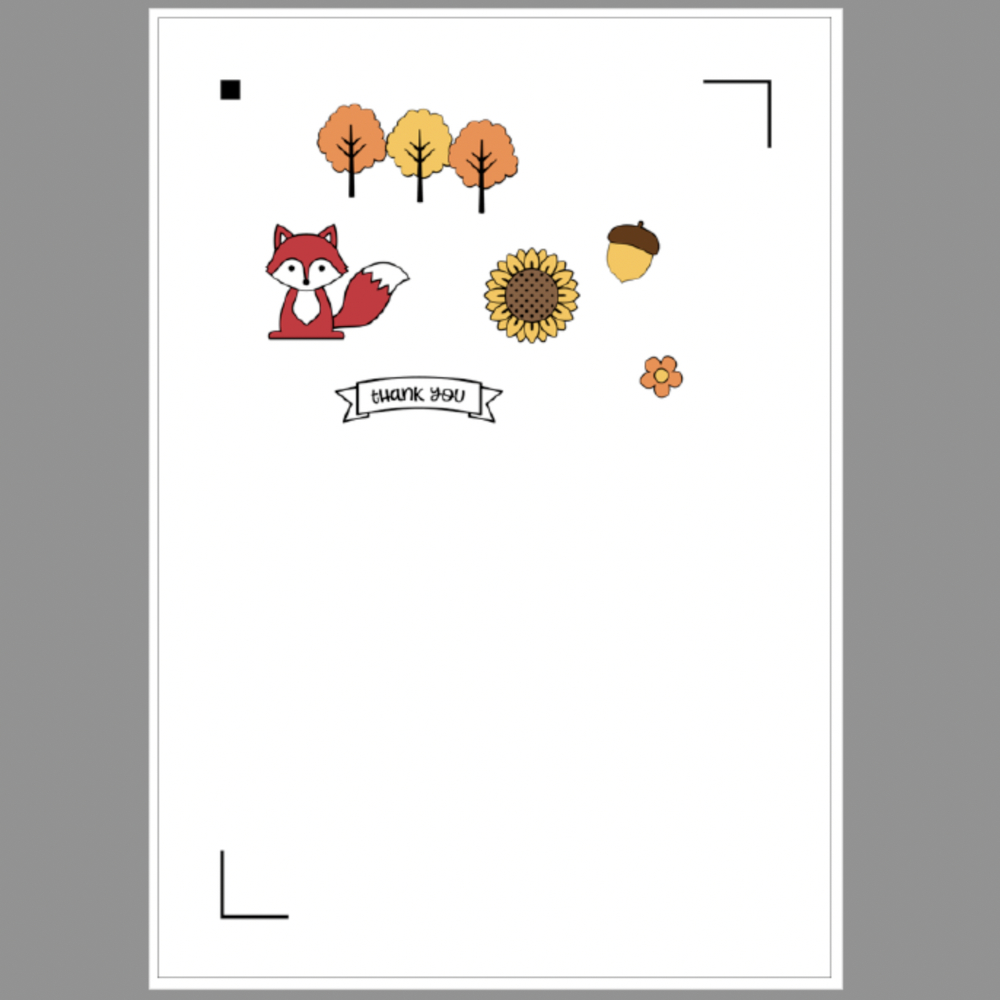
Cut:
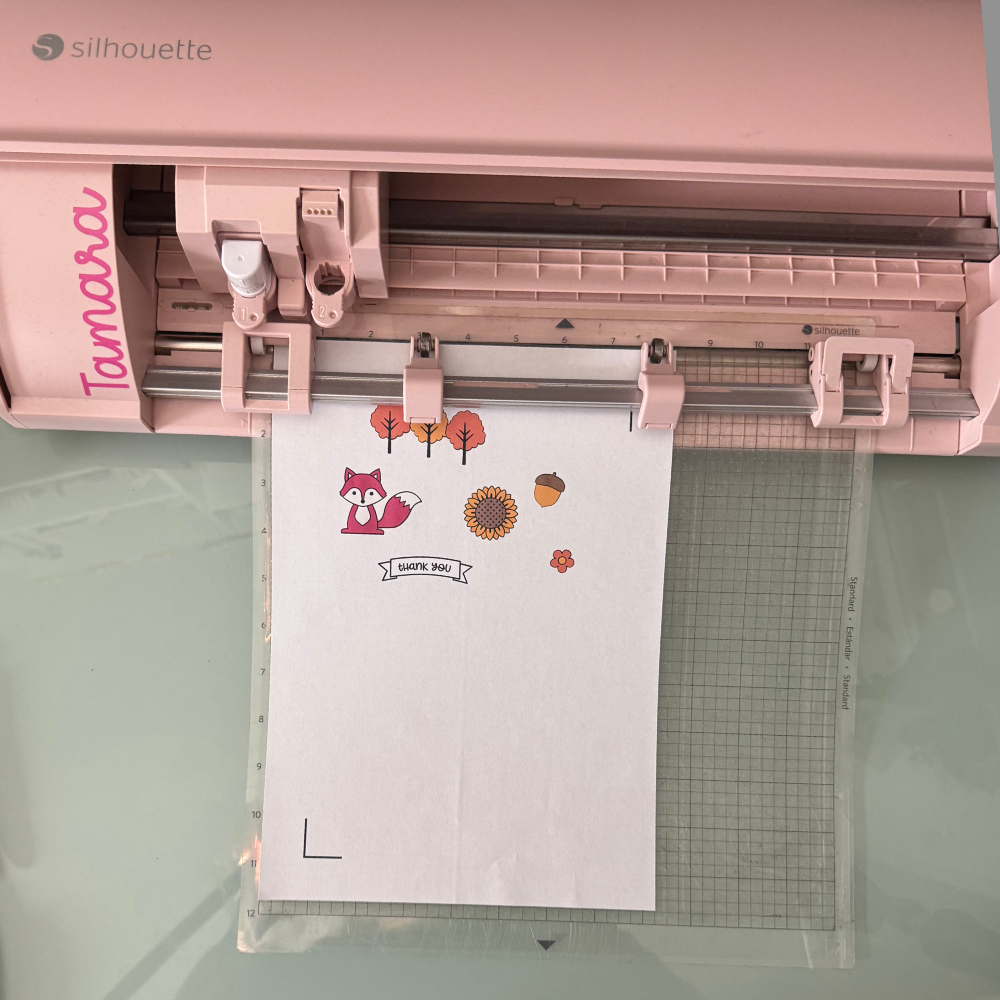
After printing, I loaded the paper into my cutting machine. so my machine could cut the images!
Putting the card together:
The card elements are super easy to piece together, as you can see in the photos below!
  

After you glued these parts together you can start to add the print and cut elements, and decorate the outside panels.

If you’re considering trying a print and cut project, here are a few tips to help you along the way:

Use Quality Materials: Good printer paper and ink can make a huge difference in the final result of the printed images.
Practice: Don’t be discouraged if your first attempt doesn’t go perfectly. Each project is a learning opportunity!

I truly enjoyed my print and cut project, and I can’t wait to make more. Remember, it’s all about having fun and experimenting with your creativity. So, if you’ve been hesitant to try print and cut, I encourage you to jump in! You might just surprise yourself with what you can create. And there are so many cute Print and cut projects in Lori her shop, go take a look!

Happy crafting!  Tamara

FRIDAY $5 Bundle!!

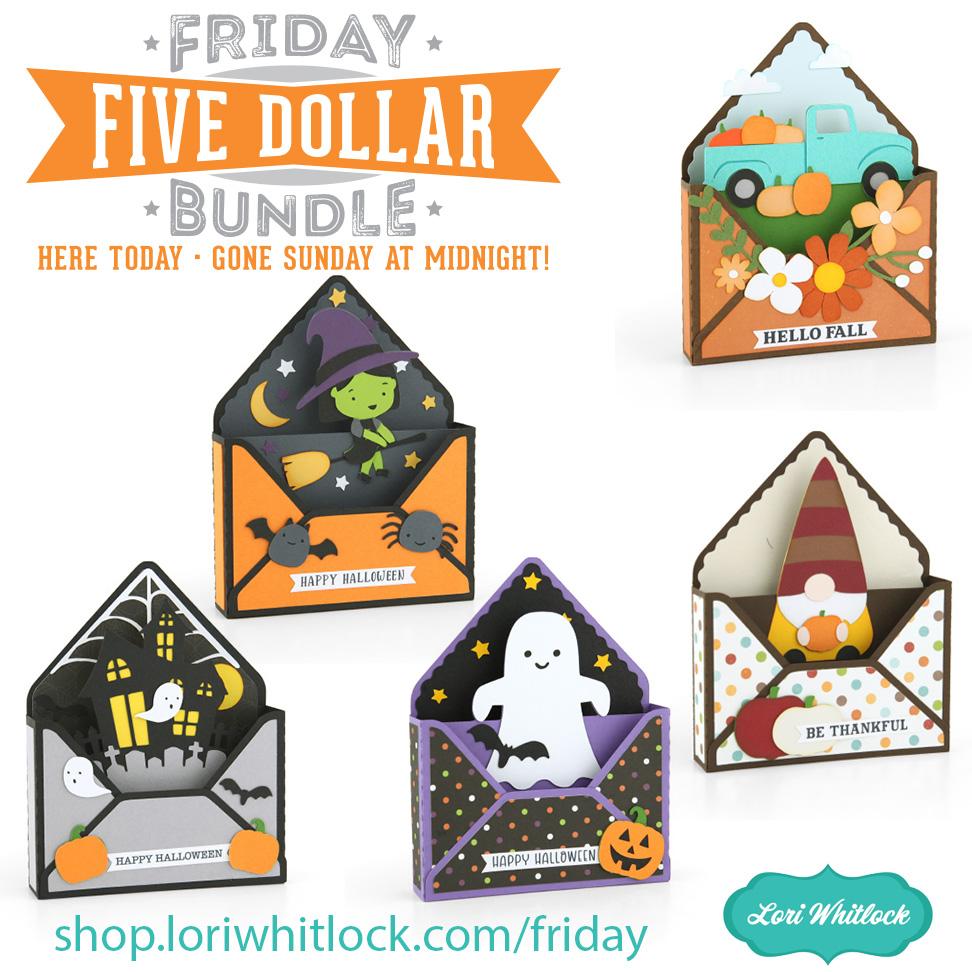
Our latest $5 Bundle went up this morning. Did you get a chance to check it out? This week, we have an adorable combination of fall and Halloween envelope box cards for you. This bundle disappears on Sunday night. Also, don’t forget our sale for other items ($5 bundle not included) and our contest that ends tomorrow, Saturday night, at midnight MST. So much is happening!

Have a great weekend!

P.S. The tutorial for these is here.

Teacup Fall Squirrel Card

Teacup Box Card Fall Squirrel

Hello.  Today is the last day of September.  Fall is in full swing around here which includes the trees changing to beautiful fall colors.  How about where you live? What does Fall look like for you?

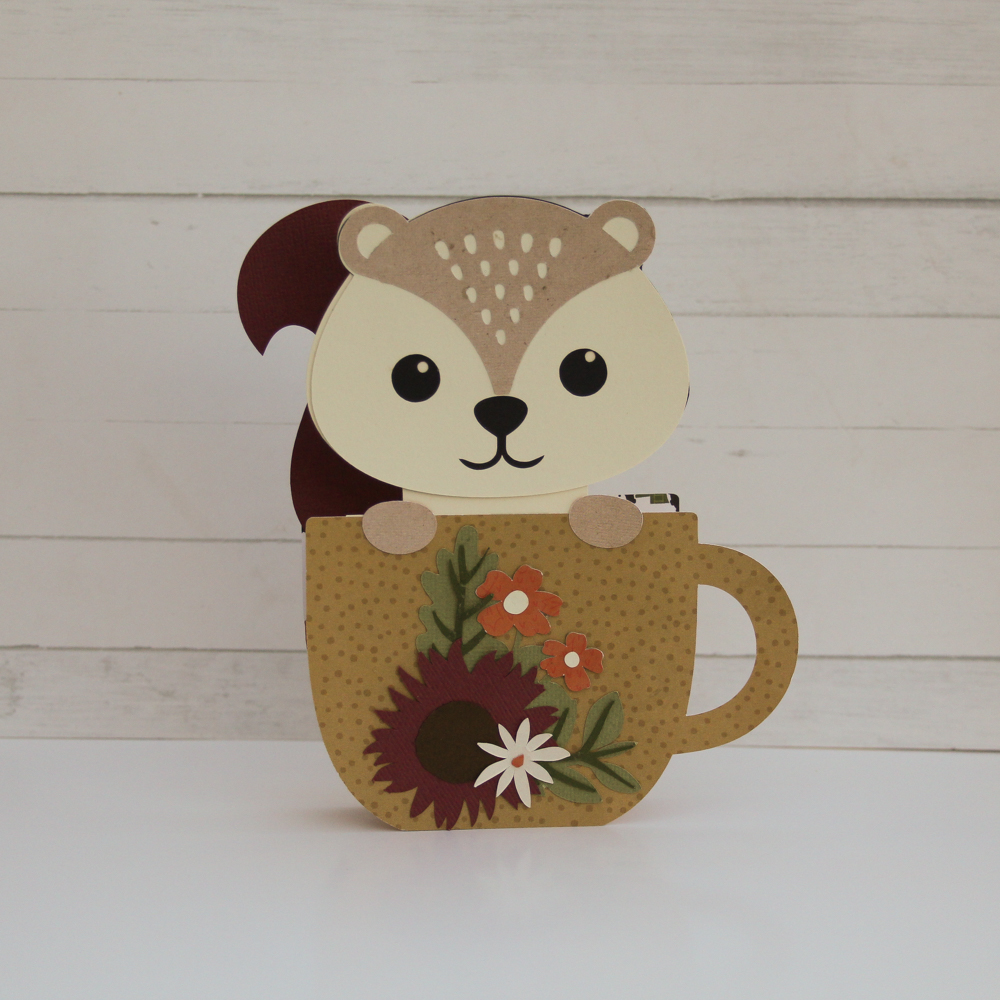
I’m sharing Lori’s Teacup Box Card featuring a squirrel.  (SVG, Silhouettte). Lori has several other fall teacup cards as well (SVG Bundle).  These cards are so fun and cute.

Teacup Fall Squirrel Card

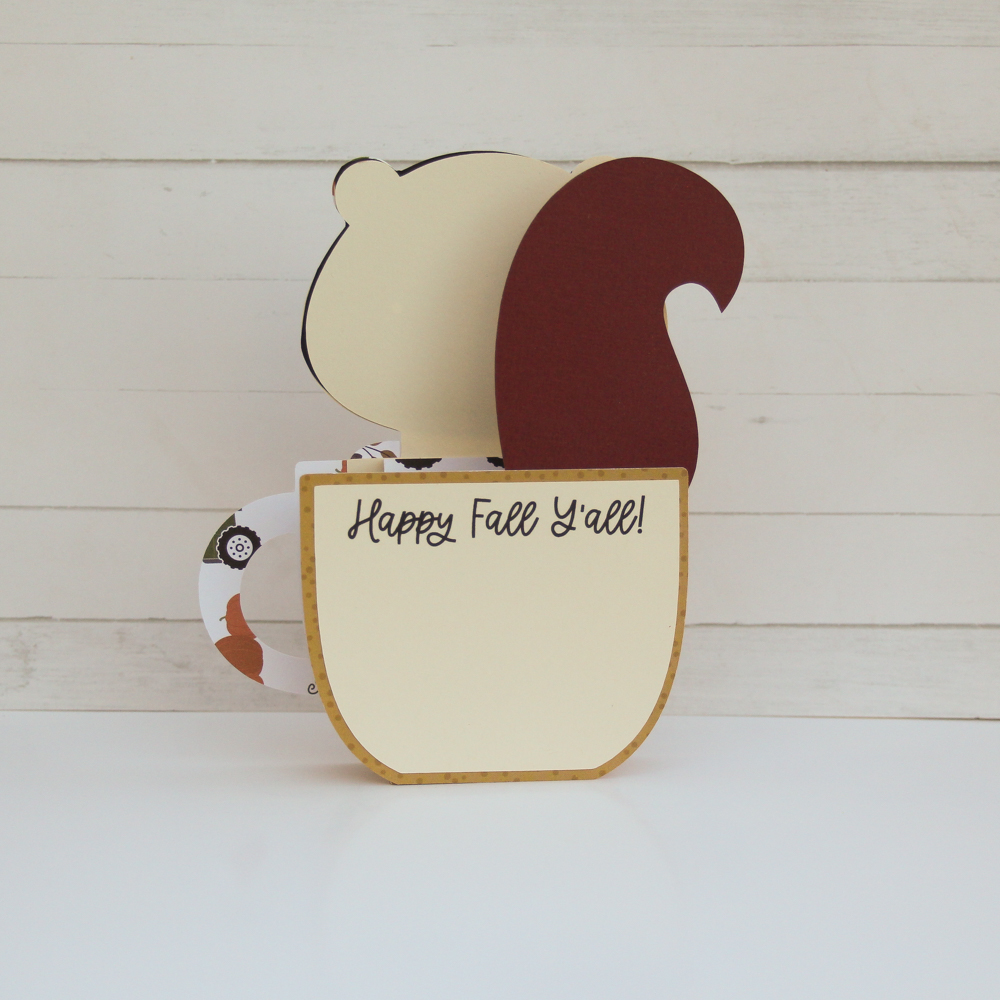
You can see there is space on the back to send a personalized message. Happy end of September!

Ashley

A2 Box Card Pumpkin Flowers Tutorial

Fall is in the air, cooler crisp mornings and the days are getting shorter.  It’s my very favorite time of the year to create, with all the wonderful Fall and Halloween collections.  I have an easy little tutorial on one of Lori’s new box cards.  They are my all time favorite and I just couldn’t resist this one.  This is the A2 Pumpkin Flower Box that you can find here in Lori’s Shop or here in the Silhouette Online Design Store.

I used Lori’s Echo Park Collection, I Love Fall!  So cute and amazing little details for my card.

First get all your pieces cute and separated to be able assemble easily.

Next, I fold all of my score lines for the box components.


Then I ink all the edges!


Now you are all set to assemble and glue all your pieces.


Once everything is adhered you can add adhesive to the flaps of the box components
.
Start with the orange piece to form the box.
Next add the piece 2, the easiest way for me to know where to adhere it, is just to have the flaps touch the back of the box and then you know you will have perfect spacing.  So I always start from the back and work my way forward.
Add piece one and have it touch to piece two for perfect placement.
Here it is before I embellished…so cute already but you know I can’t help myself!
And omgosh!  Isn’t it the cutest!?  Love it!
Thanks for joining us today!


NEW Fall Box Cards!

Did you catch our exciting new fall box card collection that dropped yesterday? With the kids back in school and the crispness of autumn just around the corner, it’s the ideal time to dive into some seasonal crafting! I’m excited to present six brand-new box cards that beautifully embody the spirit of fall. From whimsical pumpkins and golden sunflowers to charming acorns and vibrant autumn blooms, these designs are so delightful they practically transport you to a cozy fall afternoon. These handcrafted cards are a wonderful way to connect with friends and family this season.

Don’t miss out on this chance to enhance your crafting stash and celebrate the season with your creativity. And don’t forget: ALL new releases are 25% OFF until Sunday at midnight!

***CLICK HERE TO GO TO NEW FILES***

Thanks for checking out the NEW FILES and be sure to go grab the freebies of the week/month with your purchase.

Have a great day!

Lori