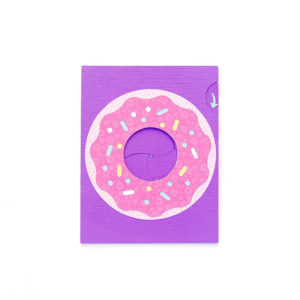
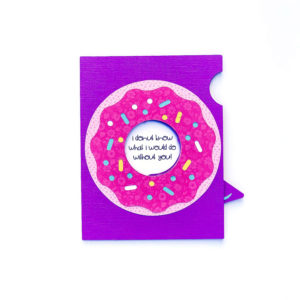
Iris Shutter Card Tutorial

How are you today? Around the world this week, most of us are working and/or staying at home. Guess what, crafters?  It is time to use your stash!  All those items you have been saving–this is it.  This is the time to use it!!  Lori recently released these fun Iris Cards.  She has 2 video tutorials to help you make them.  This video is the first with paper only, and this tutorial uses mini brads.  The cards are available in the Silhouette Design Store individually and in Lori’s SVG Shop individually and in Bundles.

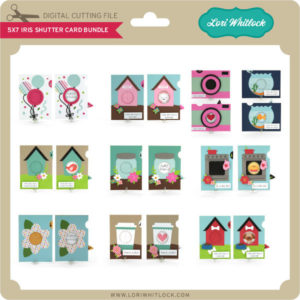
5×7 Iris Shutter Card Bundle
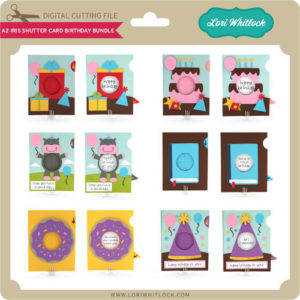
A2 Iris Shutter Card Birthday Bundle

I have made several of these cards, and I just love them.  I’m going to inspire you today with ways you can personalize them.

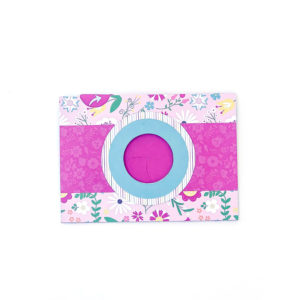
5×7 Iris Shutter Card Camera: SVG, Silhouette

For this Camera Card, I though it would be so cute to add a picture.  Have you heard of the front porch project?  Photographers that are participating, stop at your house, and take pics of you while staying at least 6 feet away.  This would be a great way to send a pic to a loved one.  To do this in Cricut Design Space:

1. Open the Camera Card File

2. Ungroup the card pieces

3. Draw a circle that is 2.36″ using the shapes tool.

4. Upload a photo, and select your preferred image type option, click continue then save as print then cut image.  Insert this image onto the mat with your circle.

5. Resize your photo to fit the 2.36 circle.

6. Layer the circle on top of the photo.  Make sure the circle doesn’t hang off any edge of the picture.

7. Select both the photo and circle, right mouse click and select slice.

8. Delete the part of the picture you don’t need as well as the circle you drew.

9. Layer the photo over the heart and starburst on the card base.  Once it is lined up, delete the heart and starburst.

10. Select the photo circle and the rectangular white card, and select flatten.

11. Don’t forget to flatten the sentiments as well.

Now print then cut your photo and sentiments and cut all the other pieces of the card to assemble.


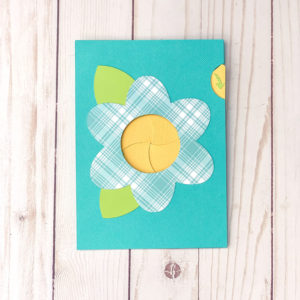
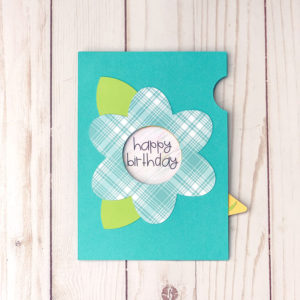
Here are some of the other iris cards that I have made:

5×7 Iris Shutter Card Flower SVG, Silhouette

A2 Iris Shutter Card Birthday Donut  SVG, Silhouette

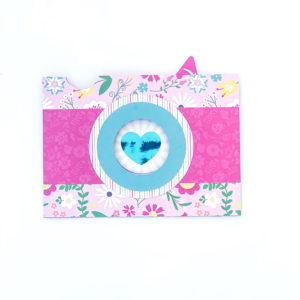
5×7 Iris Shutter Card Camera: SVG, Silhouette

This one has a foiled heart.  I changed the red heart to black before I printed with my laser printer, then foiled it. These cards are so fun.  Personalize them, and send them off.

Enjoy crafting!

Ashley

St. Patrick’s Day Pillows

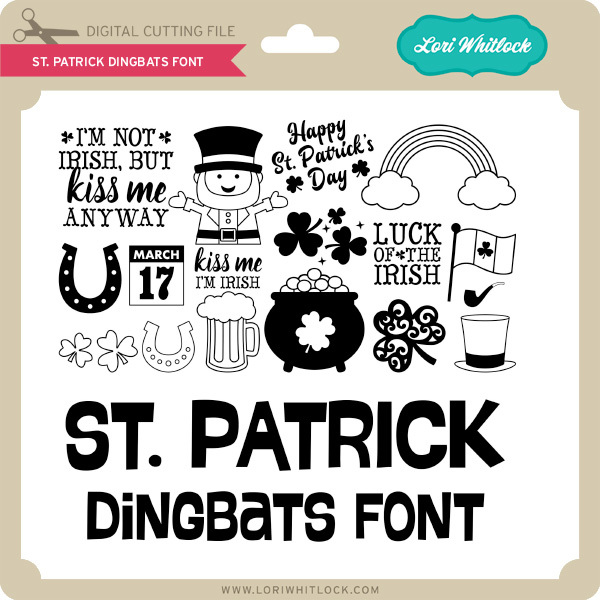
Today I’m sharing some festive pillows using the St. Patrick Dingbats font (SVG, Silhouette).

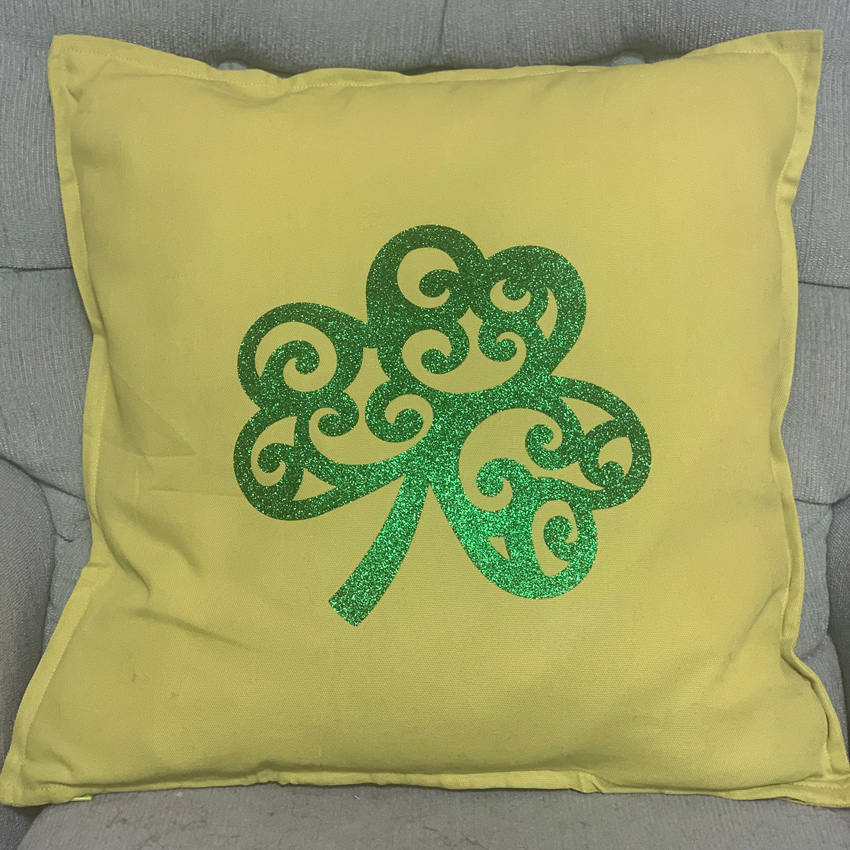
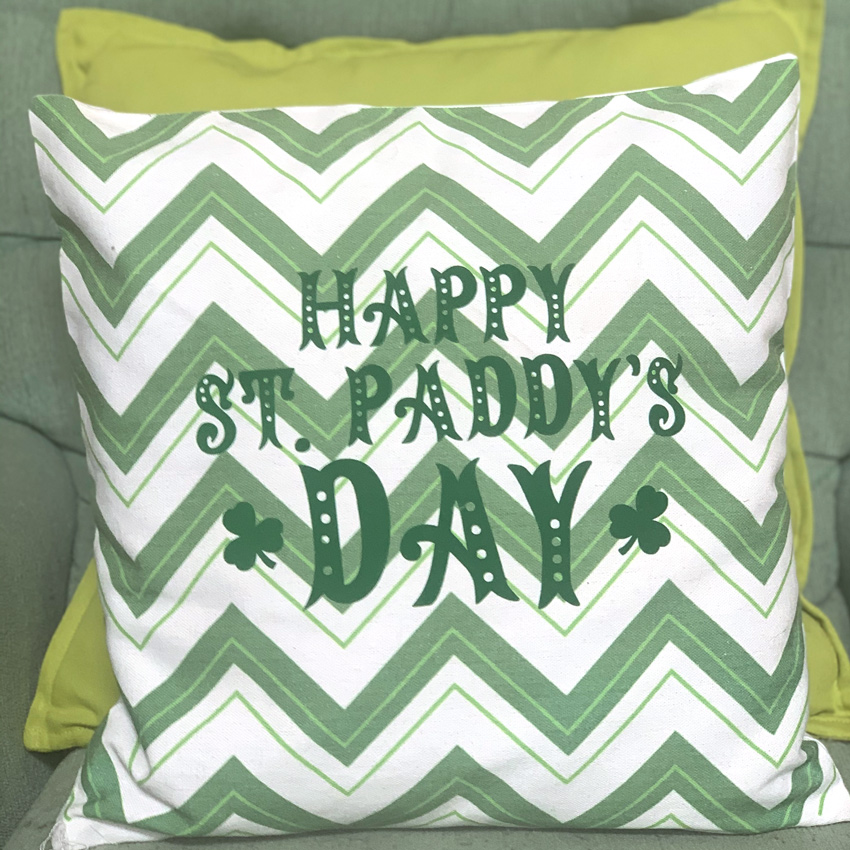
I enlarged and cut a couple of the font designs from Heat Transfer Vinyl and ironed them on to some decorative pillow cases.

There are so many fun designs in the St. Patrick Dingbat font. You can customize pillows or other projects.  Make sure when using Heat Transfer Vinyl, that you don’t forget to mirror your image and cut with the shiny size down.  Have a great day!

Twist Pop Card with a Twist

Today I am sharing a “twist” on a twist pop card file.  Lori has several Twist Pop Card styles.  You can use any one of them to make this project.  These are the files I used.

Twist Pop Card Thank You (SVG, Silhouette)
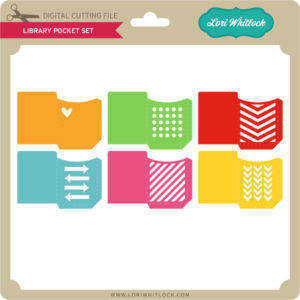
Library Pockets (SVG, Silhouette and Silhouette)

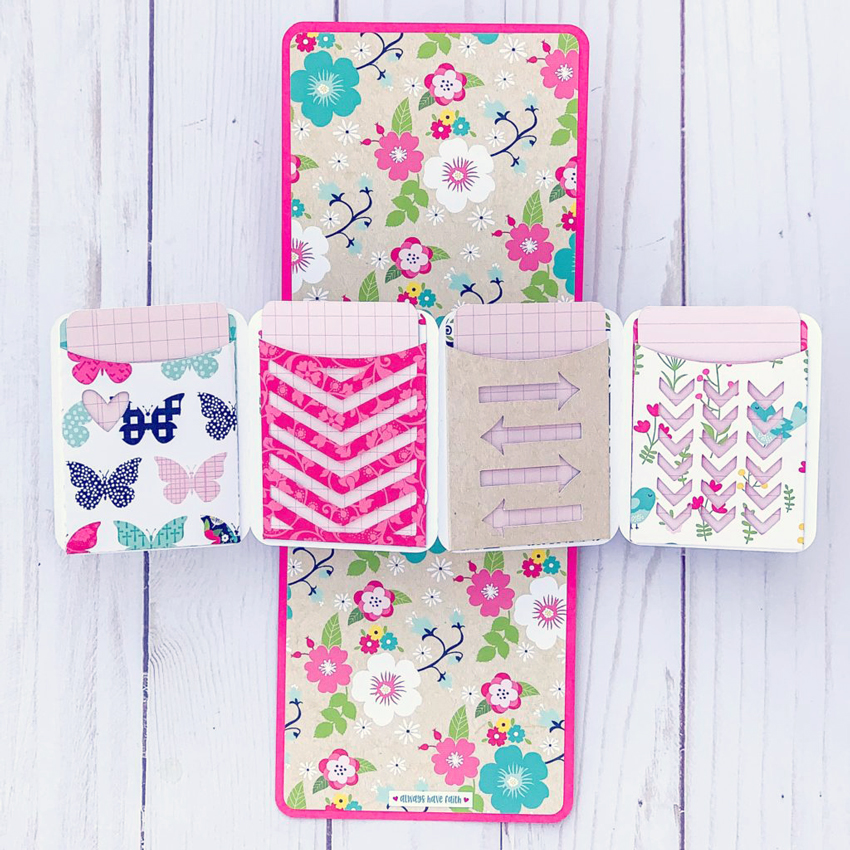
I resized the library pockets to fit on the pop out piece where the word KIND is in the above card.  I cut out all the pieces and assembled the card using Lori’s tutorial found here. I then added the pockets. In addition, I made an insert card for each pocket.  And this is how it turned out.

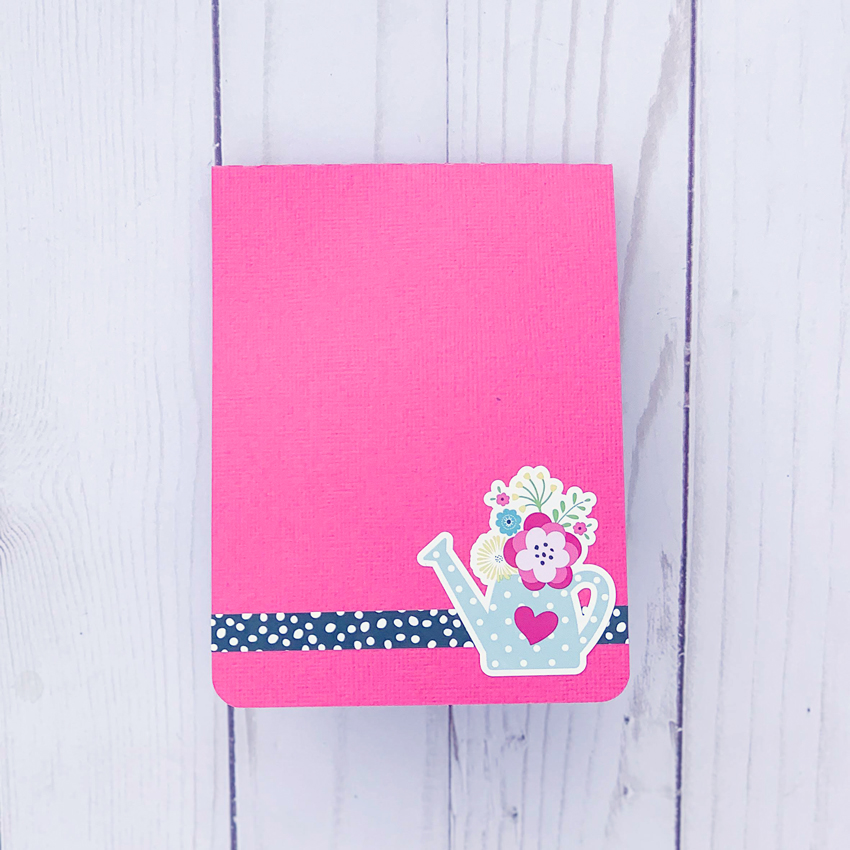
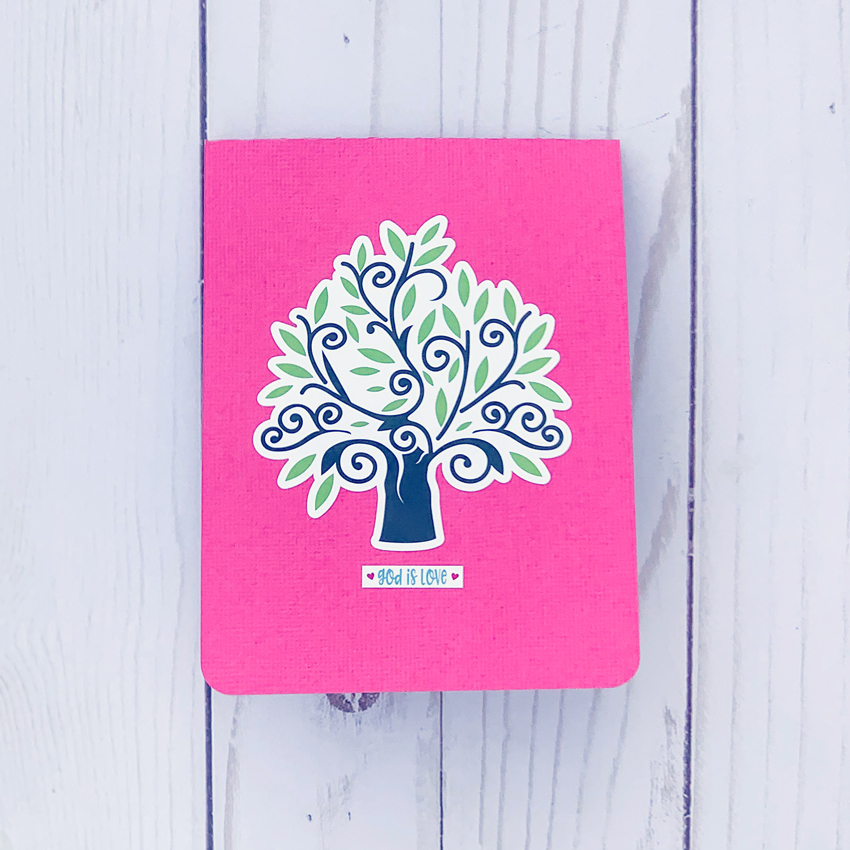
I also decorated the front and back of the card.


I used papers and stickers from Lori’s Forward with Faith Collection from Echo Park.

I am writing a message on the card inserts, but you could also fill the pockets with money or gift cards!

Have a great day!

State Heart Dingbat Tutorial

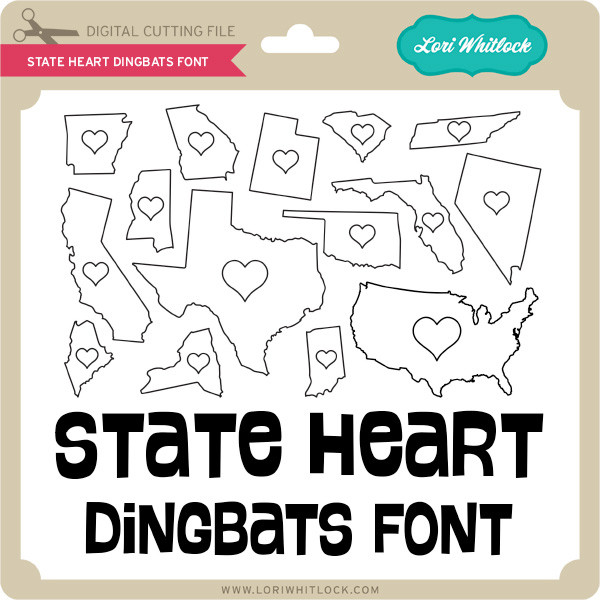
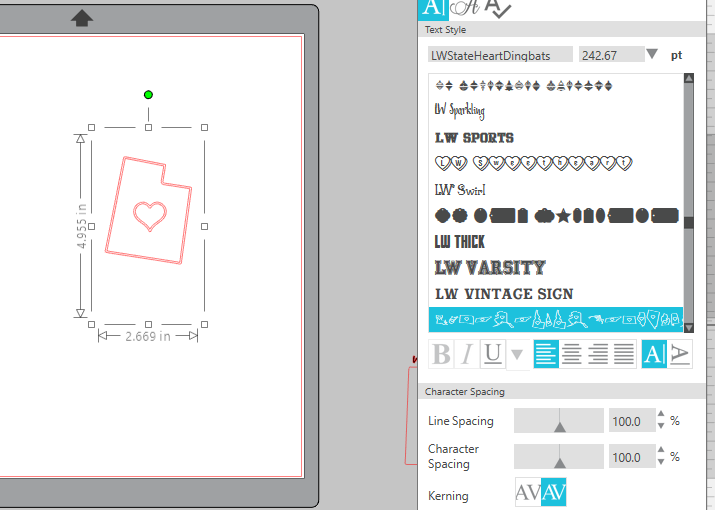
Today I’m going to show you a fun way to use Lori’s State Dingbat Font (Silhouette Store) for a baby body suit.  Start by opening Silhouette Studio and typing a letter using the font.  Most of the States will be their first letter, either lowercase or capital.

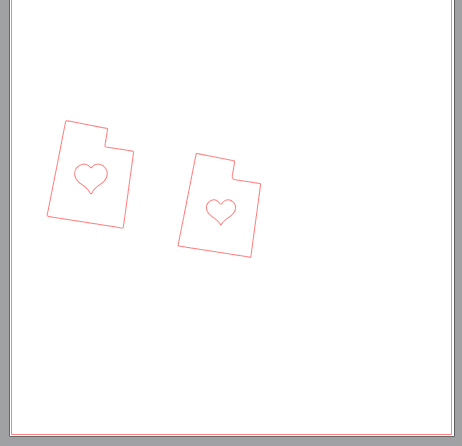
You can see in the above image the state of Utah on the mat, in the font the states and hearts have a double line.  To delete this select your state, right mouse click and then select ungroup, and then release compound path.  Now you can delete one of the outlines of the state and heart.

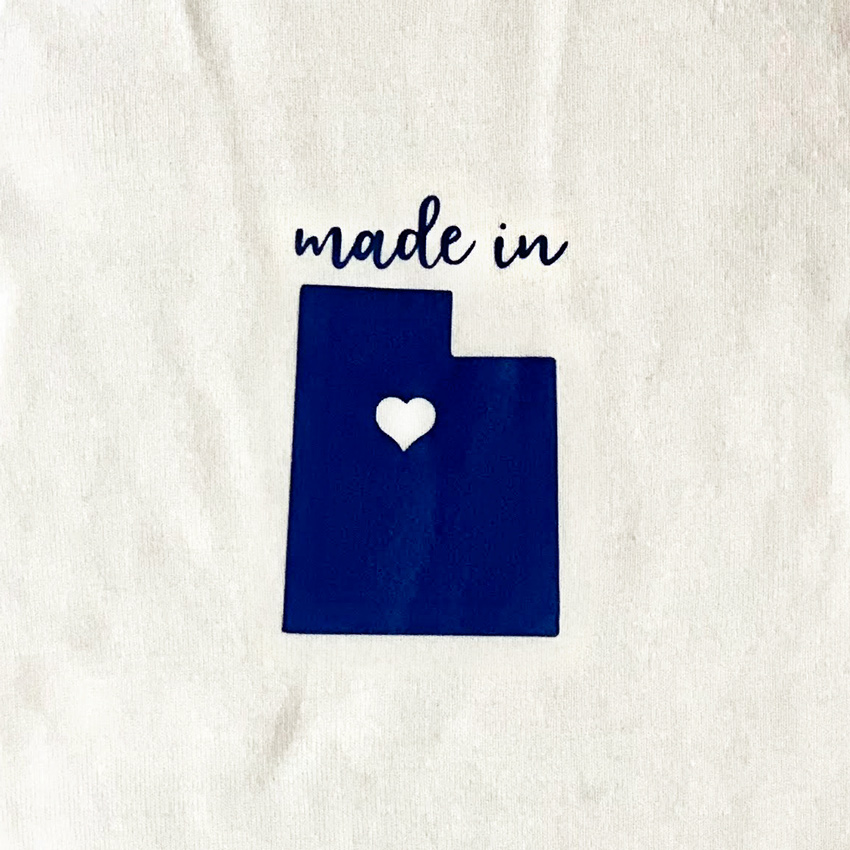
Now resize for the project.  I made the heart a little bit smaller for my project.  For my words  I used another of Lori’s fonts–Longhand, Silhouette Store.  I typed the words “made in” and welded them together and resized.  The design is ready to cut.

Since I used Heat Transfer Vinyl,I cut the mirror image and then applied it to the bodysuit.


This is such a fun personalized gift to give new babies. Enjoy!

Custom Tumblers and Tag

For the last couple of years, I have helped make or prepare birthday gifts for the ladies at my church.  Last year I featured a tag from Lori Whitlock. Two years ago, I made a postcard for the gifts. I am so excited about this year’s gift.  We are giving the cutest tumblers personalized with an initial.  I am using a Circle Flourish Monogram for the tumblers, and I am using a sticker from the Birthday Stickers (svg, silhouette) for the the little card tag.

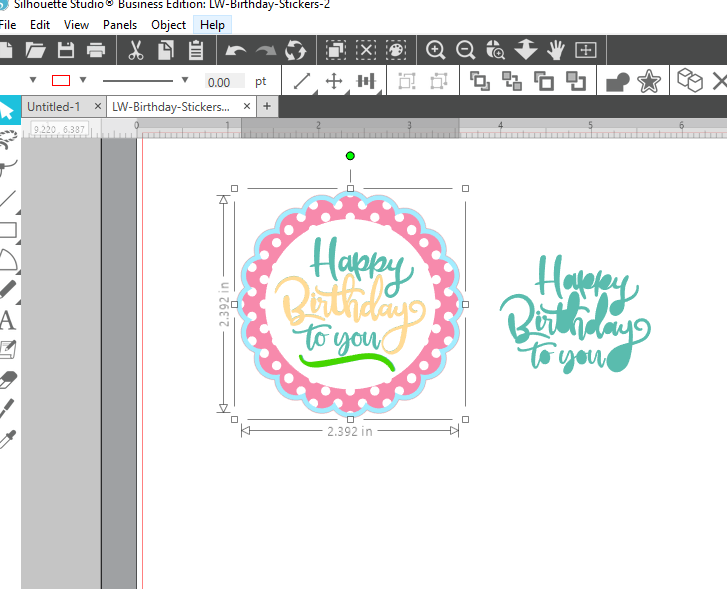
To alter this sticker, I’m going to give you a few tips.  In Cricut Design Space you will first upload and open the Sticker File.  Upload as an image.

Ungroup the stickers. I deleted all the stickers I am not using from the canvas.

Now ungroup again. Select each layer and adjust color as you would like.  I wanted to also have the Happy Birthday to you be different colors.


Now select Happy Birthday and duplicate twice. Select one of the duplicated Happy Birthday, and Contour.

On this one, I am hiding all the words except for Birthday.

Select the other Happy Birthday.  On this one I hid everything except for the flourish at the bottom.

Recolor these Happy Birthday layers by choosing a color that is next to the Line type box.  Now line up all those Happy Birthday words.

Select all your layers, and click Flatten. This will make it the Print and Cut file.  Now you can print and cut on paper or sticker paper.

In Silhouette Studio Software, you will ungroup the stickers, ungroup the Happy Birthday Sticker, then Release Compound Path on the Happy Birthday Words.  Re color as needed, then select and Make Compound Path.

In the Send screen, make sure to select all the sticker parts, and Choose Cut Edge.  Now it’s ready for Print and Cut.

I hope everyone likes the gift this year.  I think they are so fun.