Boo Treat Box with Ashley

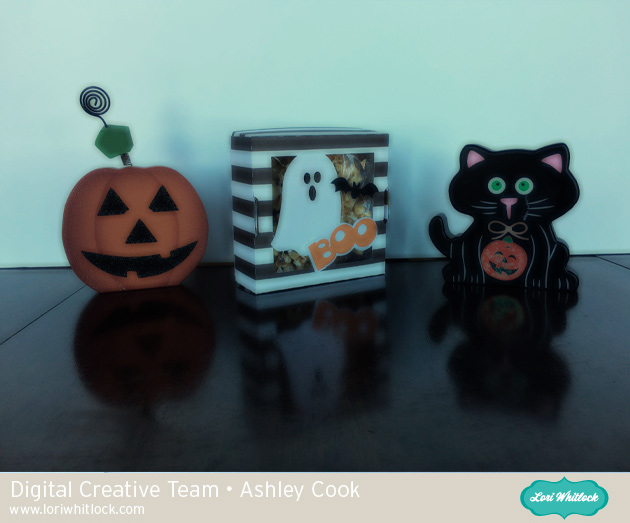
Have you ever been “Boo’d” by your neighbors?  Or do you want to start the fun neighborhood tradition?  It involves leaving a treat secretly at a neighbor’s door with a note telling them to “Boo” another neighbor and posting a sign that they have been “Boo’d.”

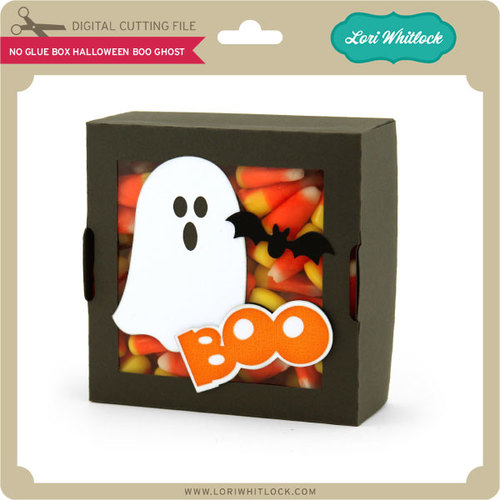
Well some very cute neighbors boo’d our house the other day.  And if something is going on my door, I want it to be cute!  Lori has several Halloween treat boxes, and the one I used includes the word Boo.  I created the treat box, then I sized the Word BOO as big as my paper.  I think it looks so cute on the door.  And the treat box is oh so fun too.  It’s ready to go to another neighbor! Silhouette Store; SVG
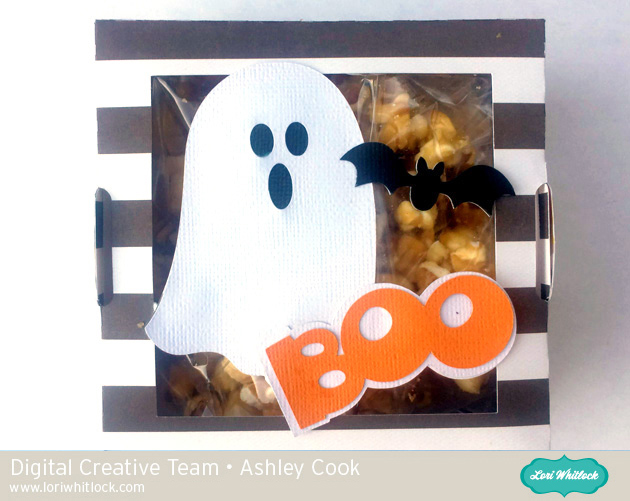
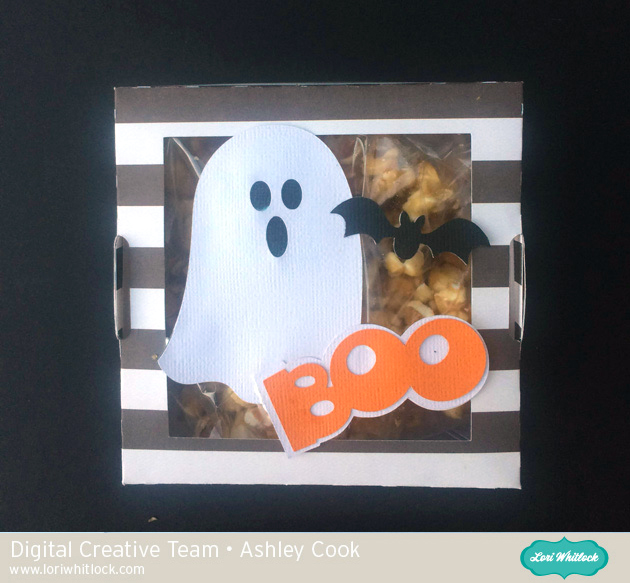
Here are the pieces of the box.  This box is really fun; it requires no glue for the box part.  Just a little adhesive to add the pieces onto the top.
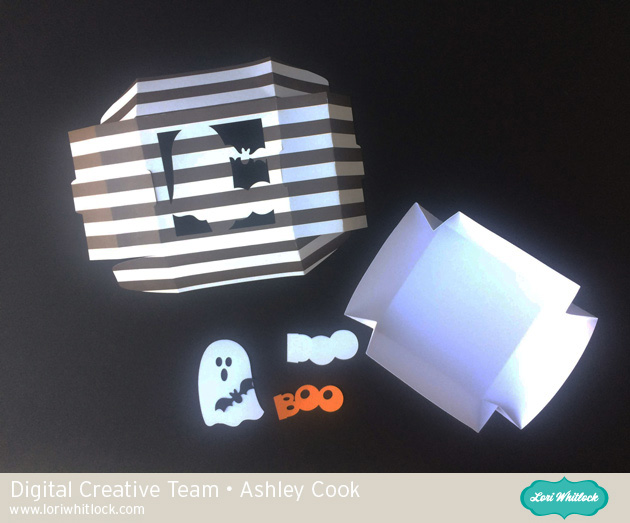
If you cut out a big Boo in black, save the inner piece of the B.  It fits nicely behind the ghost’s eyes if you happen to use a patterned or white piece of paper.


I sized up the whole box just a little bit to fill the width of a 12 x 12.  The finished dimensions of the box are 5″ x 5″ x 1.5″.
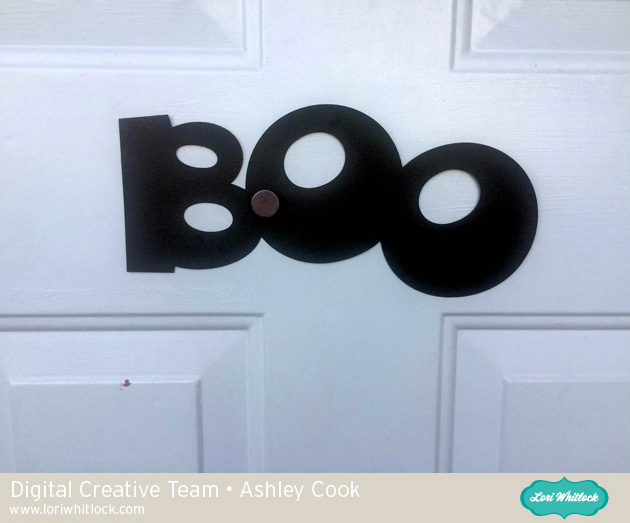
Enjoy your week and maybe BOO a neighbor or 2.


Witch’s Hat with Ashley

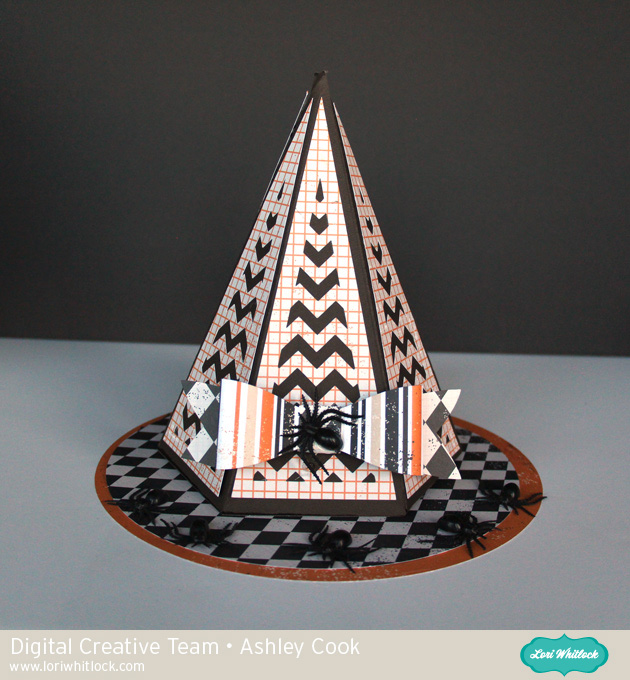
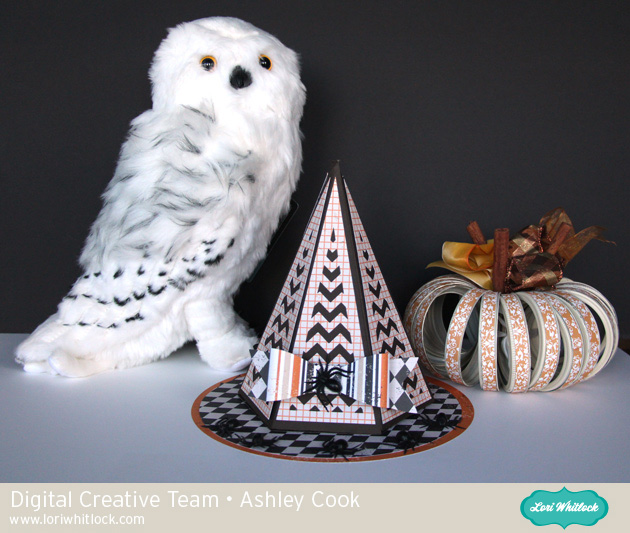
October is here! Get all those Fall and Halloween decor items out.  Today, I’m sharing a witch’s hat.  You can find it at the Silhouette Design Store and in Lori’s Shop.

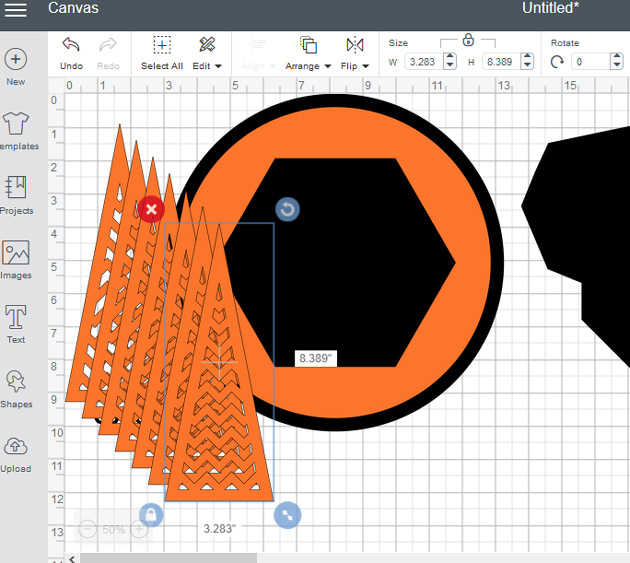
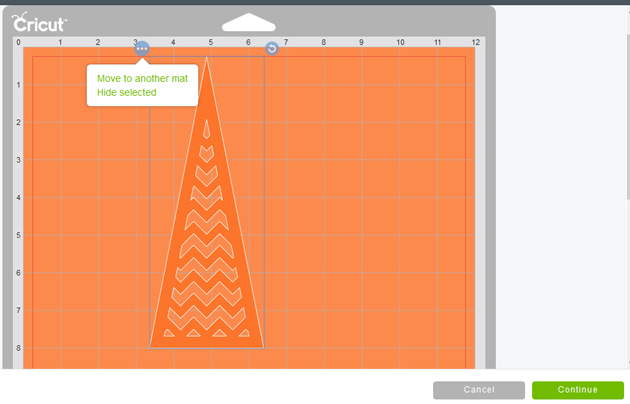
I have a quick Cricut Design Space tip.  When you open this witch hat SVG in Design Space, there is one of each shape and the notes of how many to cut.  You can quickly duplicate the panel pieces six times.  You don’t even need to arrange them.

When you click Make It, Design Space sorts your shapes onto mats.  It doesn’t always sort with saving paper in mind though.  To move a shape to another mat, click on the 3 dots at the top of the image and select Move to another mat.  Then you can arrange your shapes.  I was able to arrange 6 panels onto one 12 X 12 piece of paper.

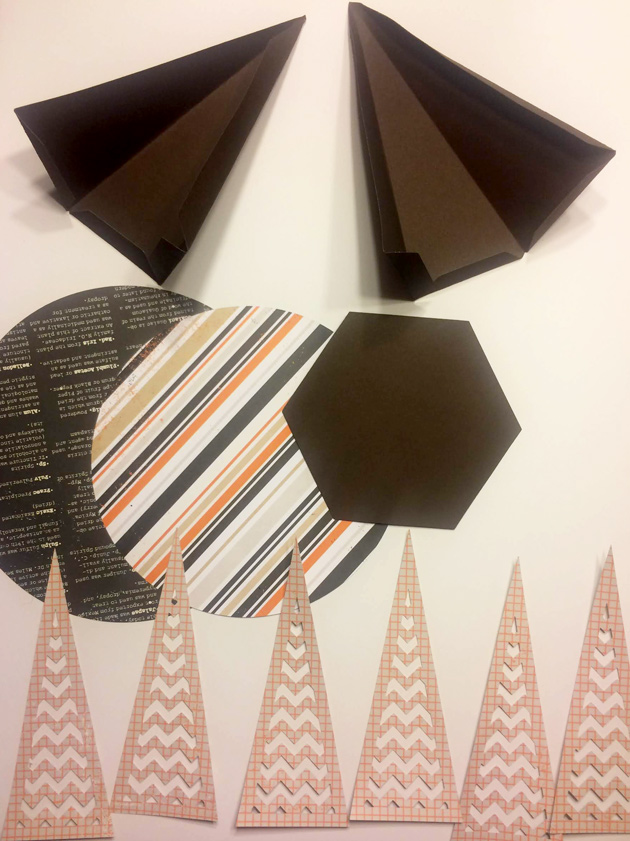
Here are all the cut pieces.

I used a 3D bow to finish it off. The bow can be found here at the  Silhouette Design Store  and here in Lori’s Shop.


Have a great day!


Reverse Canvas With Ashley

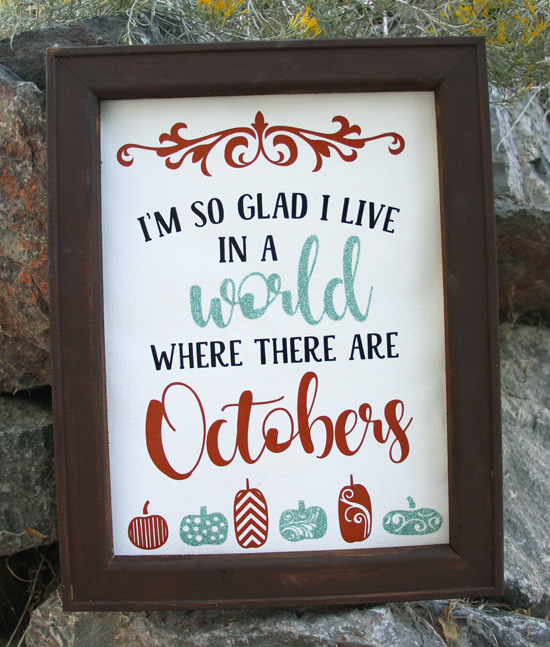
Reverse canvas projects have been floating around.  Have you made one yet?  You start with a canvas that can be found at your favorite craft store, and you unstaple the canvas from the frame.

Next pick your favorite Lori Whitlock file from her shop or the Silhouette Design Store.

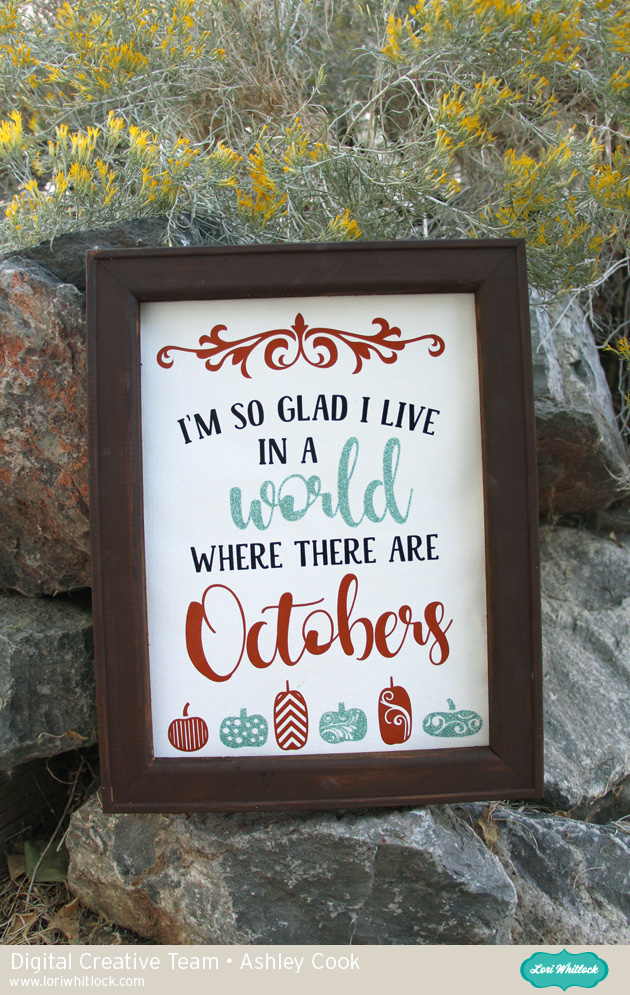
Get to work making your design in your software.  I used these files: World Where there are Octobers ( SilhouetteSVG);  Pumpkins (SilhouetteSVG) ;  Decorative Pumpkins (SilhouetteSVG), 3 Pumpkins (Silhouette, SVG)  Flourish (Silhouette, SVG)

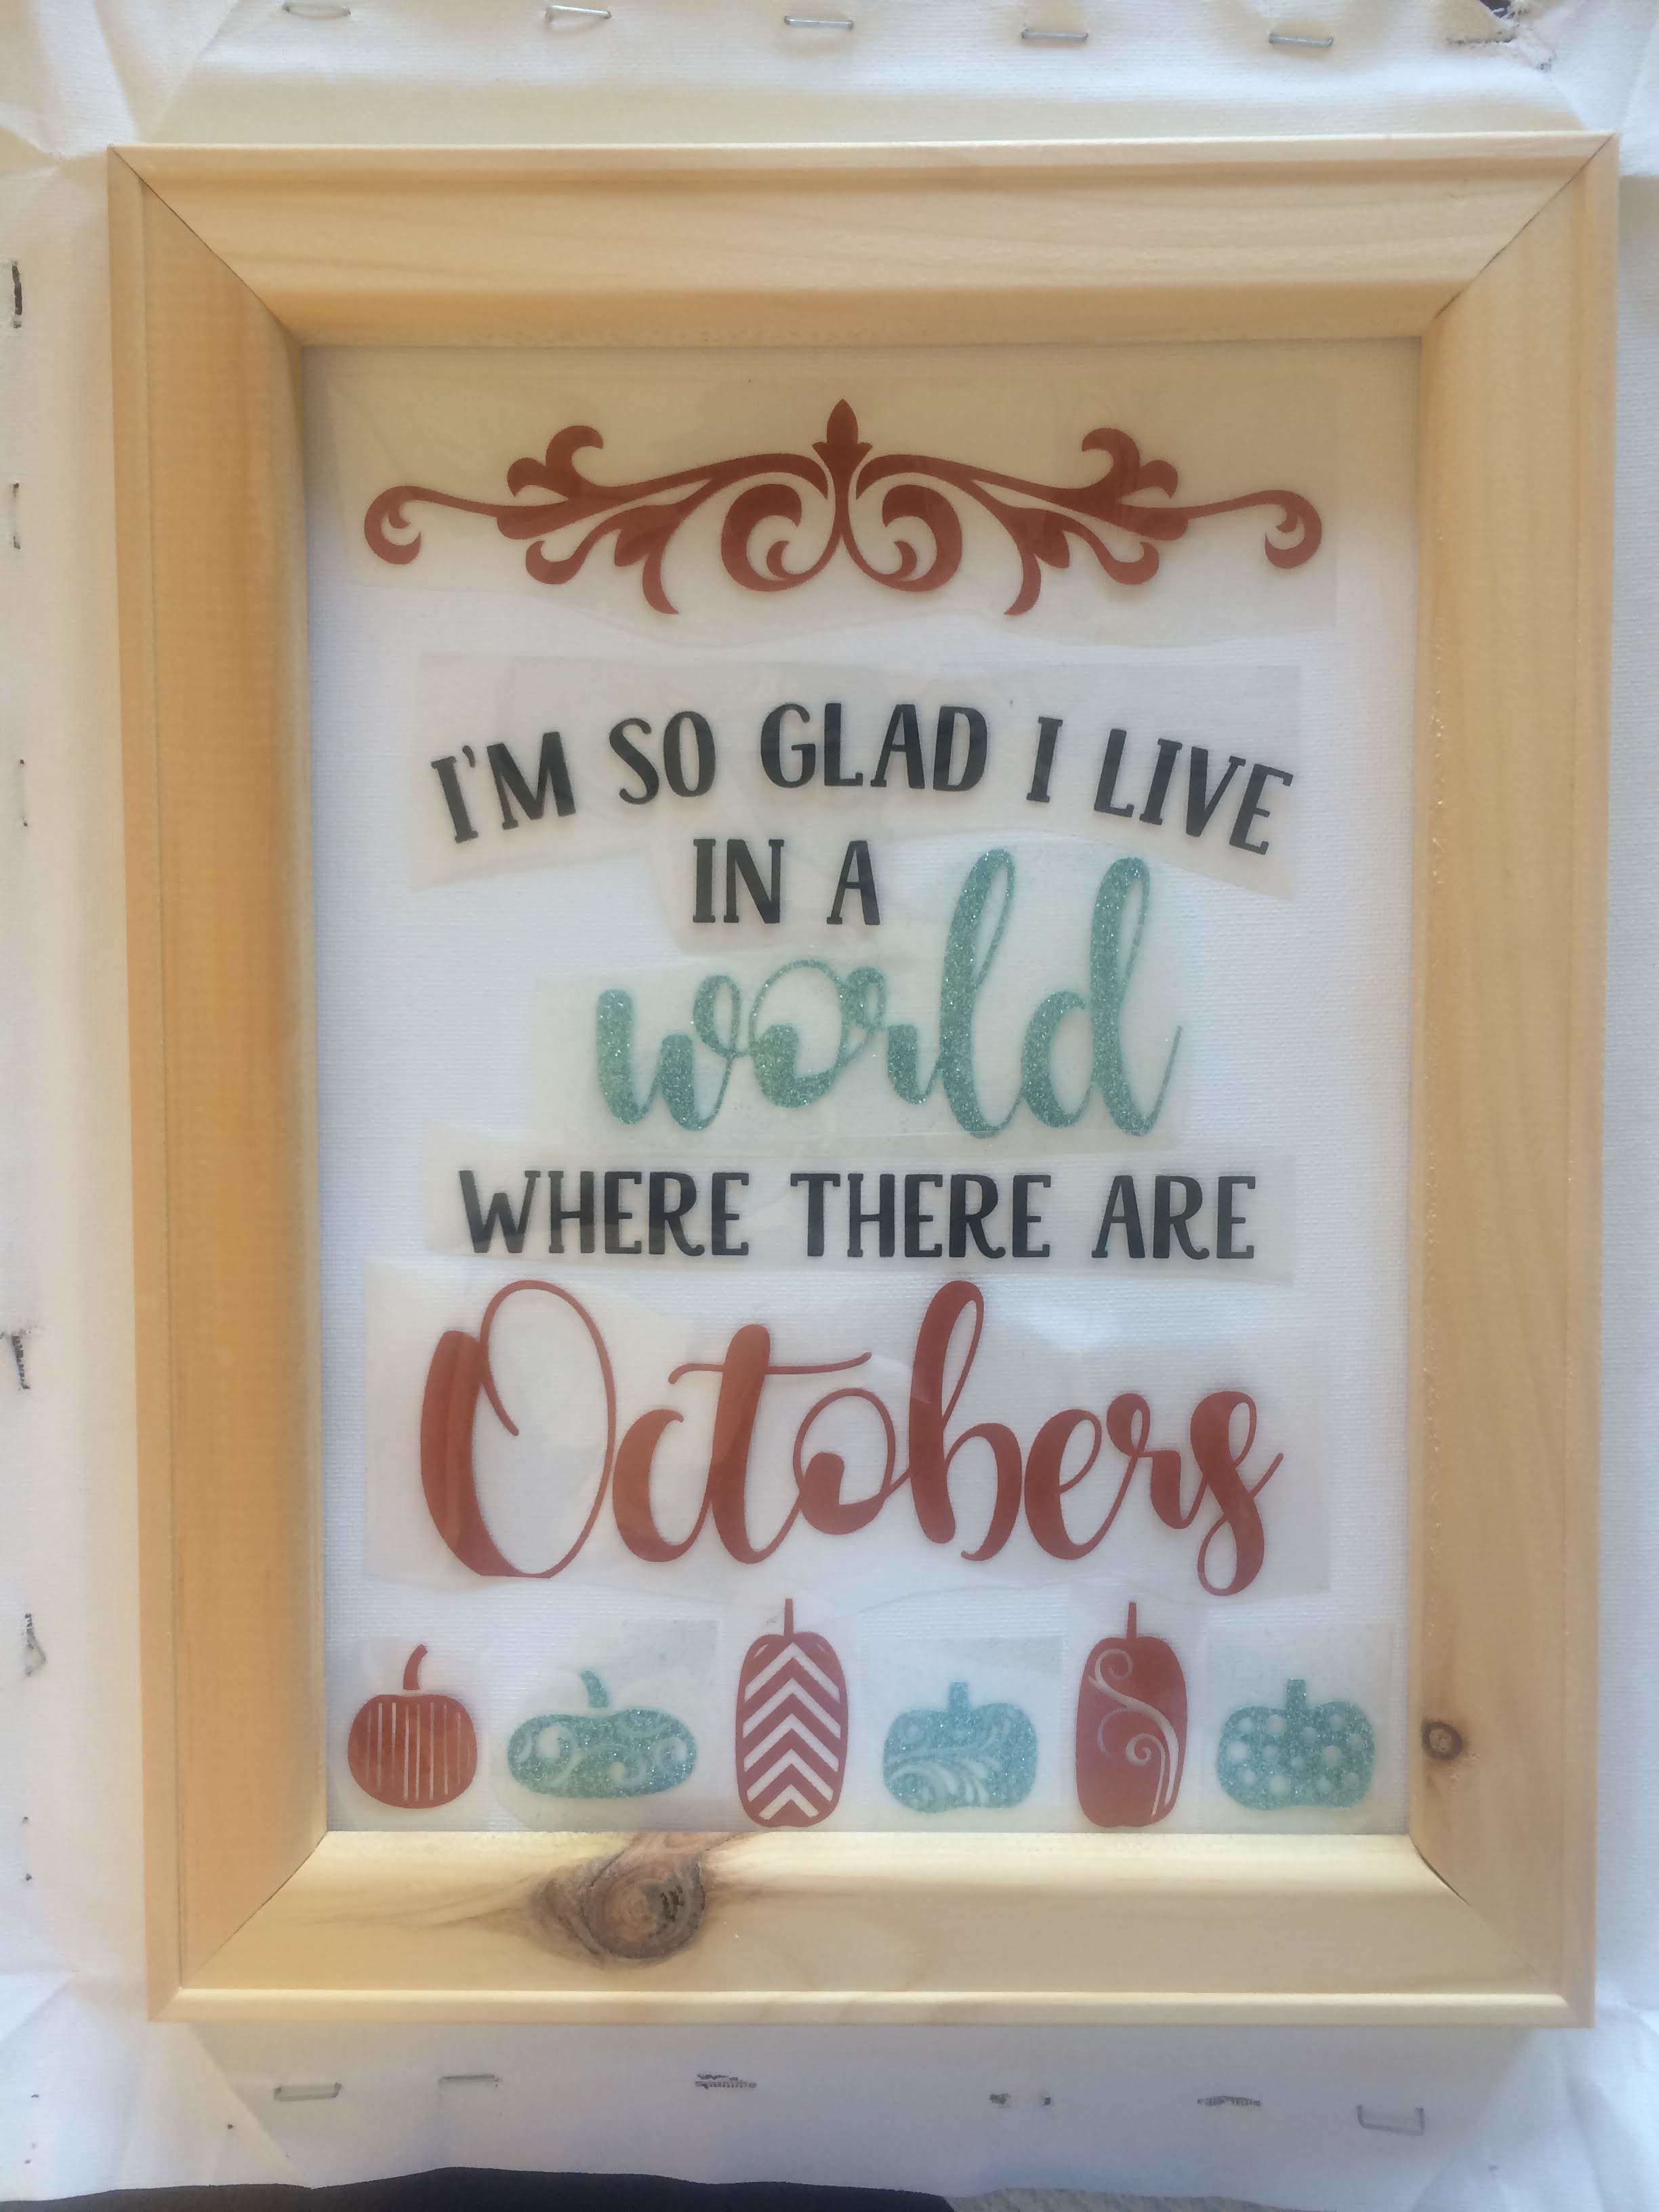
I laid down the canvas, then the frame, then placed all the Heat Transfer cut files and arranged them. Now they are ready to iron on.

I painted the frame and stapled the canvas to the back.

I’m ready for October (well maybe) with this fun Anne Shirley inspired project.

Welcome Sign featuring Vintage Sign Font with Ashley

Happy First Day of School for some of you out there today!  Two of my kids are headed to the first day–both in high school.  I also have a Freshman in college who will be starting in a couple of weeks.  I am featuring a sign today using the Vintage Sign Font found here in the Shop or in the Silhouette Store.  This font has great letters for signs as well as some special characters.

To find those special characters, you can see them in Silhouette Studio.  Or if you are using another program.  The special shapes are found on these keys: []|<>? (look next to P on the keyboard and next to M).

I used Oramask 813 purchased at Expressions Vinyl to make the stencil for the board. I also decided to get the Silhouette Roll Feeder since my sign is 5 feet tall.  I would highly recommend the roll feeder.  It kept the vinyl moving nice and straight.  One caution is that as you get to the end of the roll of vinyl, be careful that it doesn’t get stuck as it is moving in/out of the machine.

I used the alphabet and the leaf which can be found with keys [ ].   The board is common board–5′ tall and 9″ wide.  The tall board makes a great front porch statement!

Digital Inspiration with Ashley

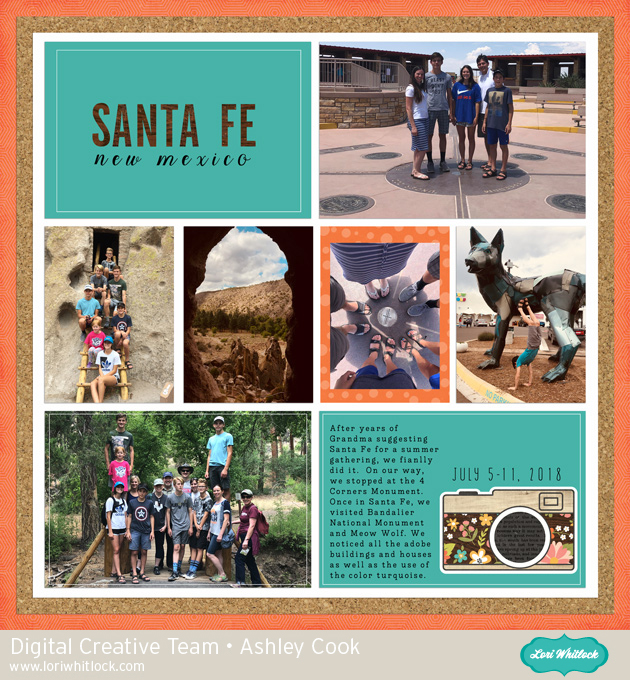
Hi there.  I hope you are having a wonderful July where ever you may be.  Here in the U.S., we are in the middle of summer.  My family just got back from Santa Fe, New Mexico.  I think Northern New Mexico has surprises for everyone who visits.  New Mexico is the Land of Enchantment, and we had an amazing time.  I have just started documenting it, so here are some of the activities we did highlighted in this layout.

This layout features I’d Rather Be Crafting by Lori. As well as the alphabet from Happiness is Homemade.

Fonts used: Dreamy, Perfect Type.

I hope you find time to craft and make some fun things during your summer months.