No Glue Cookie Box with Ashley

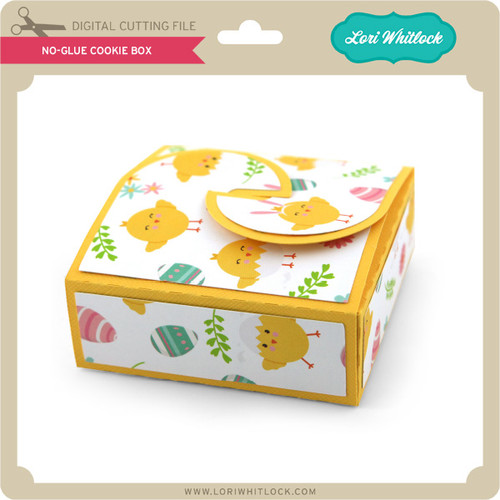
Today I’m sharing a great box.  You can find the No Glue Cookie Box here in the Lori Whitlock SVG shop or here in the Silhouette store.

Image 1

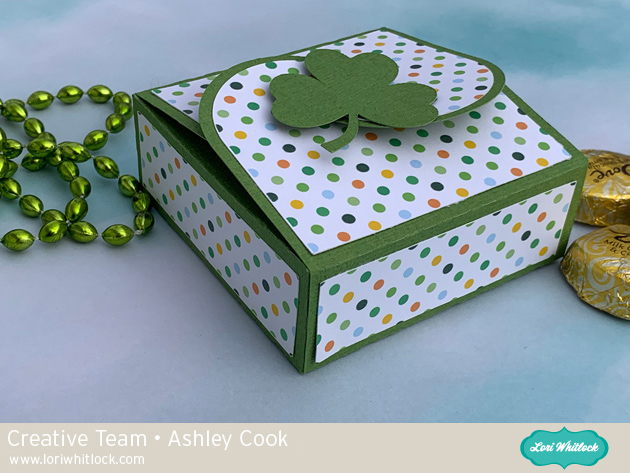
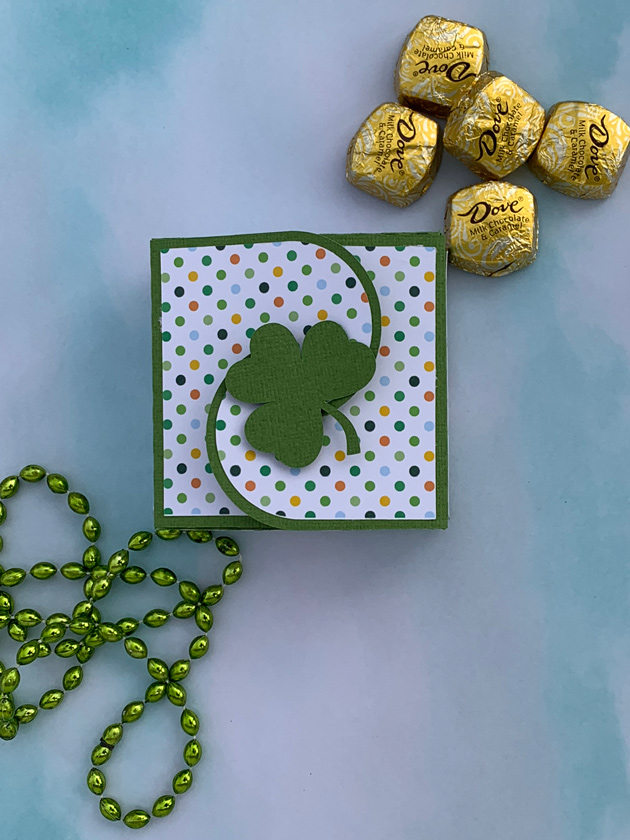
I used Lori’s St. Patrick’s Day Pattern Fill to print and cut the paper panels.  I also cut a shamrock.  Several Shamrock options are in the SVG shop and the silhouette store.

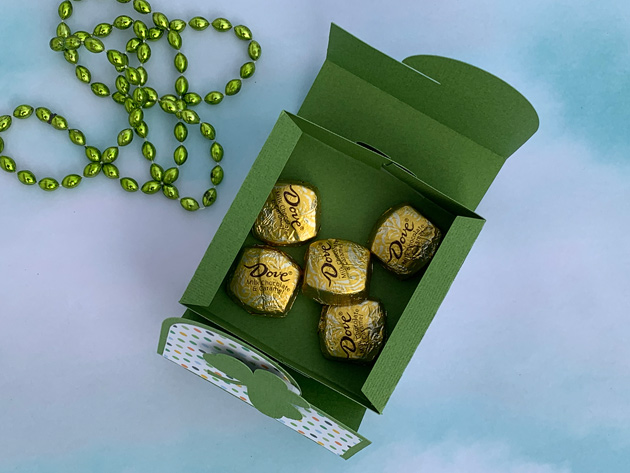
The box comes as the above size, and it is 3.375″ x 3.5″ x 1.25.”   A great size for a handful of treats or a homemade cookie.  I love St. Patrick’s Day, and I plan on making more of these to share a little luck around.

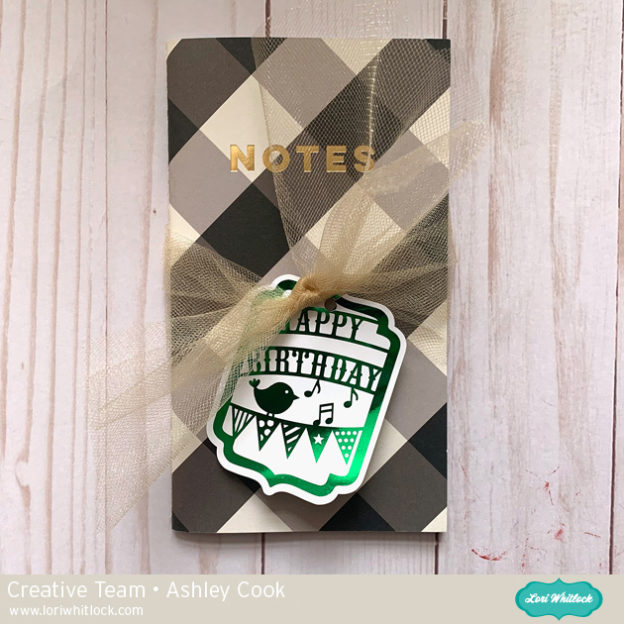
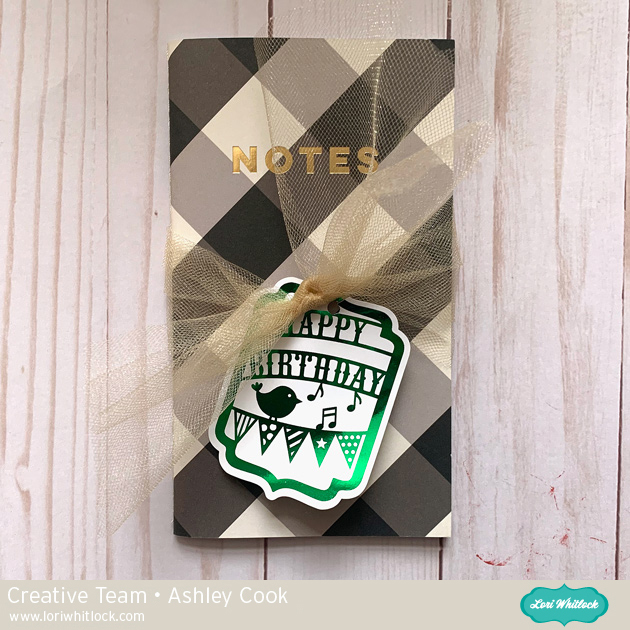
Birthday Tag With Ashley

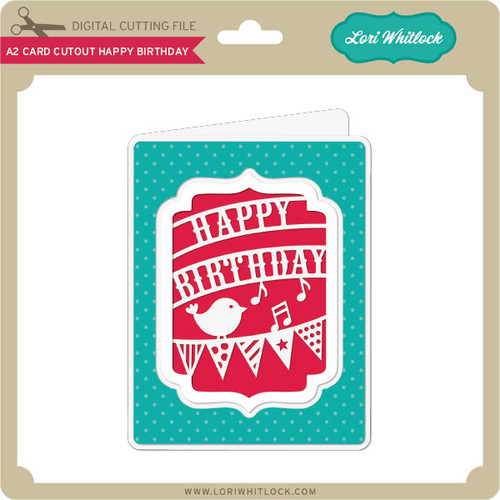
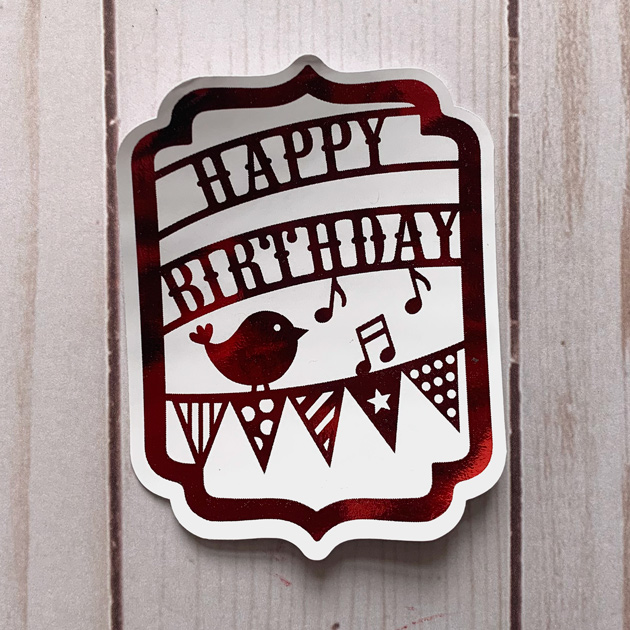
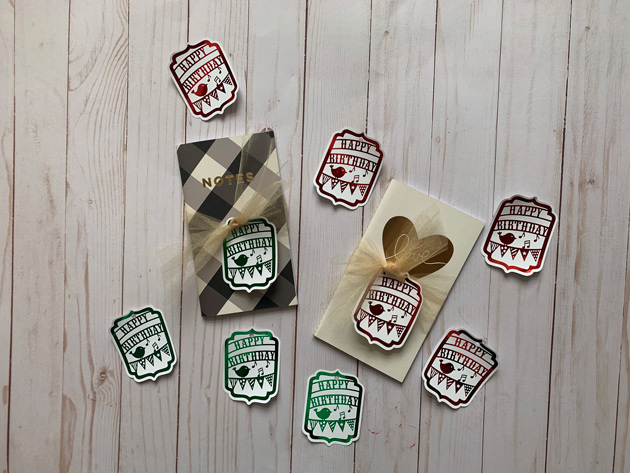
Today I am sharing a fun Birthday tag.  I am making 100 of these tags, so I altered a card file to make some tags. I used just the cut out part to create a tag.  The birthday card can be found here or in the Silhouette store.

Image 1

I used the Silhouette print and cut function to print first, then I foiled, then cut the tags.  You could also print in color.

That’s a lot of fun tags coming up.  Have a great day!

Elephant Belly Box Tutorial with Ashley

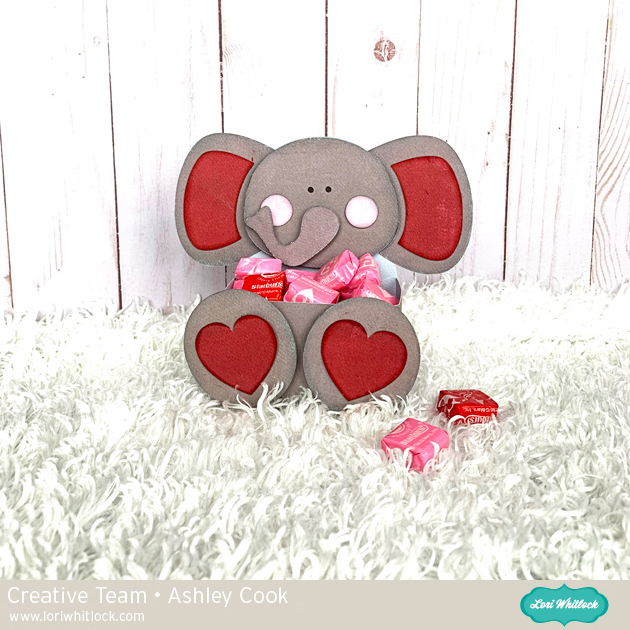
I am bringing you a fun tutorial for the Elephant Belly Box.  Lori has an assortment of different belly boxes in her shop.  Find the Elephant here and at Silhouette.   And take a look at the other belly boxes.  All of them come together in a similar manner.

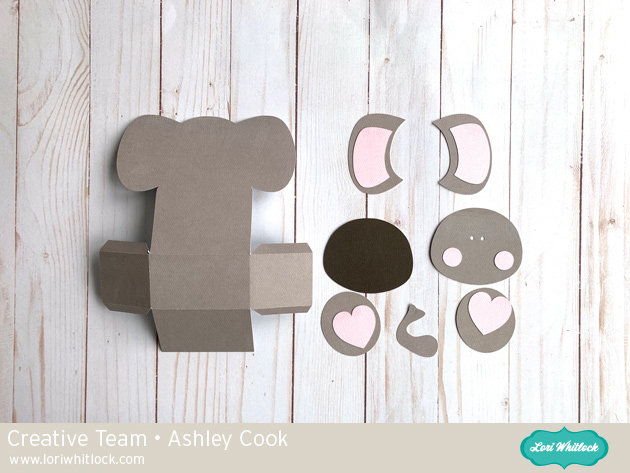
First, cut all the pieces.  For this Elephant I used 1 full piece of 12 X 12 gray paper, part of a pink/red paper and just one part of a brown paper.  The pink paper here is red on the other side, so while I was putting it together I decided to use the red side for the ears and feet and kept the pink for the cheeks.

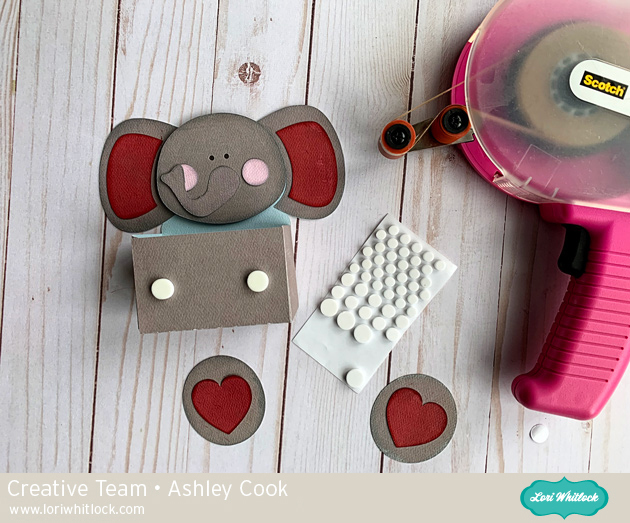
I inked the edges of the pieces.  I used a tape runner to attach the accent pieces and tape the box tabs together, then I used pop up adhesive to attach the feet, face, and trunk to the box.


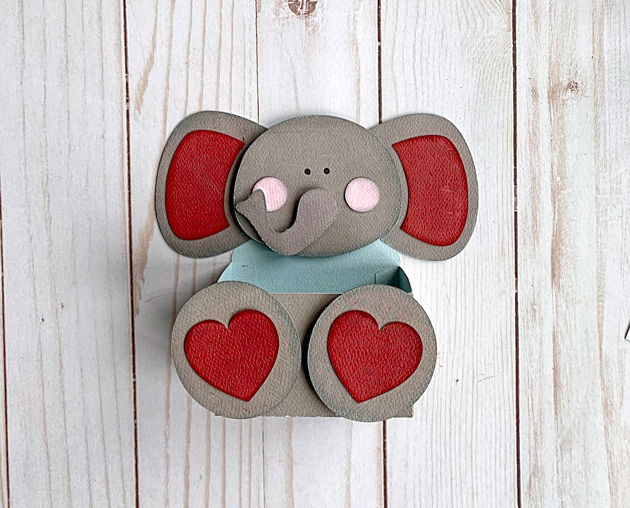
Now the box is ready to fill with a treat.

This was so fun and quick to put together.

Merry Christmas Eve Family Pajama Shirts

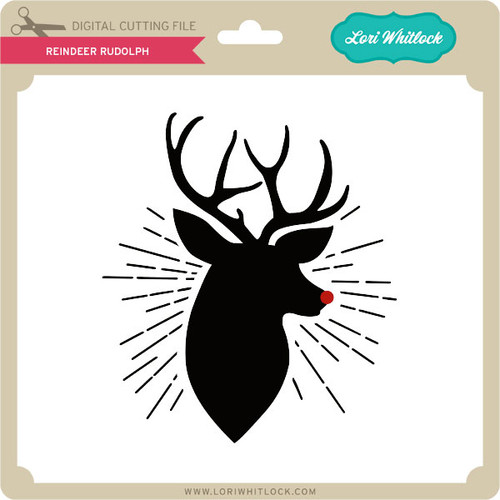
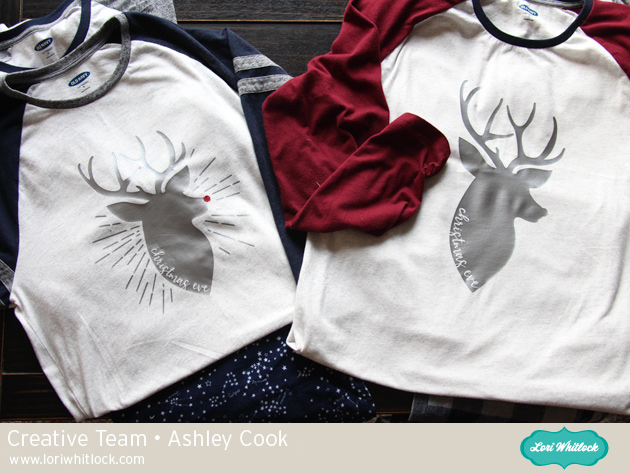
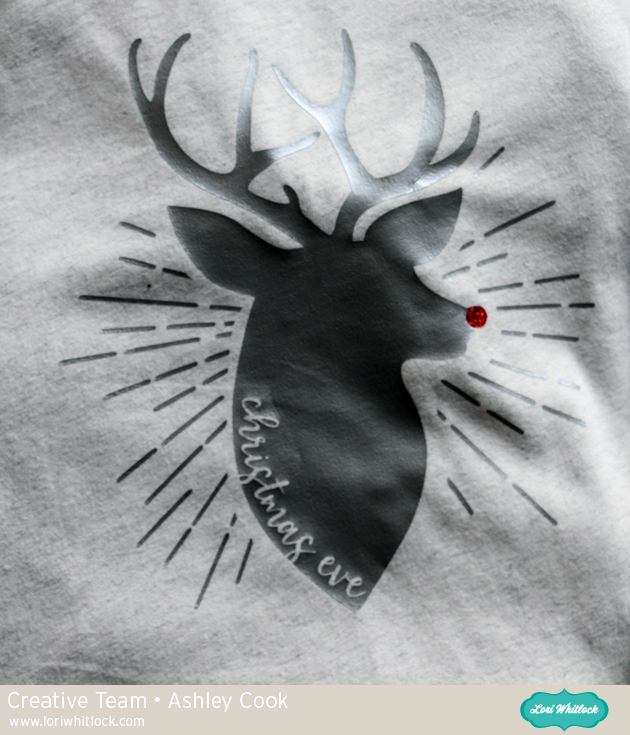
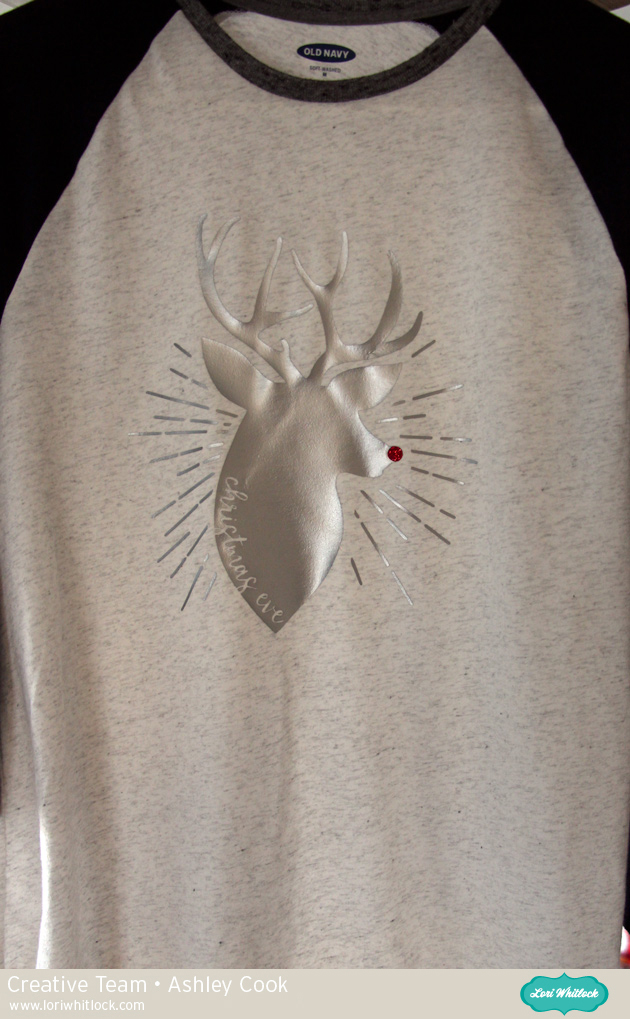
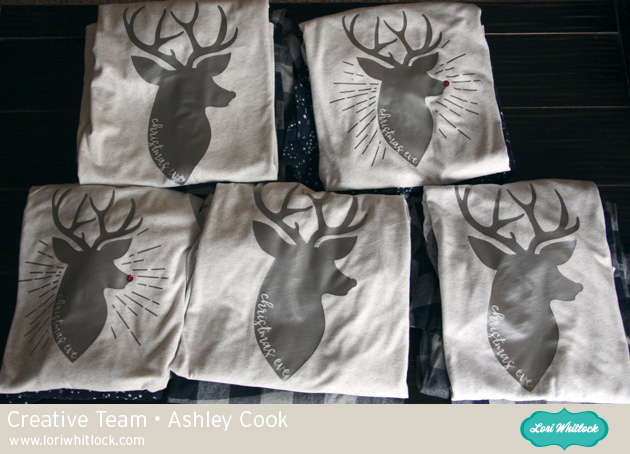
Happy Christmas Eve! I hope that you have everything ready for Christmas. And if not, never fear, you have a few more hours of last minute shopping, wrapping, crafting! Today my family will open matching pajamas.  I added reindeer to the shirts to give them that special custom flare.  You can find this reindeer in the SVG shop and Silhouette Design store.

Image 1

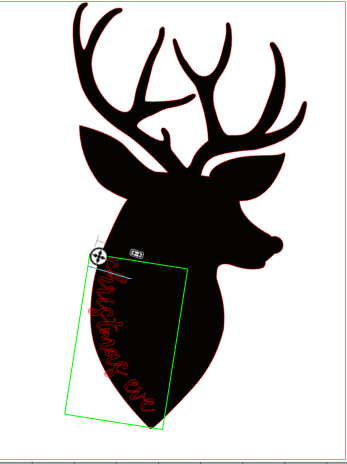
The font is Lori’s Longhand Font. In the Silhouette Store.  In Silhouette Studio, you can curve text to a shape.  While you have your text box selected drag the circle to the shape you’d like to curve it to.  Move it around a bit until it’s in the right spot.

I hope that you have a wonderful Christmas Eve and a very Merry Christmas!

Pop-up Card Tutorial with Ashley

Happy Thanksgiving!  I hope your day is filled with great food, friends, family, pie, etc.  And if you like shopping this weekend, I hope that you get all the deals you are looking for. I think there are many crafting deals that can be enjoyed right from your home and your favorite internet browser.

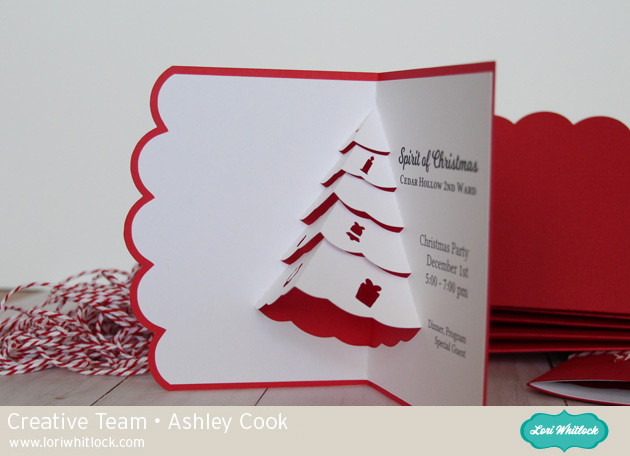
I am helping plan a Christmas Party for our church congregation.  We wanted each family to have a special invite.  So I searched for a pop-up card that I could make many.  I found this great Tree Pop-up (Silhouette, SVG shop).
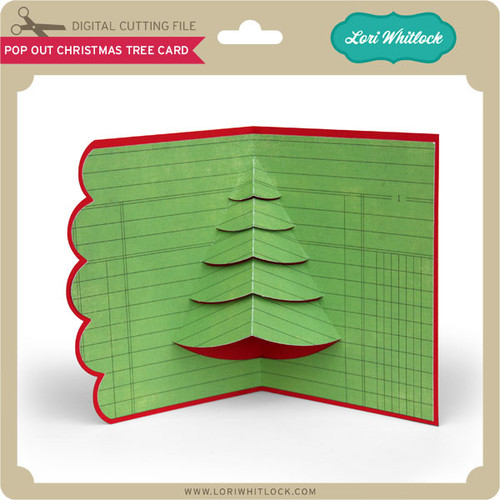
Image 1

I decided to do a little editing. Before I un-grouped the card, I resized it just a little so that the outside of the card would fit onto a 8.5 x 11 piece of paper.

Then I did a little point editing.  To add points to a design, double click on the shape, and click where you want to add a point.  For this project, I chose the point to be a corner, then I manipulated the curves to the shape that I was going for.

At our Christmas Party, we will have a program about some of the symbols of Christmas. I wanted to incorporate that into the card.  I used  images from Lori’s Dingbat Christmas font (Silhouette, SVG Shop). Since these shapes will just be an outline in the card, I deleted any extra pieces by un-grouping, releasing compound path, and deleting any of the inner pieces.

With all the symbol images placed, I added text.  Since my text isn’t too near the cuts, I decided not to do print and cut, so that I could get 2 cards for every piece of cardstock. I saved just the text in the correct format as a PDF and took it to the copy store to print.  After printed, I cut 100 cards (well the Cameo did the cutting).

I am tying them up using a cute tag from Lori’s Tag Dingbat font (Silhouette, SVG shop).

I think they are pretty cute.  I hope everyone likes the special invites.  Now only 99 more to tie :).
Happy Thanksgiving!! And Happy Shopping!