Santa Divided Candy Box

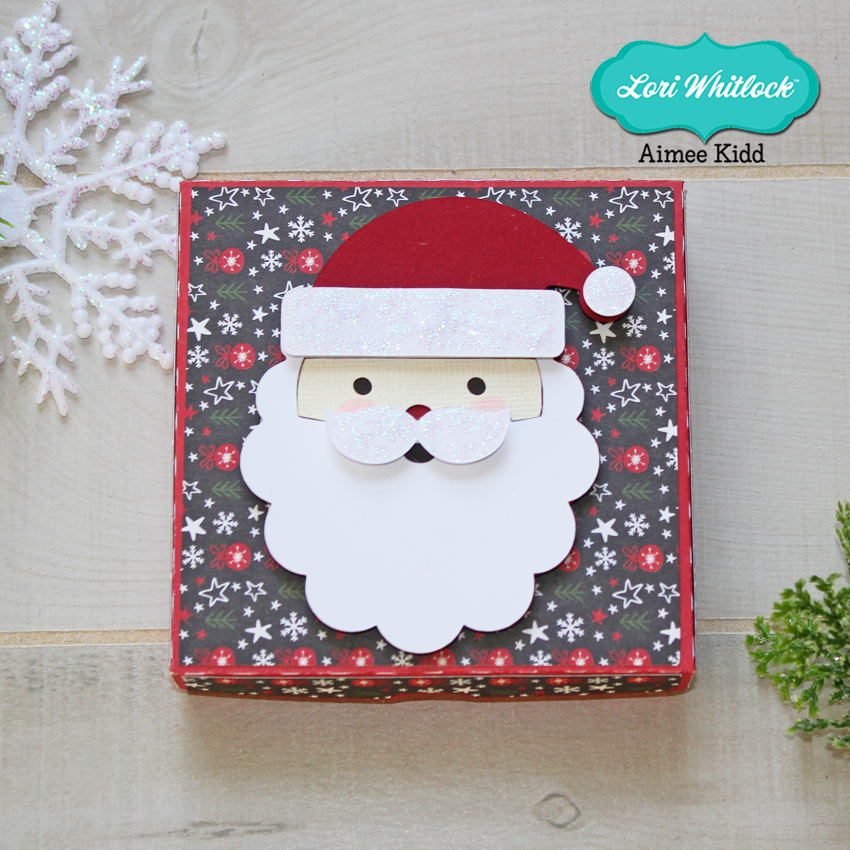
Hello crafty friends! Aimee here and I say it’s never too early to get a jump start on Christmas gifts so today I have a tutorial for a small gift box that’s filled with Christmas yummies that is perfect to give to a teacher, neighbor, or co-worker.  I’ve used one of Lori’s new Divided Candy Boxes that has this adorable little Santa Claus face on the top of the box (Lori’s SVG ShopSilhouete Store). Lori also has a bundled set of these fun little candy boxes found here if you want all 4 because you have a hard time choosing just 1.

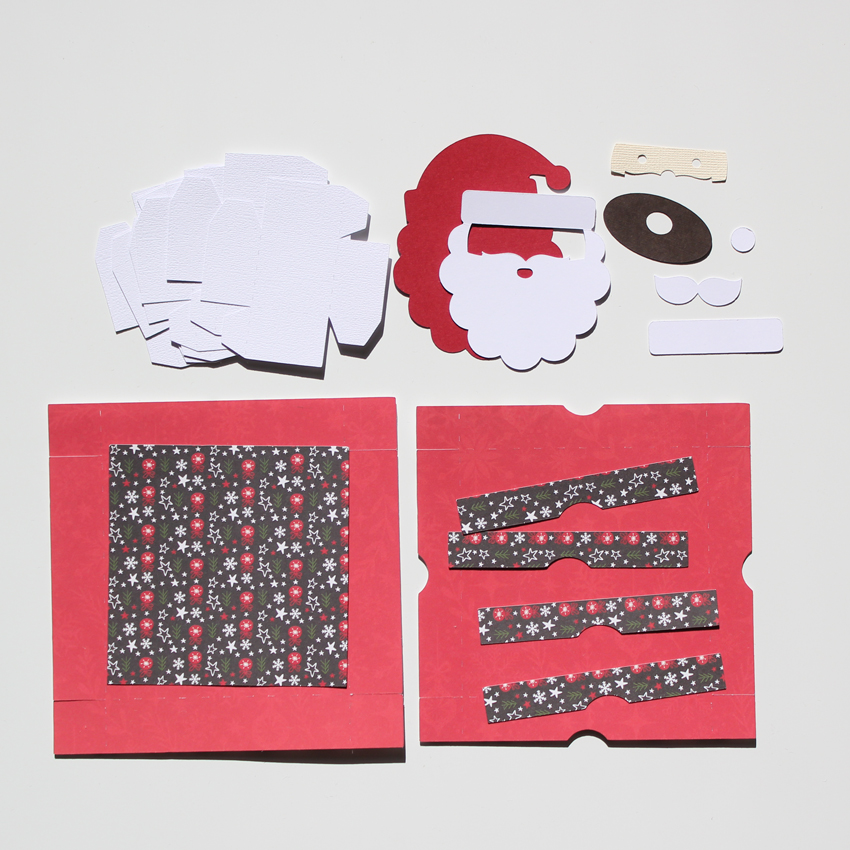
To get started, cut out all of your pieces from your chosen card stocks and patterned paper. You will need to cut out 9 of the little boxes that go inside the big box.
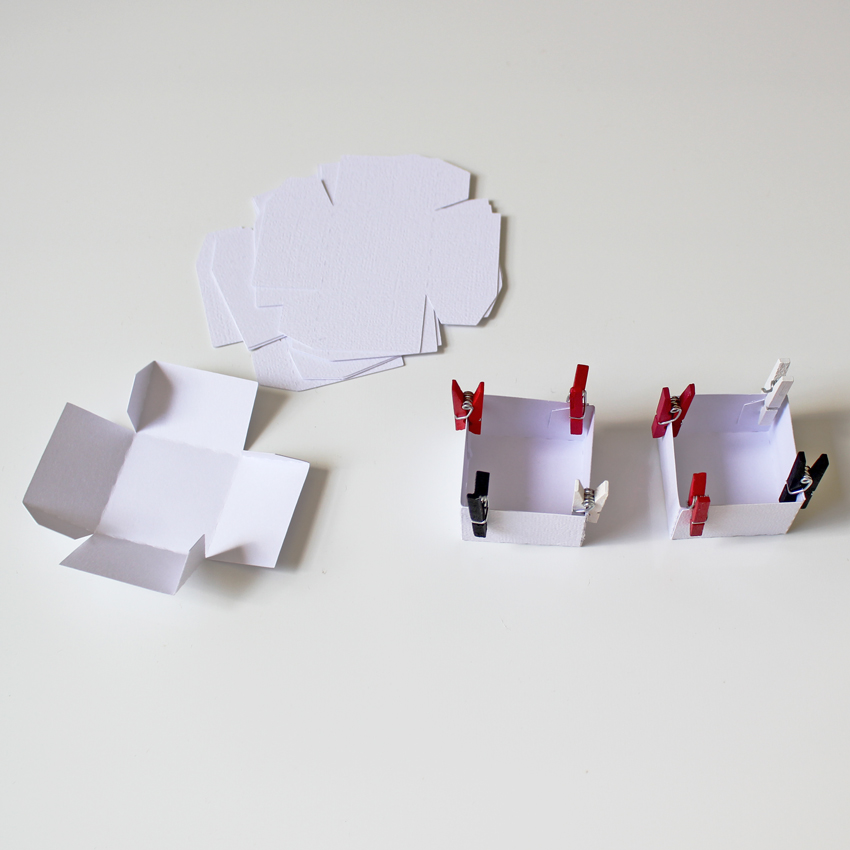
To get started, I glued all 9 boxes so they could dry while I was putting the main box together. A little tip to help you speed things up…use mini clothing pins to hold the sides together while the glue is drying.
For the main box, I folded on the score lines for both the top and the bottom pieces and then adhered the panel pieces to the top lid. Next I glued the sides together on both pieces.
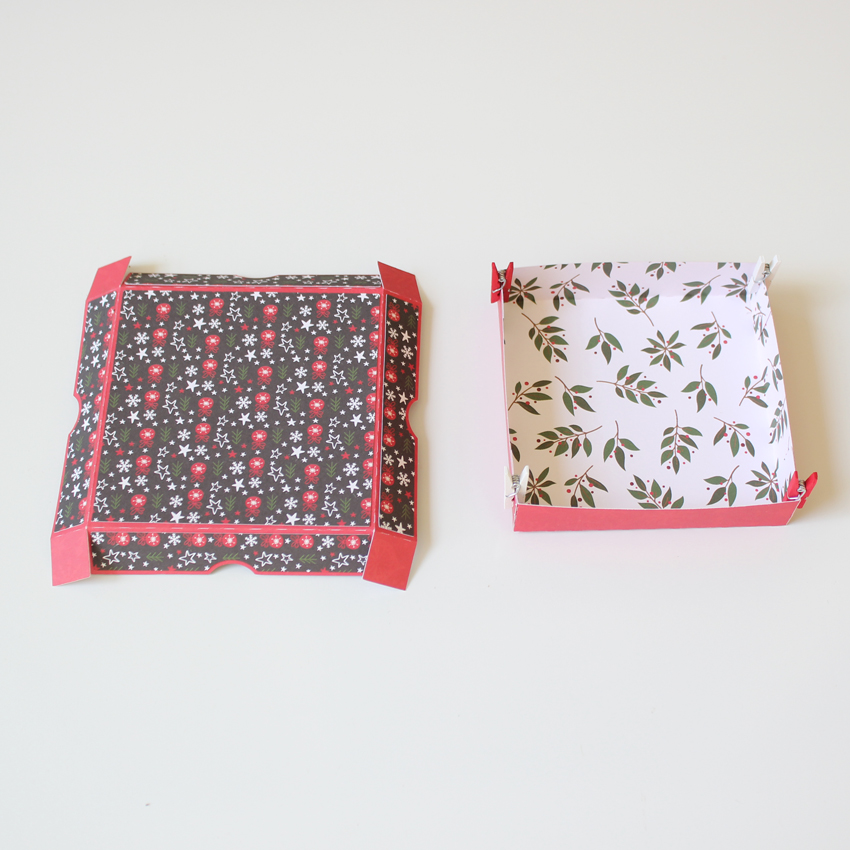
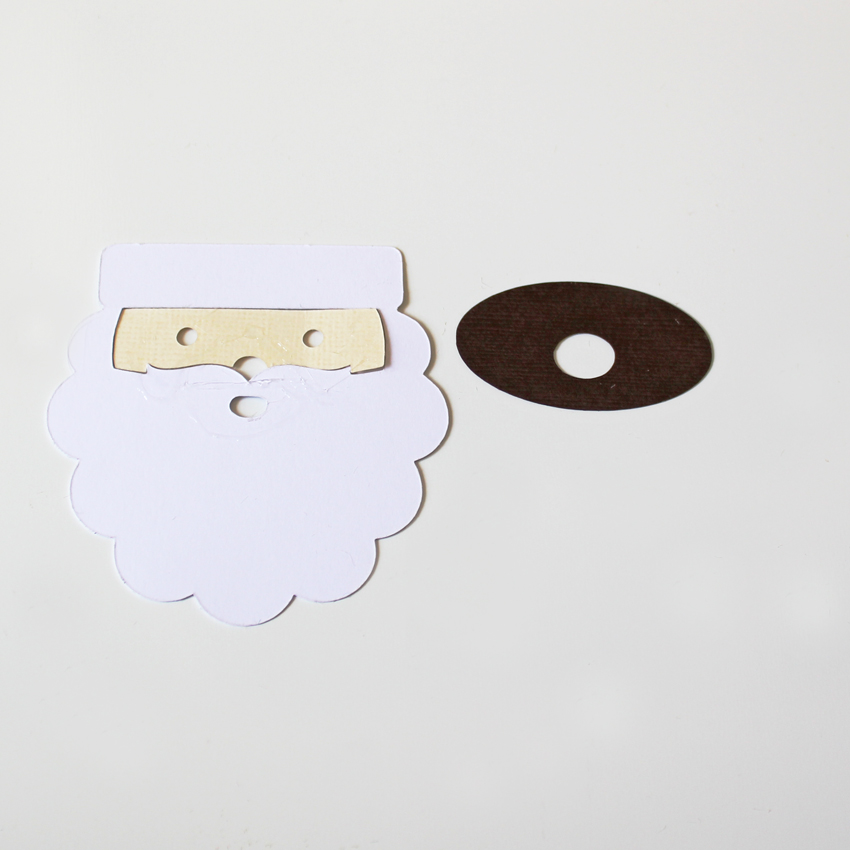
For the Santa piece, I flipped the beard and face pieces over so I could line up the dark brown/black piece so the hole doesn’t cover the nose. The red from the bottom piece of Santa will show through for his nose.
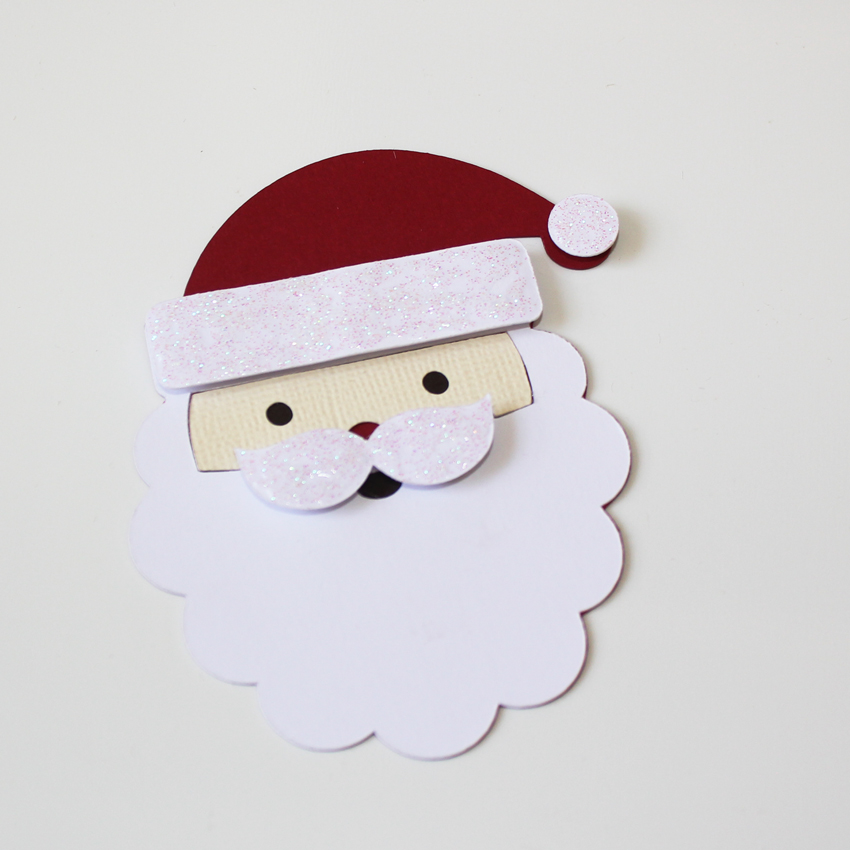
To add some dimension, I took the mustache, lining of the hat and the pom pom of his hat and used pop dots. I also added some glitter to those pieces to make him a fun and glitzy Santa.
Lastly, I attached Santa to the top of the box, added the little boxes inside, and filled with some Christmas Rolos. The bite-sized pieces fit perfectly with 2 to each box.
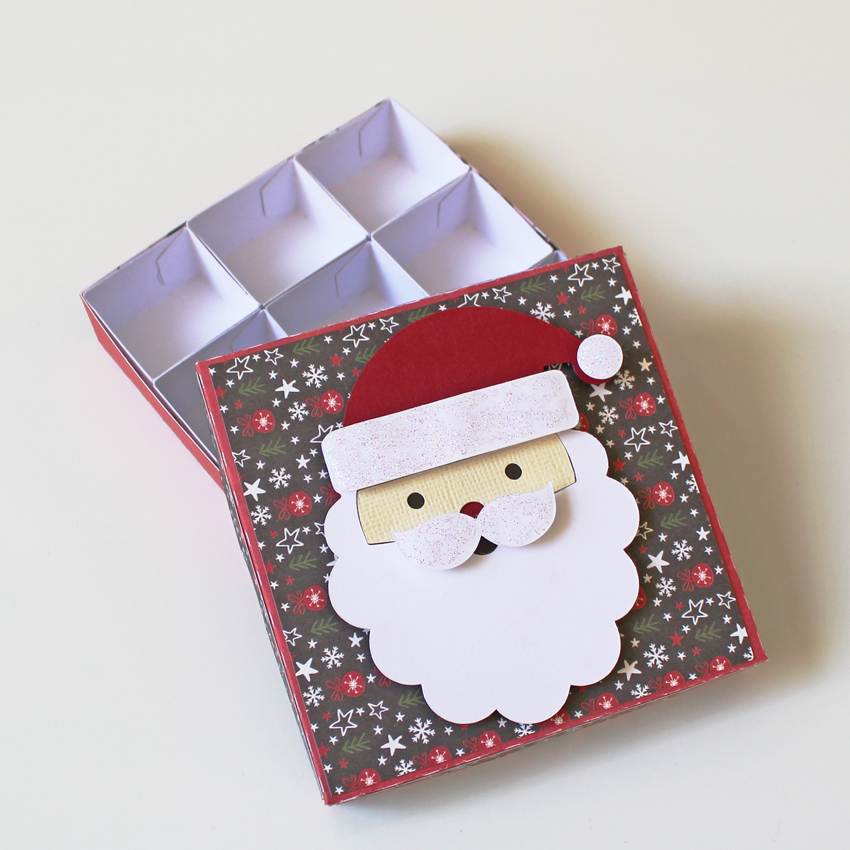
These would be great to have on hand in case that unexpected Christmas guest stops by!

So why not get an early start on those Christmas gifts and make a few of these? They are so much fun!

Thanks for stopping by today!

Aimee

Fall Gable Boxes

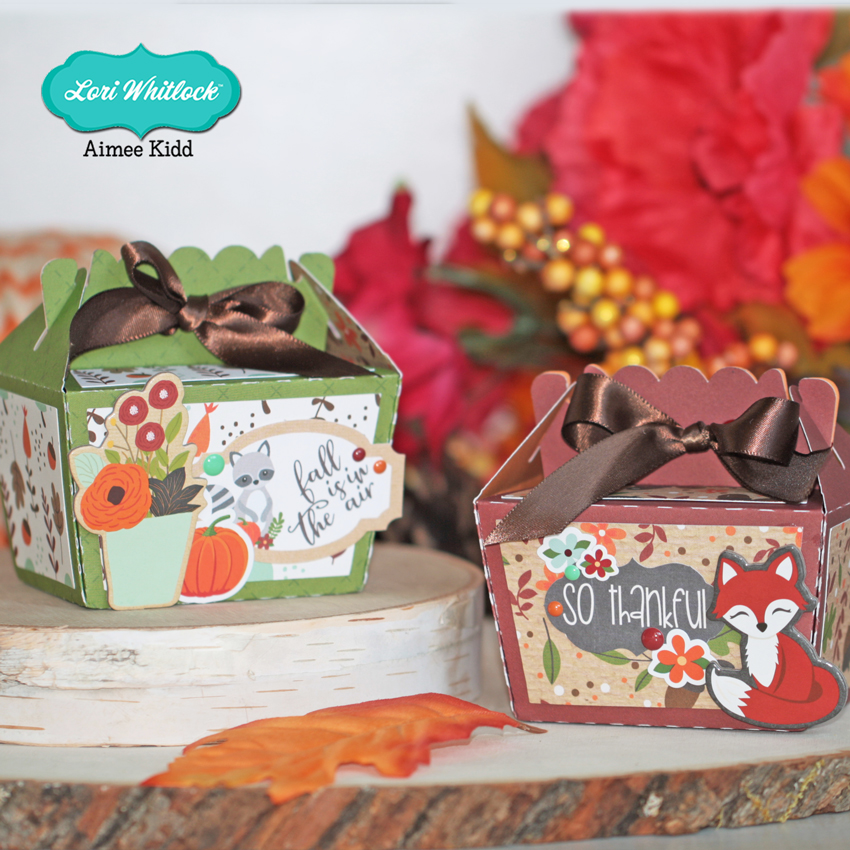
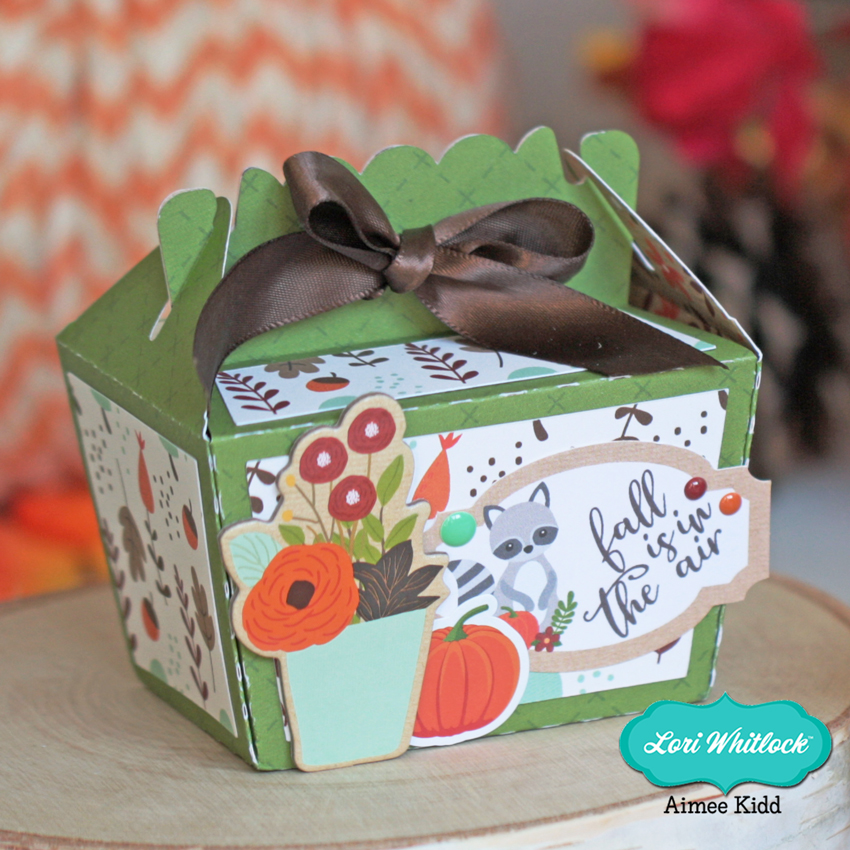
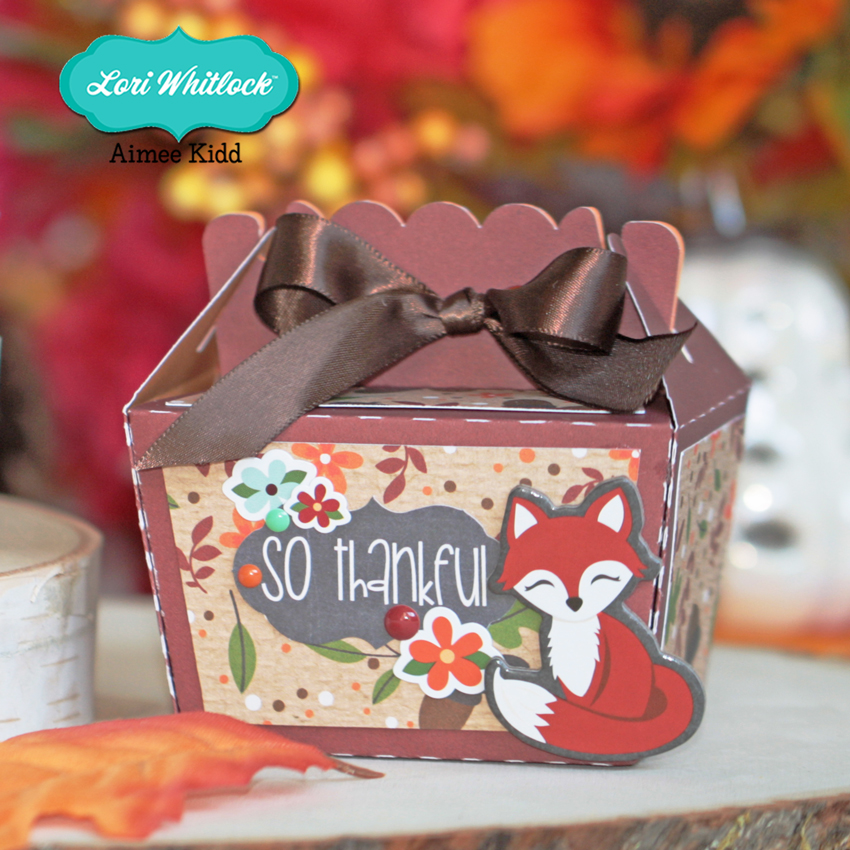
Hello crafty friends! Aimee here today to share some Fall goodies! I am so excited…Fall has begun!! So today I am sharing the 3D No Glue Tapered Side Gable Box (Lori’s ShopSilhouette Store) and how adorable it looks all decorated with the new My Favorite Fall collection.

These little boxes were easily put together and so much fun to decorate! There is just enough room on the front panel to add a sweet little animal chipboard piece, tag, and some enamel dots to make these boxes look inviting to open and reveal the Fall goodies you’ve placed inside!

Thanks for stopping by today and I hope everyone is enjoying this beautiful Fall season so far!!

Aimee

Fall Treat Bags Tutorial

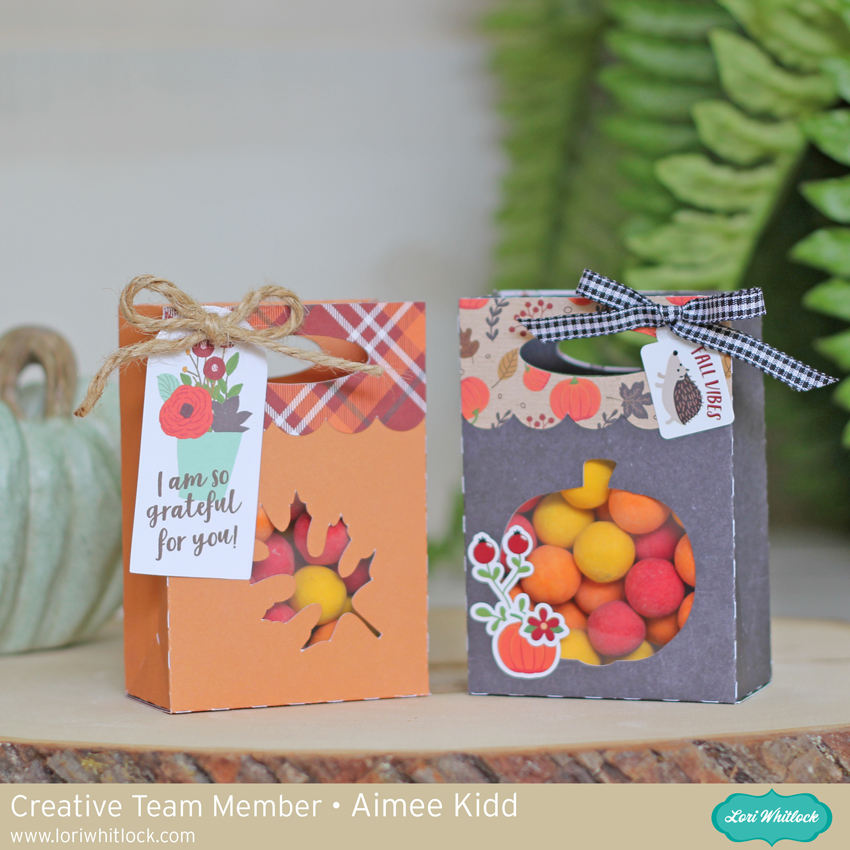
Hello friends! Aimee here with you today to share a tutorial on one of the fabulous new box files that Lori has created for us! This is the Gift Bag with Handle Scalloped (Lori’s ShopSilhouette Store) and I am going to show you how to add a front panel so that the treats show through. And since Fall is just around the corner I added a couple of Autumn icons from the Fall Icons set 2 (Lori’s ShopSilhouette Store). So if you’re ready…let’s get to crafting some Fall gift bags!

Open the Gift Bag with Handle Scalloped file…

and add the Fall Icon set. I only used the pumpkin and leaf so I deleted the others but the other 2 could easily be used as long as you’re only adding the base layer.

At this point,  place the icon and the scalloped handle on the front panel of the bag. You can size and arrange the icon you’ve chosen. With the handle in place, it gives you an idea of what size your icon should be.

Now that you have you’re icon placed and sized, slide the handle to the top. Click on the bag and ungroup the bag from the cut lines. This is a very important step! If this step is missed, it will turn the dotted cut lines into solid cut lines which will give you a bunch of strips of paper instead of a bag.

Next,  click on the icon and while holding the shift button, click on the bag and click on “make compound path”. It will make your bag clear but it still cuts the same. Now you will want to click on the bag and the cut lines and group them together. Now you are ready to cut.

Run your papers through your paper cutting machine. Now let’s get to putting the box together.

Adhere a piece of acetate over the icon space

Place your adhesive on the top panel of the bag and fold it down on itself

Now adhere the bag together

And adhere the scalloped handles to the front and back of the bag.

And decorate them! There are so many possibilities! I used My Favorite Fall collection to make and decorate my bags. All that’s left to do is add a sweet treat to give to some you are grateful for!

That’s all from me today! I hope this provides some great inspiration for your Fall projects!

Aimee


6×6 Fall Birthday Wiper Card

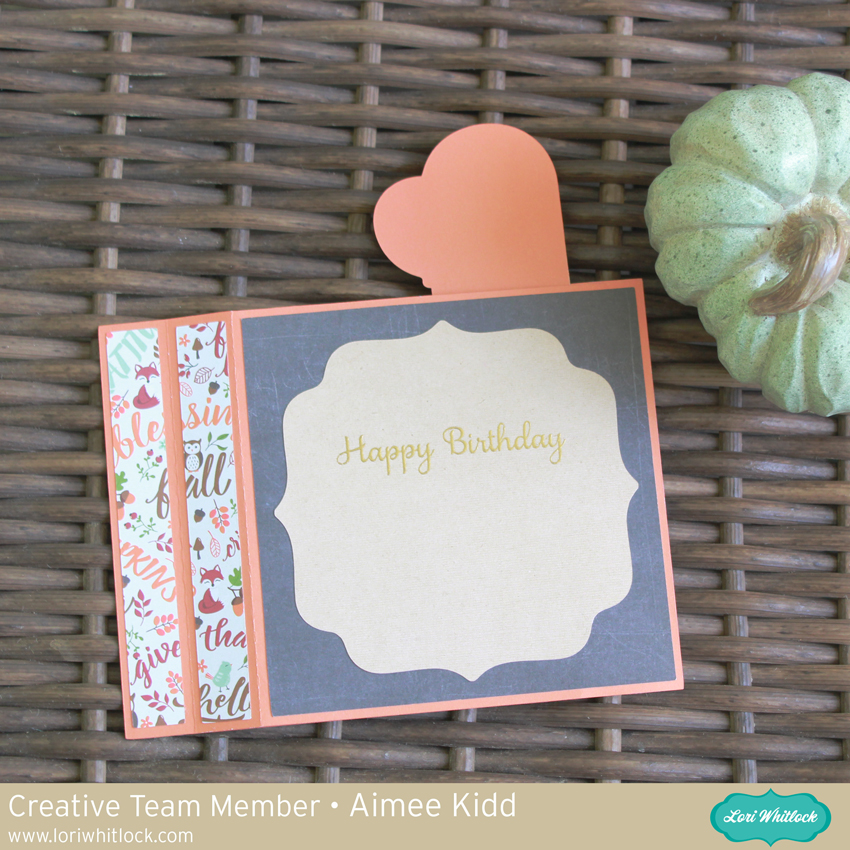
Happy Wednesday everyone! Aimee here with you today sharing an adorable new “surprise” birthday card from Lori. She has put out a fabulous new collection of 6×6 Wiper Cards for Birthday and Christmas. I created the 6×6 Wiper Card Happy Birthday (Lori’s ShopSilhouette Design Store) with her new My Favorite Fall collection. I have a sweet friend who has a birthday in October so I thought I would combine this cut file with the new Fall papers to wish her a Happy Birthday!

 These cards are already adorable just from the front panel but when you slide it to the right there is a sweet balloon surprise that pops up! I added some white pen lines to the balloons to give it a look of dimension.

And there is a special back panel in the cut file for writing your message to the recipient. I added a stamped and foiled sentiment to add a little more pizzazz.

I love how this fabulous card turned out and ready to make some more! There will definitely be some given away at Christmas.

Thanks for stopping by today! Hope everyone is enjoying the last of their Summer!

Aimee

Pineapple Pop Up Birthday Card Cut File

Hello everyone! Hope you all are having a wonderful Summer so far! If you are looking for a Summery birthday card then look no farther! Lori has some super fun and fabulous Summer Pop Up Box Cards that are sure to bring a smile to a loved one’s face!

I chose the Pop Up Box Card Pineapple (Lori’s Shop or Silhouette Design Store) because I love the sweet sentiment and the adorable little fish. These cards are so much fun to make and fun to give away!!

That’s all from me today! Hope you enjoy making your new and fun cards!!

Aimee