Hexagon Easter Basket Tutorial

Hello and happy crafty Thursday! Aimee here with you today sharing a tutorial on how to assemble the adorable Hexagon Easter Basket (Lori’s SVG ShopSilhouette). These little baskets are so cute and look great in a rainbow of colors!

First thing to do is match up some 12×12 papers for each basket. And pull the SVG file up on your screen.

This particular SVG file requires you to cut 2 each of the base of the basket and the layering pieces. I cut out 2 of the handles as well. I wanted the handle to be solid colored instead of being able to see the underside of the patterned paper.

Here are the pieces of the basket that I started assembling.

Adhere the two pieces that make the base of the basket. To make it easy, I adhered the side tabs on each piece and laid them flat to make sure that both pieces were even along the top edges. Then I added the layered pieces and then started assembling the bottom tabs to complete the bottom part of the basket.

Glue the two handle pieces together and lay aside to dry.

Adhere the bottom tabs of the basket to the hexagon piece to complete the base of the basket.

Attach the handle to the basket. There are holes in the handle and the basket to add a brad to attach the two together. Last thing to do is assemble the bow and adhere it to the handle.

Then you get to fill your baskets up with some Easter grass and something decorative or some Easter yummies! Add them to your Easter decor or to your Easter dinner table with a chocolate bunny.

Thanks for stopping by today! Hope you find these Easter baskets just as adorable as I do and give them a try!

Aimee

Valentine Gift Bags

Happy Monday crafty friends! Aimee here with you today! Valentine’s Day is right around the corner and I have to say that it is very close to being one of my favorite holidays! I am a firm believer in showing love all through the year but Valentine’s Day is great occasion to delve into the paper stash and have fun making crafty gifts to show your love!

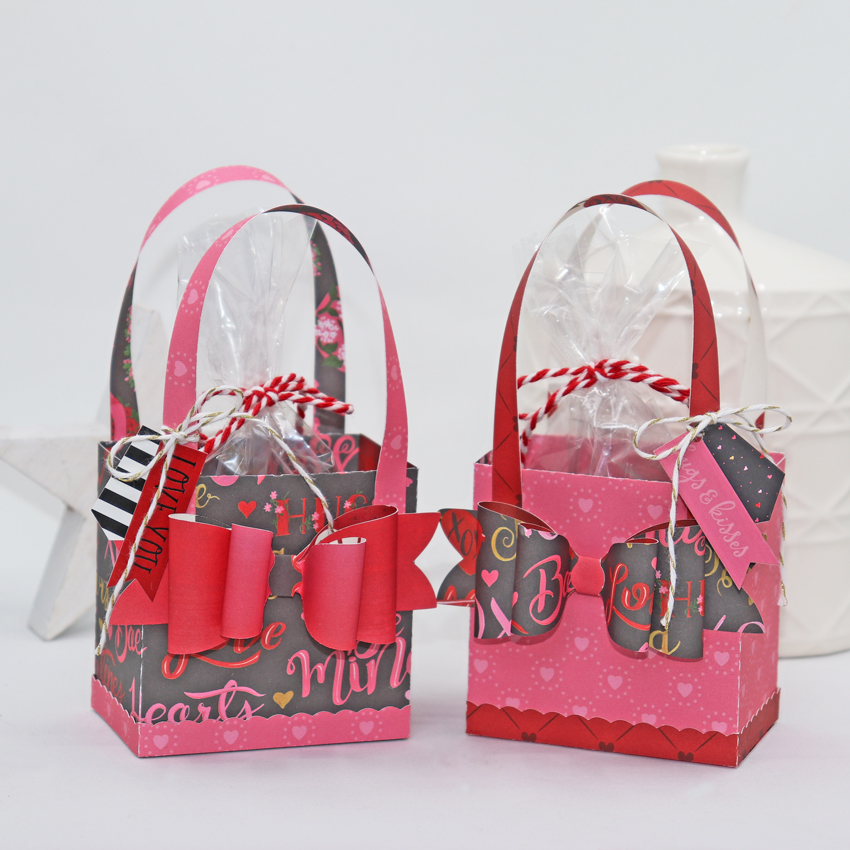
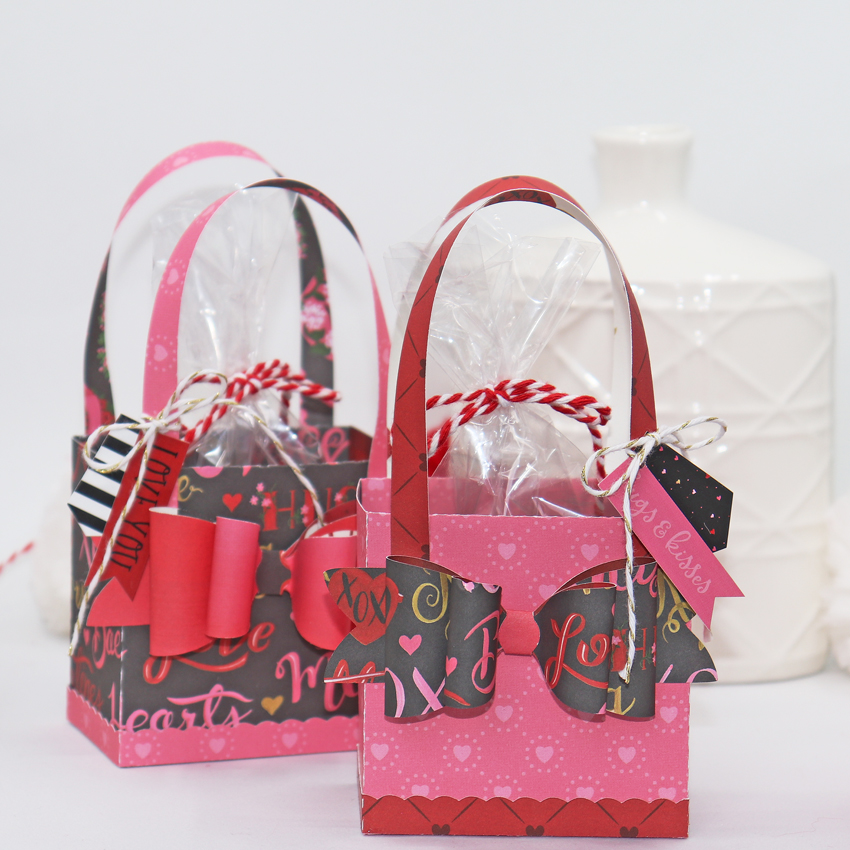
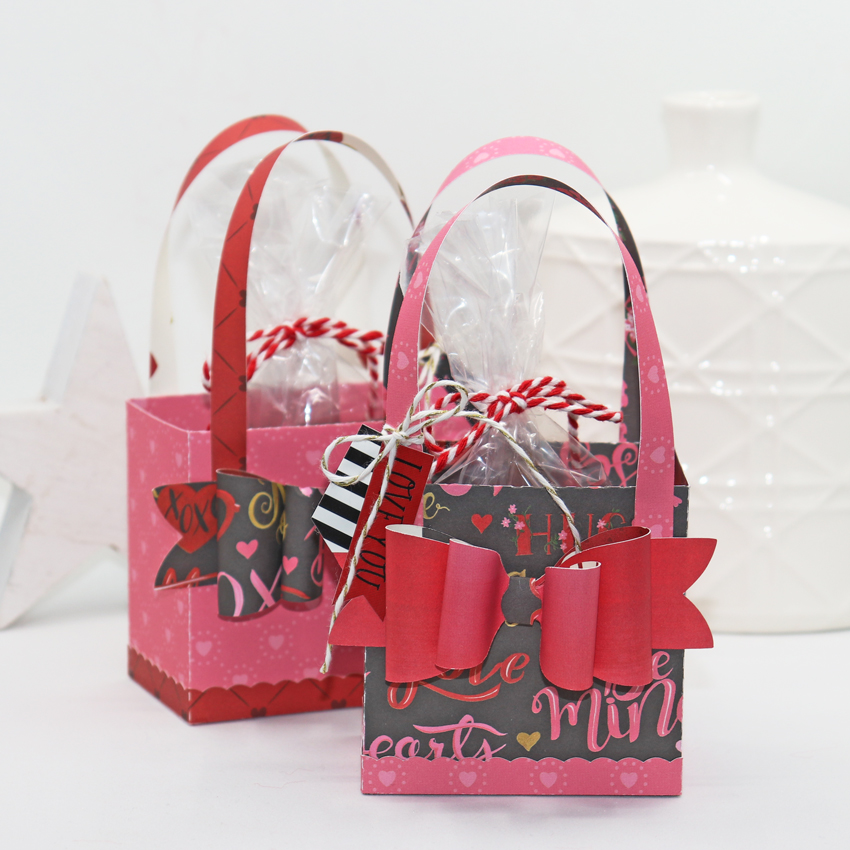
Today I am sharing a couple of bags that were made with the Purse With Bow SVG (Lori’s ShopSilhouette). Once I had all of my pieces cut out, it seemed the bags came together in no time at all!

The bags alone would be fun to decorate with some die cuts but there is a great bow included with this one! Once I had the bags put together and the bows attached, I knew I needed a little something extra. Some twine and a couple of the tags from the sticker sheet would be perfect to hang off of the handle to complete them!

Add a bag of candy with a twine bow and look how adorable these turned out using the Echo Park Be My Valentine collection!

Thanks for stopping by today!

Aimee

Happy Valentine’s Day Layout

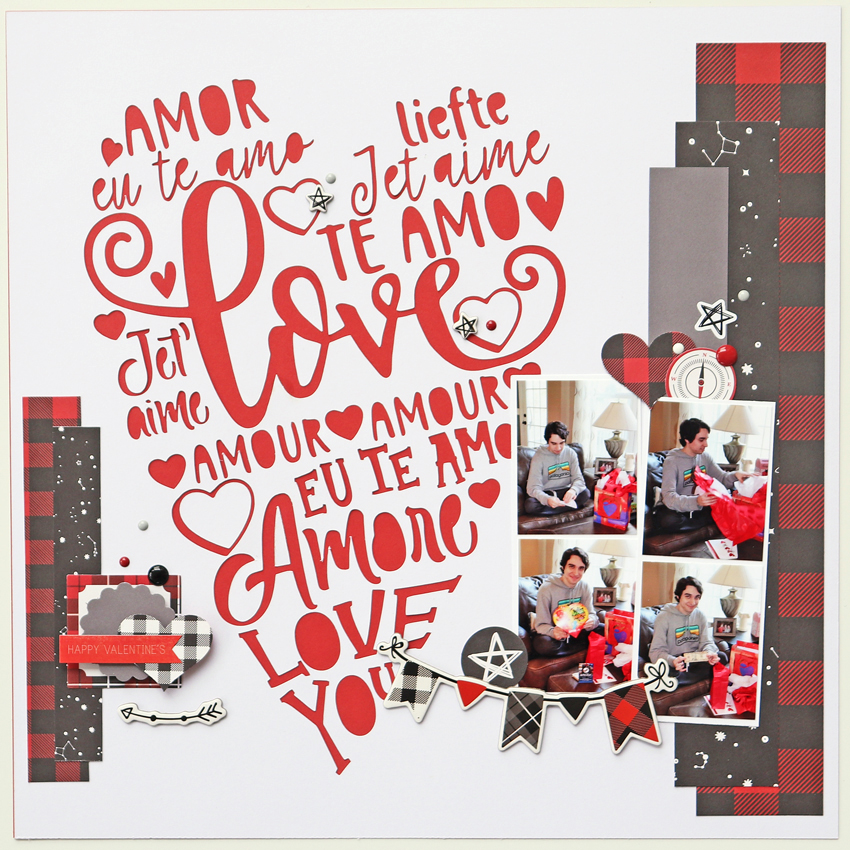
Happy Wednesday crafty friends! Aimee here with you today sharing a new layout that I’ve created using one of Lori’s new Valentine SVG files but really this file is good all year round.

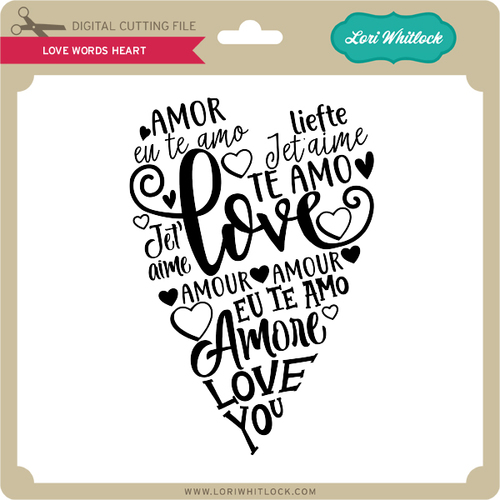
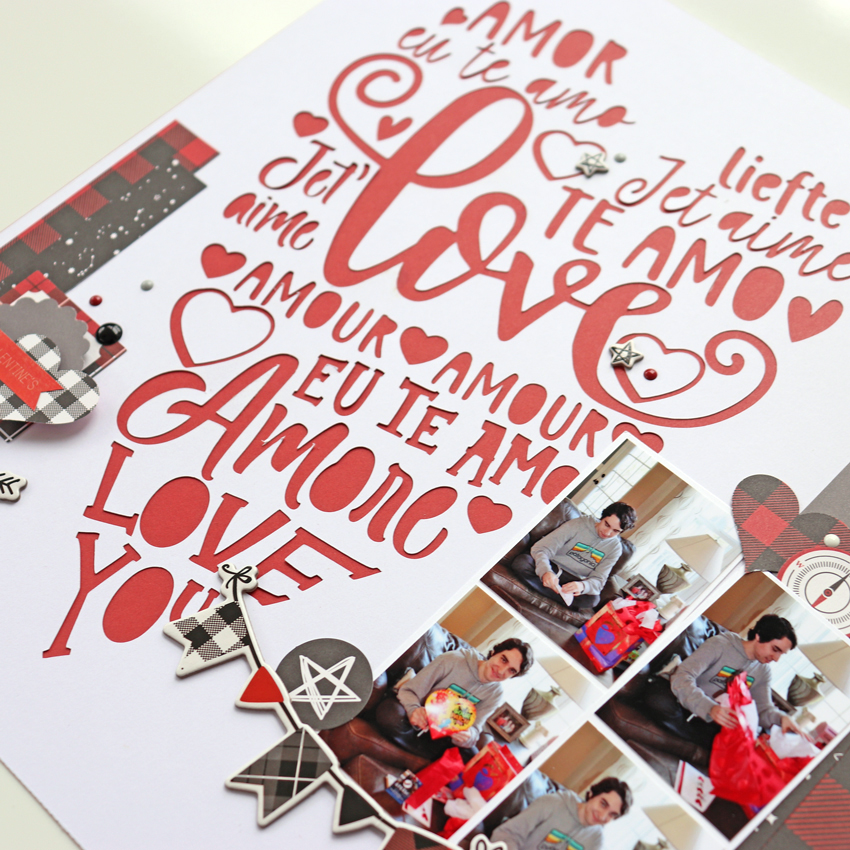
It is the Love Words Heart file (SVGSilhouette) that is great for creating any kind of project to let someone know that you love them in any language.

To get started on this layout, I opened the file up in Silhouette Design Studio.  I resized the file to 10″ tall so that I could have a couple of inches on the top and on the bottom. The width of this cut file is 6.8″…that will leave plenty of room to the left and to the right for your strips of patterned paper and some embellishments.

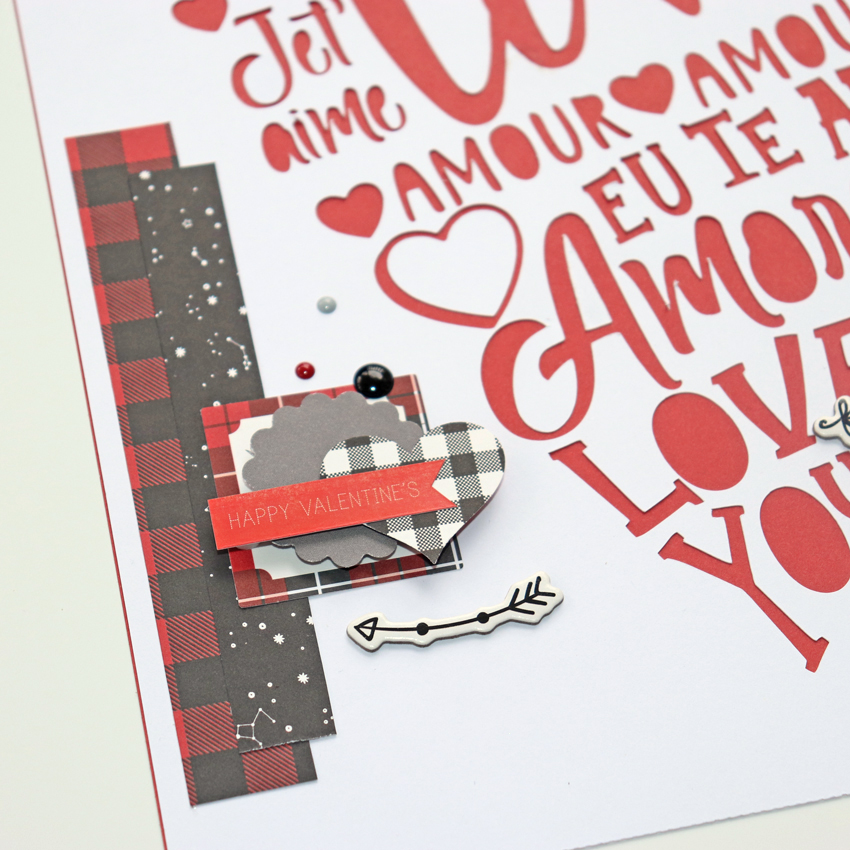
Once you have run your white cardstock through your die cutting machine you will want to back it with a solid color cardstock. I chose a red cardstock to back mine. Then all that is left to do is decorate the surrounding areas.

I used the fabulous Echo Park Little Lumber Jack collection for my layout. It was really easy to pull  some of the pieces to create this Valentine layout. And I did sneak a red Valentine’s Day sticker from one of Lori’s older Valentine’s Day collection.

Thank you so much for stopping by today! Hoping this gives you some ideas of how to use some of Lori’s new SVG files to create a layout.

3D Coffee Cup Tutorial

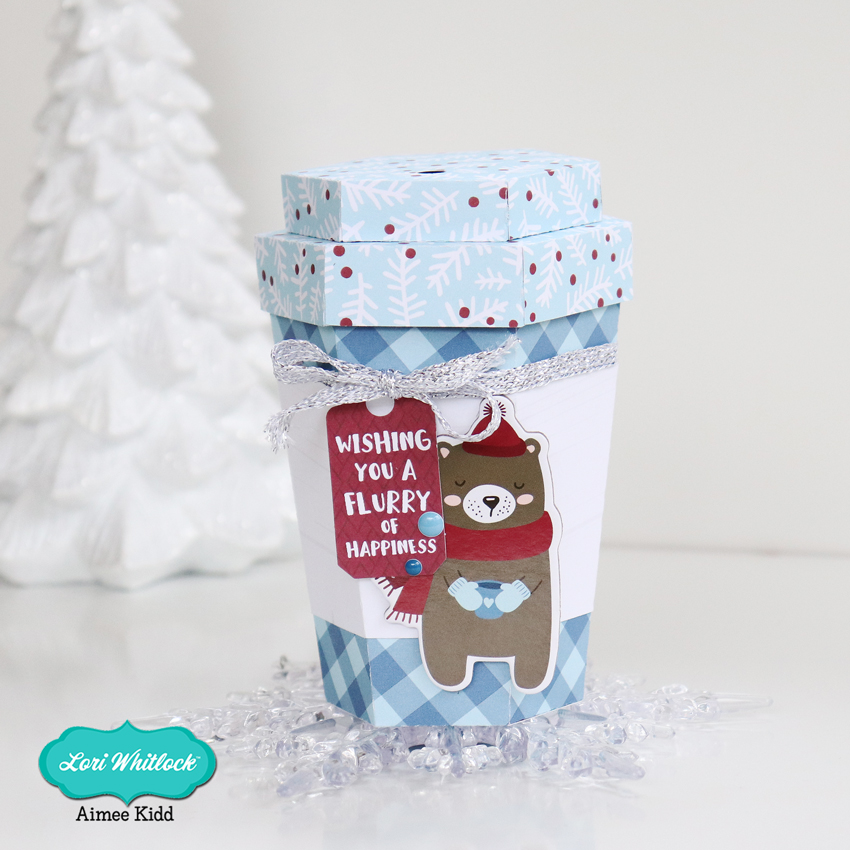
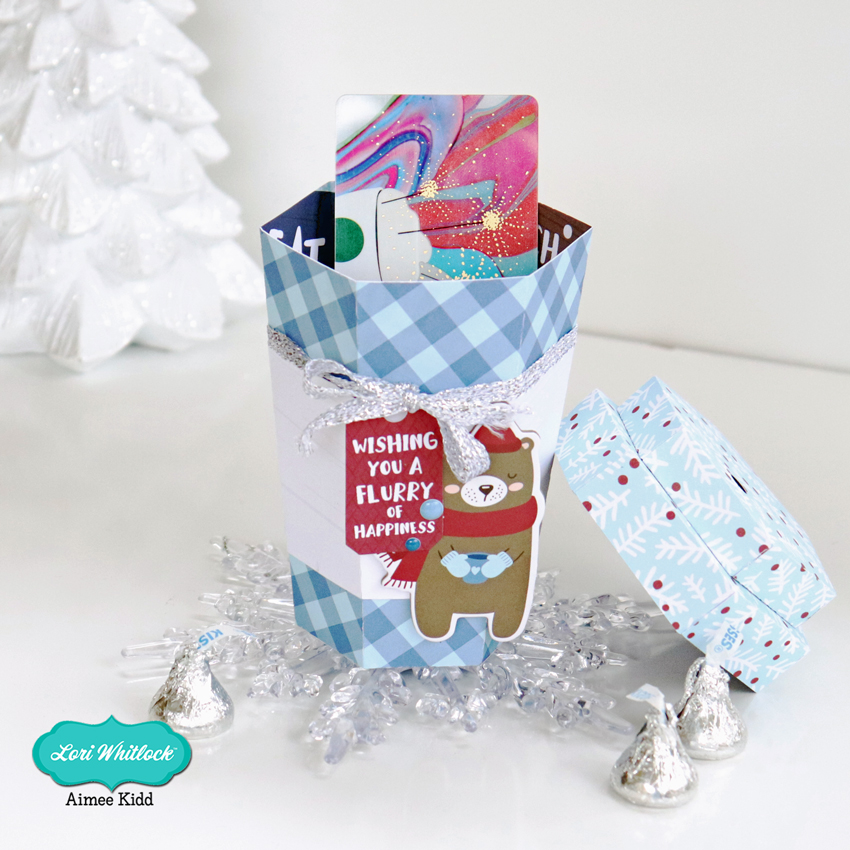
Hello crafty friends! Hope everyone had a beautiful Christmas and is settling down into Winter.  If you have a coffee-lover friend’s birthday coming up soon, this is a perfect way to give them a gift certificate to their favorite coffee store. I used the adorable 3D Coffee Cup (Lori’s SVG ShopSilhouette Design Store) and it looks even more adorable cut from the Echo Park My Favorite Winter.

Today I have a tutorial for you on how to put this little guy together! So if you’re ready let’s go!

This little cup is plenty big enough to add a gift card along with some candy. It measures just under 5 1/2″ completed which leaves you lots of room to add many goodies.

The first thing you need to do is to choose your papers and cut out all of the pieces

For the lid: fold on all of the perforated lines and adhere all of the tabs to the underside of the neighboring piece.

Add your adhesive to the tabs shown in the picture. Flip both pieces over and adhere the smaller piece in the center of the bigger piece. This will complete the lid to the coffee cup.

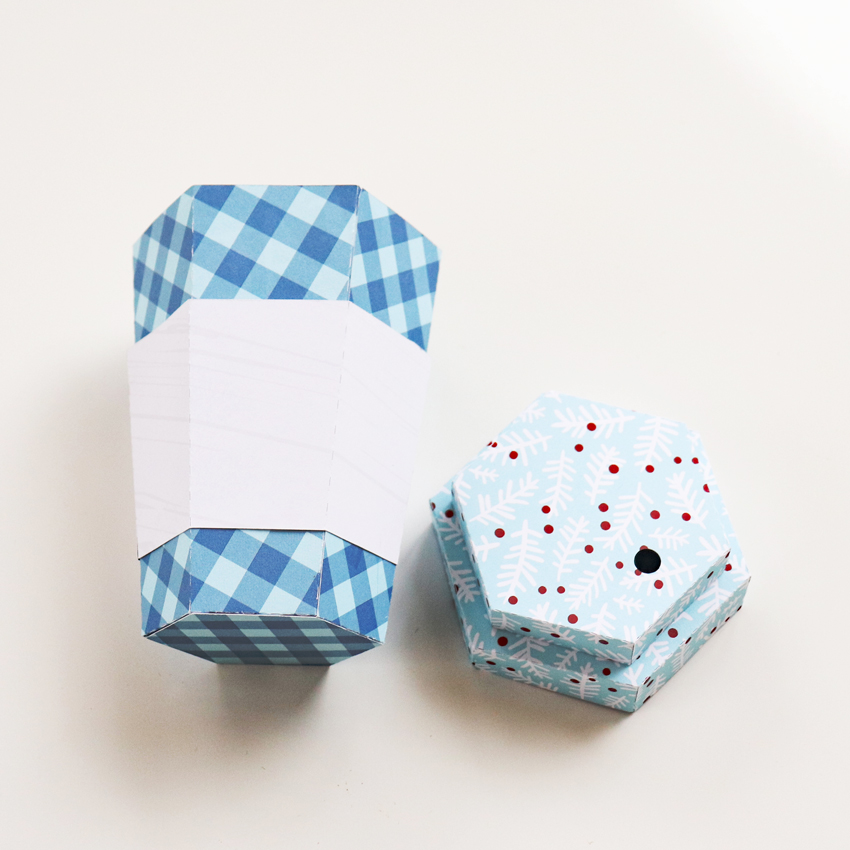
For the body: Fold on all perforated lines for the cup and the sleeve. Adhere the tabs to the main part of both pieces.

Next you will need to adhere the bottom piece to the tabs.

This will complete both pieces of the coffee cup. When I added the sleeve to the cup I added some adhesive to make sure it doesn’t come off.

And the last thing to do is have fun decorating your coffee cup! There are so many great pieces in the ephemera packs, chip-boards, and sticker sheet of the My Favorite Winter collection to make your coffee cup look fun and festive! I can’t wait to give this little cutie away…I know it will make someone’s day!

So that’s all from me today! Hope you give this a try and hope everyone has a beautiful day!

Aimee

Christmas Gnome Boxes

Hello crafty friends! Aimee here with you today to share these adorable little Gnome boxes. Ashley had a tutorial on how to put these guys together last Thursday. So today I wanted to share with you on how to dress these them up  and get them ready to go spread some yuletide cheer.
You can find these cute little guys in the Lori Whitlock shop or in the Silhouette Design Studio (here and here). With a little pattern paper, stickers, and a pom pom they will be ready to wish everyone a Merry Christmas! I sized these two bigger so they are big enough to hold a full bottle of Bath and Body Works hand soap. Here are the measurements of each so you know you have sized it big enough. Green hat gnome will measure W 11.176, H 9.9193 (Silhouette) and the striped hat gnome will measure W 11.802, H 9.581 (Silhouette).

This little guy was dressed up with a tiny white pom pom and some fabulous Lori Whitlock Christmas Stickers (Lori’s ShopSilhouette)

And this little guy got a holly berry sticker from the Christmas Stickers 3 (Lori’s ShopSilhouette)

Hope you give these adorable boxes a try…everyone will love them! I even got a “these are cute” from my husband!

Thanks for stopping by today!

Aimee