Easter Rainbow Box Tutorial

Hello crafty friends! Aimee here with you and I want to share a tutorial today on the 3D Rainbow (Lori’s SVG, Silhouette). And if you know me, then you know I’m always looking at the SVGs and thinking of other holidays/occasions to create the files for. The 3D Rainbow box I have for you today is for Easter but the file was originally created for St. Patrick’s Day. I used the Lori Whitlock Spring Fling and Easter Wishes papers on this project and I think it turned out so very cute! The added flower stickers are from the Easter Stickers (Lori’s SVG, Silhouette).
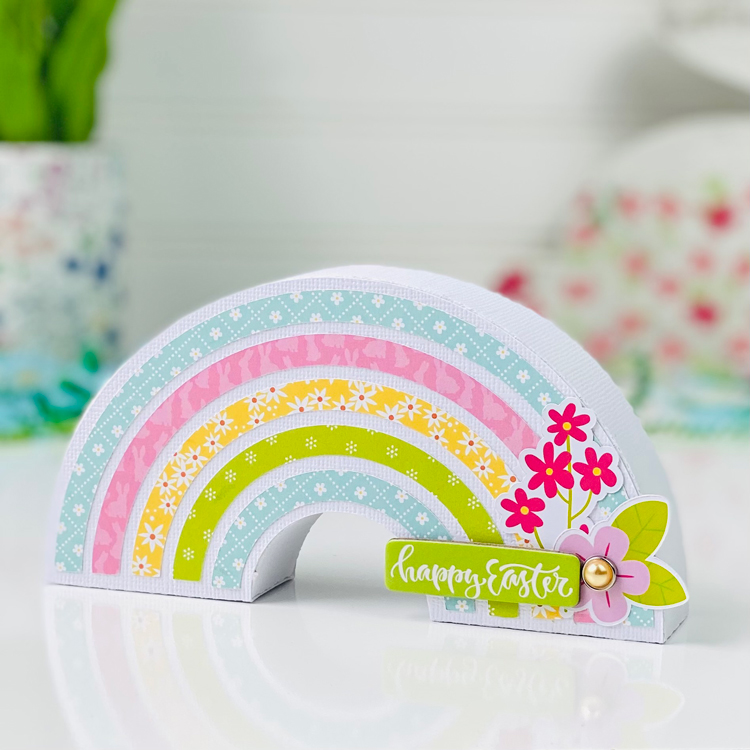
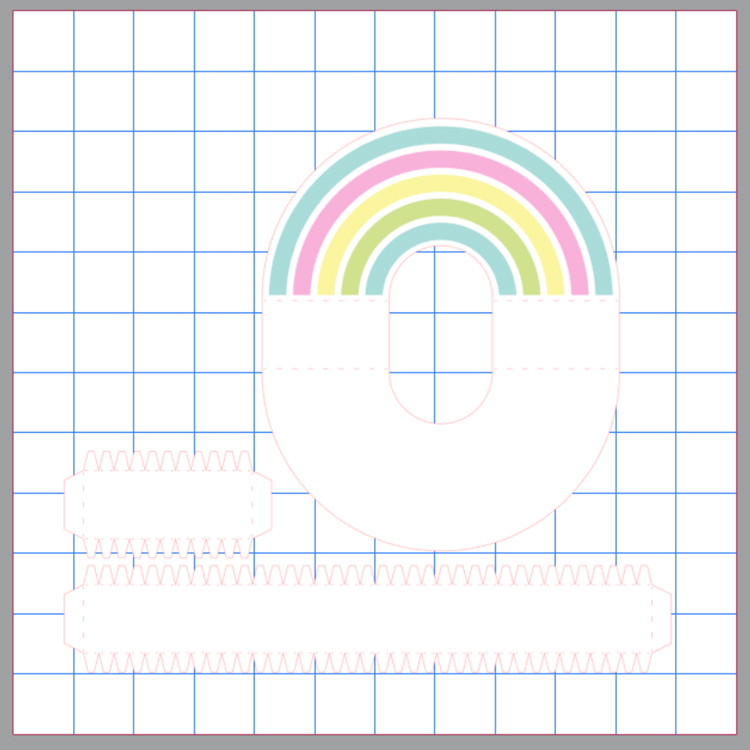
To start this project, let’s get to cutting out the pieces in the file. While I had the project pulled up in my Silhouette design studio, I changed the colors to get an idea of how I wanted this project to look. I chose softer Easter colors.
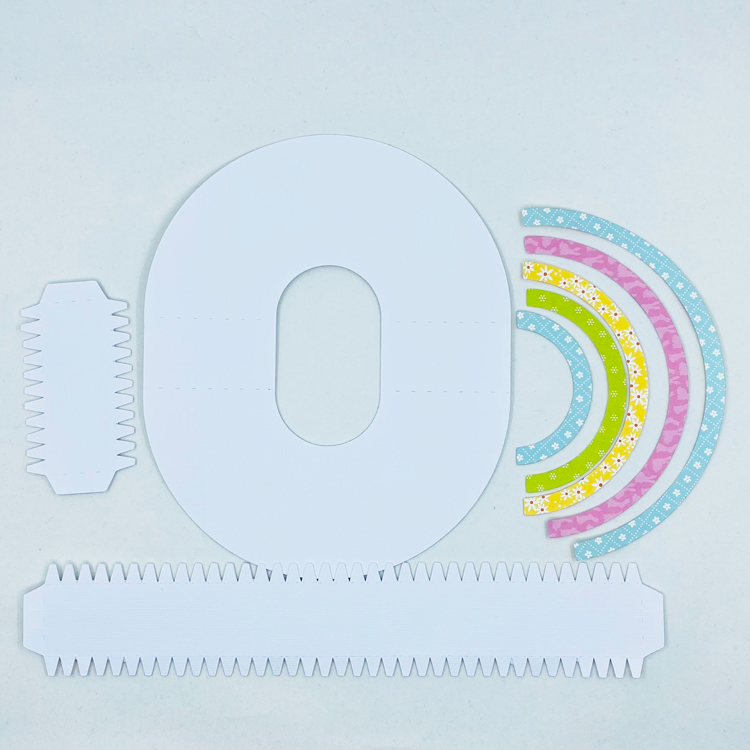
Here are the pieces cut out. I used a sturdy piece of white cardstock for the main box piece. If taken care of while storing, these pieces will last over the years! I still decorate my house with Lori Whitlock projects from a few years ago.
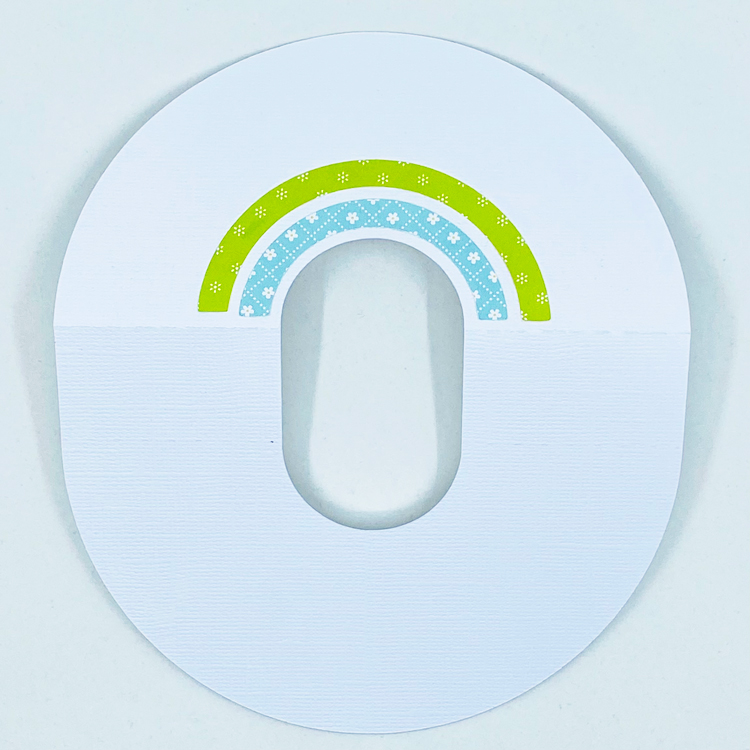
Next step is to add the rainbow pieces. I find it easier to adhere these pieces when the box is flat on my desk. To help with lining up the rainbow, I folded the box piece so I could see where the bottom line was. Finish adding all of the pieces and we are ready to move onto the next step.
Next I added the tabbed pieces on to make the rainbow into a box shape. I conditioned the pieces to curve (by running the pieces along the edge of my table) same as the box and then folded the tabbed pieces in.
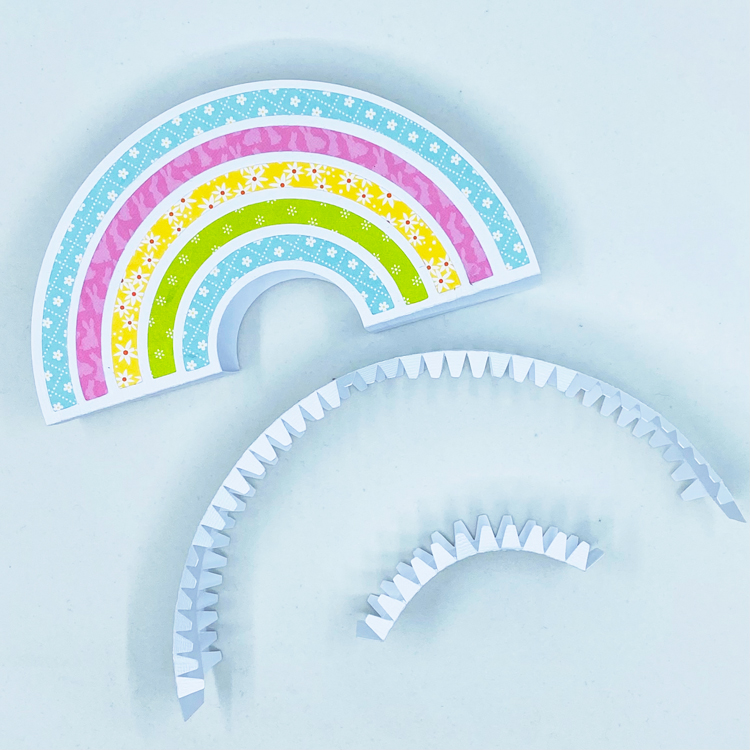
I found it easiest to adhere the bottom tabs down to the cardstock first.
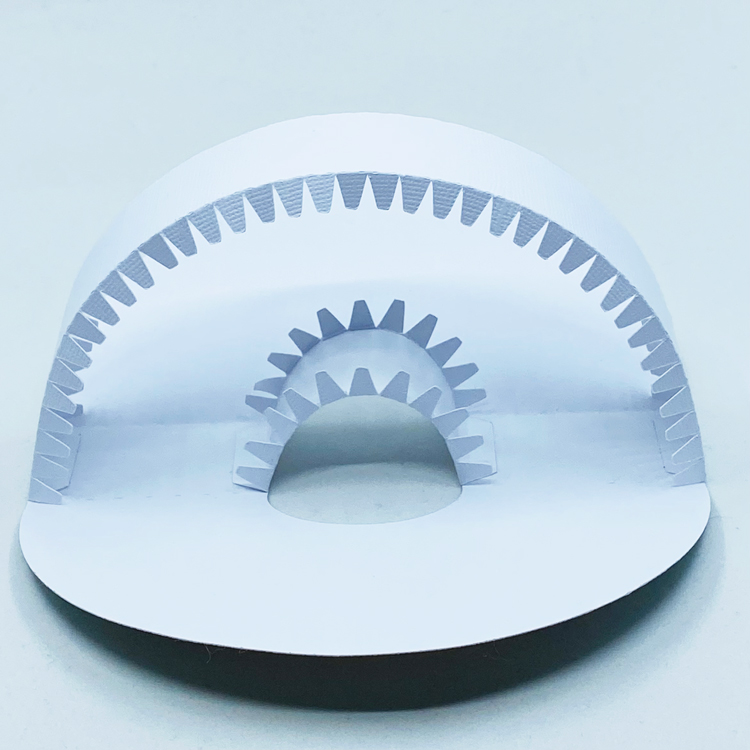
Tip: Start with adhering the front first because of it being the most viewed side!! I adhered the front first so that I could move the pieces around with my fingers and get it just right. Now add dots of glue to the back side tabs to close the box up.
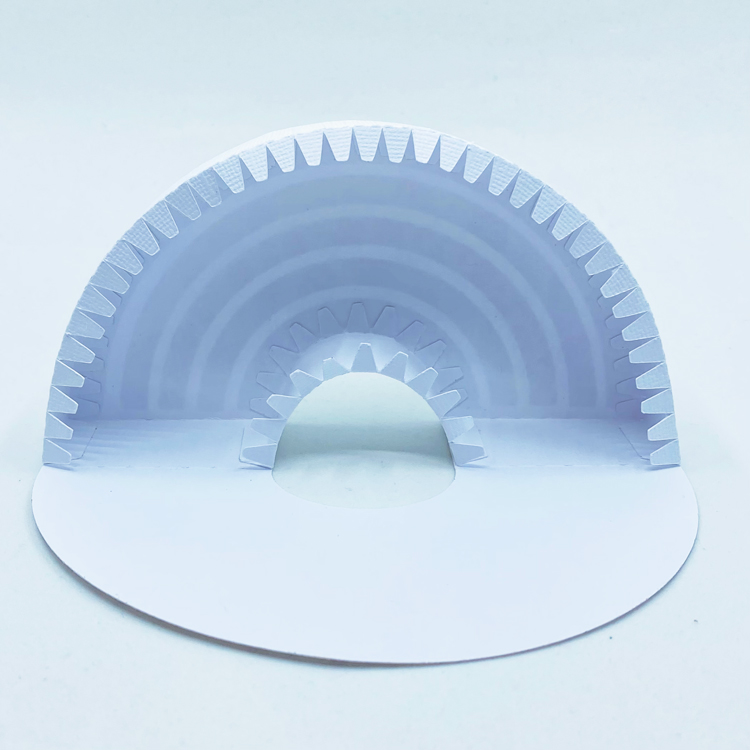
A little tip I have on keeping the front and back up while the glue is drying is to use little pieces of washi tape. The pieces of washi will come right up without tearing the paper.
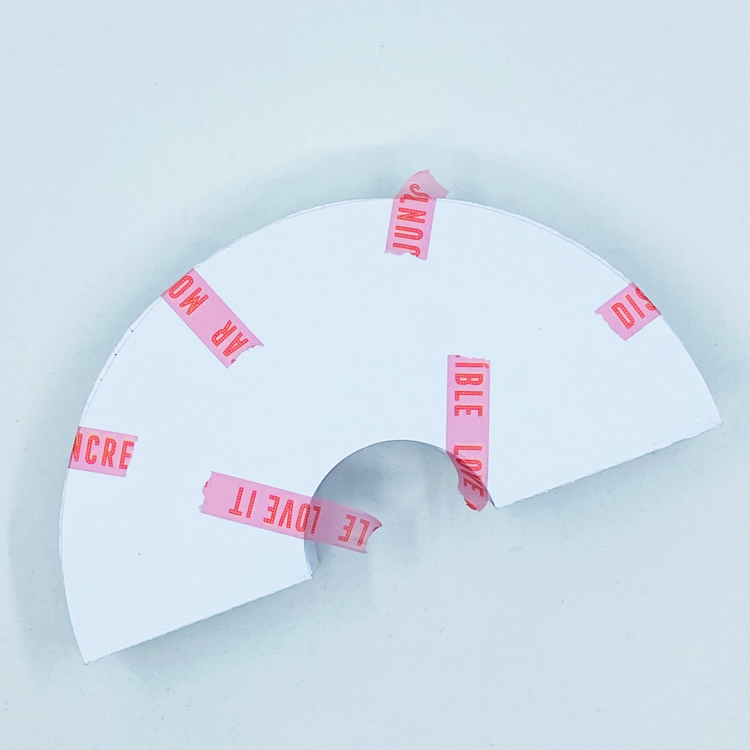
After the glue is completely dry (and washi gone) it’s time to have fun decorating your sweet little rainbow!

While working on this project, I was thinking this project would look absolutely adorable on my mantle with my Easter bunnies or on my tiered tray over in the kitchen!

Thanks for stopping by today!

Aimee


Ghiradelli Box

Hello crafty friends…Aimee here with you today to share this sweet (and I mean SWEET) little box! This is the 3 Ghiradelli Box Valentine (SVG, Silhouette). It is meant to hold 3 of the delicious Ghiradelli square chocolates and who wouldn’t want that?!?! But you could also size this box up for some bigger sized goodies.

I also want to point out that this box can be stored flat. That means you could make a bunch of these for birthdays and just grab one when you need it. I plan on filling this one with some goodies for my hubby on our anniversary.

Thanks for stopping by today!

Aimee
Valentine Heart Candy Box

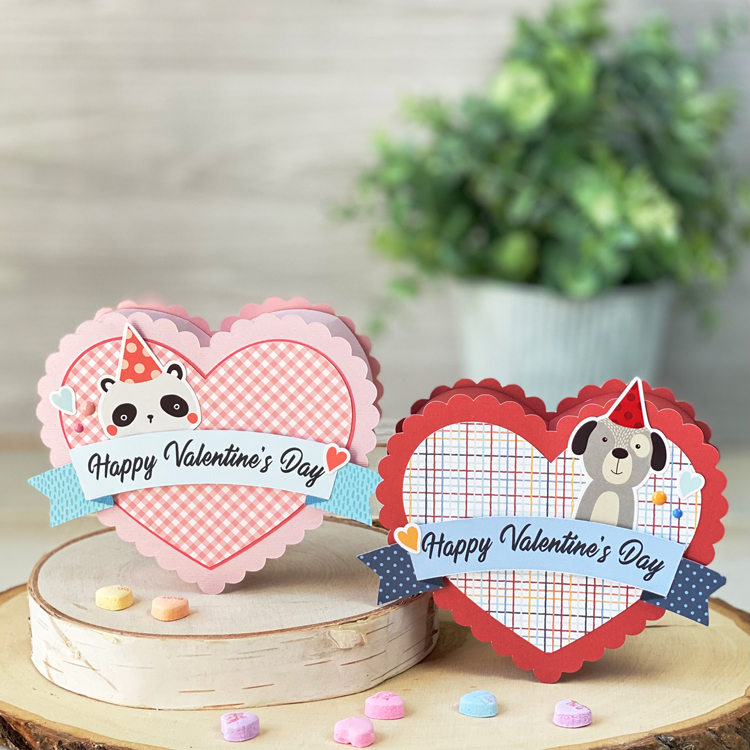
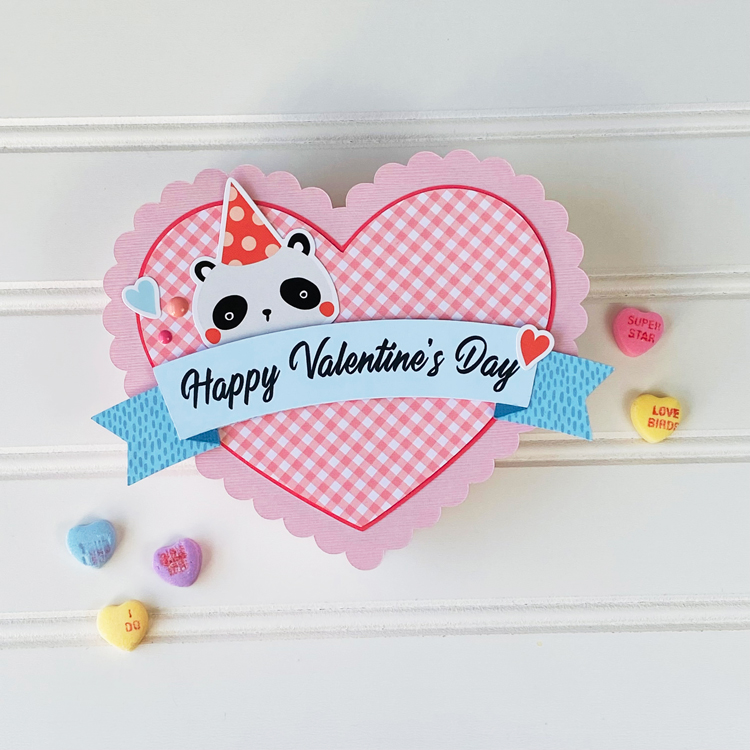
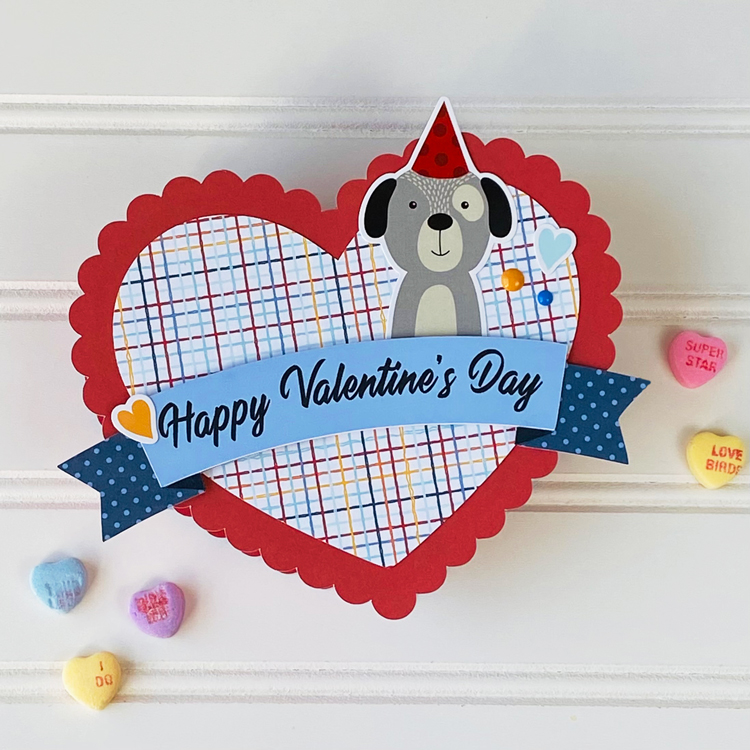
Hello crafty friends! Aimee here with you today and I have a tutorial on making these adorable Scallop Heart Candy Boxes (Lori’s SVG Shop, Silhouette). These would be perfect for a grand/son or grand/daughter! I used the new Birthday Girl Collection and the Birthday Boy Collection to make these more kid friendly. I used the panda and the dog from the sticker sheet from each collection because who doesn’t love an adorable animal wishing you a Happy Valentine’s Day?!?!

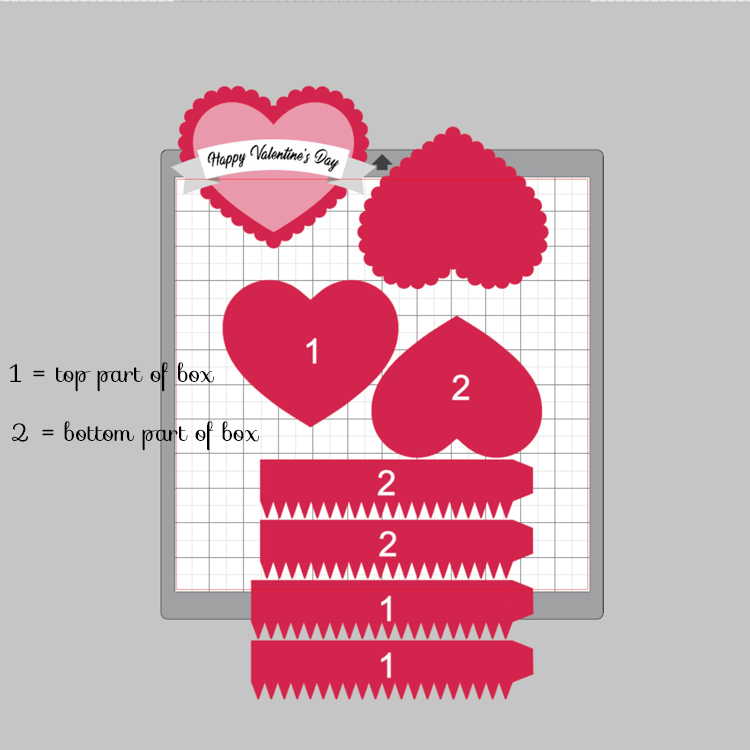
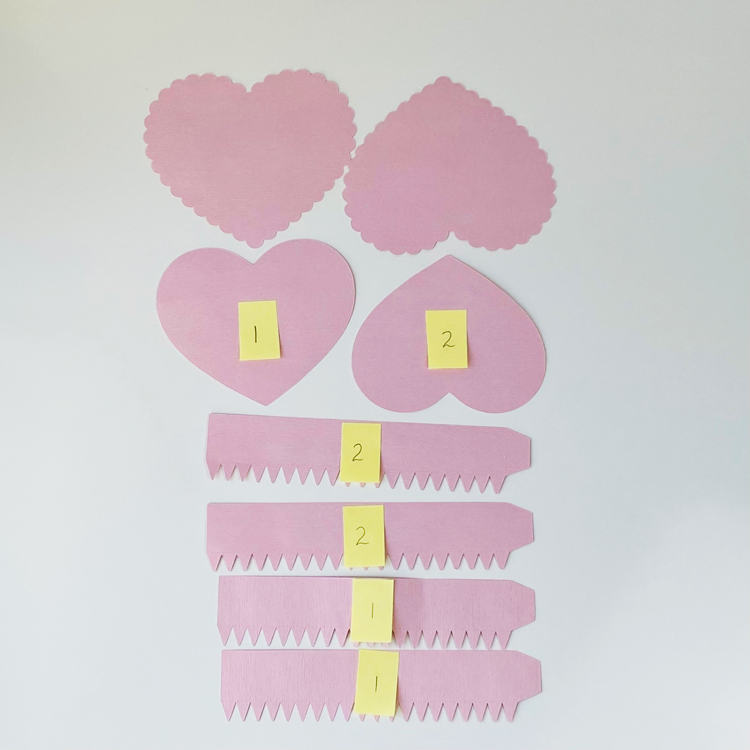
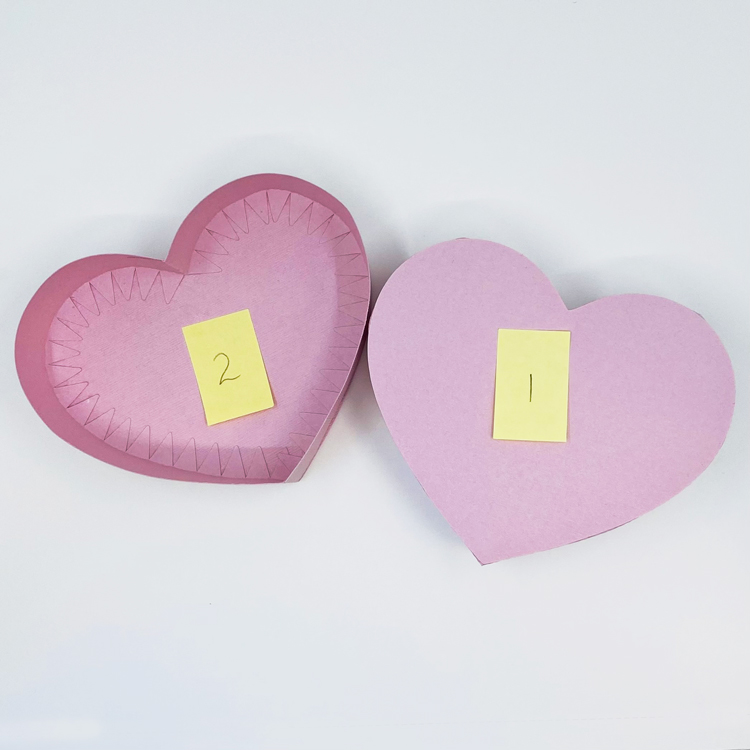
Alright, let’s get into this tutorial. First off, I want to point out that you will need to match up the correct heart to the correct side pieces. Heart piece 1 and side pieces 1 will be the top piece of the box and the heart piece 2 and side pieces 2 will be the bottom part of the box. This is very important as they are different sizes.

Now choose your papers and cut out all of the parts to this file and be sure to somehow label the hearts and side pieces. I used sticky notes to mark mine. Side note…looking at my picture below I think I mislabeled the side pieces. The longer side pieces will match up the heart 1.

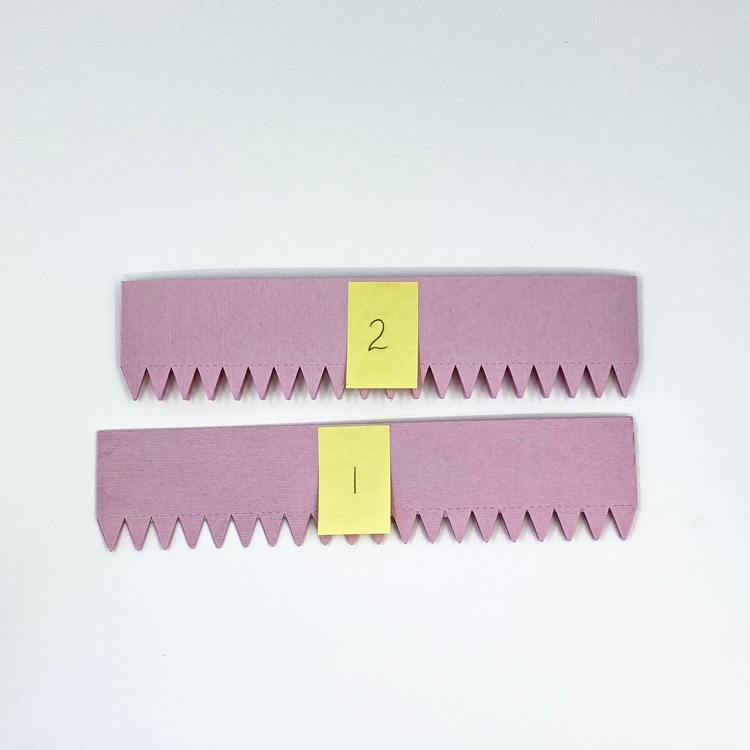
Next you will want to adhere the 2 side pieces of each together. Put adhesive on the each of the tabs and adhere them together to form an oval.

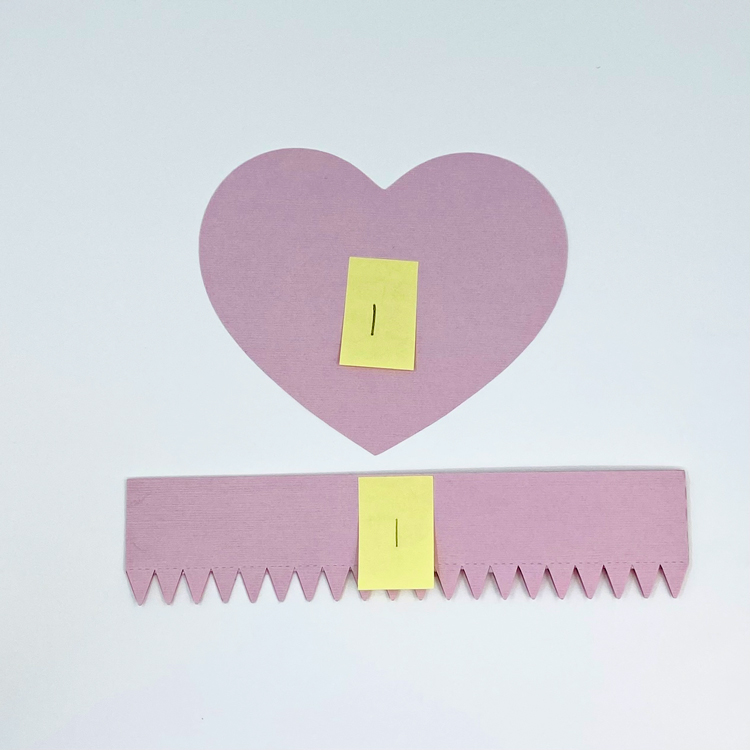
Once the sides are dry…match up the pieces.

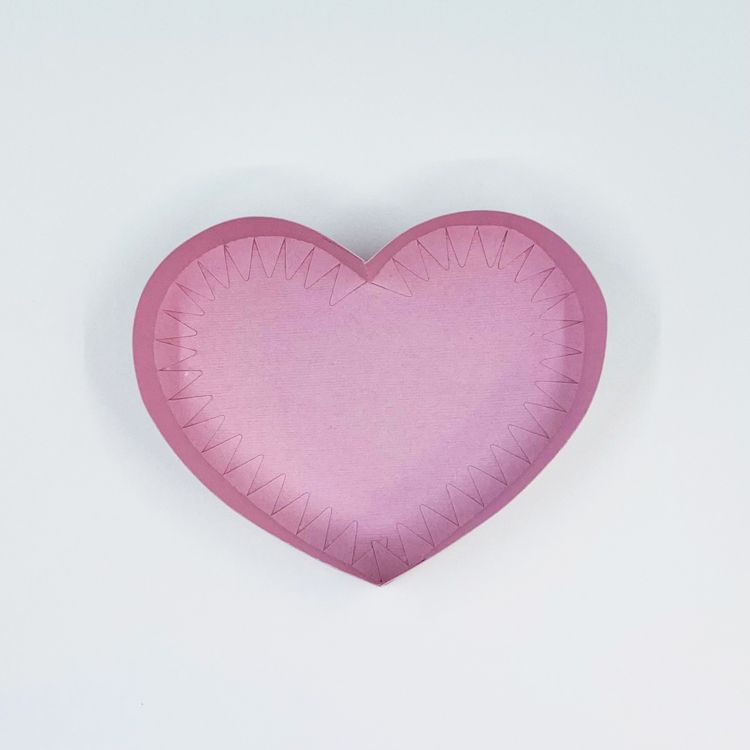
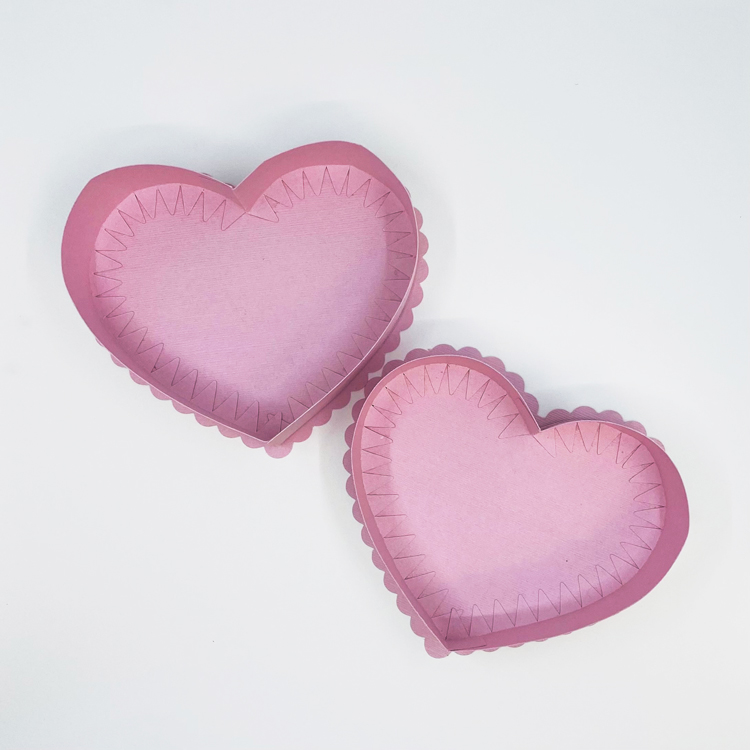
To make this part easier, use your fingers to shape the side pieces to match the heart shape. Then bend all of the triangle pieces down to the heart shape and adhere together. Do this for the top and bottom pieces of the box.

Here is a look at the box pieces when they are completely adhered together.

Now you will need to adhere the scalloped pieces to each of the top and bottom pieces of the box.

And then comes the fun part of decorating the front! For the red/dog heart I used the pieces that come with the file and for the pink/panda I made an extra larger heart to double up on the front panel. It’s not necessary but I thought it would be cute.


That’s all from me today. I hope you give this cute box a try! It’s very fun to make and decorate!

Thanks for stopping by!

Aimee

3D Hot Cocoa Mug

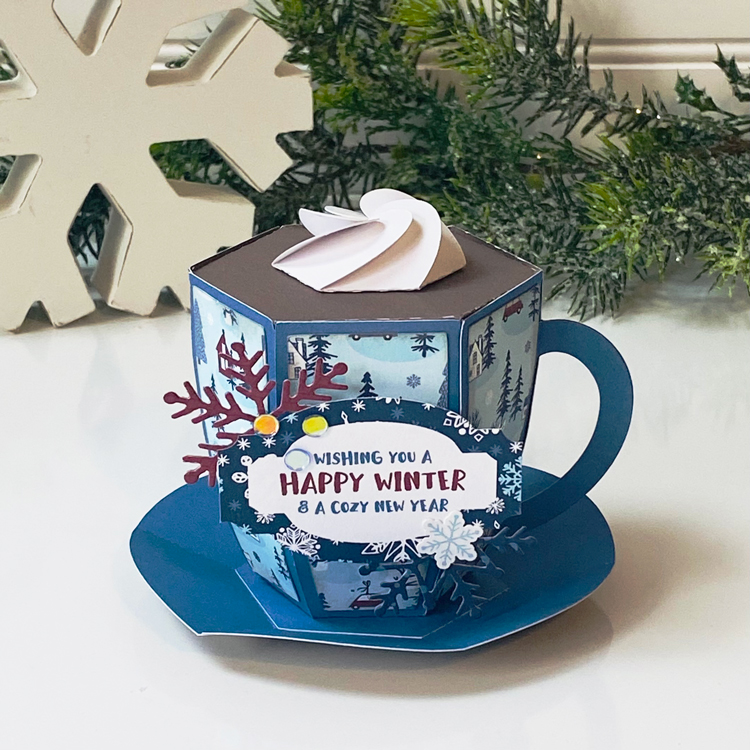
Hello crafty friends! And Happy New Year! Aimee here with you today. With all of the cold dreary weather here to stay for a couple of months, it’s time to cozy up to the scrap area and get crafty. And although Christmas is over I wanted to show you that some of those Christmas files can be turned into Winter or another occasion. I took the 3D Hot Cocoa Mug (Lori’s SVG Shop, Silhouette) and turned it into a cup of cozy Winter Cocoa using some ephemera from my stash!

Hope everyone is having a wonderful start to the new year!

Aimee

12 Days of Christmas Day 2 & Christmas Ornament Gift Tag

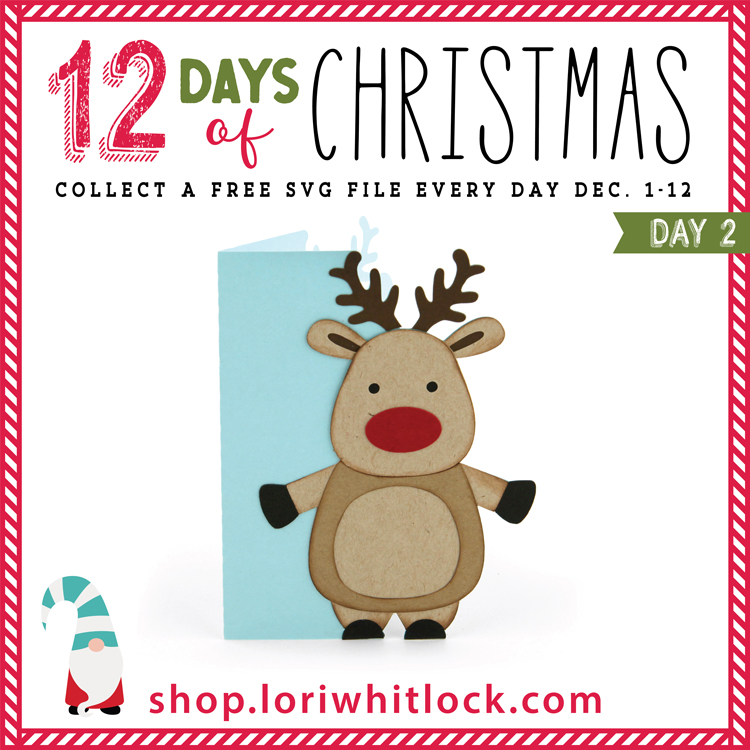
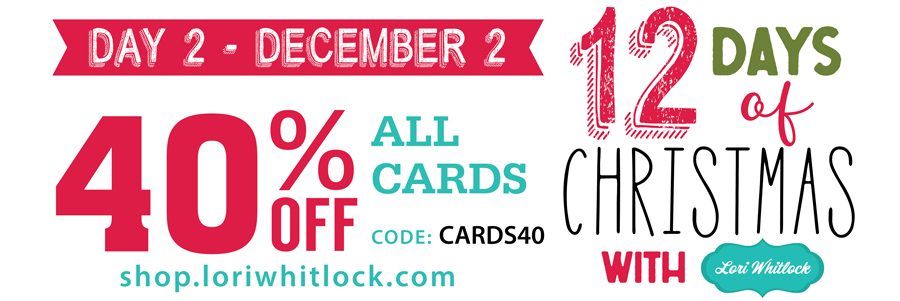
Welcome to Day 2 of our 12 Days of Christmas! Each day from December 1-12, there will be a free SVG file of the day, along with a special promotion!  For Day 2 we have this absolutely adorable A2 Christmas Card Reindeer File.  This file will be free today only, so don’t miss out!

In addition, today only, you can get 40% off all items under the Cards Category in my SVG shop!  Just use code CARDS40 at checkout!

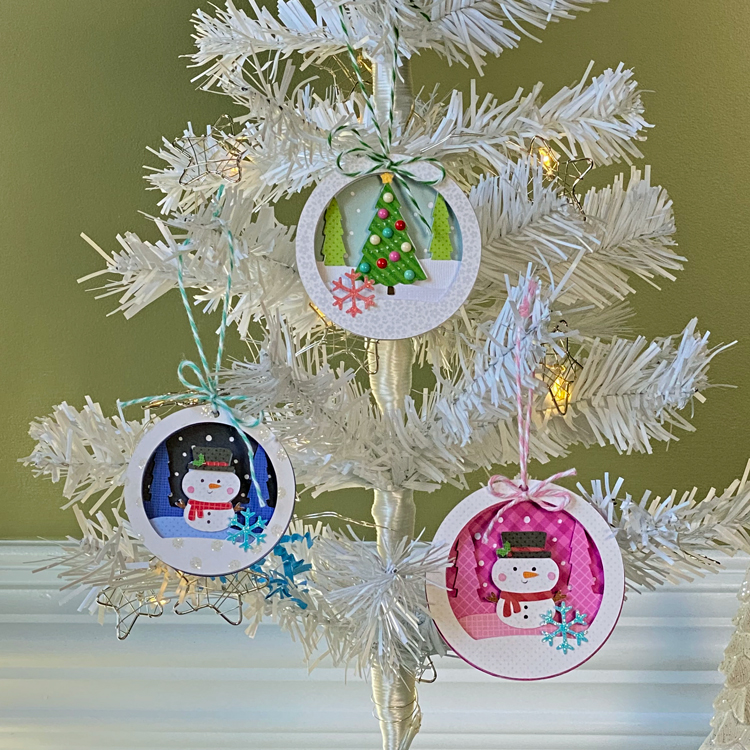
And now check out these adorable ornament gift tags from Aimee!

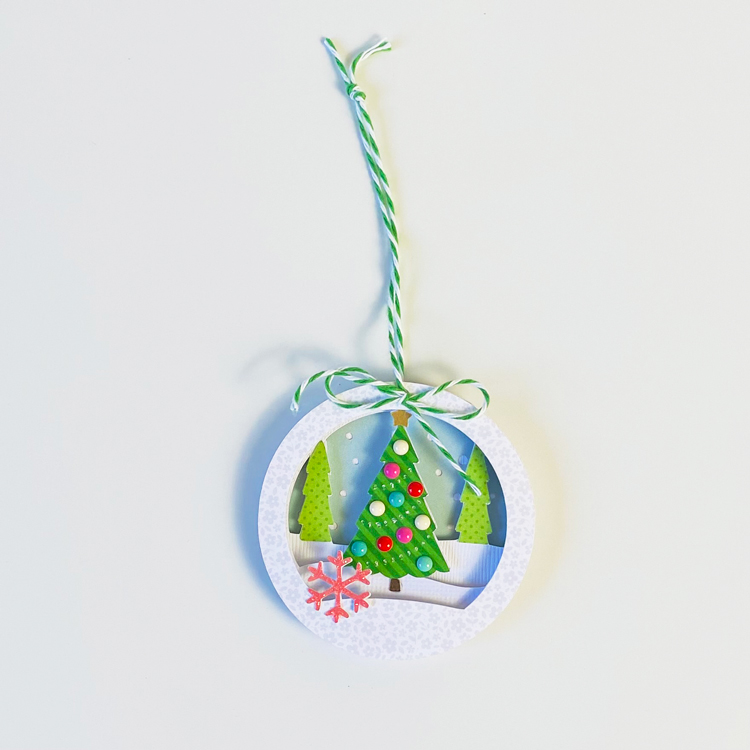
Hello crafty friends! Aimee here with you today and I will be sharing a quick tutorial on putting the Christmas Ornament Tree (Lori’ Shop, Silhouette) file together along with the Christmas Ornament Snowman 2 (Lori’s Shop, Silhouette). This is such a fun ornament to put together to hang on your tree or as a gift tag on a present that the receiver could hang on their tree. This could also be a fun activity if you have kids or grandkids. Gather all of the supplies and make the ornaments together while munching on a fresh batch of homemade Christmas cookies!

Let’s get started on making these little cuties! My ornaments are a little on the smaller size because my tree here is only 2ft tall..so I resized them to be 2 3/4″ tall.

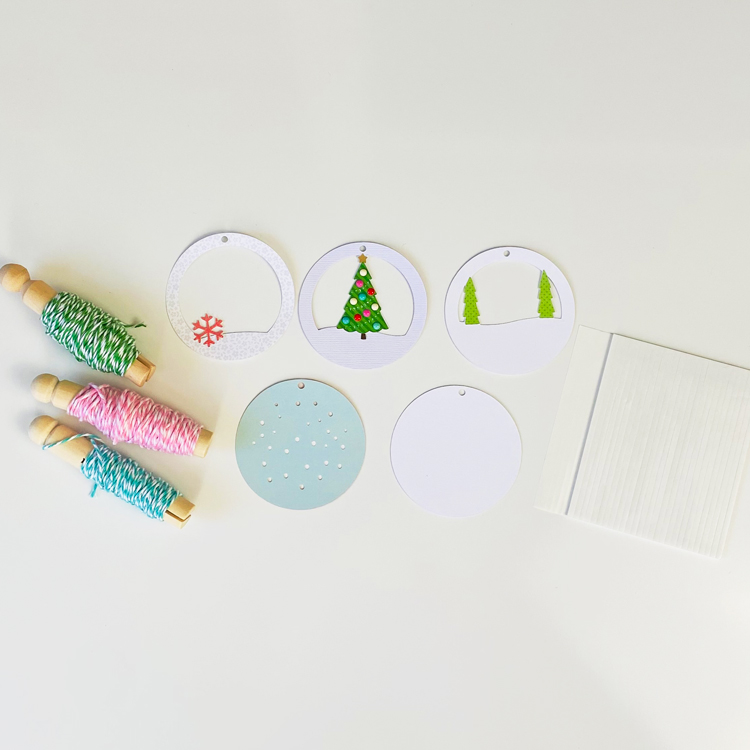
Gather a bunch of Christmas papers/embellishments (and sticky foam strips) and let’s get to cutting out the layers. A little tip, something I do is to use my die cut machine program to change up colors to get an idea of what the finished product will look like. That’s how I came up with the blue and pink background snowman ornaments.

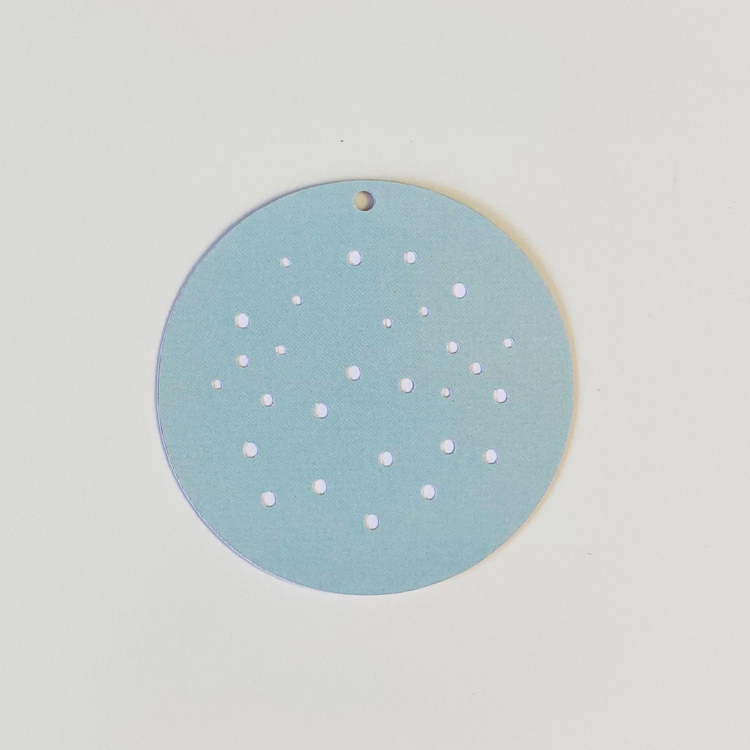
This first layer (which is the back of the ornament) will be the only time you will glue the layers together.

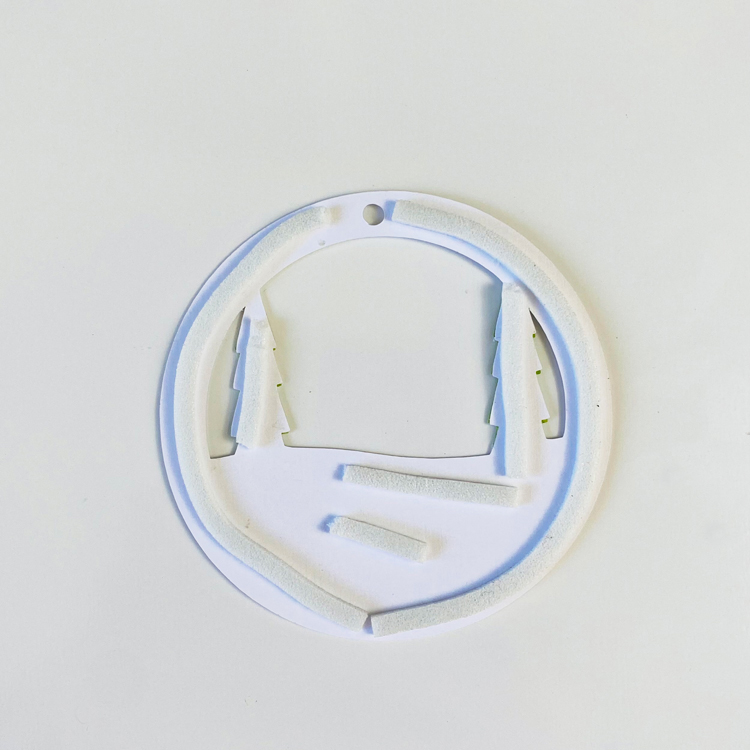
The small trees layer you will want to add foam adhesive pretty much around the entire piece.

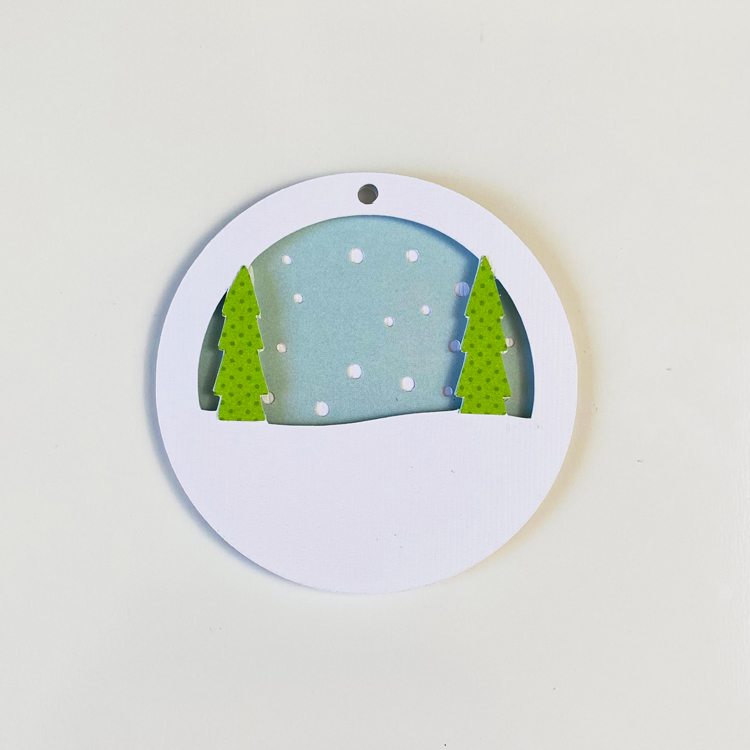
Now adhere that layer to the snowy background layer. Be sure to line up the outer edges and the top holes together when adding each layer. As you see in the picture below, there are green trees. I cut out a separate layer in green pattern paper and then snipped the trees out and adhered them to the solid white layer.

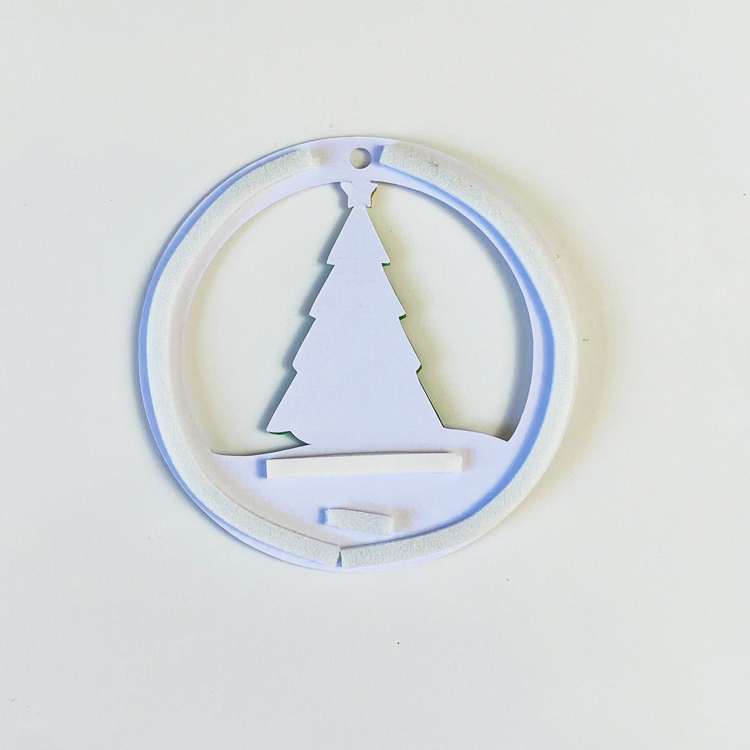
For the big tree layer, do not add any sticky foam strips to the back of the tree.

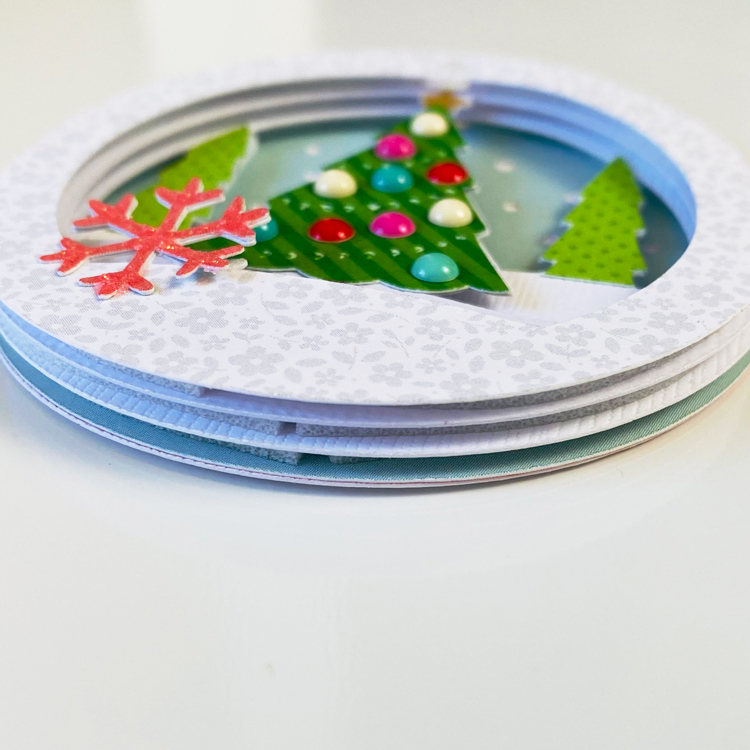
Here is a side shot of all of the layers adhered together to show you how thick the ornament will be. I will say they feel quite sturdy and should last for years!

Now, add some string and a bow…

and your sweet ornaments are ready to hang on the tree or used on a present to serve as a gift tag/ornament.

Thanks for stopping by today and I hope you enjoy this tutorial on putting these ornaments together!

Merry Christmas!

Aimee