Hello friends! Aimee here with you today with a tutorial on using Lori’s new sketch images to create this sweet little Easter gift bag. I choose a couple of adorable images from the Sketch Easter Bundle that you can find in Lori’s Shop here or in the Silhouette Design Store (rabbit, flower). I also used this new Favor Box that can be found in Lori’s store here or in the Silhouette Design Store here.

Open the images and add an offset image around each image. I resized the offset to 0.050. After you have the offset image, highlight both images and group them together so they are easily moved around. The black lines are the sketch lines and the red lines are the cut lines.

Once I had both images with an offset cut grouped, I measured them against the box svg to make sure they were appropriately sized.

For those of you who are new to using Silhouette sketch pens, here is a Silhouette tutorial for using them. A big HINT when using the sketch pens and then cutting them out is NOT removing your cutting mat after the image is drawn. Leave the mat in place and then switch over to the blade and let your machine cut the image out from your paper.


Here are my images after the sketching and cutting are complete. Now comes the fun part of decorating them. I used Lori’s new collections Easter Wishes and Spring Fling on this project because the colors and patterns are so fun and vibrant

I fussy cut one of the eggs out of pattern paper and added it to the rabbit so that it looks like he’s holding it. I also added some pink to the back of his ears. For the flower, I trimmed the flower and adhered it to the top of the green flower sketch cut and added a matching button and baker’s twine.

For the finishing touches I added a pink striped bow and the Happy Easter sentiment from the Light Up Card Easter Bunny that can be found in Lori’s store here or in the Silhouette Design Store here.

Thanks for stopping by today! I hope you give the new sketch images a try and create your own little box for Easter or Wedding!
Aimee


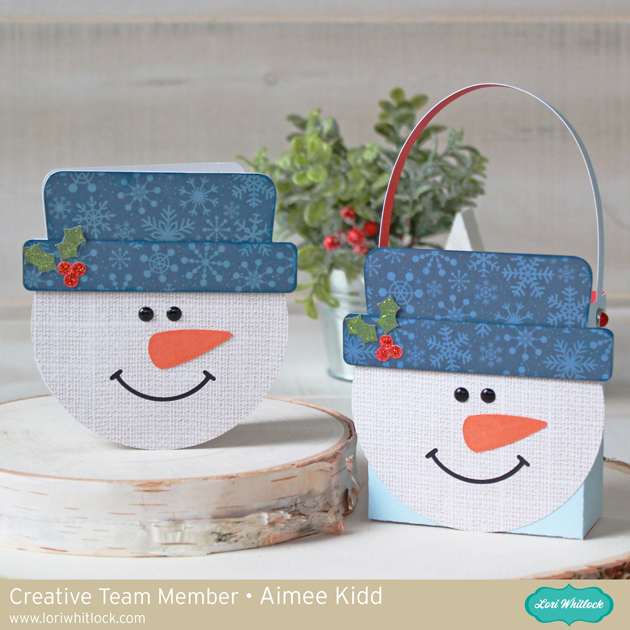
 These 2 svg files are part of the new Christmas files from Lori. She just released a bunch of adorable cards, boxes, advent calendars, and ornaments that are so cute! I created these cute little guys out of the
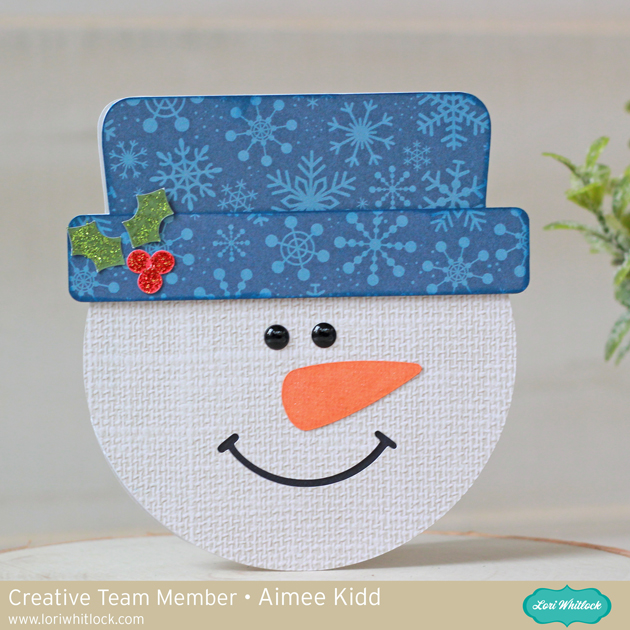
  This shaped card is so cute and I love that even though it has a round bottom it still stands up straight on it’s own! It measures about 4.25″ both ways so it will fit inside of an A2 envelope.
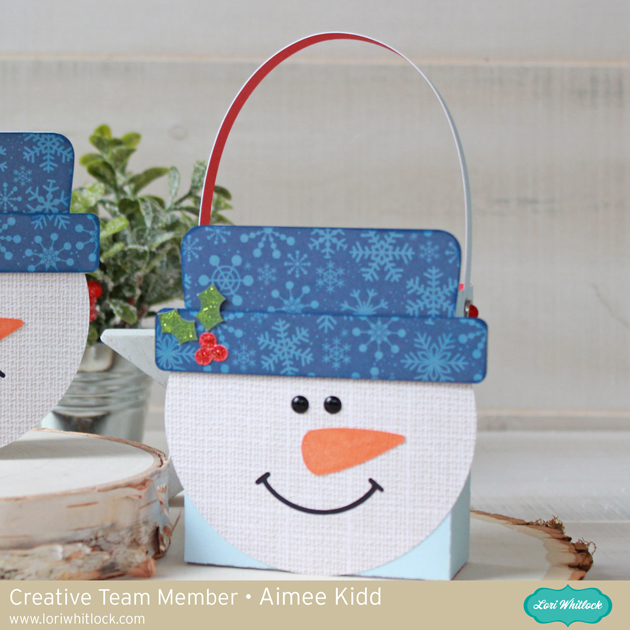
 And here is the matching box! I absolutely love how the white linen paper from this collection makes the perfect snowman face. This is a great set to have on hand when giving a small gift this Christmas!
 I used the Hexagon Fold Tuck Lantern (
 Since I was making a set, I wanted a different height for each one. The smallest spider lantern was resized to 3″. This sweet little hanging spider svg file is part of the Halloween Icon set and can be found at the
  Up next is the spooky little ghost lantern which was resized to 4″ and can be found in the Cute Halloween Set found at the
  And our last lantern in the set is the plump little pumpkin lantern which is cut at the normal file size at 5″. That adorable little pumpkin is also found in the Cute Halloween Set.