Hello friends! Aimee here with a tutorial on making some fun Summer magnetic bookmarks! My daughter is a voracious reader so every Summer I get her a handful of books to read over Summer break. This year I thought I would make her some bookmarks to go with those books.
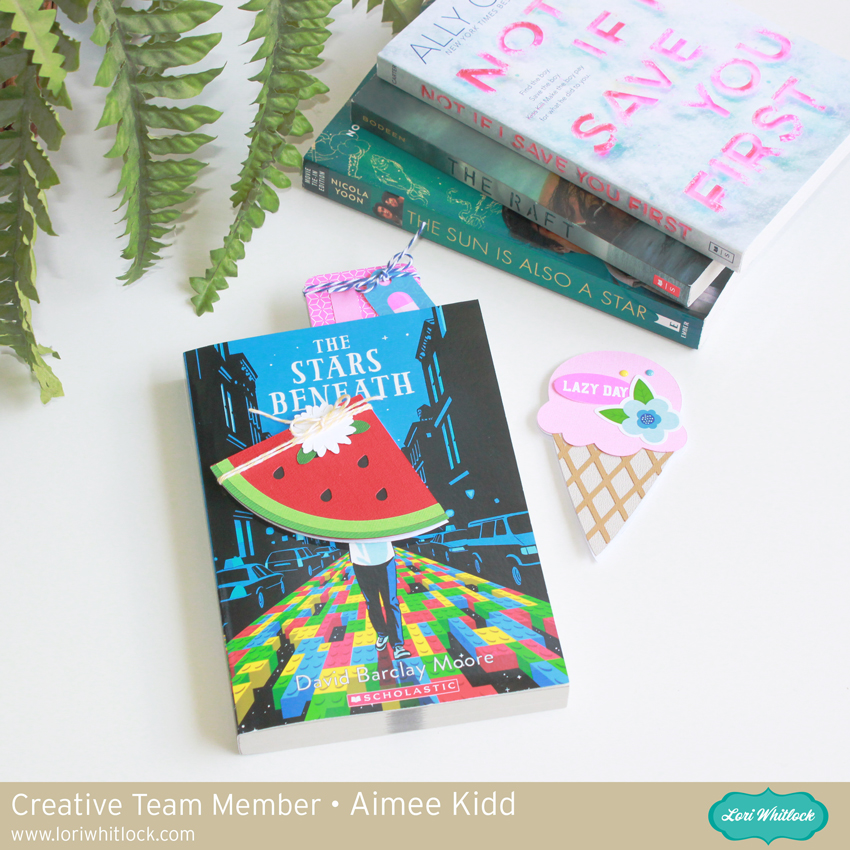
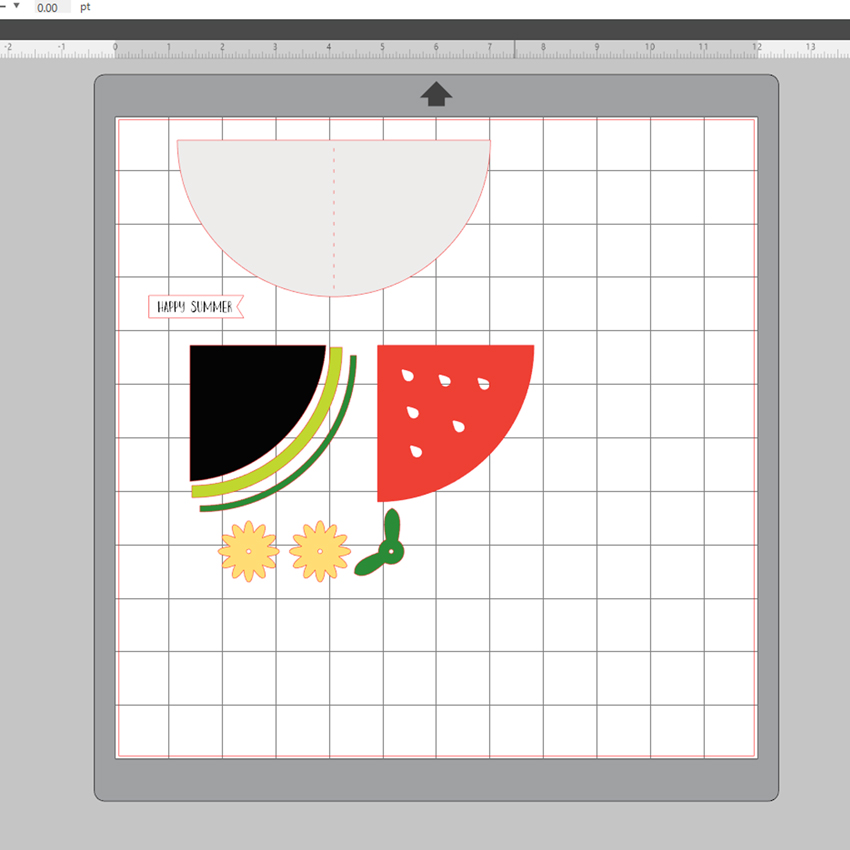
Lori has a lot of fun and cute Summer files to choose from. I chose Popsicle (Lori’s shop, Silhouette Store) , Ice Cream Cone ( Silhouette Store), and Watermelon Shaped Card (Lori’s shop, Silhouette Store).

I opened the 3 Popsicles file to show you how to take a cut and make it into a fold over bookmark.

To get the basic shape of the popsicle, I opened the Trace option and highlighted the shape and clicked on “trace outer edge”. That will give me the entire shape of the popsicle to create the base of the bookmark.

Then I duplicated the shape, flipped the one vertically, aligned it with one above the other, and then welded both pieces together. After I cut that piece out, all I have to do is fold it in half and add the decorative top layer.

If you would rather try your hand out with something a little easier you could always use one of Lori’s card svg files.
Now comes the easiest part of this tutorial and that’s adding magnetic strips to the insides of the bookmarks. I have a roll of sticky back magnetic strips so I just cut a couple of pieces off and added them to each one.

And now comes the funnest part of this tutorial and that’s decorating each bookmark.
I used some stickers and die cuts from Lori’s new I Love Summer collection to make my bookmarks pretty! That’s all from me today! Hope everyone is having a great Summer!
 To get started, I pulled up these 3 cut files…Star Top Box Square (
 I pulled the frog and balloons along with happy birthday sentiment and resized them to fit onto the panels of the box.
 Then cut out the pieces in the colors I chose for my box and adhered them together. Next, I adhered those pieces to my box, folded on the score lines of the box, and then put the box together.
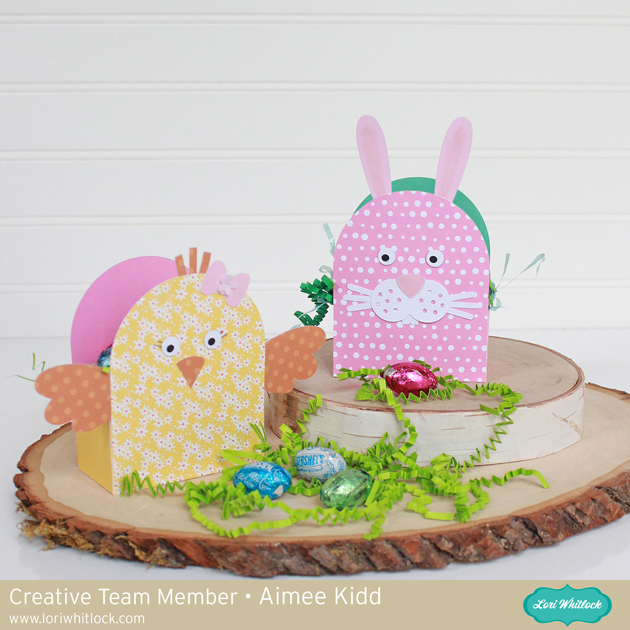
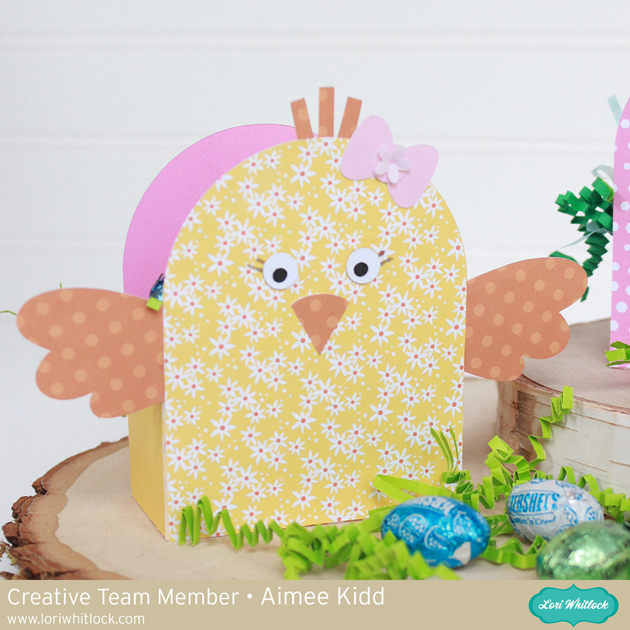
 This cute box is perfect for any small treat, money, or gift card. It could also be used with pinks and purples for a little girl’s gift box.
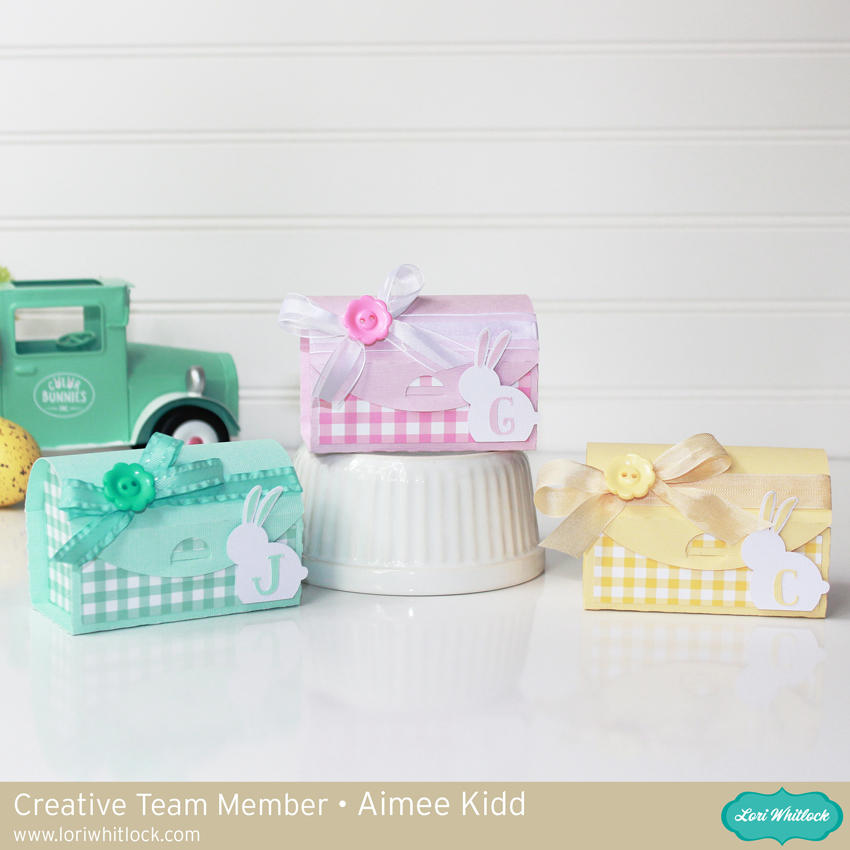 These adorable little boxes came together quickly which left the fun part of decorating them. I used the checked patterns that are in Lori’s
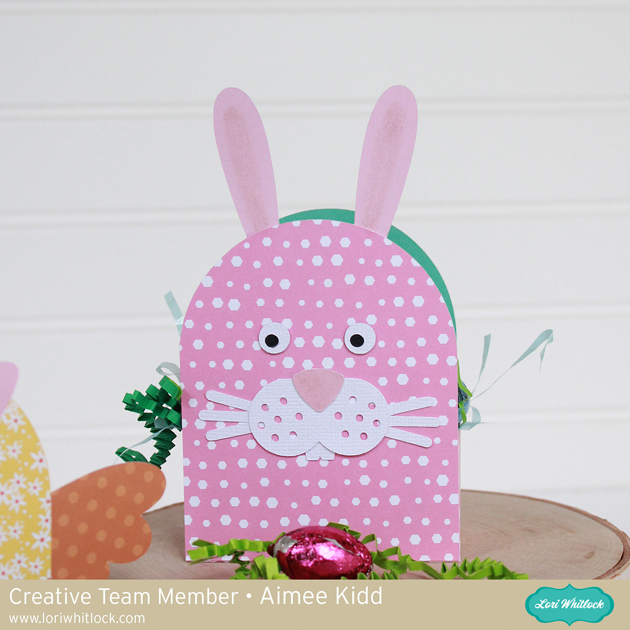
 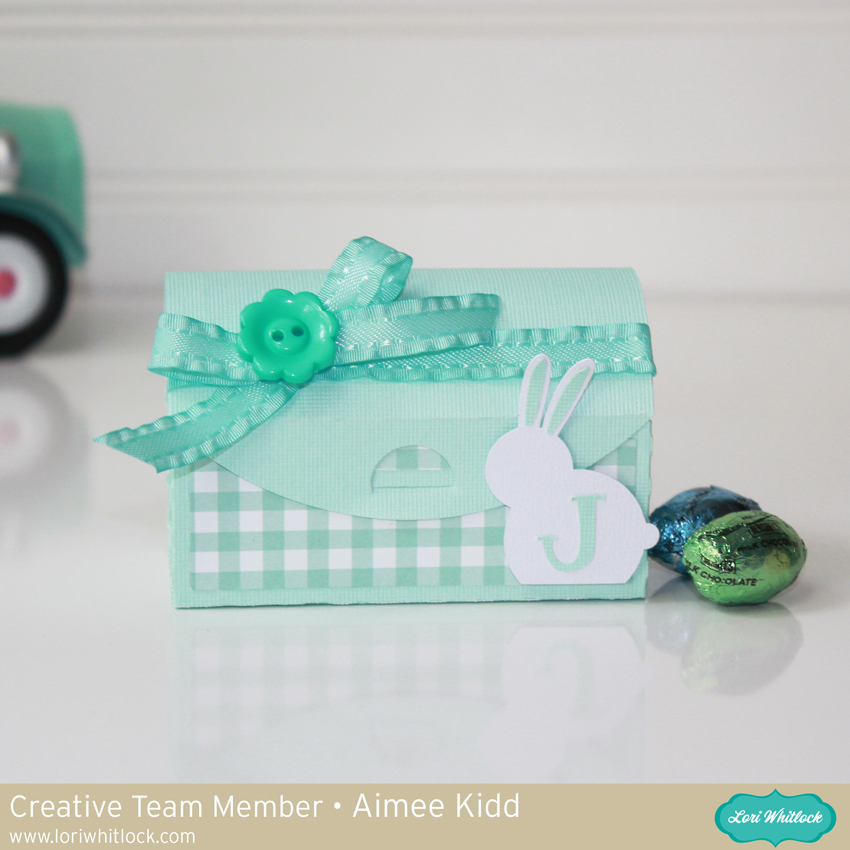 I originally wanted their names on the boxes but came up with the idea to add their initial on this sweet little bunny from the 3 Easter Bunny Rabbits (
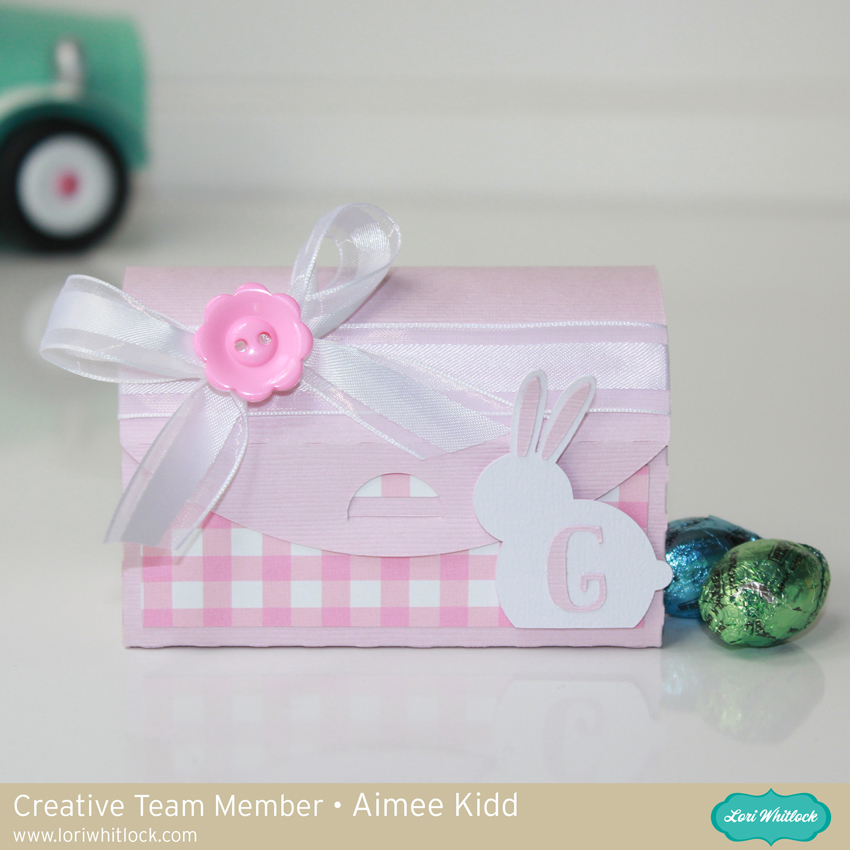
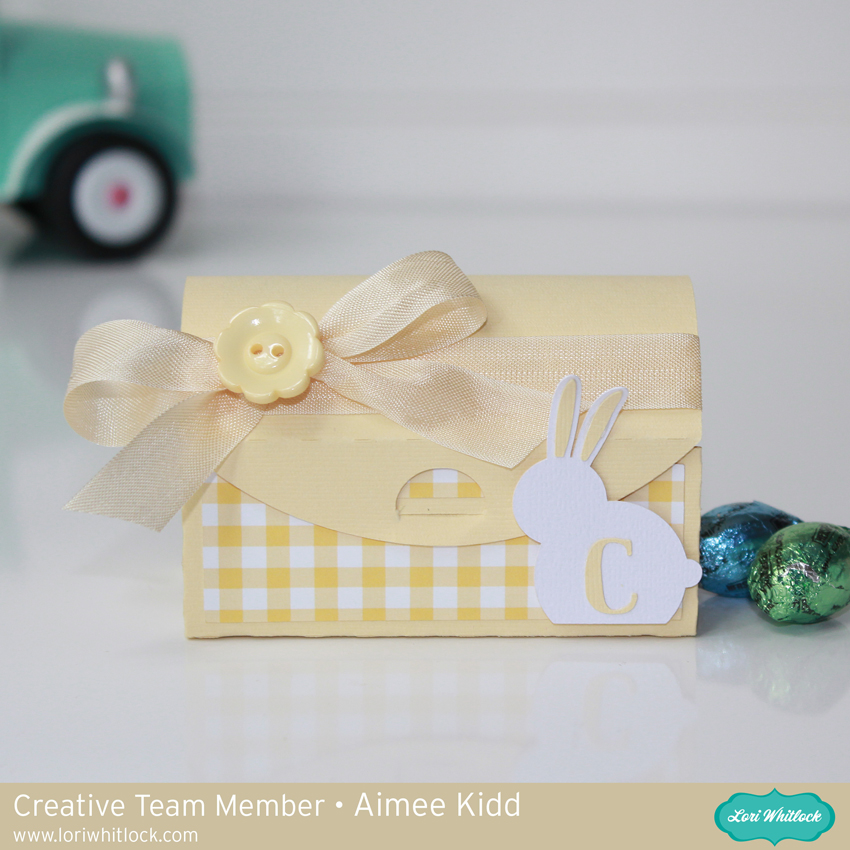 If you are looking for a quick and fun project for your Easter table give the Treasure box a try!