
Fall Acorn Box Card

Hey, crafty friends! Ready to say goodbye to summer? The little signs of Fall popping up in stores have me excited for cooler days, pumpkins, and seasonal crafting. For today’s tutorial, I worked with the Acorn box card (SVG, Silhouette).
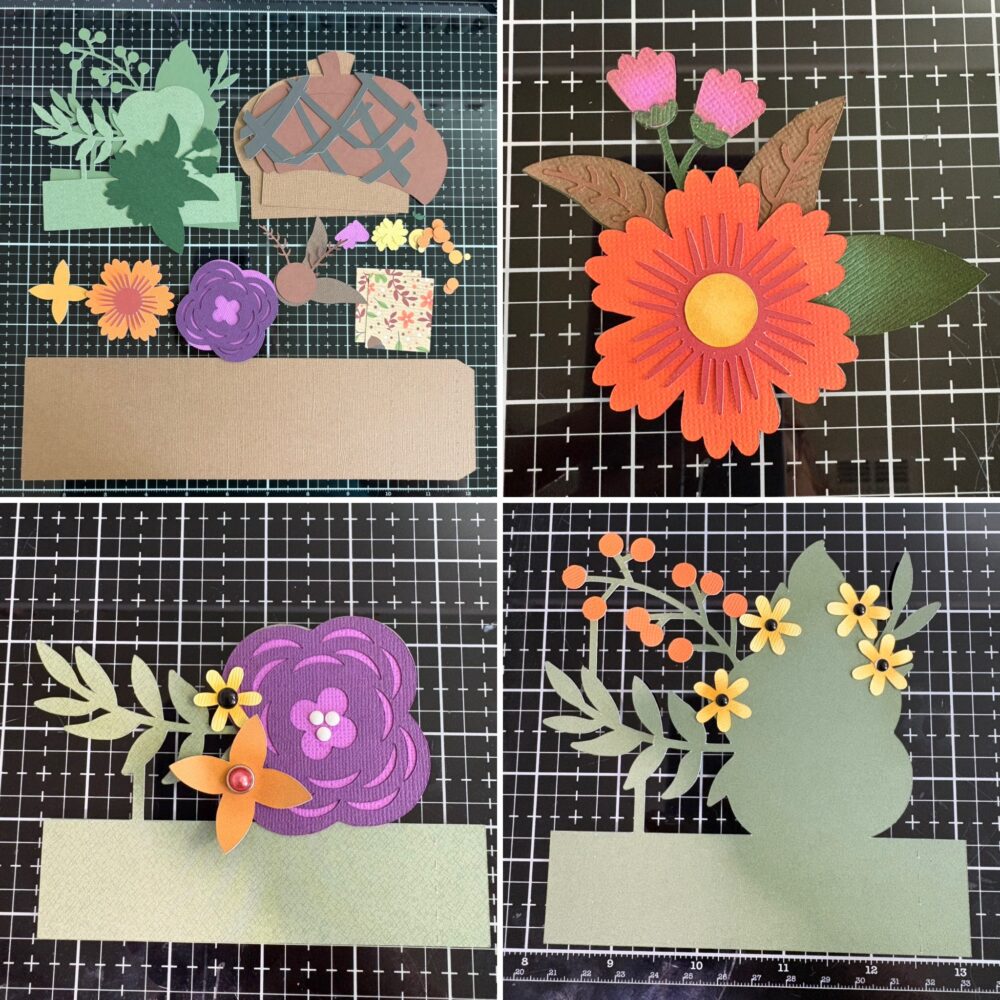
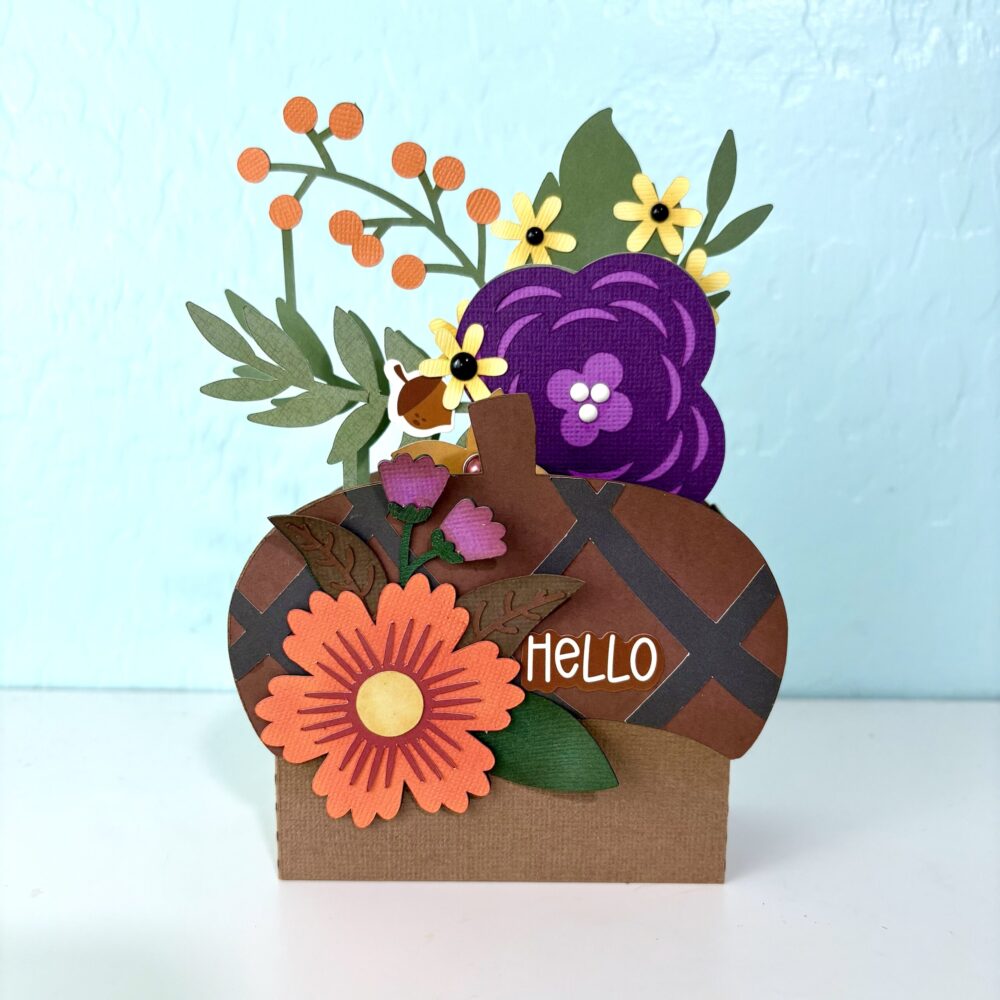
This box card features two insets, two acorn covers, and a flower cluster on the front. I began by adding ink to most of the elements to give them dimension. The large flowers have two main layers plus a center, while the smaller flowers have one layer and a center. For several flowers, I swapped the paper centers for enamel dots or brads. The suggested placement for the small flowers works well, but if I could, I’d move the small orange flower out and up along the green stem. Once assembled, the acorn stem covers it.
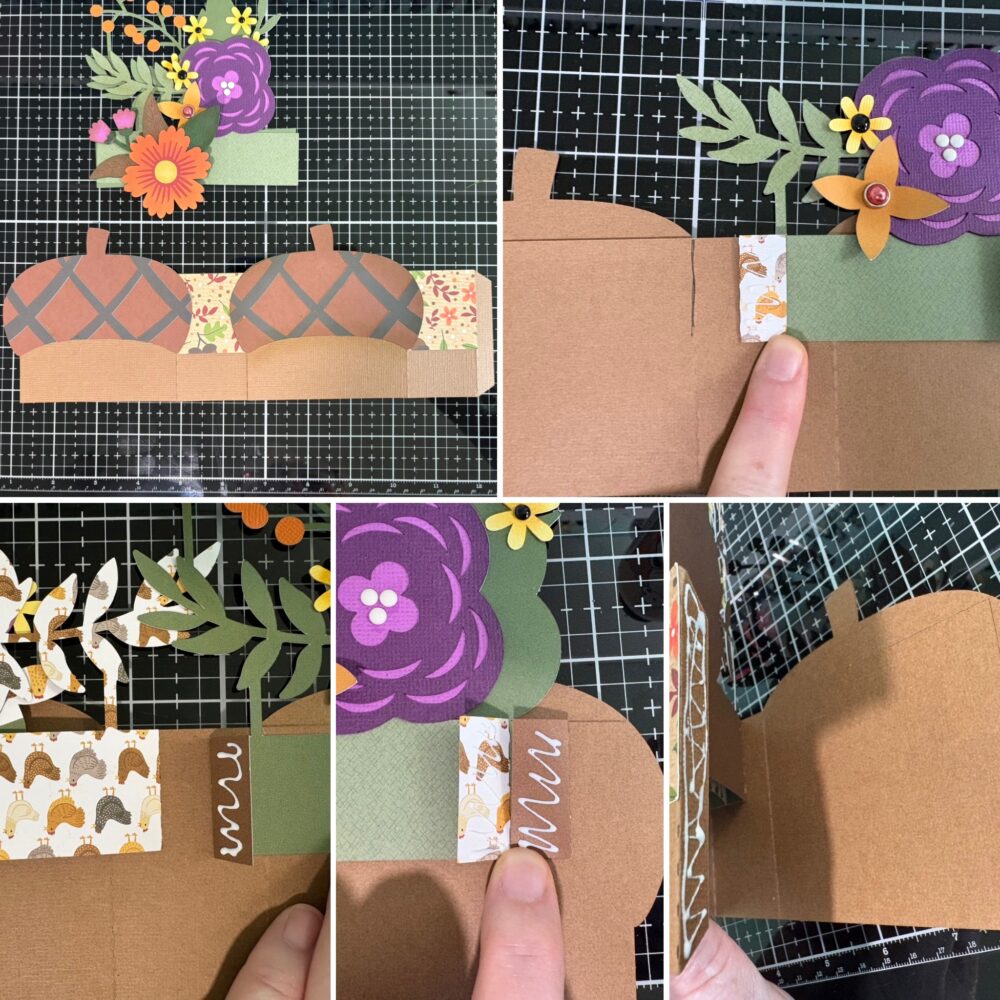
The main body of the box card is a simple box with two acorn covers and two small, patterned paper covers. Each acorn has three layers: one for the body and two for the cap. The score lines are folded into mountain folds, with the acorns attached to the long sides of the box and the patterned papers on the short sides. For the inserts, I folded the score lines as valley folds. I flipped the card base over, added glue to the back of the tab on the purple flower insert, and lined it up with the top of the box and the score line. I repeated the process for the second insert, aligning it with the top of the box and the back of the first insert. Then I flipped the inserts back over, glued the back side of the tabs, and closed the card base over them, making sure everything was aligned. Finally, I glued the box tab and closed the card, carefully lining up all the edges.
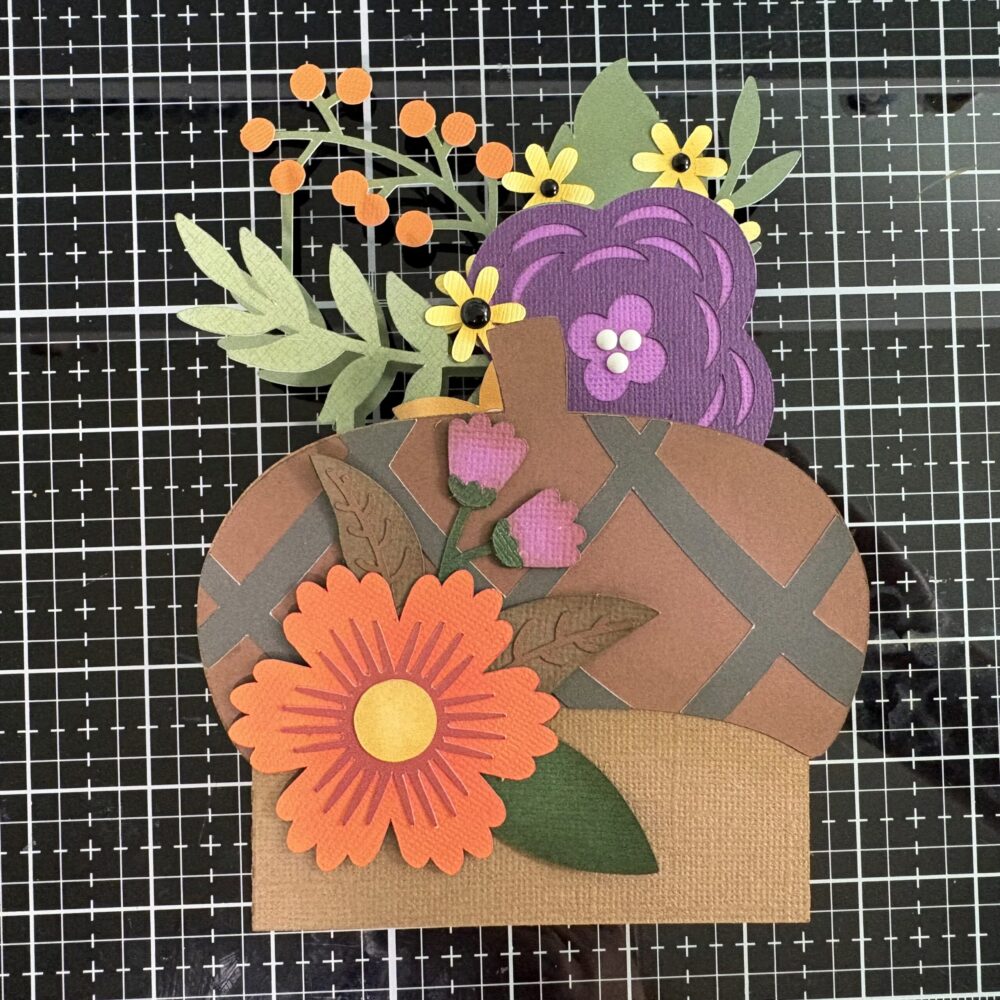
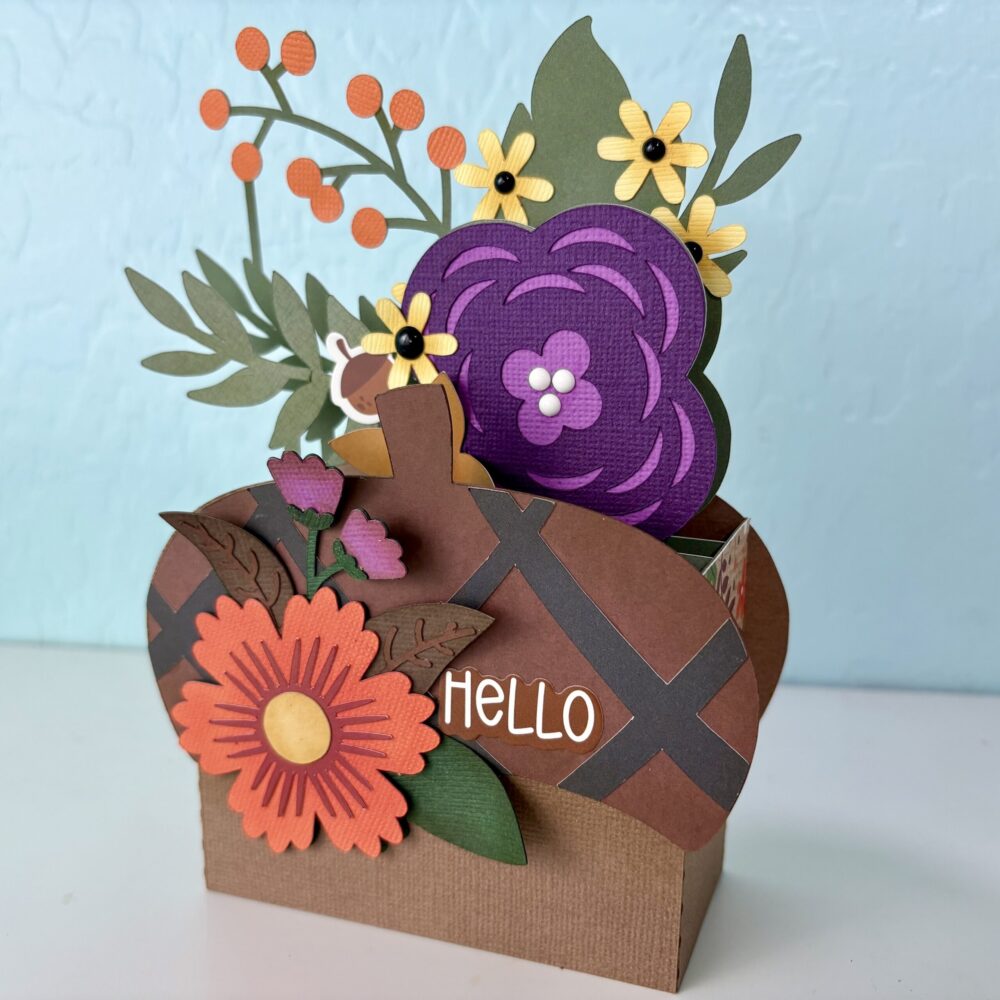
With the acorn box, I attached the orange flower cluster to the front of the box. I also added a “Hello” sticker and a small acorn sticker from my stash of supplies.
That’s all for me today, thanks for stopping by!
Brandie

Creative Team Member Corri and Lisa Bell

I LOVE how Corri created a card and a box to go with it. This is such a cute project and would be such a fun gift to receive. SO CUTE! Corrie used the “Acorn Box” along with the “Scalloped Squares” for the card base. The leaves on both the card and box come from the box file. Corri’s blog has lots of great projects and info. You can go here to get there.

The next project I have to share with you is boring in comparison to this beauty. Last week I spent HOURS moving my office/craft room to a different room in the house. I was too lazy to repaint so my current colors are blue, black and white. I used Lori’s “5 Bracket Labels” to tie in all my storage products.

I have a few different plastic drawers to house the different craft products I have and they change often so I wanted something that could change. I bought some chalkboard vinyl and cut it using the green and orange shapes in the preview.

This cabinet lives in the closet (partially because it isn’t white, black or blue) but it also fits best on a shelf in there. I have this divided into colors for embellishments other than stickers and rub-ons. I didn’t want a huge label because I wanted to see what was inside, so I cut the orange label in preview.

I also do a lot with fabric so I have some deeper drawers to house larger pieces I have purchased for an ongoing project. The little label looked funny on these drawers so I chose the green label for these drawers. Some hold fabric, photos and other supplies. I LOVE how these look in my ‘new’ room. It helps tie everything together and look finished.

I have many more pictures and information on my blog if you would like to hop over there. Click here.

Thanks for visiting us today, have a great weekend!