Hi friends – today I am here to show you a fun technique using acetate! I am a sucker for cute packaging so when I was pondering about what to do my tutorial on for this month I knew I wanted to share this one with you. I decided to do a couple of colorful St. Patrick’s Day Favors to show off this technique. It just wouldn’t be the same if you couldn’t see the Skittles and Gold Coins that these boxes hold, so when you really want to show off what is inside your packaging or if your treats fit a holiday or a theme like my treats do, acetate is the way to go! It may seem basic and easy, but it is so fun to use something other than cardstock and pattern paper when using our digital cutting machines.

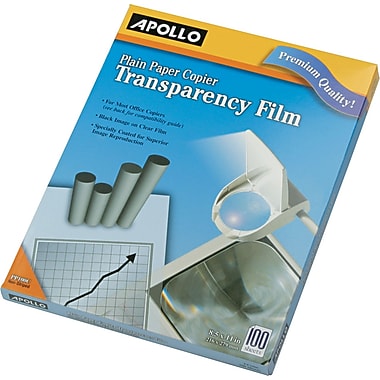
I use this brand of acetate (also know as transparency film) for my projects. It cuts beautifully in my Silhouette machine. Apollo Transparency Film

- No Glue Gable Box (Silhouette Store)
- Santa Petal Box (Lori Whitlock Shop) (Silhouette Store)
- 5 Hang Tags (Silhouette Store)


So my challenge to you is to go pick up some of this fun medium from your local office supply store and try your hand at this fun technique. Thank you for stopping by!


