Christmas Penguin Gift Set

Happy Holidays!  It’s Michelle Starcher, aka the Bookish Designer, popping in on the blog to share the Christmas Penguin gift set I made using three of Lori’s files: Gift Card Box Penguin (SVG, Silhouette), Christmas Tag Penguin 2 (SVG, Silhouette), and Christmas Card Penguin (SVG, Silhouette).  Lori debut these adorable penguins along with several other cards, tags, and gift boxes a couple of weeks ago, and I knew I had to use them for my holiday gift giving!

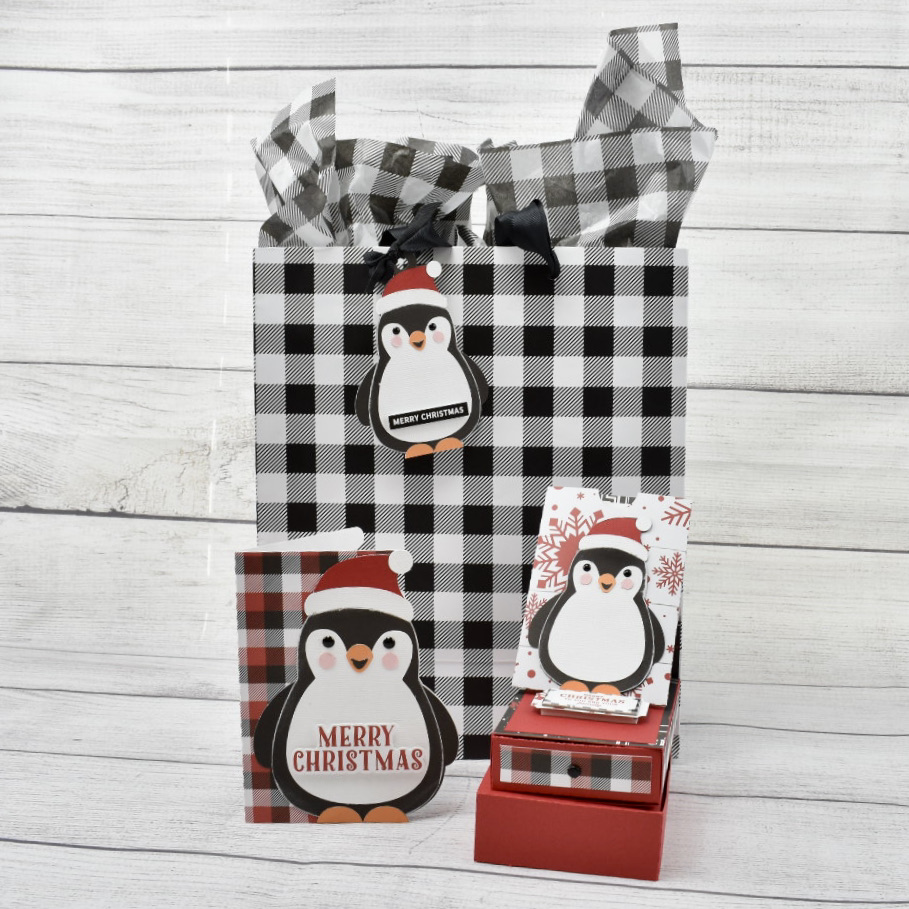
I used accents and patterned papers from Lori’s A Lumberjack Christmas collection from Echo Park Paper, Co to make the card and gift card box.  For the card, I used a double-sided patterned paper, which made it a little difficult to write a message inside the card.  I knew I needed a solid colored insert, so I cut an extra card base from white cardstock to serve as the inside layer of the card.  I added a Merry Christmas sticker to the front of the card as well.

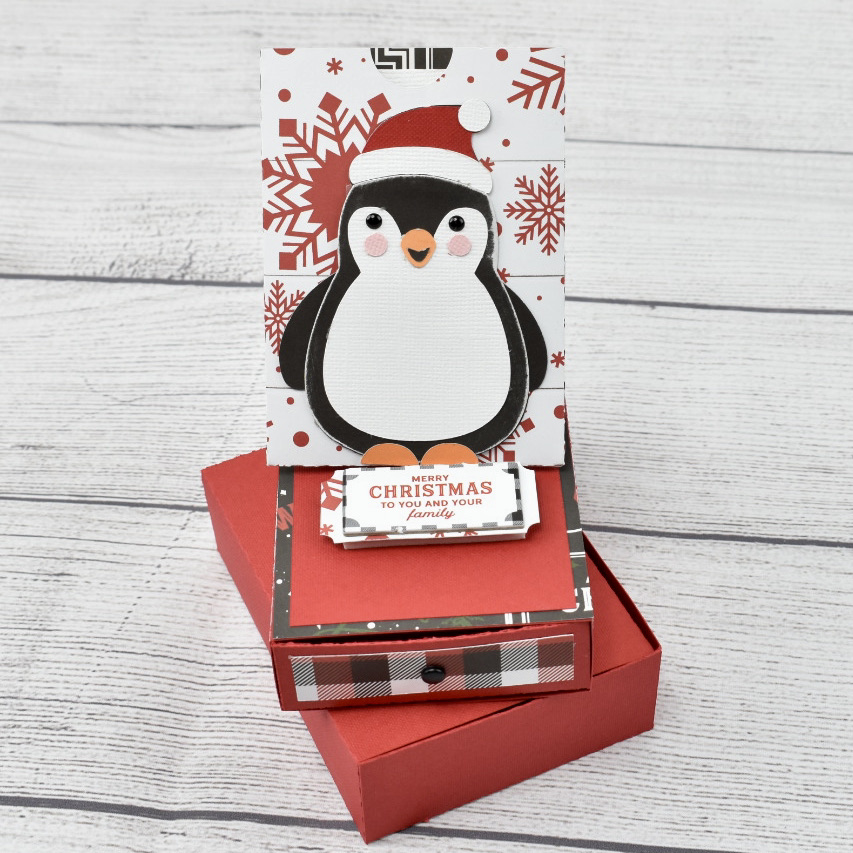
For the gift card box, I used a mix of patterned papers along with a chipboard accent.  I was sure how to assemble the top pop-up to the box, but Lori’s tutorial provided all the instruction I needed to finish putting my box together.  I really like that this file contains a gift box as well to hold the entire project when it’s complete. Simply add a ribbon and you’re ready with a gift that’s SUPER CUTE!!

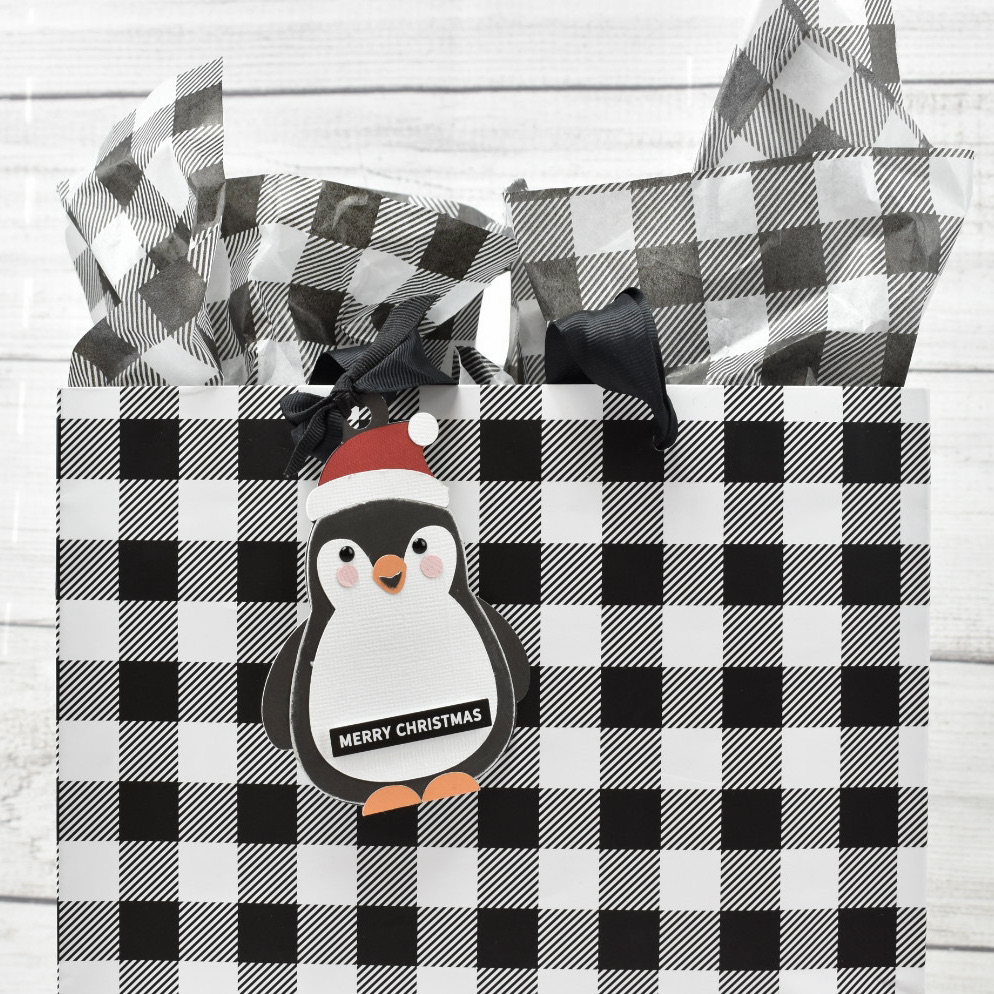
Finally, I created the adorable penguin tag and added a Merry Christmas sticker to the front.  I paired the tag with a buffalo plaid gift bag to complete my gift set.  I think my recipient is going to love the personalized touch!

Well, that’s it for me today!  I’m off to enjoy Christmas Eve with my family. Happy Holidays:)

Until next time,

Michelle

12 Days of Christmas- Day 2 and Explosion Box House with Ashley

Welcome to Day 2 of our 12 Days of Christmas! Each day from December 1-12, there will be a free SVG file of the day, along with a special promotion!  For Day 2 we have this absolutely adorable Christmas Tag Penguin File.  This file will be free today only, so don’t miss out!

In addition, today only, you can get 30% off all items under the Cards Category in my SVG shop!  Just use code CARDS at checkout!

And now check out this festive Explosion Box by Ashley!

Lori has so many great holiday files.  The new Explosion Boxes are so fun.  It combines the look of a snow globe with an explosion box. I am featuring the Explosion Box Scene House (SVG, Silhouette-coming soon) today.

I used a transparency sheet for the clear panels, you could also leave them open. I also used Lori’s Little Lumberjack Christmas paper collection from Echo Park Paper. You can add fake snow before adhering the panel part to the base of the box for a fun effect!  The size of this box is just under 4 inches cubed. For an assembly tutorial see Lori’s YouTube page here.

Have a Great Day!

Ashley

Lumberjack Santa Tuxedo Box Card

Hello everyone and Happy Thanksgiving! Marcia here today. I have to admit, I slacked off in sending Christmas cards the past few years. Sometimes life is just so crazy busy! I want to rectify that this year. With Covid restrictions going back into place, it doesn’t look like I’ll get to see distant family for a while. Plus I should have lots of time on my hands since I won’t be going out anywhere. I love making box cards because they do double duty as Christmas decor. Don’t worry, these do fold flat for mailing! I was drawn to the new Lumberjack Santa Tuxedo Box Card cut file because I thought it would appeal to the young and old alike. This cut file can be found here (SVG / Silhouette ).

I used the Lori Whitlock A Lumberjack Christmas collection to create my card. The woodsy pattern papers are perfect! I added a just few stickers to embellish. Santa would look awesome in a plaid shirt too, I think. I’ll have to make another card and try out that look. For an assembly tutorial, see Lori’s YouTube Channel here.

There are lots of Holiday themed cut files available in Lori’s shop. Go check them out and join me in my card making frenzy. Thanks so much for stopping by.
~Marcia

Christmas Countdown Step Card Tutorial

Christmas will be here before we know it.  To help count the days, I created this fun little Christmas Countdown Step Card (SVG, Silhouette ) for Lori, and it was released this week!  It’s such a fun card… you can make one for yourself, or mail one off (I recommend a 5×7 padded envelope) to someone special!  I pieced this one together using A Lumberjack Christmas from Echo Park Paper.  I put together an assembly tutorial below.

For the base of this card, you want to make sure you are using a good at least 80lb cardstock so it will retain it’s shape.

  1.  Start by cutting out your pieces.  The numbers and “days” until were done using the print and cut function of my cutter.  If you need help with that, we have a tutorial for Silhouette here and Cricut here.  I pieced together the Santa, Tree, presents and mouse.  I added some enamel dots to my tree for “ornaments.”  In addition to the file pieces you will need a mini clothespin.
  2. Fold the card base into the step card.  This picture shows the folds.
  3. Add the decorative panels to the card as shown, then the “days until” piece.
  4. Fold the pocket piece and glue.  Adhere to the back of the card.  This pocket holds the extra day numbers when not in use.
  5. Glue the Santa and tree to their steps as shown.  Be sure to only add adhesive to the parts that will be glued to the steps, nothing above the step “peak.”
  6. Add the Christmas word and mouse with present to the bottom front.
  7. Add the mini clothespin to the top center of the “days until” piece.  Make sure it doesn’t stick up higher than the peak.
  8. To clip the numbers, overlap them a bit, and secure in the clip

Now you’re ready for the countdown!  If you make one of these, please be sure to tag Lori Whitlock on Facebook and Instagram.  We always love to see your creations!  That’s it for me today, thanks for stopping by to peek!

BLOG * INSTAGRAM