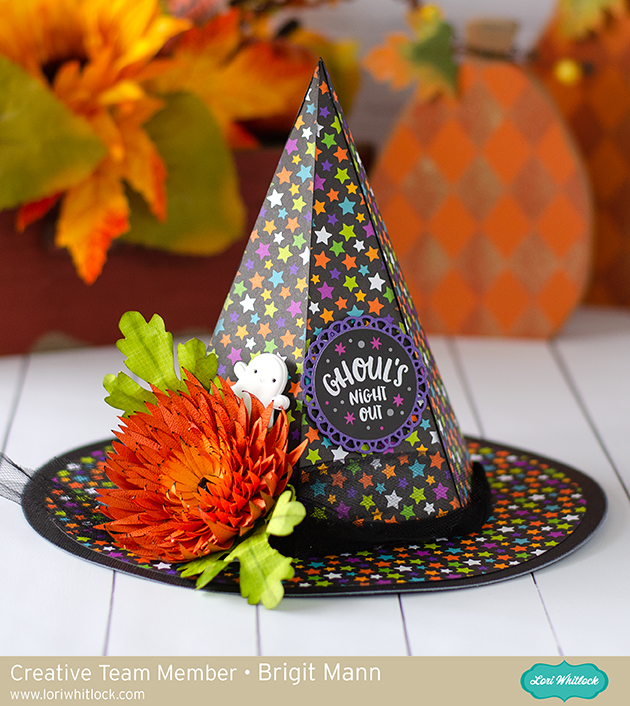
Hello there, today I’m sharing a tutorial on this 3D witch hat project. This hat can also be purchased from the Silhouette Design Store here and also as a set in the 3D Halloween Bundle from Lori’s shop.
 This is such a cute home decor piece to add to your Halloween collection, I really love how it came out.
The first thing I did was add all the pieces onto my mat in Silhouette Studio, this included the 3D Chrysanthemum Flower, (Silhouette Studio chrysanthemum). You will need 6 duplicates of the triangle layer and 2 duplicates of the hat top. I used patterned paper from Doodlebug Design’s Pumpkin Party I did a release compound path on the triangle layer and removed the circles. Tthis way I’d have solid pieces to show off the pretty star paper.
I resized the hat so I could fit one piece of the hat top with the hexagon bottom on one sheet, this saved me a black piece of cardstock, I also sized the flower so the orange color pieces would fit all on one sheet of cardstock.
I cut all my pieces out and inked the edges of the patterned paper, flowers and leaves.
I assembled the top of the hat first, this thing went together perfectly, I love Lori’s files!!
I then added the triangle layers onto the sides and glued down the circle patterned paper to the black circle rim.
For the leaves I bent them by hand and used ink to create some vein lines, I then sprayed them with some water and crinkled them by hand a little.
I used my McGill tool and mat and a paint brush to curve the flower petals up.
I Glued all the petals together and added a black jewel in the center.
To complete the look, I added some black tulle around the hat, glued the flower and leaves to the side and added the ghost clip and ghouls sticker from Doodlebug’s pumpkin party,


