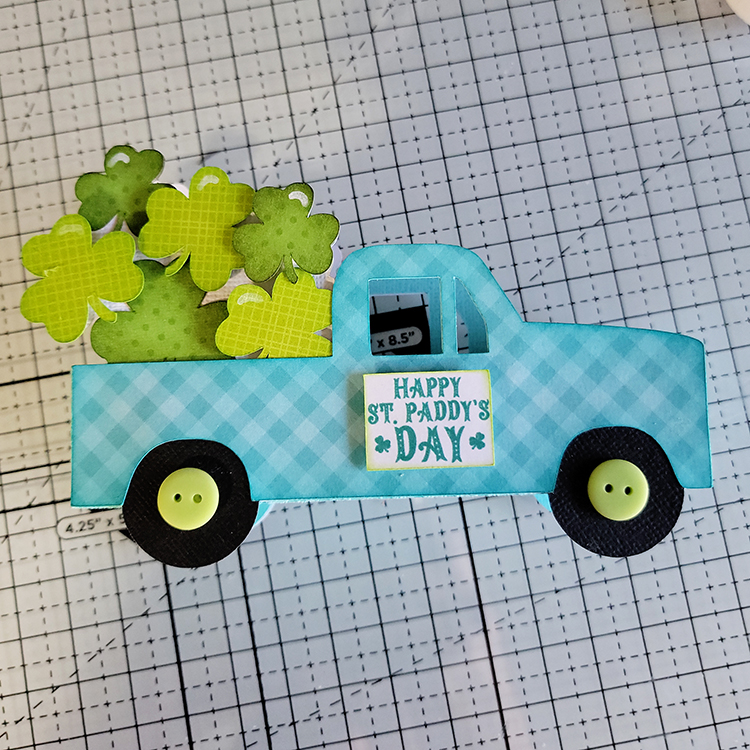
Saint Patrick’s Truck Box Tutorial

Hello there! Here is a quick tutorial on the new Saint Patrick Truck Box, (SVG, Silhouette), this is a super simple project to put together.

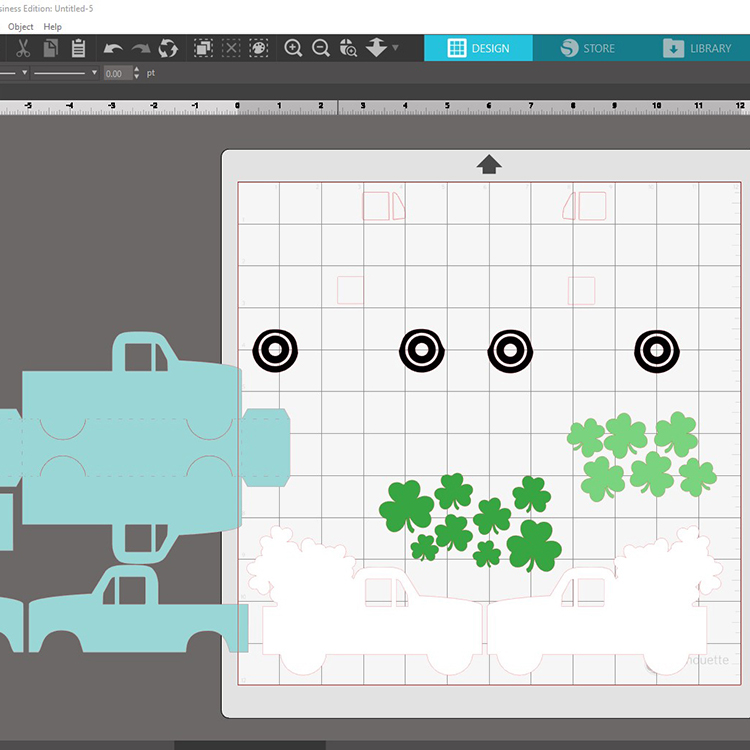
The Silhouette version of the file, currently has extra window cutouts you don’t need, if you ungroup and move the pieces you will see them, see photo below. The tires need to be ungrouped to delete those window pieces also. We have asked Silhouette to fix this, but if you see it, no worries.

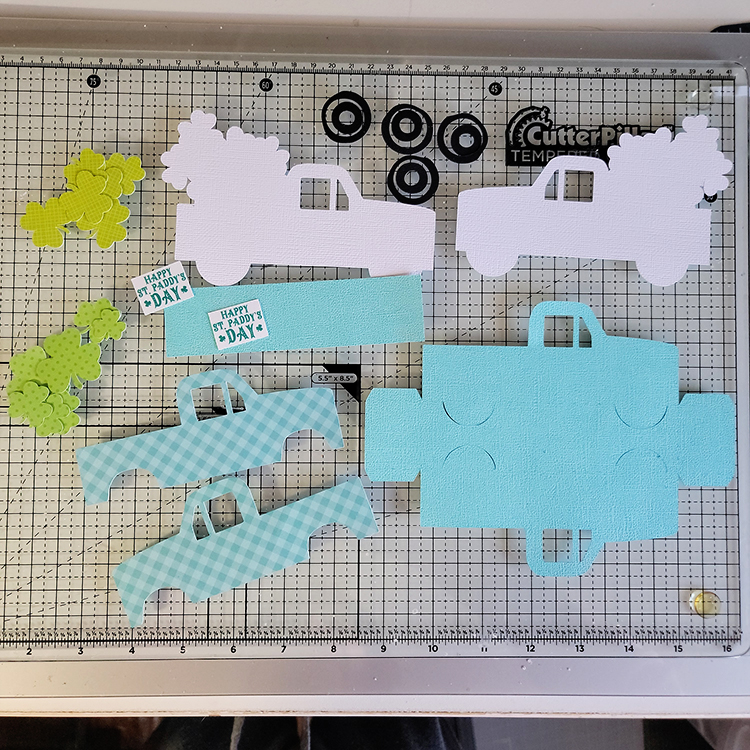
Here is a photo of all the pieces cut out, I used one of the sentiments from the St. Patrick Dingbats Fonts, (SVG, Silhouette) instead of the shamrock on the door.

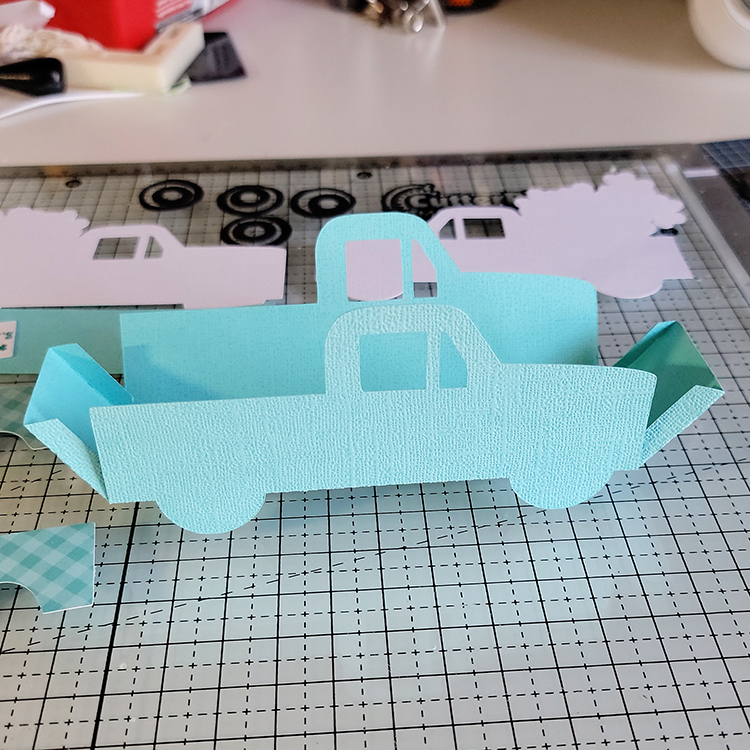
All you have to do is fold on all the score lines, the cutout tires will flip out, glue the four sides together.

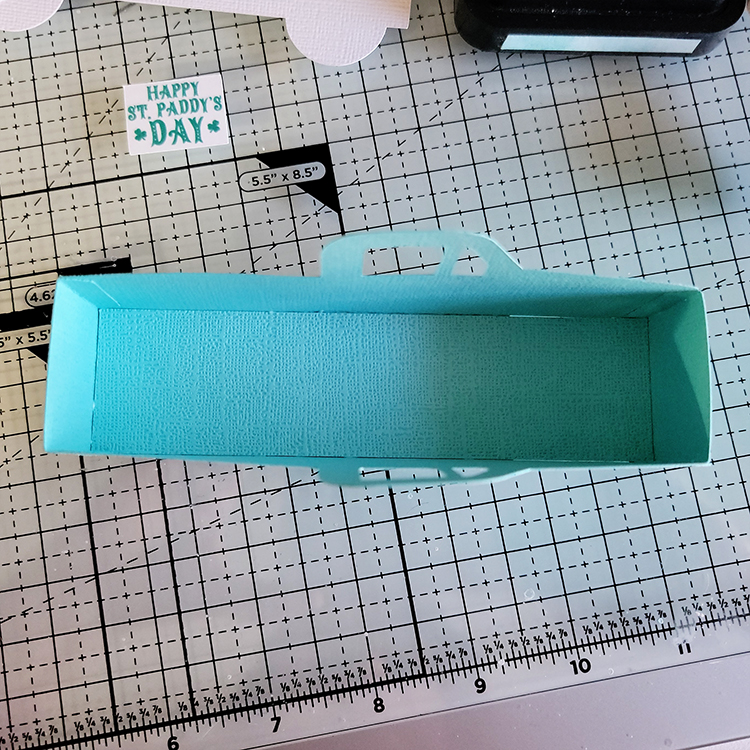
Add the bottom piece to the inside, this hides the tire cutouts.

Add all the shamrocks, I popped some of them up, I also ended up changing the tires out with a solid piece, I wanted to add buttons and liked the look better this way.

Repeat the other side and glue both panels on the box. This makes a great treat box, you can make a bunch of these in no time!  Thanks for stopping by and have a wonderful day!

Star Spangled Box Card Truck Tutorial

Hi there paper crafting friends!  It’s Michelle Starcher, aka the Bookish Designer, hopping onto the blog to walk you through the steps to create Lori’s XL Box Card Truck July 4 (SVGSilhouette).  This little truck can be made large enough to use as a table decoration or home décor item. It’s perfect for your upcoming 4th of July cookout! In this photo tutorial, I will break down the steps to create the XL Box Card Truck July 4.

After cutting all of your pieces, sort them into stacks to make it easier when assembling the pieces.  Once you have sorted your pieces, attach the first layer of pieces to the truck frame as pictured below. You will need to attach the light blue truck front before adding the silver door handle and mirror.  I assembled the tires on the black circles before adding them to the truck frame.  Don’t forget to add the three white stars to the door of the truck.

Next, you will add the bumpers, stripes, and a few extra details. You will want to attach the blue bumper to the front of the truck before you add the three small silver accents.  In addition, you need to add the red bumper to the back of the truck before you add the white and gray stripes.  The gray stripes create a shadow effect on the truck bed.  When I attached the white stripes to the bed of the first truck, I used the long white stripe to help me with placement.  This made it easier to line up my stripes.   I used the first truck bed as my guide on the second one.

Next, I attached my stars to the inner card piece as shown.  Add adhesive to the tabs on each end.

Once all of your truck beds are decorated, you are ready to assemble your 3D truck.  You should have a blue rectangle with two scored tabs.  Add adhesive tape to each tab, and then line up the front panel with the pre-cut guidelines on the sides of the truck and adhere as shown in the bottom photo.  Use the stripe pattern on the back of the truck bed to replicate the pattern on the red connecting piece.  Attach the license plate and July 4 letters.  (Mine didn’t turn out so well, so I replaced them with a sticker.)  Add adhesive to the two tabs of the red connecting piece and attach as shown in the bottom photo.


You last step is to connect all of the pieces.  You will add your middle truck piece to the connecting blue and red pieces.  The attach the connecting pieces to the other truck piece to close the card.

You make the XL Box Card Truck July 4 (SVGSilhouette) today, so that it will be ready for your cookout this weekend.  If you are looking for some additional 4th of July decorations, be sure to check out the 4th of July Project Bundle that includes this truck plus several other patriotic projects.


Until next time,

Michelle
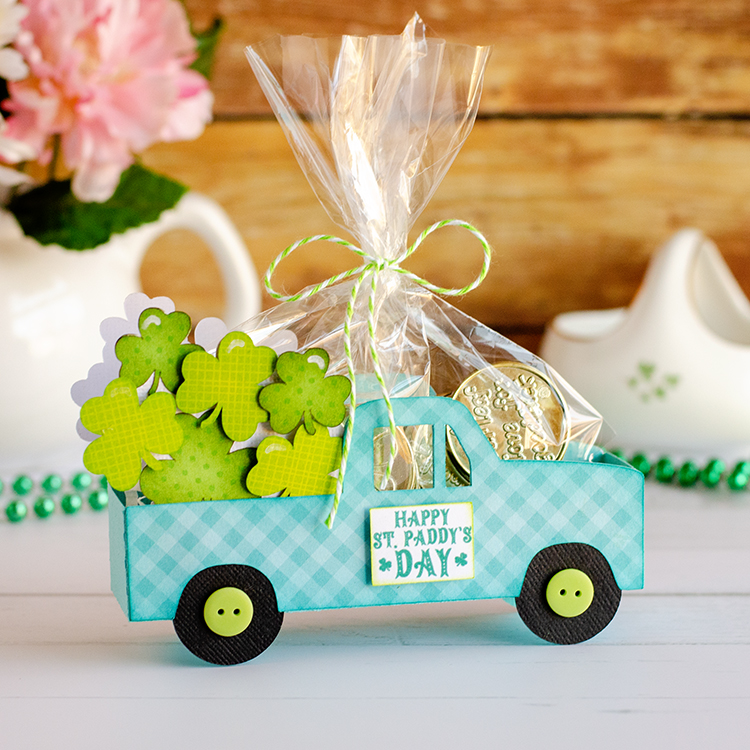
3D Pickup Truck with Flowers

Hello crafty friends! Have you all seen the adorable 3D Pickup Truck with Flowers (Lori’s SVG Shop, Silhouette)? Maybe you’ve seen it but passed it by so I’m here today to give you another look. IMO this is so stinking adorable! How cute would this be sitting on a mantle with some Summer décor? Now that I’ve just typed this I realized I can add this to my Summer décor in my tiered trays!!

It doesn’t take much time at all to put this little guy together. Maybe it’s because I pulled out my A Slice Of Summer collection and it all kinda fell into place. I used the Solids papers for the truck and the flowers and some of the enamel dots for a little pizzazz on the wheels and headlights.  For an assembly tutorial see Lori’s YouTube Channel here.

And all of these adorable rolled flowers that complete this summery truck of goodness are all included in the file! I can almost envision my grandfather driving this around but without the flowers LOL!!


Hope everyone is having a lovely day and thank for stopping by!

Aimee

New Spring Projects

There are some fabulous new Spring themed projects in the shop this week!  There are some Shaped Box Cards, Rectangle Pop Up Cards, Shaped cards and even a little 3D truck!  Take a peek.

Box Card Truck Front End Easter Bunny (SVG, Silhouette )
Tutorial

A2 Easter Bunny Shaped Card (SVG, Silhouette)


Rectangle Pop Up Card Arbor (SVG, Silhouette)
Tutorial

Box Card Envelope St. Patrick’s Day (SVG, Silhouette)
Box Card Envelope Easter Bunny (SVG, Silhouette)
Tutorial

3D Pickup Truck (SVG, Silhouette )
Tutorial Coming Soon

These projects are perfect to send to friends and family this spring or even to brighten up your own home.  And they are 25% off in my SVG shop this week!

Have a great day!