Hi there paper crafting friends! It’s Michelle Starcher, aka the Bookish Designer, popping in on the blog to share the Halloween project I created using Lori’s Haunted House Centerpiece (SVG, Silhouette).
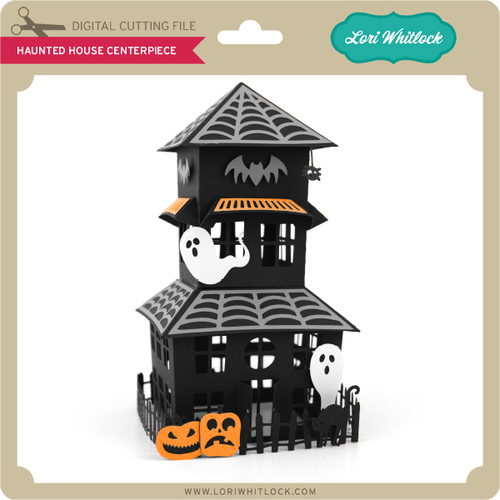
This cute, but spooky Haunted House measures about 13″ tall by 7.25″ wide when cut at original size, which is what I used. However, you can scale the file up or down as desired. Lori also includes optional covering panels for the sides of the haunted house to add some additional flair to the project. I took advantage of those extras and included gray polka-dot cardstock panels on my version of the Haunted House. In addition, I sanded the edges of the gray panels to create a more weathered look.
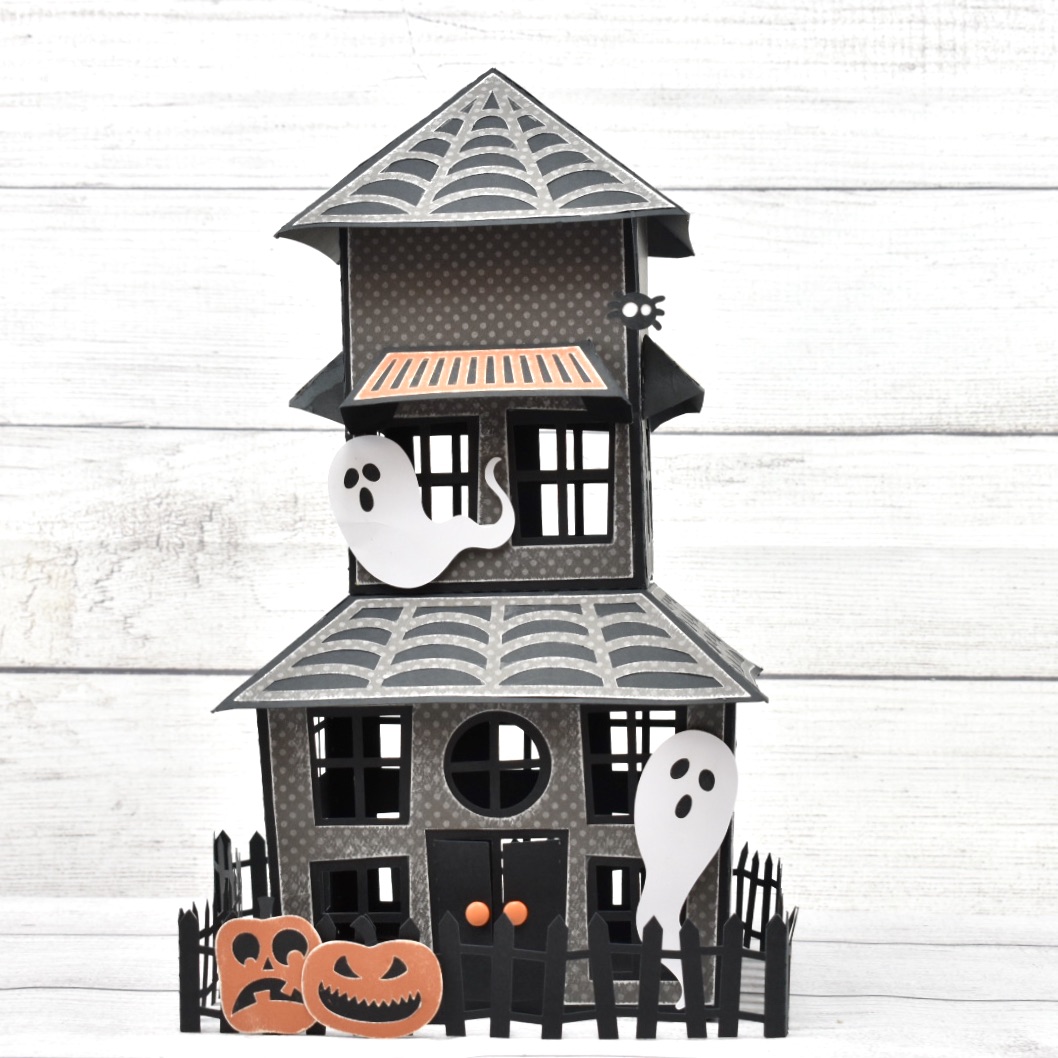
After sanding the pumpkins a little, I used foam tape to adhere them to the fence that goes around the house. I used foam tape on the ghosts as well. For the finally touches, I tucked the spider under the webbing on the roof and added orange brads to the doors.
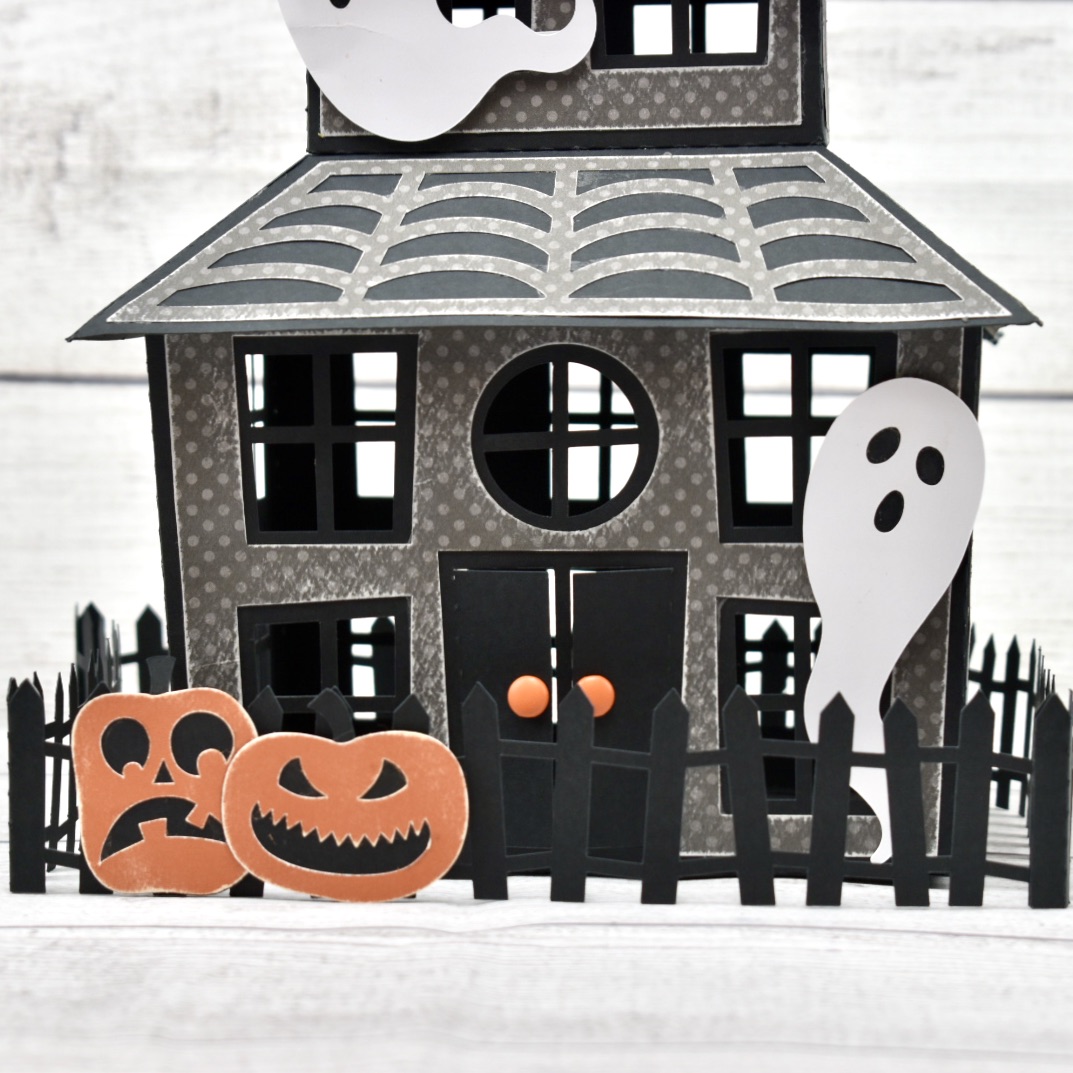
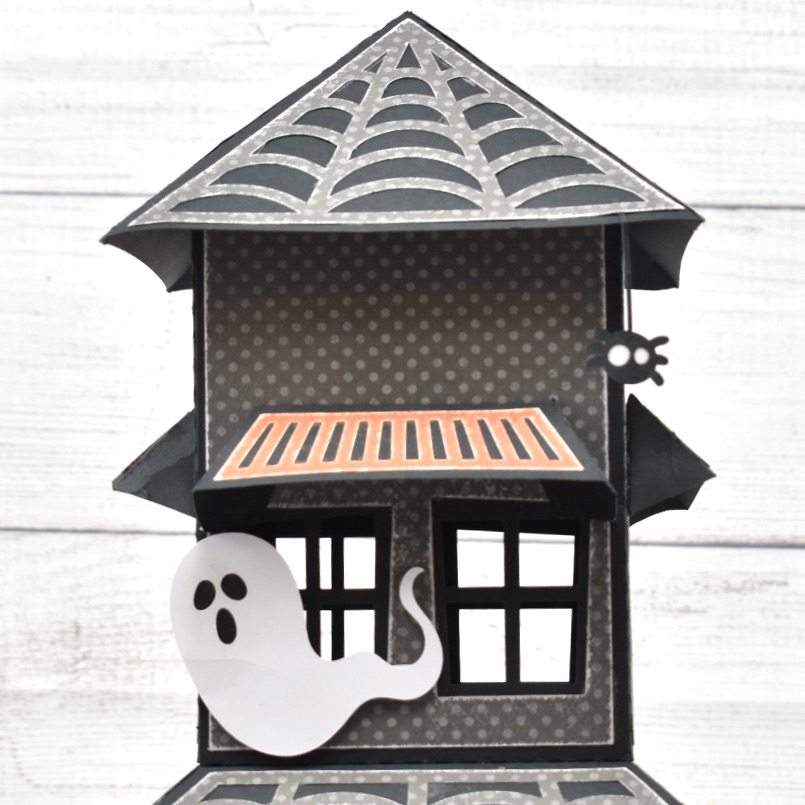
I found the project to be fairly easy to put together once I had all the pieces cut. However, Lori has a great tutorial for this project on her YouTube channel. Lori gives some great tips for this project in her tutorial, including how you can adjust the file to be able to add a tea light candle inside the house. I wish I had watched it before I started!
In addition to the Haunted House Centerpiece, Lori has several 3D projects for Halloween that would work really well with the Haunted House to create a spooky scene including the 3D Haunted House Bundle (available as individual files in the Silhouette Design Store). I can’t wait to pick them up and continue building my Haunted Village for Halloween.
Until next time,
Michelle

