Hello crafty friends! Michelle Zerull here with you today to share a photo tutorial for a fun project that I know you’re going to love. It’s the 3D Coffee Cup Round (SVG, Silhouette) file. It’s easy to put together and can be customized for any occasion. I used the Little Lumberjack Collection from Echo Park Paper top make a cute Valentine’s box for my guy.

Instructions:
- Using your digital cutting machine, cut out all of the pieces included in your SVG file.

- Form the large dark piece into a cone shape. To do this, train the piece to curve by using a doll rod, scissors, or bone folder. Push the tabs to the center and glue as shown. Set aside to dry.


- There are three pieces that form the top portion of the lid. You will be using a long piece with tabs on both sides as well as two circles the same size. One of the circles has a hole in the lid. Join the long piece into a circle by placing glue on the end tab. Hold until dry. Place glue around the edge of one of the circle pieces as shown. Add glue to tabs as shown and place circle into the center connecting the two pieces. Now fold top tabs inward and place circle with a hole on top and set aside to dry while forming the bottom portion of lid.

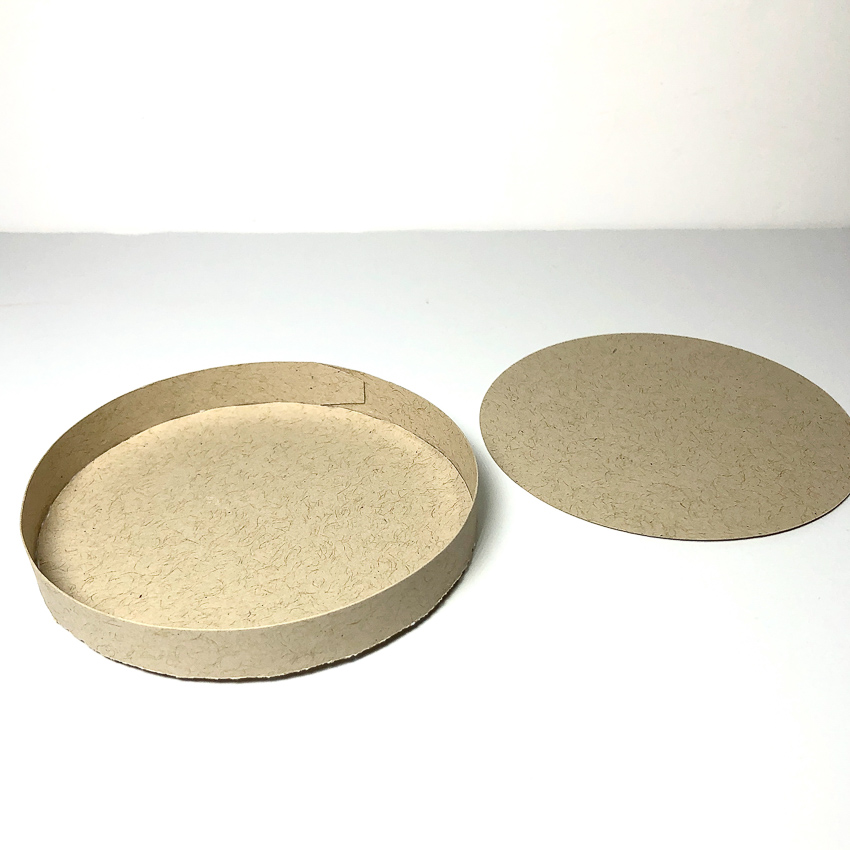
- To form the bottom portion of lid, take the remaining long piece and form a circle like you did above. Apply glue to circle and adhere as shown in photo. Now flip piece over and glue remaining circle to top as a covering piece. Allow to dry.


- When dry, combine pieces as shown to form the lid of your cup.

- To form the cup sleeve, train the remaining piece to curve around the cup. You can do this by using your bone folder or whatever flat surface you have handy. Glue into place and slip around cup.

- Your cup is finished! Embellish as desired.
 I hope that you’ve enjoyed this tutorial as much as I have. The 3D Coffee Cup Round will make a great addition to your SVG library. Happy crafting!
