Valentine Heart Envelope Box Card Tutorial

Hello everybody, Marcia here today. Valentine’s Day is only a few weeks away. Are you ready yet? Lori has the cutest new Valentine cards in the shop, like this Valentine Heart Envelope Box Card (SVG, Silhouette). I created this with pattern papers from Lori’s Our Wedding collection and added some older ephemera from my stash.

Let me show you how you can create this card. In Silhouette Studio, I turned on registration marks, then printed and cut the “I Love You” sentiment. No need for a stamp and ink pad. The registration marks help the Silhouette Cameo cut where it should, in this case the banner with the printed I Love You perfectly centered. You set registration marks in the Page Setup Window. Click on the third icon and select Registration Marks ON. You will know they are on when you see the grid appear at the top with the black square and corner marks. Go back to the first Page Setup menu and adjust the width and height so they match the size of the cardstock you are using in your printer. Check the Show Print Border and Show Cut Border. You want the text you are printing to be inside of the print border. Then remove the banner so only the text remains and send to the printer (see printer icon at very top on the left). Once printed, place your cardstock on your cutting mat and load into your Silhouette Cameo. Move the banner back into place around the I Love You and select Send to cut. Go back to the Page Setup to remove the registration marks and print border and resize the width and height back to 12×12.

Select your cardstock and pattern papers and cut shapes without resizing. This design has a lot of hearts that can make assembling confusing. I like to lay out my pieces as I cut them so I know exactly where they will go. This is easiest if you cut the card base and panels first.

Next, I ink the edges of my pattern papers. This subtle shading gives your cut pieces depth. Select an ink shade that matches your pattern papers as close as possible. It’s better to go with a little darker shade rather than a lighter shade.

Adhere your panels down on the card base and create your box by gluing the tab on side to the back panel. Adhere the hearts to the center insert. You can use foam dots to pop a few of them up for dimension. Then glue the tabs of the insert to the inside of your box card lining everything up along the sides of the card.

Add remaining hearts to the back panel so they can be viewed above the center insert. Embellish as desired. I added these adorable fox and the large Kiss Me ephemera pieces.

On the back of the card I added a white circle for writing on and another ephemera piece.

I love these 3D cards! They fold flat for mailing, but can be popped up and displayed on a table or countertop. Send one to someone you know who could use a little extra love right now. Thanks so much for stopping by.

~Marcia

Good Cheer!

Hello everybody, Marcia here today. Are we ready to say goodbye to 2020! I sure am!! No parties yet for us though. We will be celebrating at home, just hubby and I. I do sure hope 2021 treats us better. If you know of someone in need of some good cheer in 2021, you can send them this card. My card will soon be headed overseas to my favorite serviceman. I hope it will bring a smile to his face.

I used the Lori Whitlock Hexagon Pop-Up New Year’s Card ( SVG, Silhouette ).  New Year’s decorations are usually silver and gold, so I went with that and added a black glitter cardstock base. The Good Cheer is a rub on I found while rummaging in my stash when making Christmas cards.

I love these 3D cards! They fold flat for mailing, but can be popped up and displayed. You can find an assembly tutorial here on Lori’s YouTube Channel.  Thanks so much for stopping by. Here’s hoping 2021 is better.

~Marcia

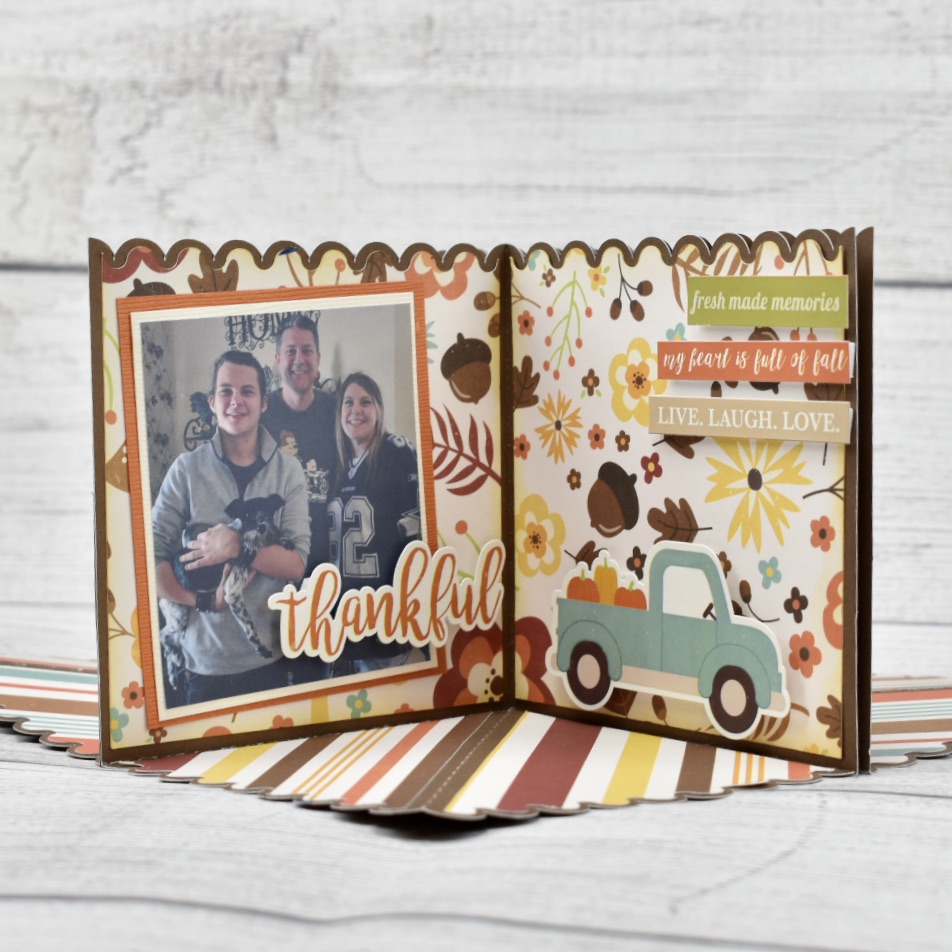
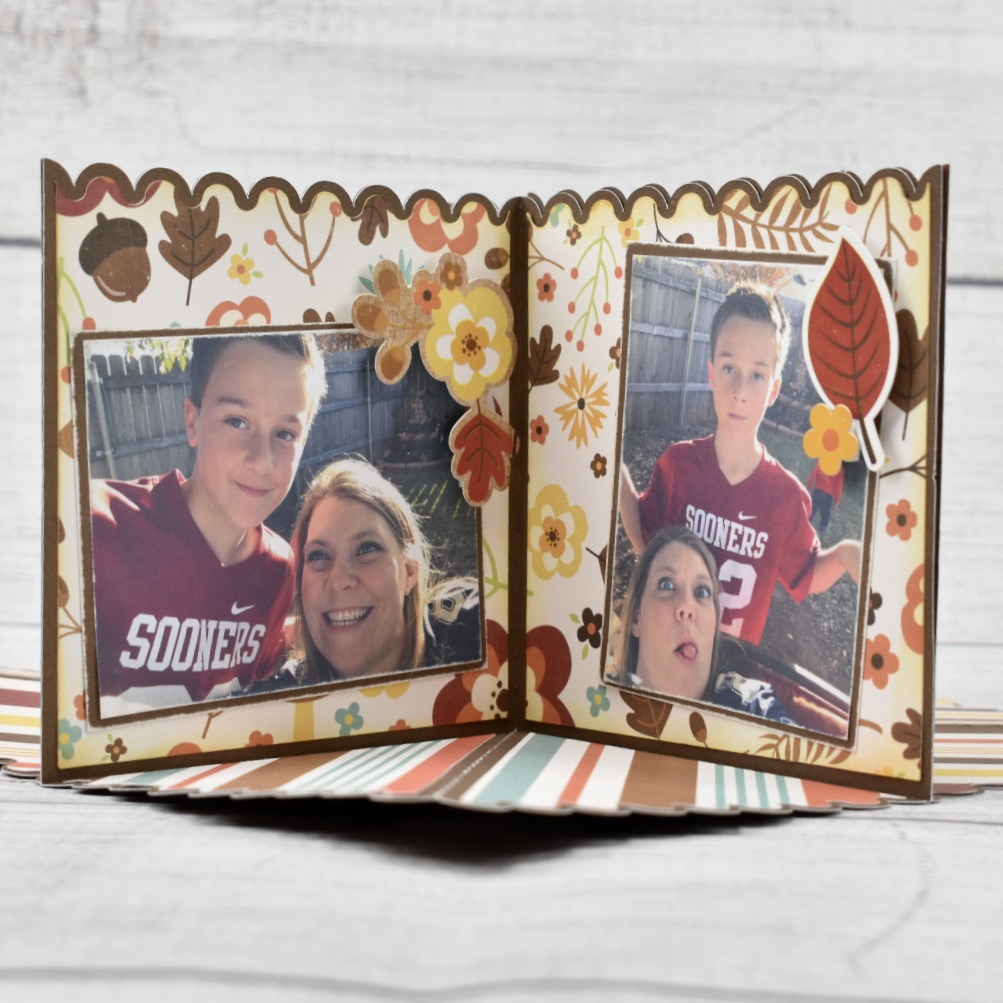
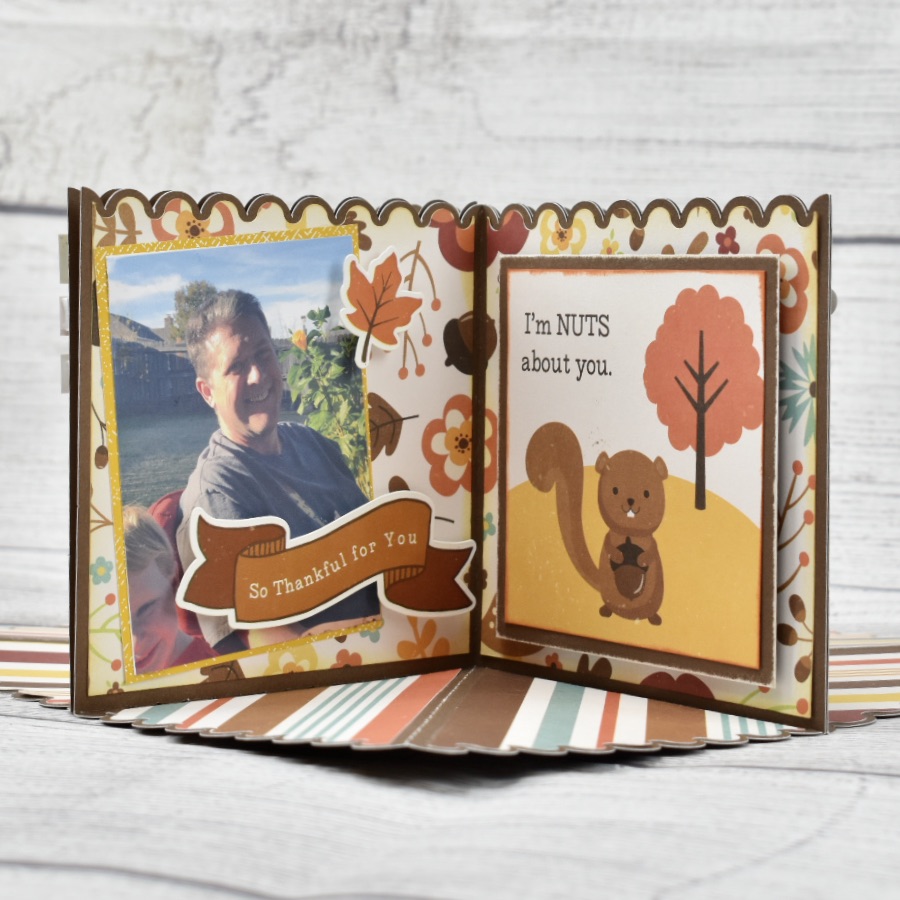
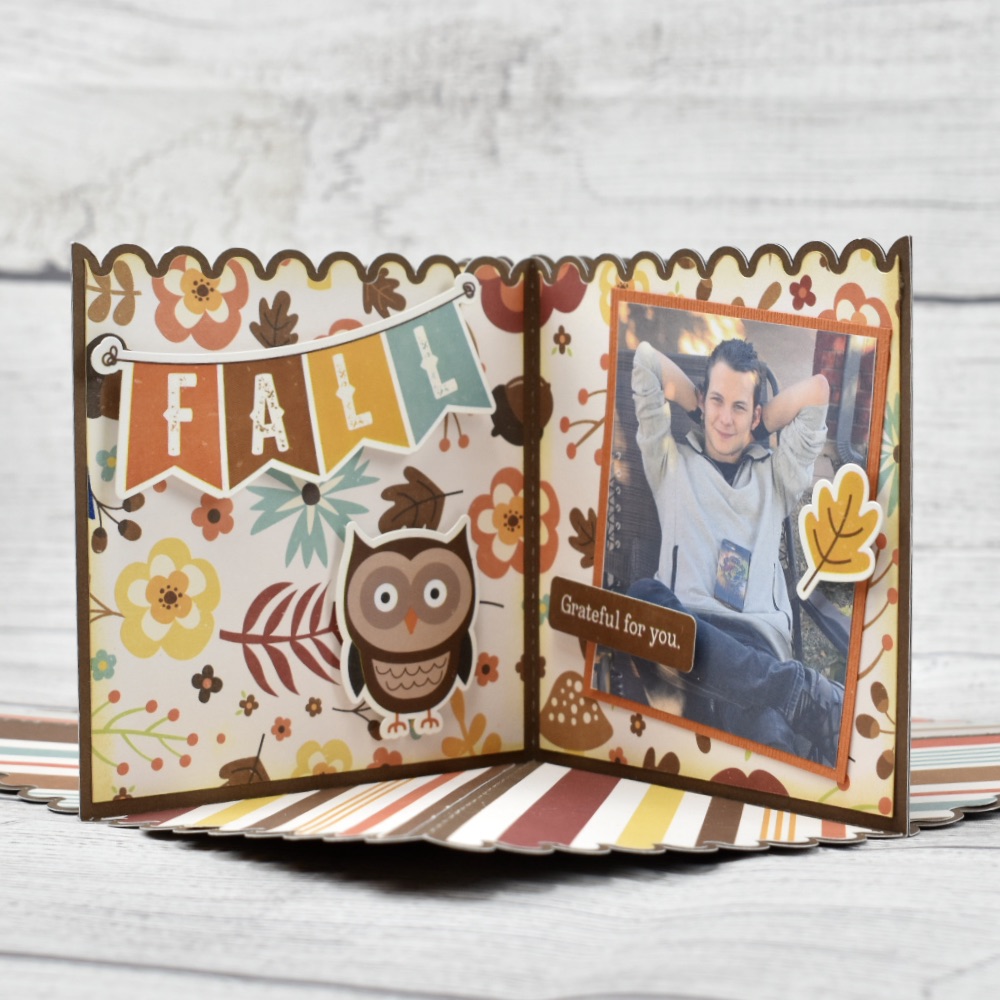
Fall Themed Circular Pop-Up Card

Hi there paper crafting friends!  It’s Michelle Starcher, aka the Bookish Designer, popping in on the blog to share the Circular Pop-Up Card I made (SVG, Silhouette).  I decided to make this adorable little card hold for my mom since we can’t make it home for Thanksgiving this year.  I hope it will remind her of previous Thanksgivings when we were all together.

This adorable card lays flat and then opens like an accordion to reveal your photos and personalized elements. The file gives you the option to create the square or pentagon depending on how many pieces you use for the project.  I cut four copies of the file to create my square shaped card.  I assembled all of the pieces and added my pictures and embellishments before assembling the card pieces. The project was super easy, and only took me a couple of hours to create.  Be sure to watch Lori’s video for an assembly tutorial.

I hope my mom likes her special Thanksgiving card  (SVG, Silhouetteas much as I do! I’ve been wanting to make one of these circular pop-up cards for while now.  I love how quick and easy it was to put together:)

Until next time,

Michelle

Box Card Father’s Day Popcorn

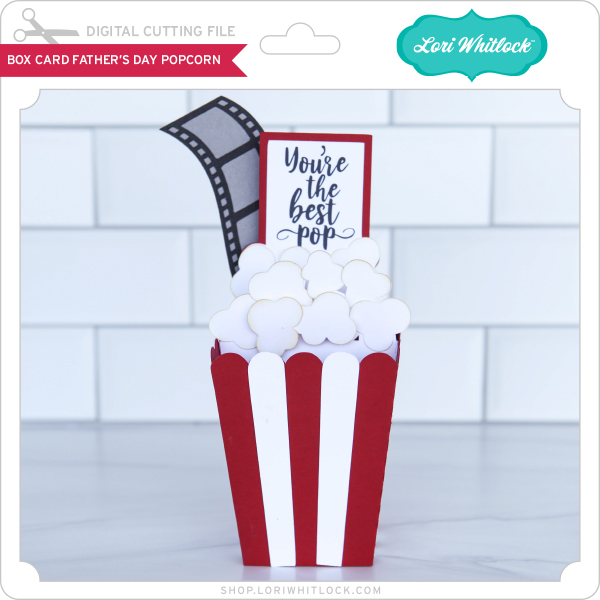
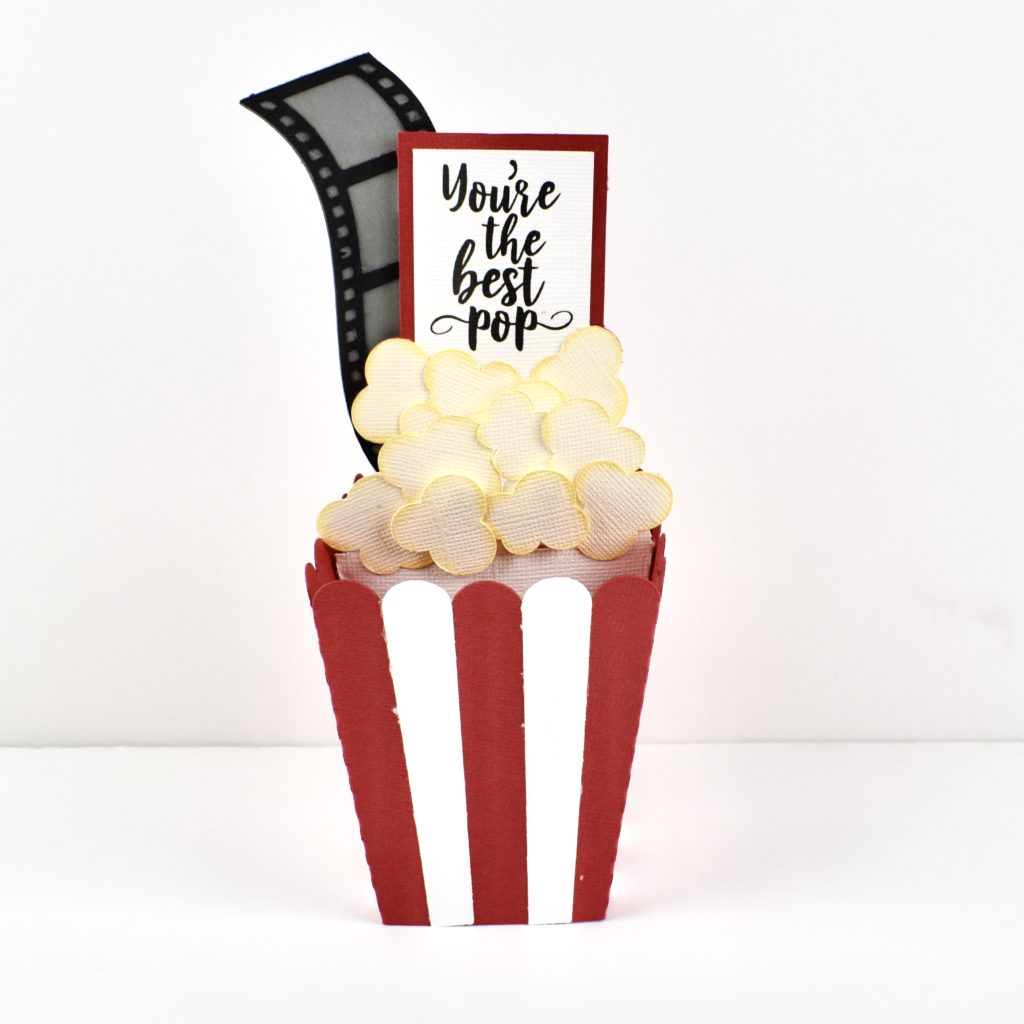
Hi there paper crafting friends!  It’s Michelle Starcher, aka the Bookish Designer, popping in on the blog to walk you through the steps to create Lori’s Father’s Day Popcorn Box Card  (SVGSilhouette).  In this photo tutorial, I will break down the steps to create this fun project for all those popcorn, movie loving pops out there.

After uploading the SVG file to the Cricut Design Studio, I needed to make a few changes, so that it would cut correctly with my Cricut Maker. Below you will find the steps I took to prepare the file for cutting.

  1. Ungroup the SVG file.
  2. Ungroup any portions that have cut/score marks. I had to do this for the white popcorn base, the red message base, and the red popcorn box.
  3. Attach the cut/score marks to the main image. Again, I had to do this for the white popcorn base, the red message base, and the red popcorn box.
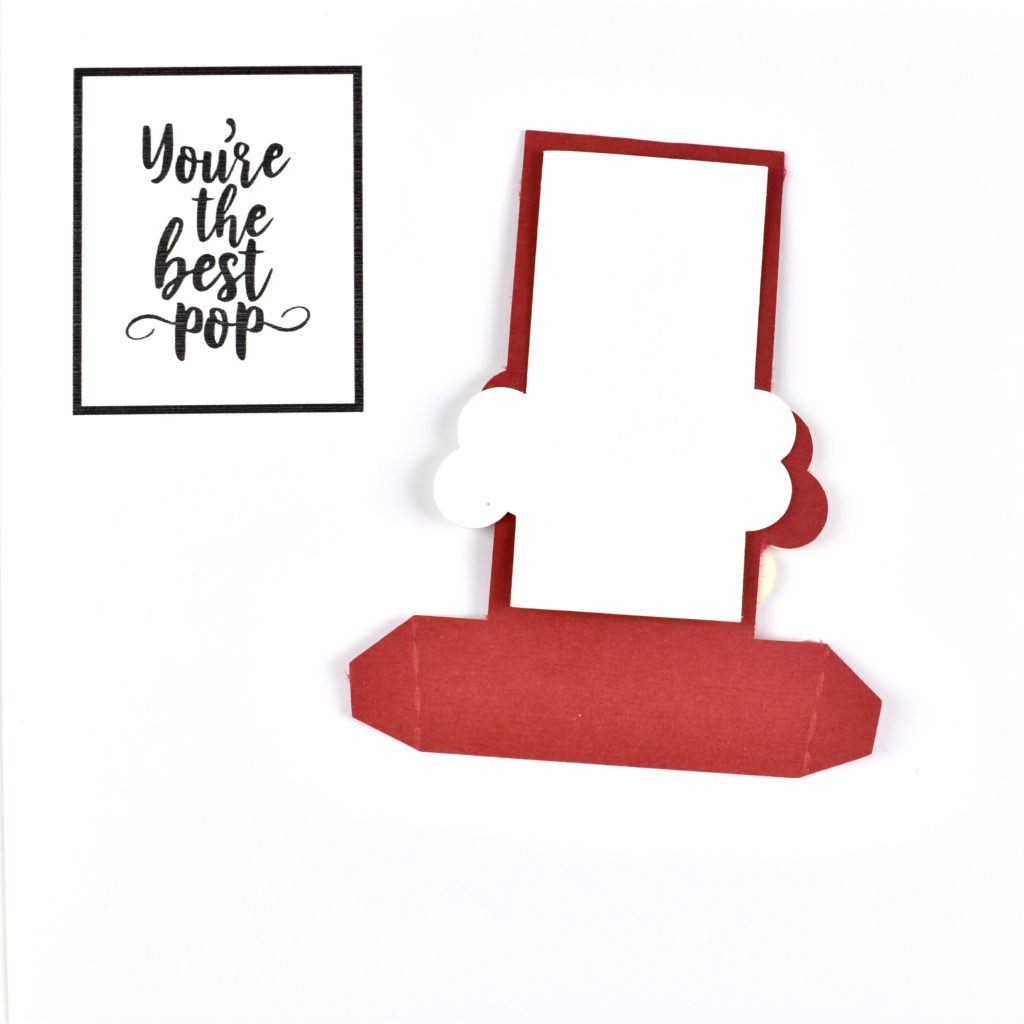
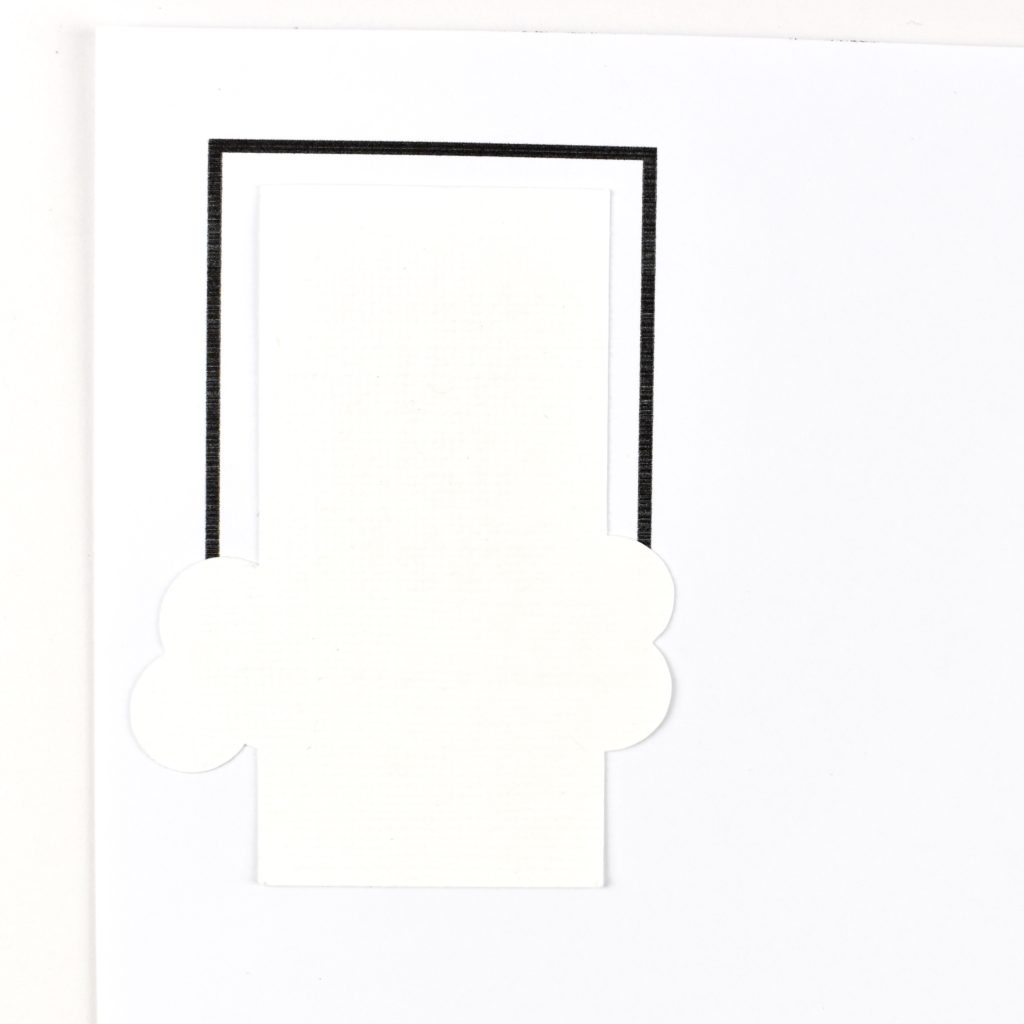
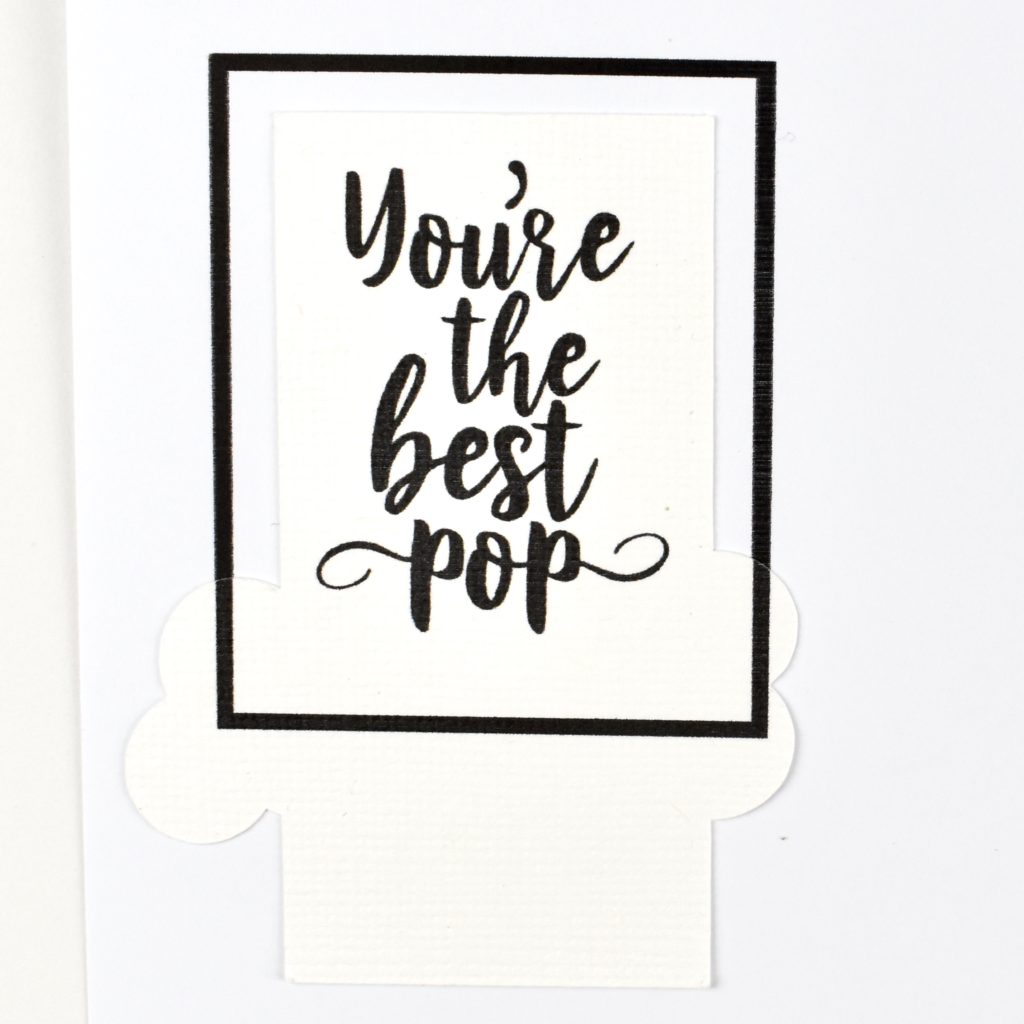
  4. Change the sentiment to Print. To do this, you will change the Fill to Print.  Another option is to hide the sentiment (click on the eyeball) and print it after you have cut everything else.  I actually cut the sentiment the first time, and it was just too small for me to use.  To reprint just the sentiment, I hid all the other pieces, and printed the sentiment without a bleed.  Once I had the sentiment printed, I positioned the pre-cut white cardstock piece over the sentiment and sent it back through the printer. Don’t worry about the black box that appears.  It is going to be covered by popcorn pieces:)

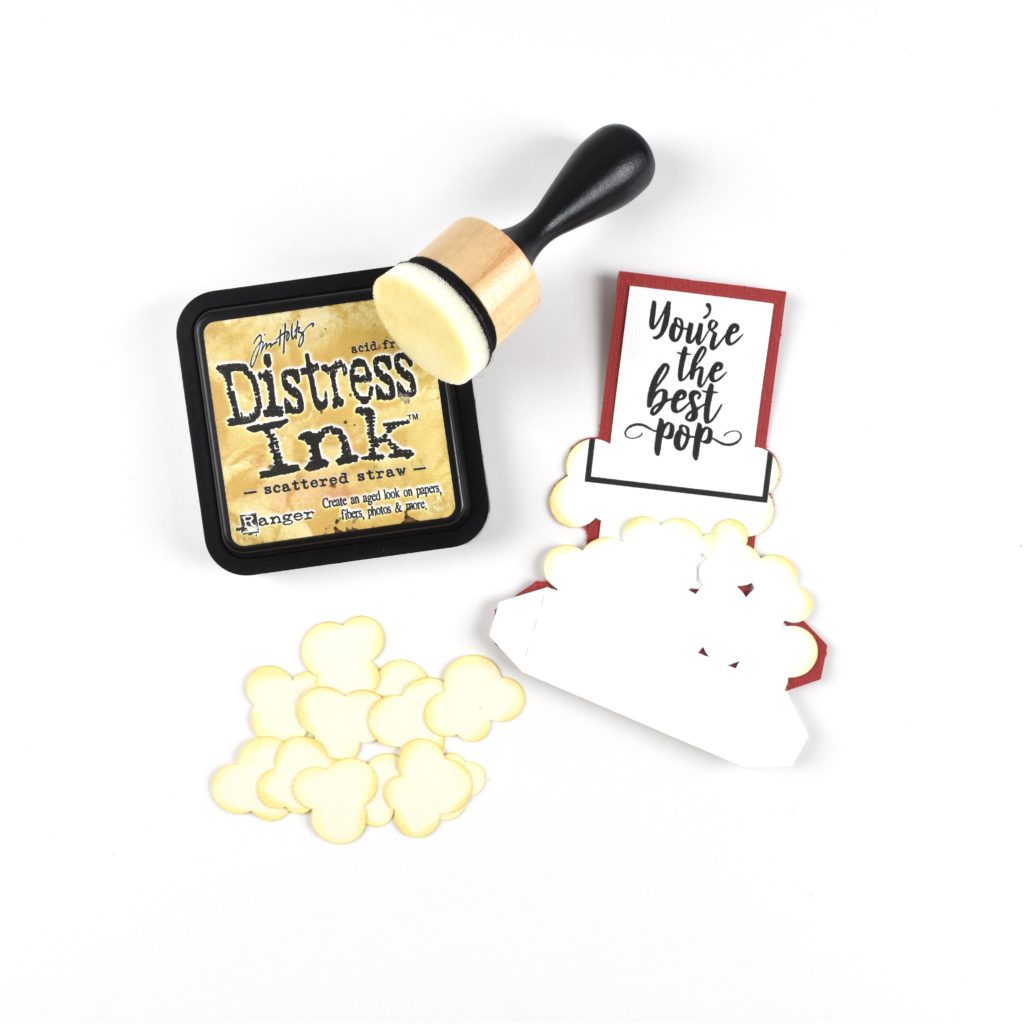
I wanted to give my popcorn pieces a little extra “pop”, so I inked the edges using Scattered Straw Distress Ink and an ink blending tool.  The ink blending tool gives me a little more control over the placement of the ink than when I use just the ink pad.  I inked the edges of the two pieces where I would attach the popcorn pieces as well.

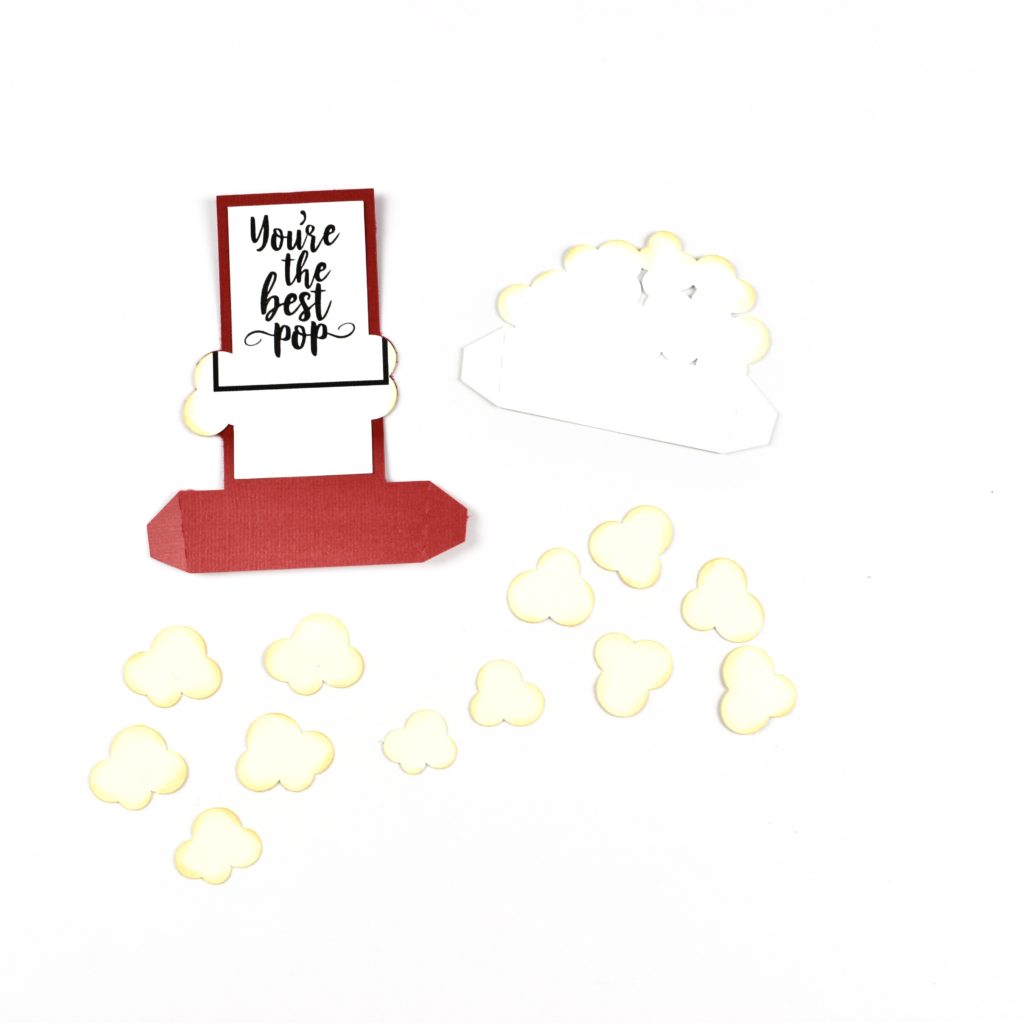
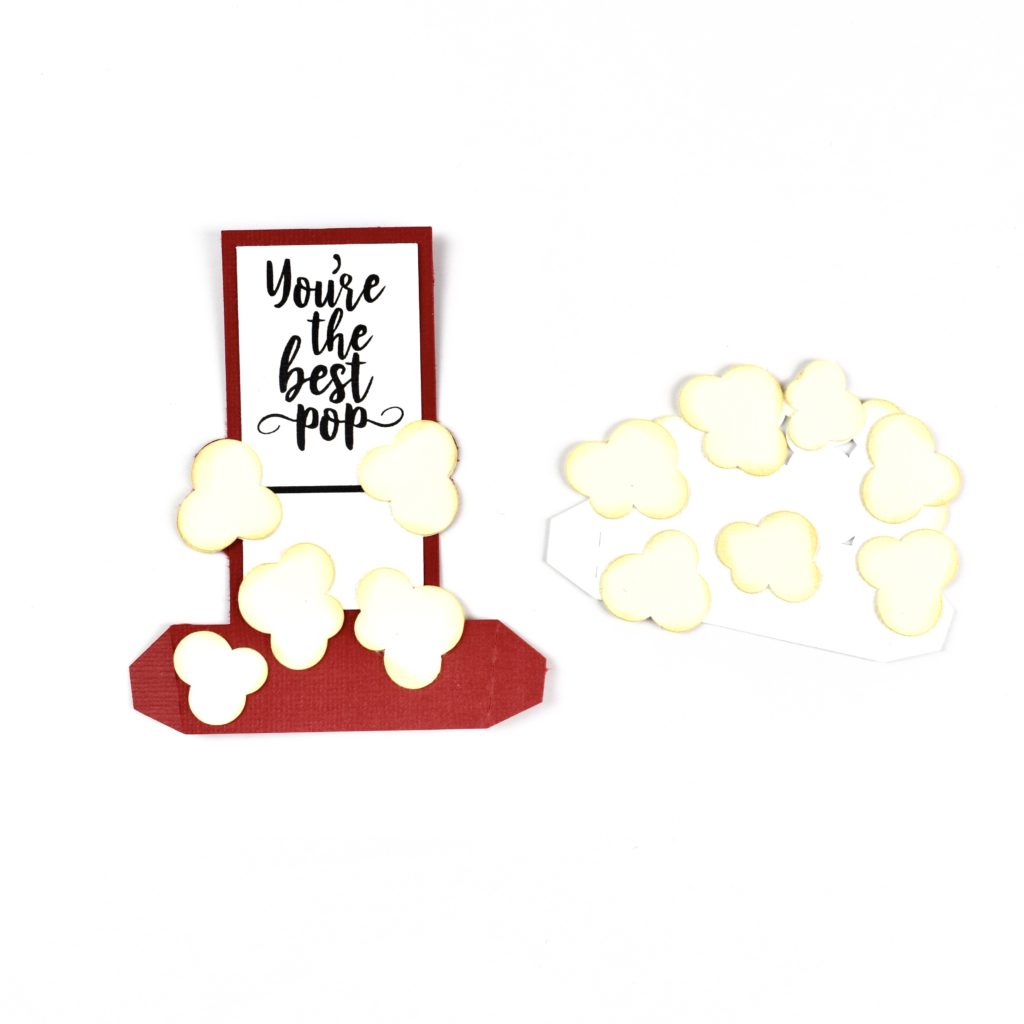
After preparing all of the popcorn pieces, I used the SVG file image to know which popcorn pieces went on which white cardstock base.  I sorted the popcorn pieces by shape and then laid them out on the cardstock bases before adhering.  I used pop-dots on a few of the popcorn pieces to give a little extra dimension.   After I placed all of the popcorn pieces, I used the SVG file image to know where to place the white stripes on the popcorn box.

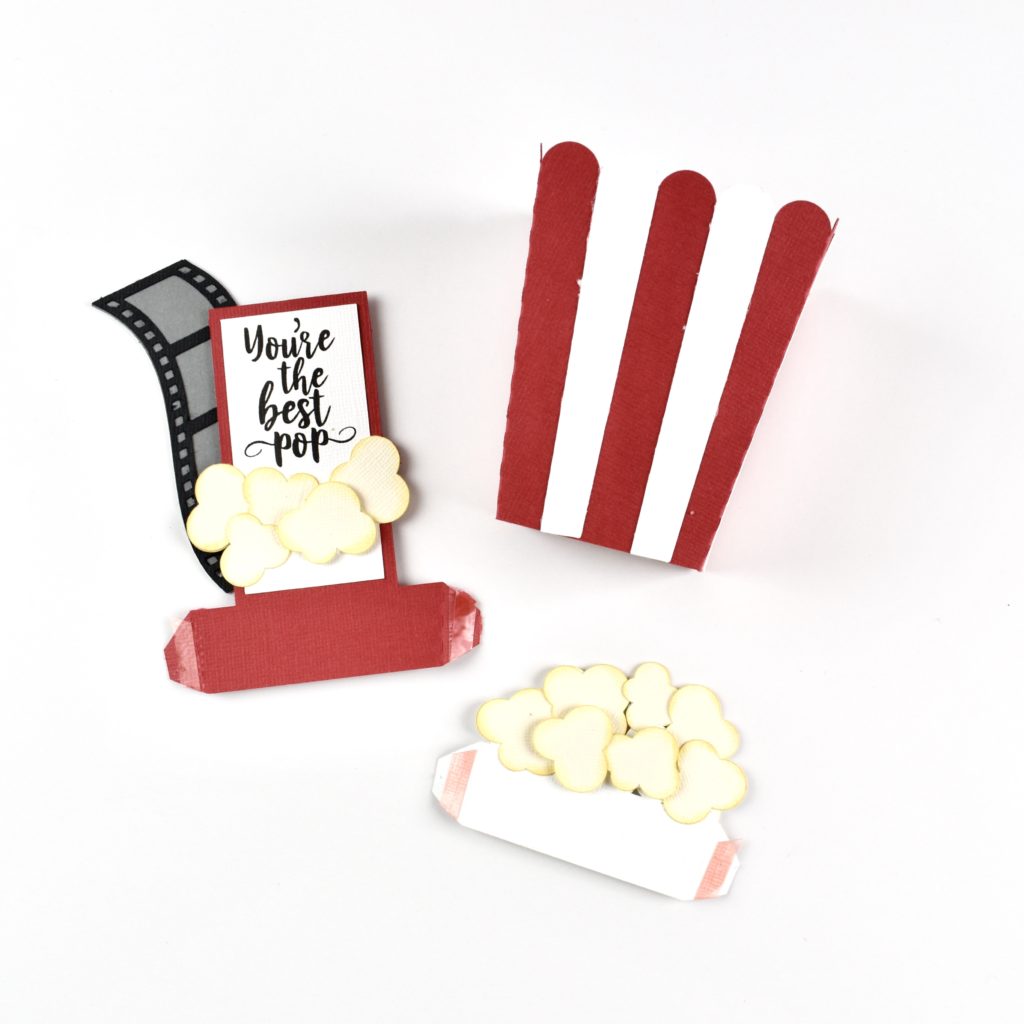
Next, I layered the film strip and attached it the back of the sentiment card using pop-dots.  Once all of the pieces were layered, I assembled the box.   I played around with the placement using repositionable adhesive. I felt like the box had more balance by placing the pieces in the center about a strip away from each other.  Once, I was ready to make things permanent, I used Tacky Tape on the tabs provided on the two popcorn pieces and the popcorn box.

I hope that you’ve enjoyed this tutorial as much as I have.  The Father’s Day Popcorn Box Card  (SVGSilhouette) will make a great addition to your Father’s Day celebration!   Happy crafting!

Father’s Day Mower Box Card

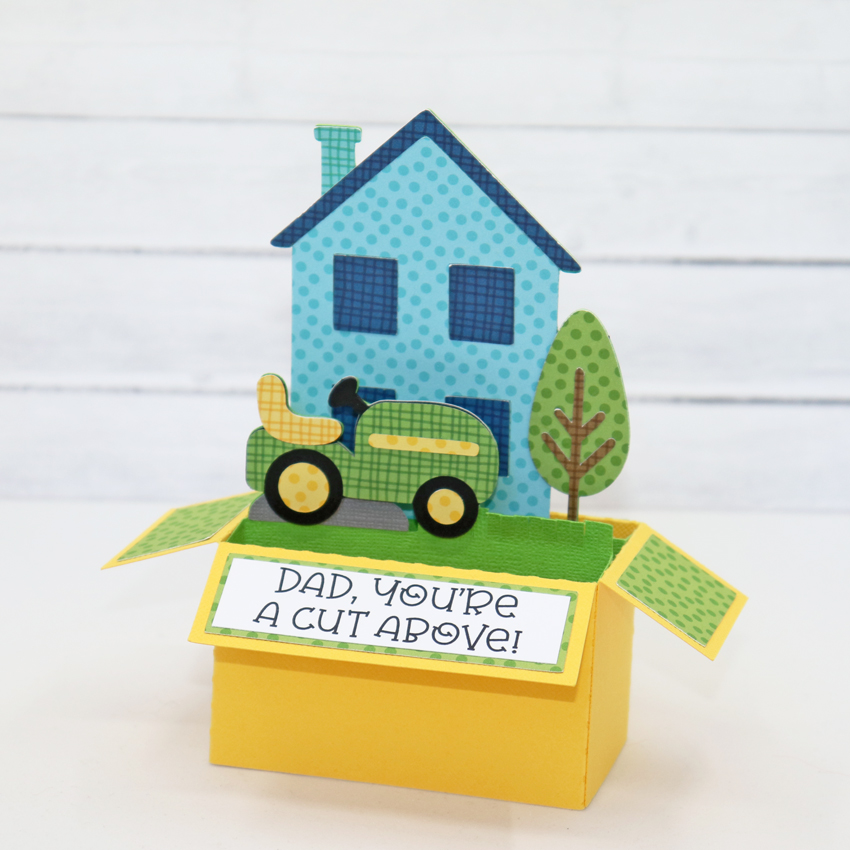
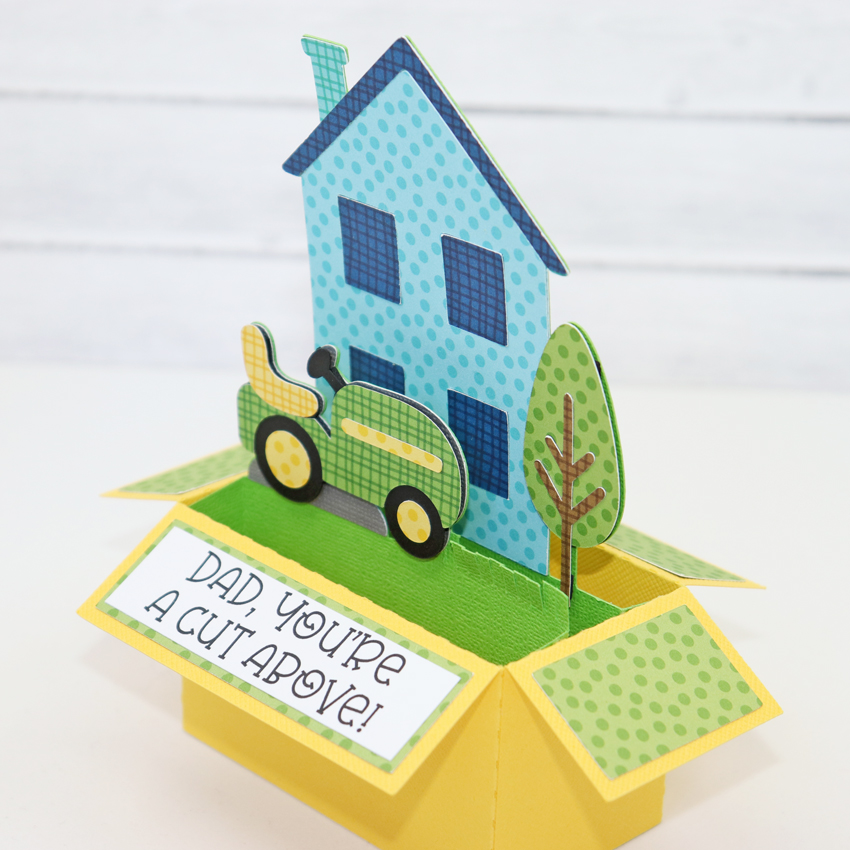
Hello crafty friends! Aimee here with you today with another fabulous Father’s Day card! As soon as I saw the Box Card Father’s Day Mower (Lori’s SVG Shop, Silhouette) with the John Deere tractor I knew I needed to make it for my husband. He’s not a country guy but he loves his tractor for doing yard work!

For a little more dimension, I used some pop dots between the tractor and the insert card and the tree and insert card. This box card is absolutely adorable and I can’t wait to give it to him!

I adore this little tractor and have had the thought of making a larger cut of it to use on a scrapbook layout. I have quite a few pictures of my husband pulling our kids around in the cart behind the tractor or of my kids driving the tractor.

Thanks for stopping by today! Hope everyone is staying safe and healthy!

Aimee