
5×7 Shaped Card Flower Cluster turned Layout

Hello, crafty friends! This is Lindsay, sharing a layout that I created using the 5×7 Shaped Card Flower Cluster (svg, silhouette). I combined bright, colorful cardstock with the “Here Comes the Sun” collection, designed by Lori for Echo Park. I am a layout girl at heart. When I saw the outer offset shape of this card, I just knew it would be the perfect layered border. Let me show you how I did it!
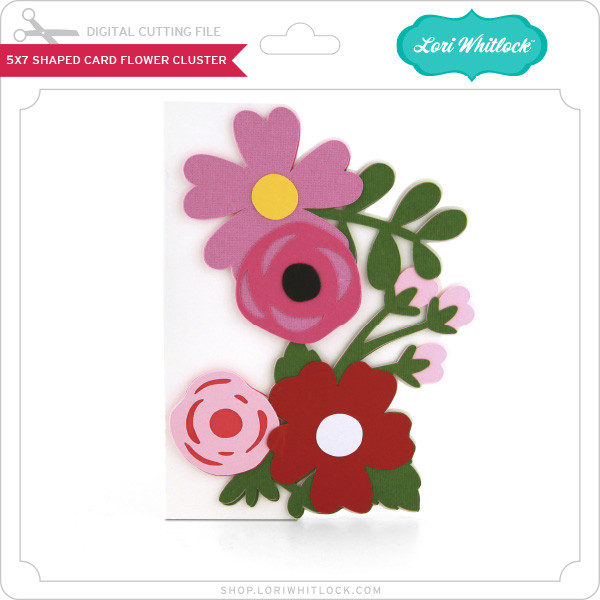
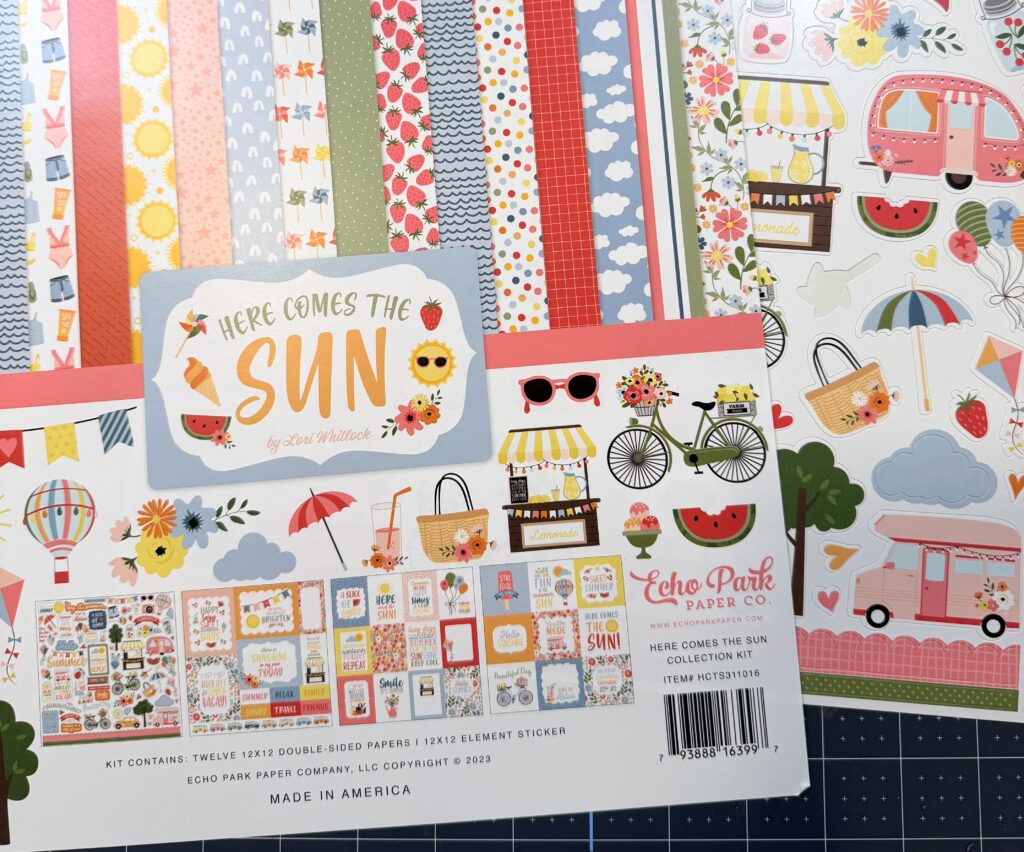
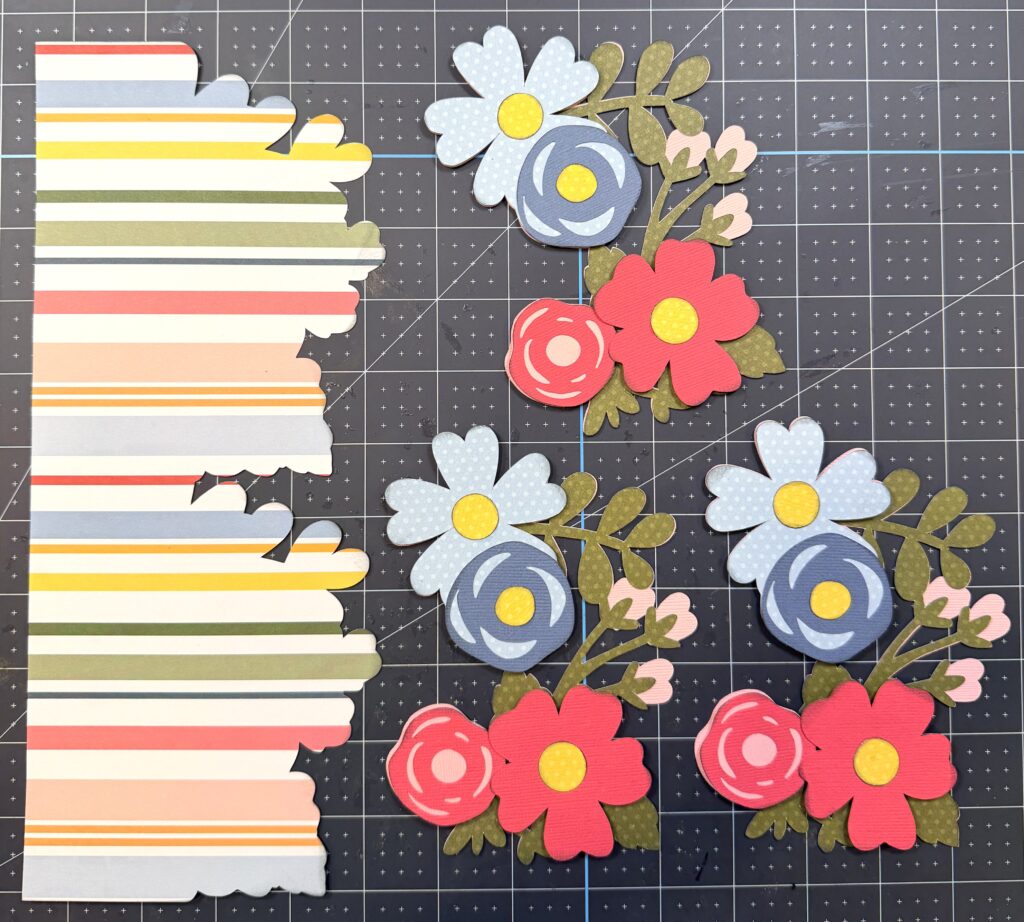
I started by opening the project in Design Space. I changed the card height to 6″, and the width automatically adjusted. Then I created a second copy of the entire card. I welded the base card pieces together (bottom of one card to the top of the other card), making one long 12″ piece, and then I sliced off the back panel of the card. If that sounds too complicated, just cut the card twice, remove the back panels (on the other side of the fold) and hide the seam. Because I used striped paper, I could easily camouflage a cut line. Then, I cut all of the florals 3 times with various colors of coordinating cardstock. Two sets will be used on the offset card panel, and an additional flower cluster will be used to accent my photos.
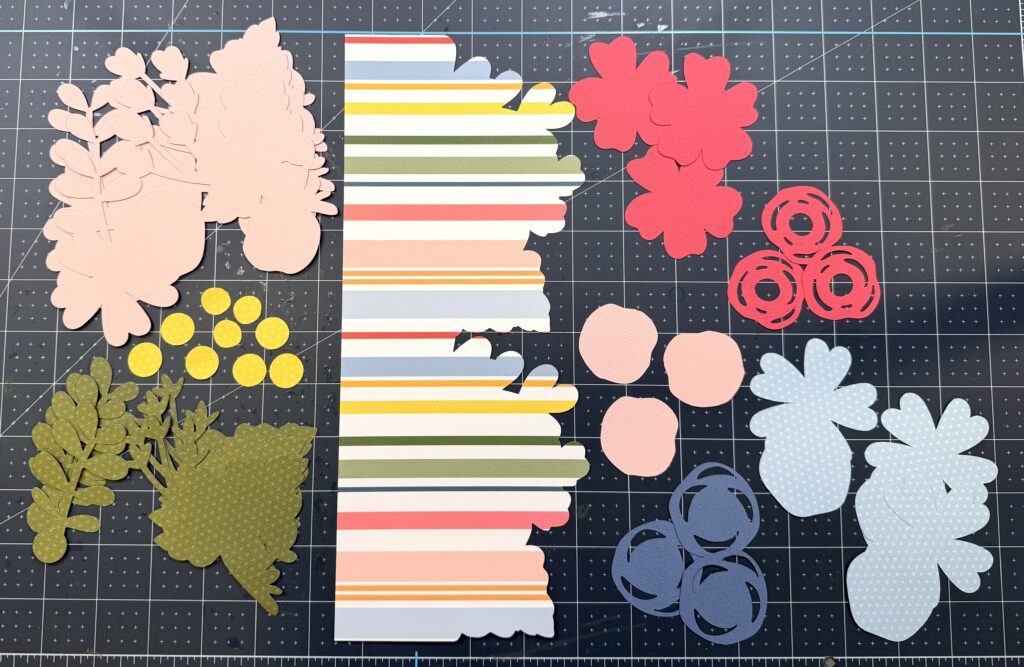
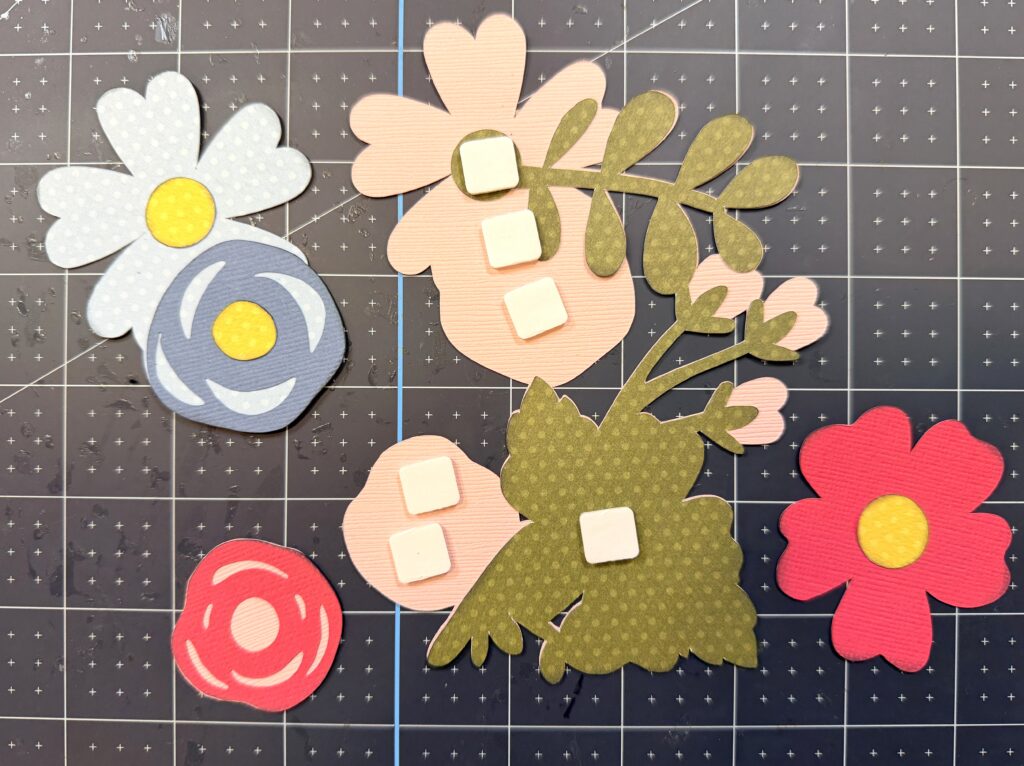
Next, I assembled all of the flowers. I inked the edges and then used foam adhesive for some of the layers.
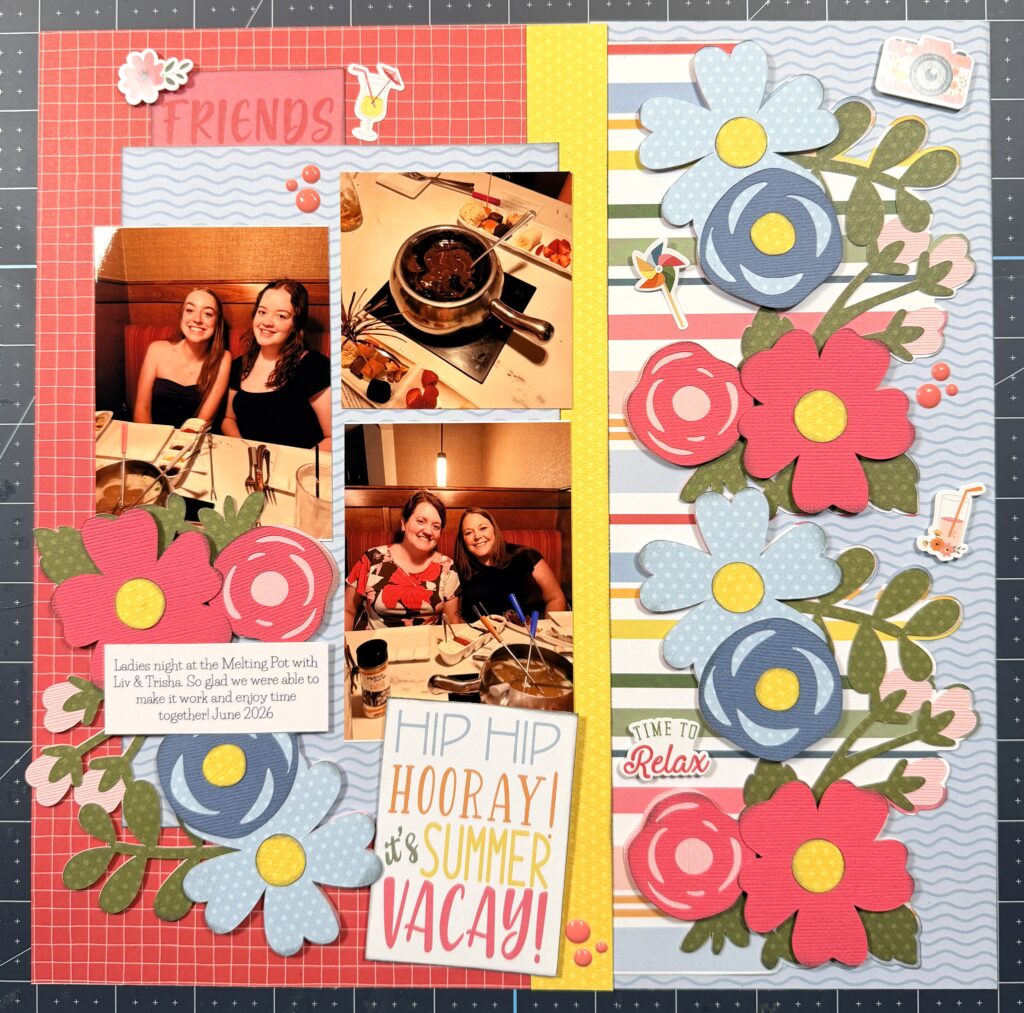
Now it’s time to add the florals onto the large offset and create the layout. I used the red grid paper as my background piece. The blue waves paper is 5″x 12″. I added a 1″ yellow accent strip before adhering my floral piece. I added a 5.5″x 8.5″ piece of blue waves paper behind the photos. My photos measure 3″x 4″ (2) and 3″x 3″. At the corner of the photo piece, I added the third floral cluster. I finished off the page with some stickers, the title card and enamel dots. I am so happy with the end result!
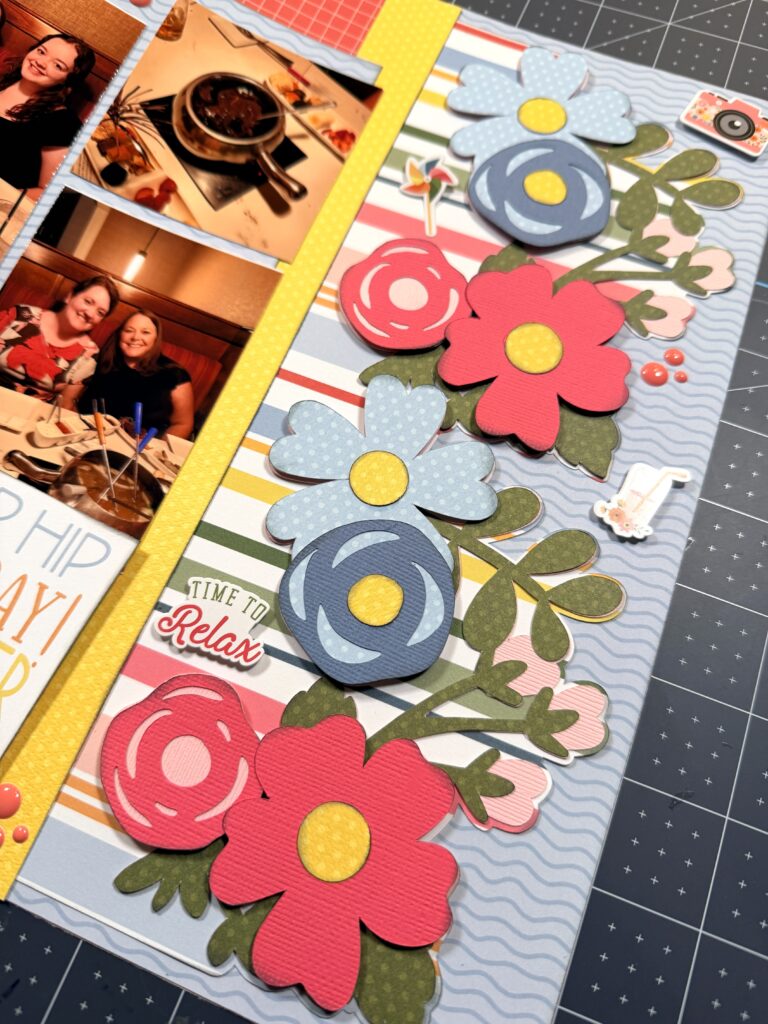
Here is a closer look at the beautiful accent border.
I hope this layout has inspired you to think creatively about all of the files you see on Lori’s site. Most can be modified to be amazing accents on scrapbook layouts. Thanks for stopping by today. Happy crafting! — Lindsay

Number Lace for a Birthday Page Tutorial

Hello everyone! Traci here and today, I have a fun 12×12 scrapbook page and simple tutorial to share with you. I wanted to create a layout for a picture of my sweet grandson’s 4th birthday and I found one of Lori’s cutting files that would be perfect for it.


12x12 Birthday Scrapbook Page layout and Tutorial with numbers, a cake, and balloons

I chose her Number Lace Cutting File (SVGSilhouette). Not only did it have a number 4 on it, but I also loved the positive and negative spaces it created in the background.


Lori Whitlock Number lace Cutting File

Here’s how I made this layout … 

1. I added the cutting file to my mat and resized it to 10.75 x 10.75”.  I cut it out of white card stock and set that aside. 

2. Next, I used the knife tool to chop down the background into smaller pieces so that I could focus in on the number 4.  I didn’t want to cut the entire background piece again just to get the 4. 


3. Once I isolated the 4 in the file, I deleted everything else and cut this section out of orange paper.


4. Then I used my scissors to trim the rest of the paper from around the number. 


12x12 Birthday Scrapbook Page Layout and Tutorial with numbers, a cake, and balloons


12x12 Birthday Scrapbook Page Layout and Tutorial with numbers, a cake, and balloons

5. Now that I had the white background and the orange number cut out, it was time to create my layout!


12x12 Birthday Scrapbook Page Layout and Tutorial with numbers, a cake, and balloons

I used the Echo Park, Vroom Collection that was also designed by Lori. I decorated my Race Car Mini Album with it and the colors and patterns were just what I was looking for. 


12x12 Birthday Scrapbook Page Layout made with the Lori Whitlock Number Lace Cutting File

I started with the orange 12×12 pattern called Ready Set Go Stripes as my base and layered the blue Winner Winner print and Ready Racers paper on top. Then, I added the white number lace sheet and I backed each corner with a yellow triangle cut from a solid in the Vroom Collection.


12x12 Birthday Scrapbook Page Layout and Tutorial with numbers, a cake, and balloons

Next, I adhered the orange 4 on top of the white 4 that’s part of the background. I cut some photo mats out of a few other papers from the Vroom Collection and I added my photo.


12x12 Birthday Scrapbook Page with numbers, a cake, and balloons

Then, I finished the layout with lots of fun embellishments. The “Let’s Go” is from the Vroom 12×12 sticker sheet. And the other birthday themed stickers and die cuts are from the Bella Blvd, Birthday Bash Collection. 

I hope this project inspires you to create something wonderful with Lori’s Number Lace Cutting File (SVGSilhouette). Until next time, happy scrapping! 😊


Blog * Shop * Facebook * Instagram * Pinterest