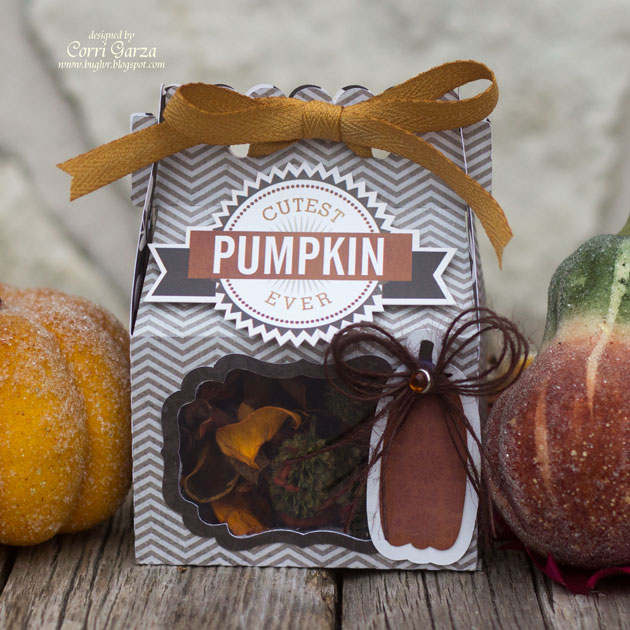
Hi everyone! Corri here today with a simple tutorial to show you how to add a window and frame to your favorite treat bag. I just love Lori’s gable box file….it’s so simple to assemble making it great for a last minute gift.
I love having the window in the box so you can get a peek of what’s inside.
To add a window to the box, I selected a label from this set.
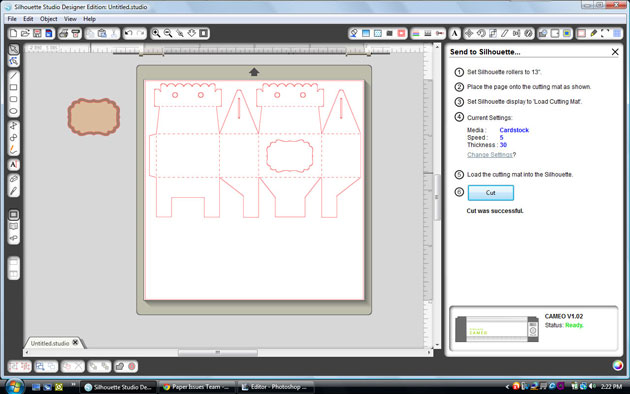
Size the inner shape at 2.5″w (check the aspect ratio box) center it on top of the gable box.
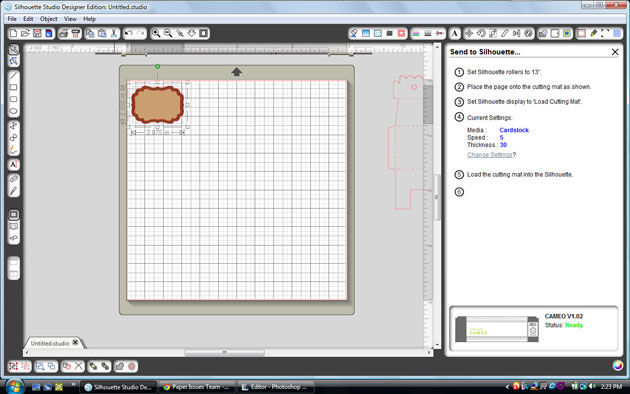
Size the outer label shape to 2.875″w and center the two shapes. This will cut your frame piece.
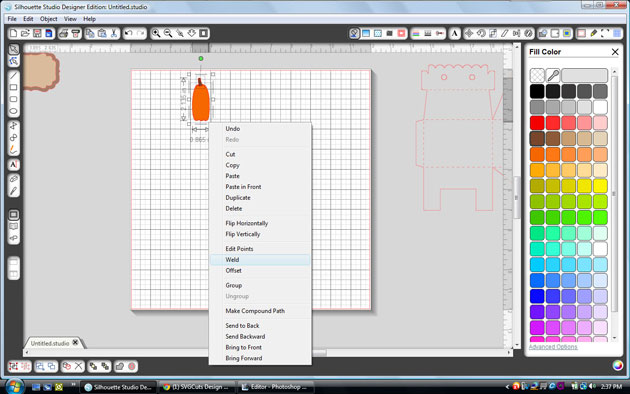
I opened the tall pumpkin from this set. After cutting the two pieces, I welded the stem to the base using the weld feature. Select both pieces and right click and pull down to weld.
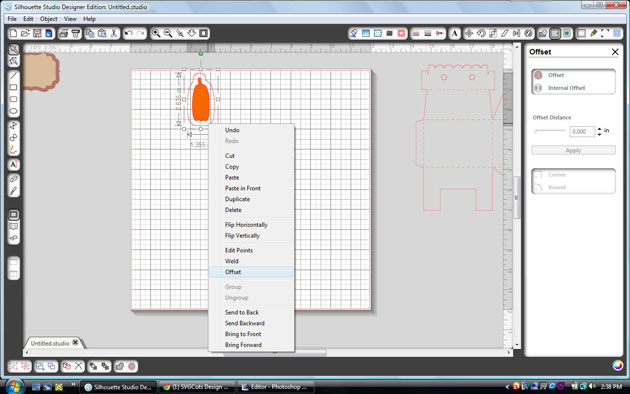
To create a shadow for your pumpkin, select the pumpkin, right click your mouse and pull down to offset.


Love it! Can you explain how you did the “Cutest Pumpkin Ever” tag?
This is beautiful Corri!!
Sally — it’s from Lori Whitlock’s Reflections Fall collection. You can buy it online, or if you use the Silhouette, I created a cut file from mine after purchasing it on jessicasprague — http://www.jessicasprague.com/index.php?page=shop.product_details&flypage=flypage.pbv.tabs.tpl&product_id=3922&category_id=10&keyword=reflections+fall&option=com_virtuemart&Itemid=295