~Lori
Money Holder Envelope with Tag for Wedding Tips
Anita here with my last post as a Lori Whitlock Creative Team member. It has been a wonderful seven years of designing for Lori and I will miss all of my lovely teammates. My daughter is getting married in a little over seven weeks and I wanted to create something lovely that I could put the tips in for the wonderful wedding vendors that we have been working with. I used Lori’s SVG called Money Holder Envelope with Tag (SVG, Silhouette). It came with the sentiment For You and I used one of Lori’s fonts called Matilda (SVG, Silhouette) to change the sentiment to Thank You. This will be a lovely way to express our gratitude to all of those vendors helping make my daughter’s day magical. Be sure to check this file out as you can customize it for whatever your needs are.
Hugs,
Anita
Last Chance Friday $5 Bundle
Shop Friday $5 Bundle HERE
~Lori
Back to School Friday $5 Bundle!
Shop Friday $5 Bundle HERE
~Lori
Box Card Crayon Back to School Tutorial
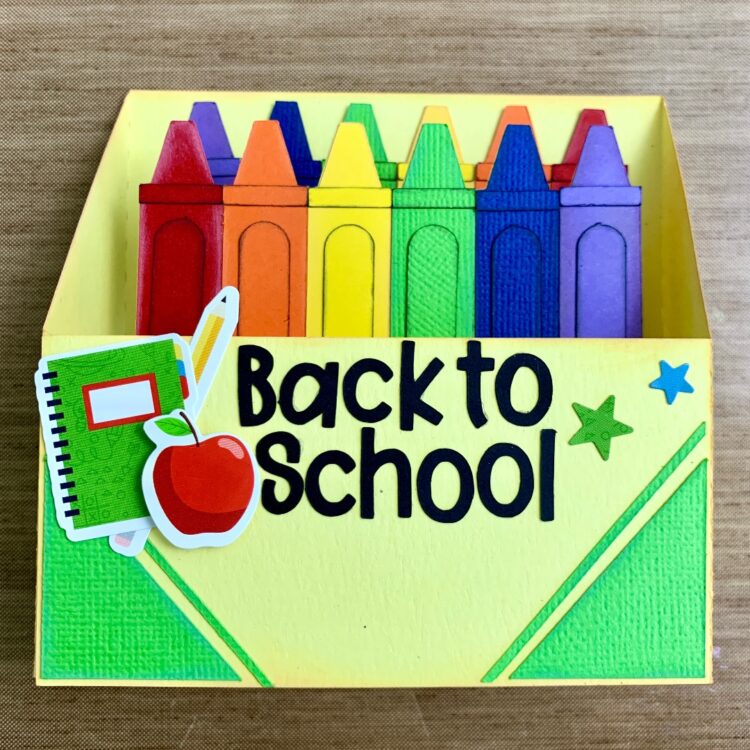
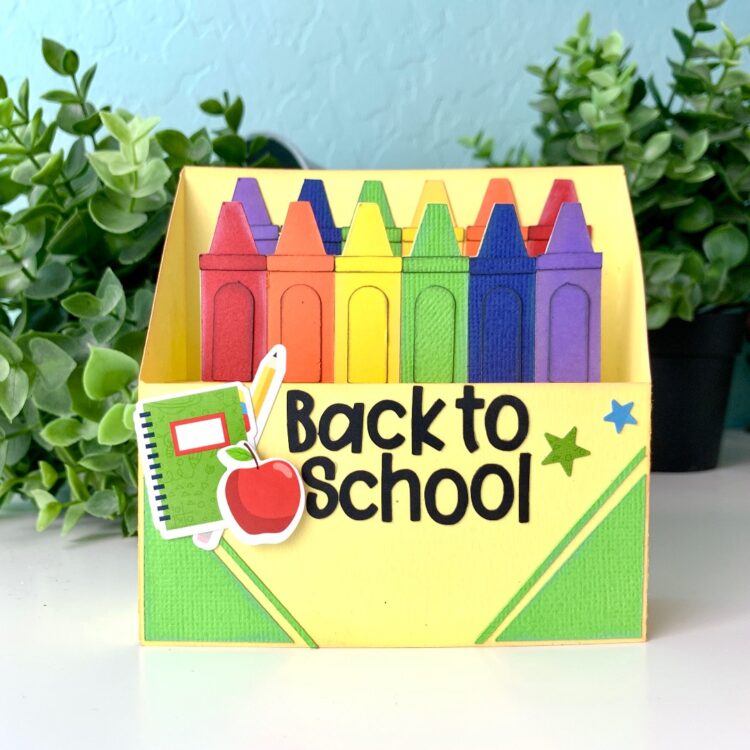
Hi there! Are your kids already headed back to school? Mine starts next week and I have nieces and nephews who have already started. Crazy. With school starting soon we also have “meet the teacher night” and I like to give a card to our new teacher. This year I made the Box Card Crayon Back to School (SVG,) card. Here is how I made it.
This box card only has one insert, but I cut two of each of the crayons. The pieces are kind of small but manageable. I used a sticker maker for some of the really small ones and I fine tip glue bottle for everything else. I folded all of the score lines as mountain folds. I inked the outside pieces with like colors and the smaller detail pieces of the crayons I used black ink.
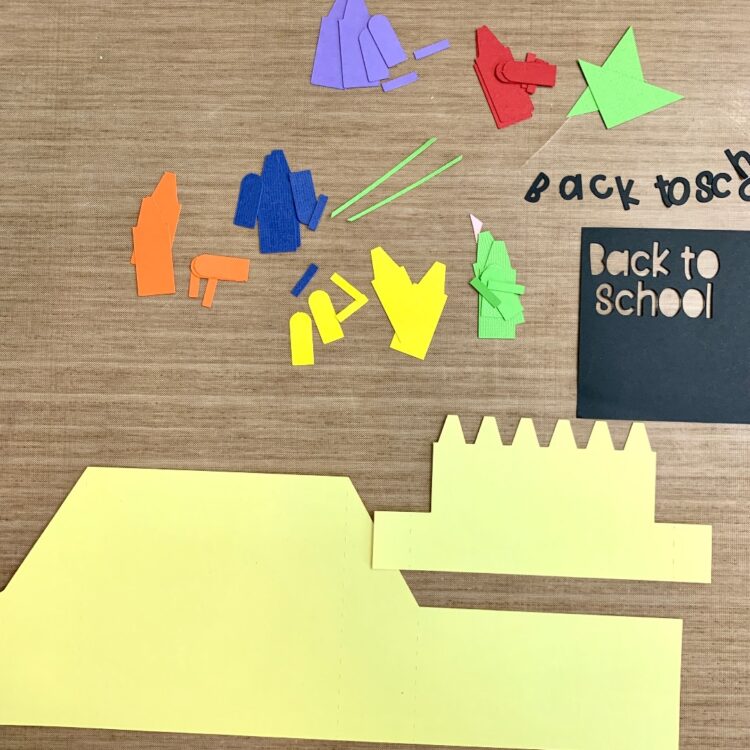
I glued the crayons in ROYGBV order on the insert and glued the second set of crayons in the reverse order on the inside of the back of the box card (I did this after I glued the box together). I also glued the front details of the crayon box on as well as the sentiment.
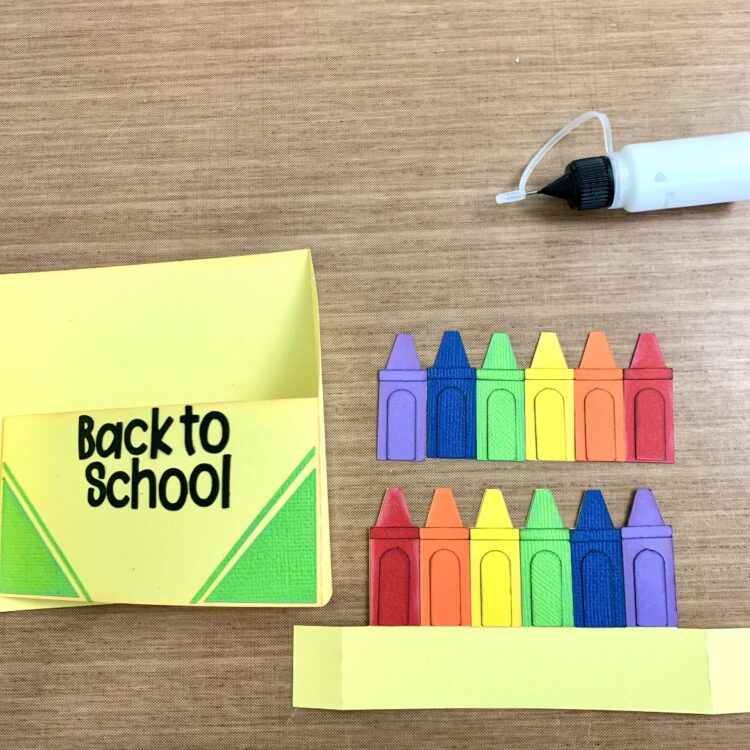
With the crayon box open flat, I glued the left tab of the insert onto the left side of the box card lining up the tab up with the innermost score line. I also folded the front of the box card over to help line everything up.
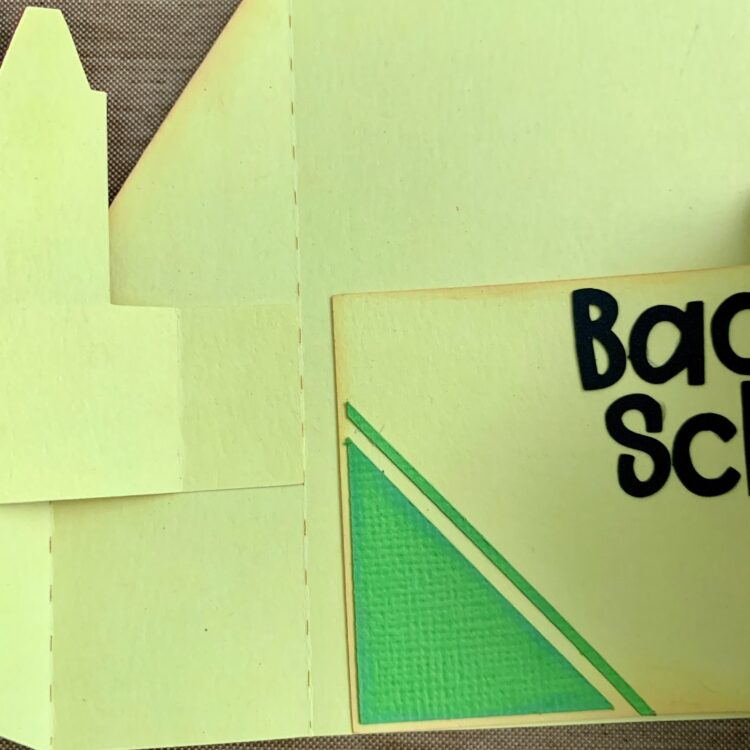
With the box card open flat again I folded the left outside edge tab in and added the glue. Then I added glue to the right-side tab on the insert. The tab should be lined up with the score line on the inside of the box card.
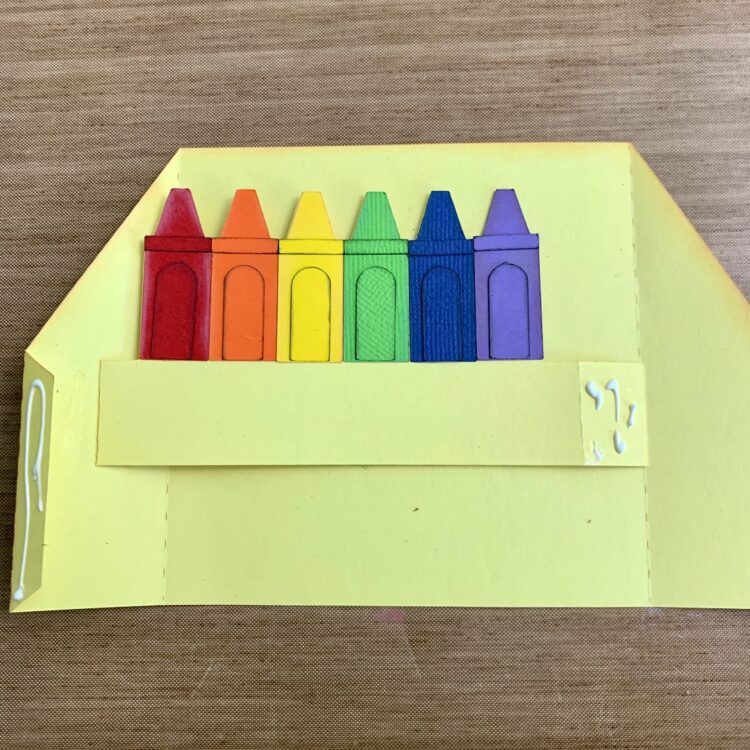
I folded the front of the box card over and held in place while the glued set. Also making sure everything was lined up correctly.
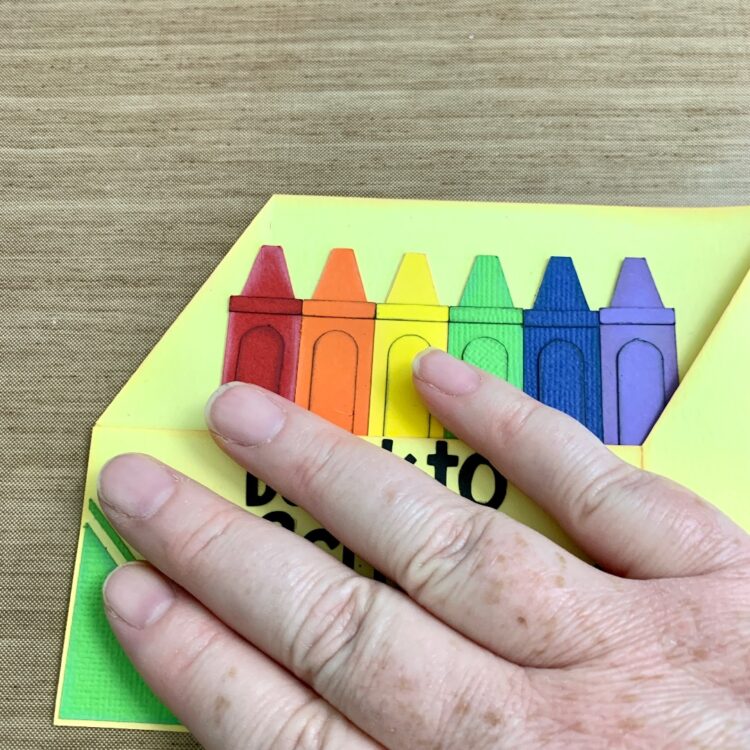
I glued the second row of crayons in and added a few stickers from the School Rules collection by Echo Park Paper.


.jpg)


