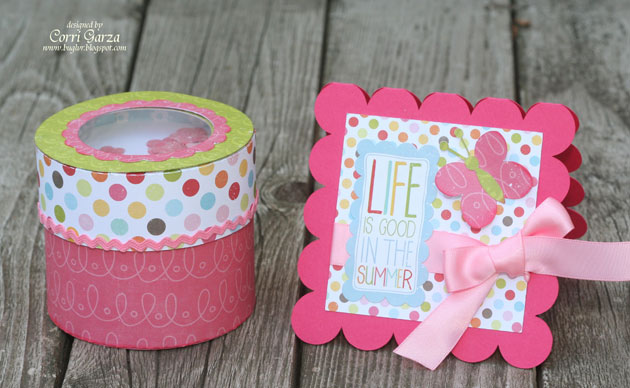
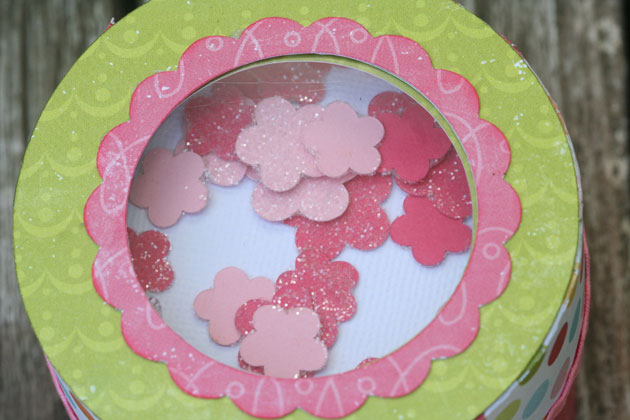
Look at all the fun new shapes we have in the shop today! You’ll find these shapes at the Silhouettte Online Store and HERE in our SVG shop. The “Beveled Frame” is gorgeous and so easy to assemble! You’ll also noticed that we’ve added a couple more “Shadow Box” options – 5×7 and 8×10. These are easily cut out of 8.5×11 sheets of cardstock. We’ve created video tutorials for many of the new shapes – you’ll probably want to watch them (especially for the frame and shadow boxes). You can go to the YouTube channel HERE. And, the direct links are in the shop on each shape’s page. Have a super day!!
Spring Basket
I’m so excited to share this spring basket with you today. Corri has created this beautiful “Woven Basket” in such a fun way. She has used different types of papers which really show off the weaving in this box. After creating the basket, she cut the “Strawberry Box” a few times and placed them inside the basket. For more detailed instructions check out Corri’s post, she has done a great job explaining this project. If you are having trouble with the basket, check out the YouTube link in the shop for a video tutorial. Thanks Corri for sharing your talents with us.
Wonderful Design Team Wednesday
I have so many projects to share with you today (thanks to our wonderful design team!) They have been busy at work creating eye candy for all of us. First I would like to share Natalie’s frame for her daughters room.
She used Lori’s “3D Flower Sets 1 & 2”
I love how she layered Lori’s Echo Park line “This and That:Graceful”
For more detailed instructions check our Natalie’s blog.
Next I have some beautiful cards from Cammie. I always find myself needing cards.
Check out Cammie’s blog for more instructions. She used the “Fathers Day Card,” “Thank You Title,” and “Bird on a Branch”
And finally, I have a “Build An Album Set” by Krissy. You don’t need me to walk you through it, its beauty will do it for me.
Beautiful, absolutely beautiful. Like Natalie she used the Echo Park “This and That: Graceful” collection as well as the 3D layered files. She used a few other files by Lori. “Monarch Butterfly,” For the Record Phrase which is found in “4 Document Titles”, My Girl Phrase found in “My Girl/Boy Titles”, “3×4 Life Cards Vertical Numbers” and Lori’s Library Pocket Tag (currently available only at the Silhouette Online Store). For more instructions you can visit Krissy’s blog here.
Thanks ladies for all your hard work. Your projects look beautiful!
Happy Crafting…Lisa
New 3D Projects
LOOK what I saw when I came to work today! I couldn’t believe my eyes. I held it and looked closely at all sides and the joints and really wondered how Lori created this amazing shadow box. I promise it is made of cardstock and it is quite sturdy, I was shocked! This is such a beautiful project. I can’t wait to make one for myself.
Remember I said I couldn’t believe my eyes, yes there is more. I was like a kid in a candy store. Look what you can do with paper. The bottom is woven together then there is a rim piece that folds over the woven section to add stability.
I don’t think words can describe this beauty. STUNNING (and yes this is still paper)
She had so many fun things to share today. I wanted you to be as excited as I was and get to see as much detail as possible, so I shared BIG pictures. Sorry, no scratch and sniff option is available at this time, so you will have to imagine. All these boxes have video tutorials that you can find in the shop. After going to the shop, then descending order, choose the project you want, and the link is on that page. Happy crafting… Lisa
Spring Tree
Have you gotten spring fever like me? Today I have a bright spring card to share with you. Our design team member Joy made this to share with us.
Check out the layering she has done on this card.
Joy tells us “I used Lori’s pretty Spring tree print and cut with my Silhouette Cameo. This time I decided to make a card. Do you remember when I used the Fall Tree to decorate my mantel? There are so many ways to use Lori’s designs! I think the Spring tree would be beautiful on a tote bag or t-shirt. Don’t you?”
For more detailed instructions, check out her blog
Happy Crafting… Lisa