Today I have a layout and card to share using several of Lori’s SVG shapes along with her This & That Christmas Collection which she designed for Echo Park last year.

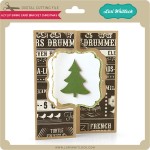
I made this quick and simple layout for my Mother-in-law’s 8×8 album (although the design would work well as a 12×12 layout as well). I love the instant impact and style Lori’s Pine Bough & Ornament cutting file gives the page. I cut it out the boughs several times and positioned them to create my visual triangle.
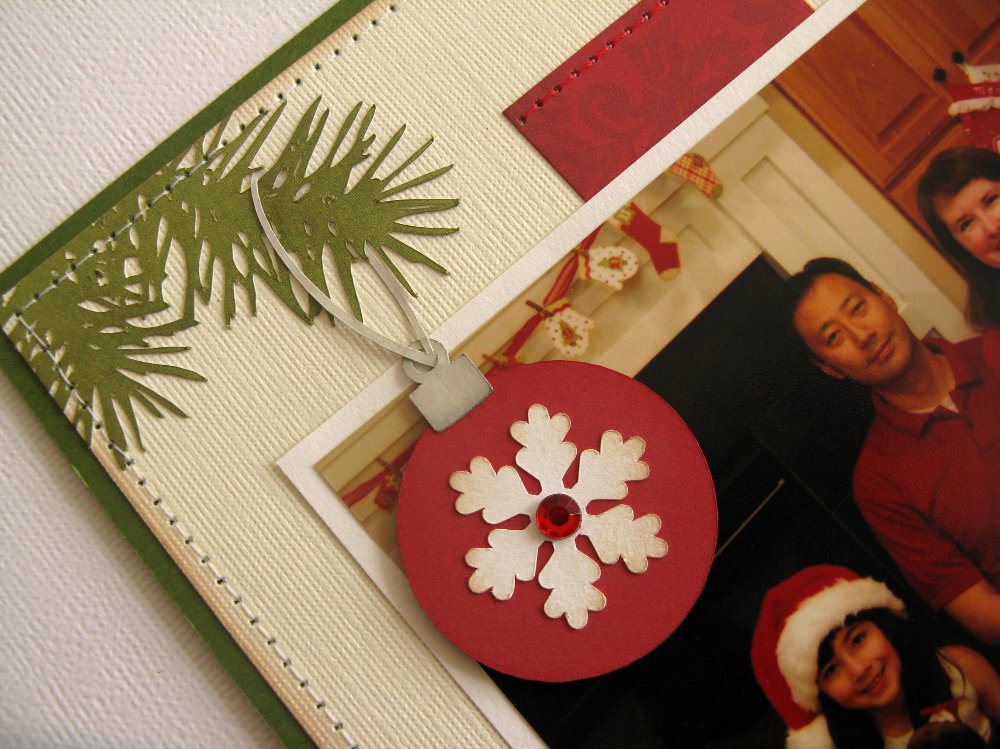
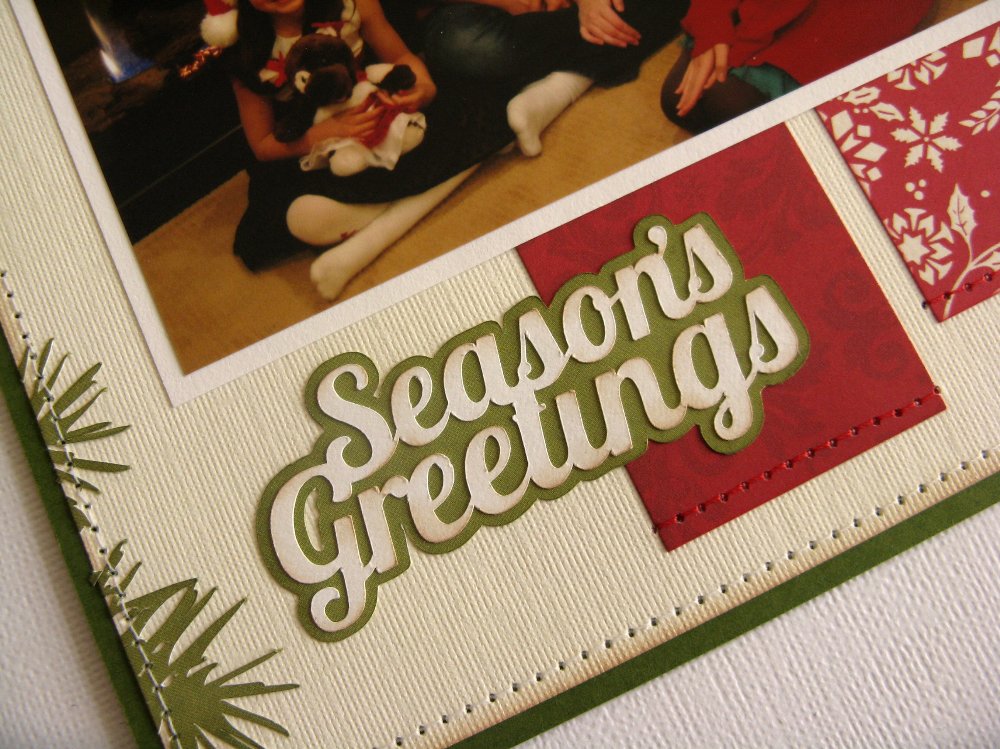
I finished off my layout by using the sentiment from Lori’s Christmas Season’s Greetings Card for my title and adding a shadow around it to help it stand out against my ivory background.
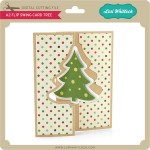
While I had my papers out, I decided to create a quick shaped card using Lori’s Joy Banner cutting file too. To create my card, I discarded the banner portion of the cutting file and enlarged the word “Joy”. I cut the word once as is with the red patterned paper and then once again from ivory without the circle cutouts to back my red letters.
To form my card base I added a large shadow using the “offset” feature, making sure to size my entire design to be 5.5″ wide before cutting anything out so that it would fit perfectly in a A2 sized envelope. I then ran the ivory “O” through my printer (attached with temporary adhesive to a piece of office paper) to complete my sentiment using Lori’s Vintage Font. I finished off my card with a little bit of Stickles “stardust” Glitter glue applied to the cutouts for a bit of sparkle. This card would be so easy to mass produce (and is nice and flat for mailing too). 🙂

Just to recap, today I used the following cutting files designed by Lori:
- Vintage Font
- Joy Banner (Silhouette store only)
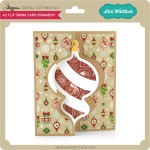
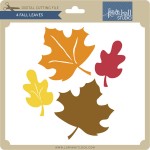
- Pine Bough & Ornament (Silhouette store only)
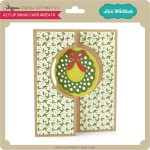
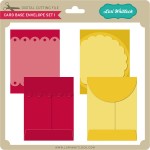
- Christmas Card Set 2 (for my Season’s Greetings title)
I’ll be back on November 21st with a video tutorial sharing more tips and tricks on creating shaped Christmas cards with Lori’s fun cutting files.