
Tuesday Freebie + New in Lori’s SVG Shop
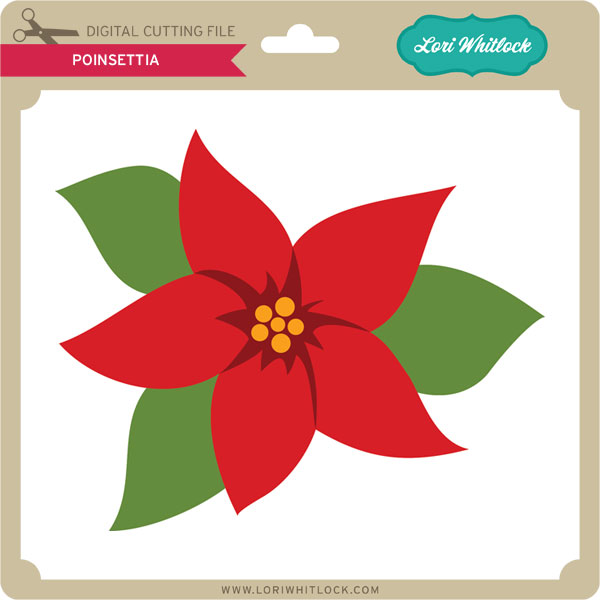
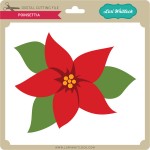
TODAY ONLY, this POINSETTIA SVG file is FREE with purchase.
Today this file is yours free. Download at the link below. This freebie is good until midnight tonight!
We have many requests for the PDF file for hand cutting, class room projects etc, now many of new shapes will also include a line art PDF as well. Check the description on each shape before making your purchase, if you desire the PDF on an older shape that does not include a PDF let us know. Remember ALL new shapes are normally on sale for 25% off until Sunday of next week, however because of the holiday sale they are on for 30% off. Be sure to use coupon code CHRISTMAS at checkout

Check out the new files in the shop this week.
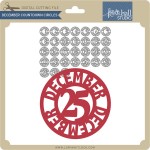
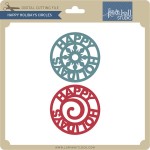
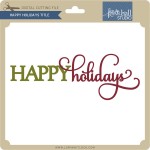
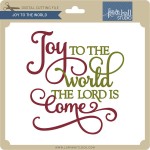


Lori Whitlock December Blog Hop
Welcome to our Creative Team Blog Hop!
First off, let’s take a look at a couple new Christmas Cards ideas that Lori has designed:
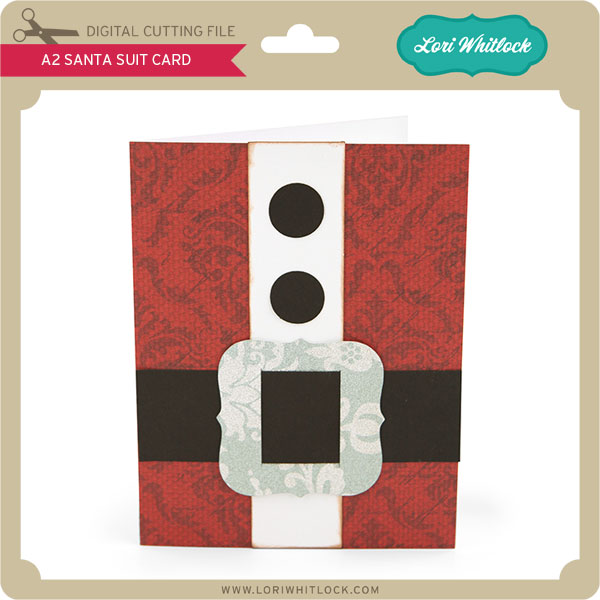
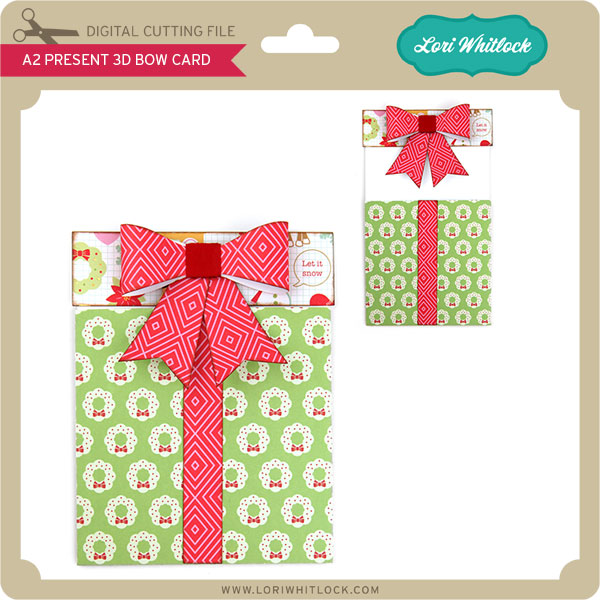
Looking for some fun Christmas Card ideas? The Santa suit card is super easy to assemble! The present card features a beautiful 3-D Bow and is perfect for both Christmas and Birthdays! These projects are made with DCWV. So fun and playful! You can find the Silhouette files HERE. You can find the SVG files HERE.
As always our talented creative team have some amazing projects to see. Be sure to see everyone’s blogs, beautiful eye candy today.
Brigit Mann
Christine Ousley
Corri Garza
Mendi Yoshikawa
Natalie Graham
Traci Penrod
Chrissy Guido
Ashley Cook
Lorrie Nunemaker
Mary Moseley
Smitha Katti
Stephanie Chavers
And, to top it all off, everything in Lori’s SVG shop is on sale this week for 30% OFF. Be sure to use coupon code CHRISTMAS at checkout.
It’s all in the packaging!
Turn an ordinary gift into an extraordinary gift with eye-catching packaging.

What a fun way to package Andes Chocolate Mints! 
This file includes the tags and scalloped inserts! Perfect for holding candy or to make a tag set. 
This project holds 6 Hershey Nugget candies.
 This box holds 2 coffee or cocoa K-Cups.
The cutting files are HALF OFF at the Silhouette Online Store! You can also find them in my SVG shop! DCWV Jolly Whimsy Stack DCWV Christmas Made Stack and the DCWV Holiday Glitzy Glitter Stack for these projects! The glitter cardstock has been super fun to work with!
Thanks for stopping by!
Favorites at Jessica Sprague on SALE

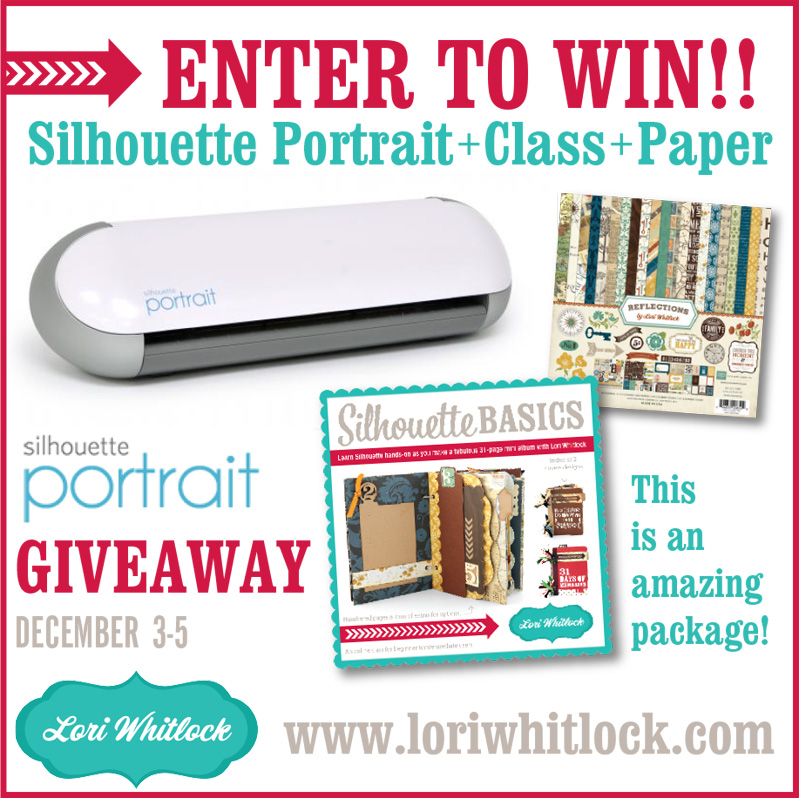
It is that time of year again and all digital products are 40% off and classes are 25% off at JessicaSprague.com. Here are a few of our favorites. Currently we are offering an SVG class where you can sit with Lori and learn the basics of your Silhouette machine. Class opens today so you can sit at your computer all day today and learn how to use this amazing machine and get it at 25% off.

Our amazing Creative Team has been busy behind the scenes creating their own versions using files from this class. I have to share these adorable pages by Mendi. She has altered this slightly from the original and look how cute it turned out.


 We have such an amazing team. Come back on Wednesday for more sneak peaks of their projects. They have blown my mind.
If you don’t already own a machine or need new supplies, be sure to check out this amazing sale at Silhouette, be sure to use code LORI at checkout. This sale is the first of its kind. Be sure to get your new products by December 8, 2013.

Also at Jessica Sprague are these other products which are on sale at 40% off.

Green Basics, Basics Attachments, Embellishment Button Set, Life Cards March,


 Life Templates 11, Autumn Afternoon Collection, Life Cards Fall by Lori Whitlock,