Tuesday Freebie

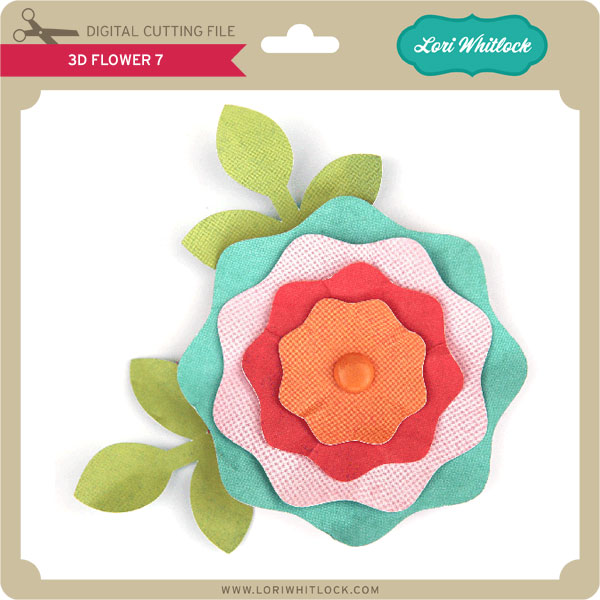
We hope you had a great Memorial Day weekend. It was always my Grandma’s favorite holiday and brings back a lot of good memories of many great people. I still have flowers on the brain and thought this flower would be the perfect thing for today. TODAY ONLY, this 3D Flower 7 SVG file is FREE with any purchase. Before coupon code total should be $2.98 or higher. Just add coupon code: 3DFLOWER at checkout and the cost will be deducted from your purchase. This freebie is good until Wednesday at midnight because of the late start today.

Here are some of Lori’s newest shapes added to the SVG shop and her Silhouette Portfolio! Thanks for stopping by… Lisa

Favor + Invite from Brigit

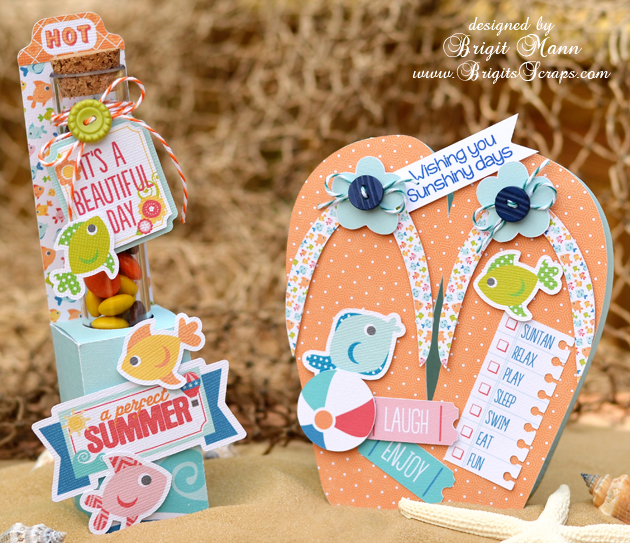
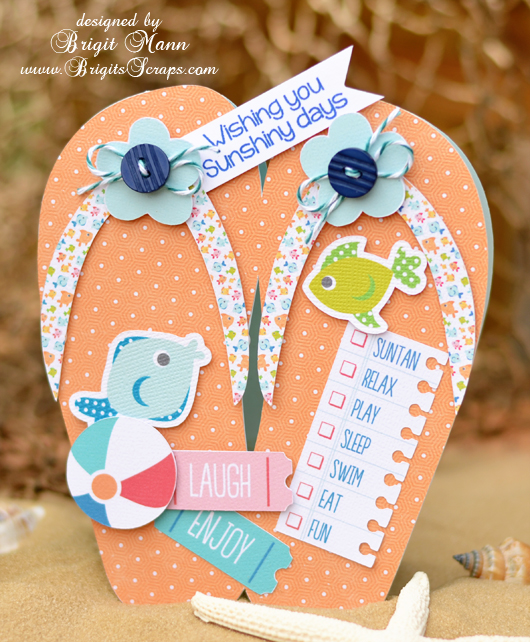
Here’s a cute matching set, perfect for a barbecue invite and favor or a summer birthday party.

The paper and elements are from Echo Park’s A Perfect Summer collection designed by Lori, I absolutely love it, so bright and cheery!

For the card I welded the flipflops together from Lori’s Don’t Bother Me set, Corri has a great tutorial on how to create a shaped card in Silhouette Studio, you can find it here.

The stamped sentiment is from Jaded Blossom’s Happy Summer set and the Trendy Twine is Tickled With Teal.

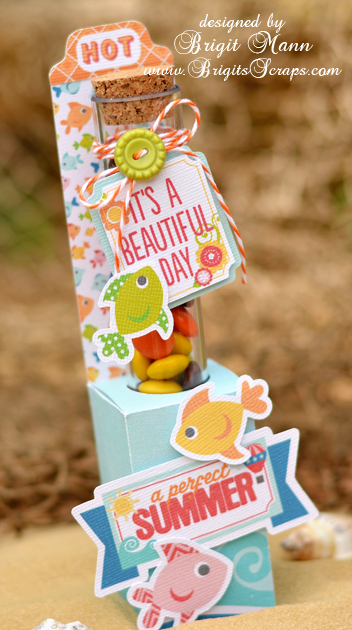
The candy tube holder was so easy to make, I used Lori’s Firecracker Box and sized the whole thing to 13.25w (check lock aspect ratio).

I ungrouped and deleted the other pieces, select all and grouped the box and score marks together again, (it should measure 5.9h x 6.410w.)  Then I centered a 1″ circle on the top flap of the box for the cutout, (depending on the tube you use you may have to make the hole slightly larger.)

The back piece is just a rectangle cut at 1.535w x 6.75h and glued onto the back.  The two top inside flaps have to be trimmed a little so they don’t block the hole.

I used some Orangesicle Trendy Twine on the tube and filled with some Reese’s Pieces.

Thanks for stopping by, I hope you enjoyed my summery project!!

NEW at Jessica Sprague

Debuting this weekend at JessicaSprague are 3 different kits you can grab for 25% off. That is a great deal! Get them for this price while you can! SALE ENDS SUNDAY!

ARROW BRUSHES SET 1

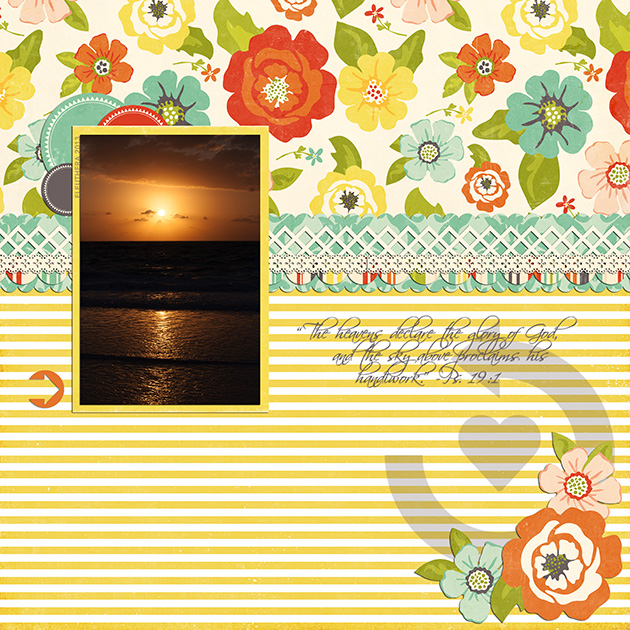
layout by Haley Ney
products used: Arrow Brushes Set 1Arrow Brushes Set 2Lori Whitlock Fresh Air CollectionLori Whitlock Masking Borders 1Lori Whitlock Masking Borders 2,

ARROW BRUSHES SET 2

ARROW BRUSHES SET 3

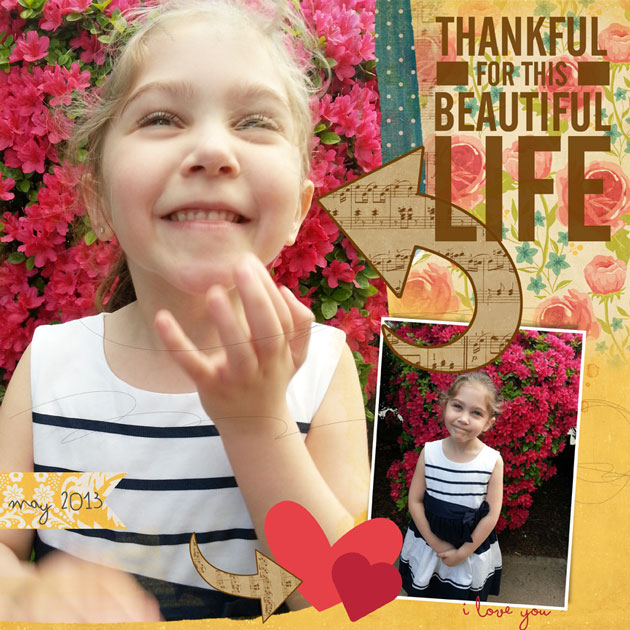
layout by Chrissy Guido
Products used- Arrow Brushes Set 3Sweet MemoriesDate and Time Brushes Everyday Brushes, Anna Apsnes-Brush/masks  #98

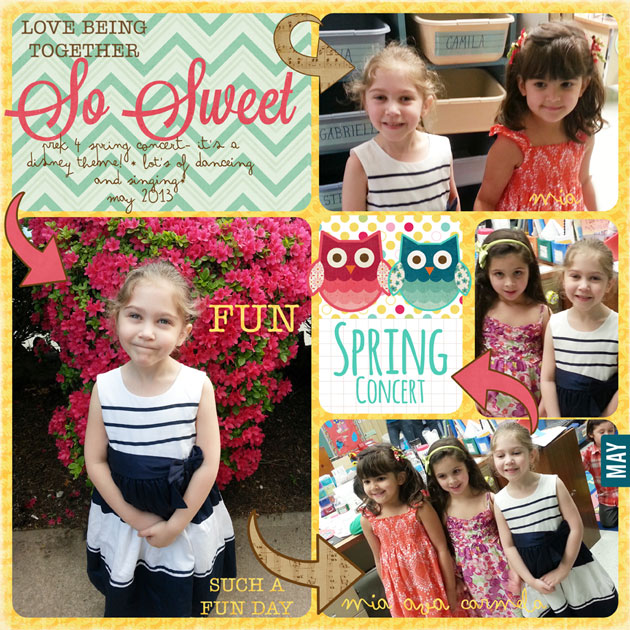
Layout by Chrissy Guido
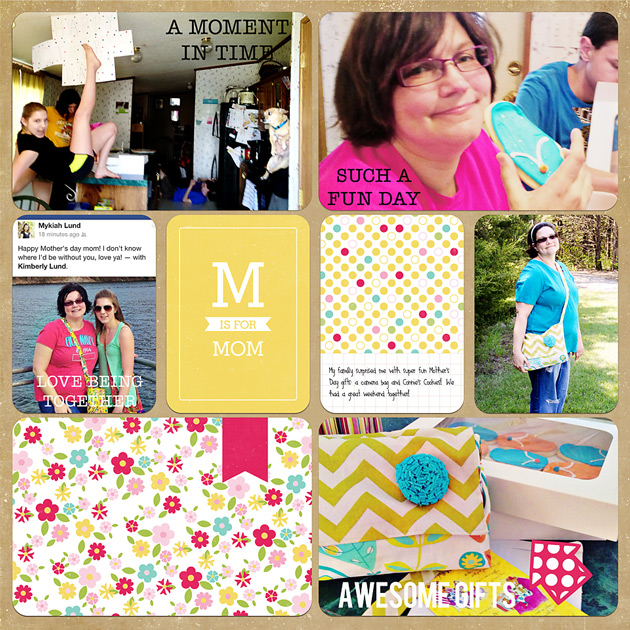
Arrow Brushes Set 3Date and Time BrushesLife Templates Set 16Sweet MemoriesLife Cards-Mother’s Day

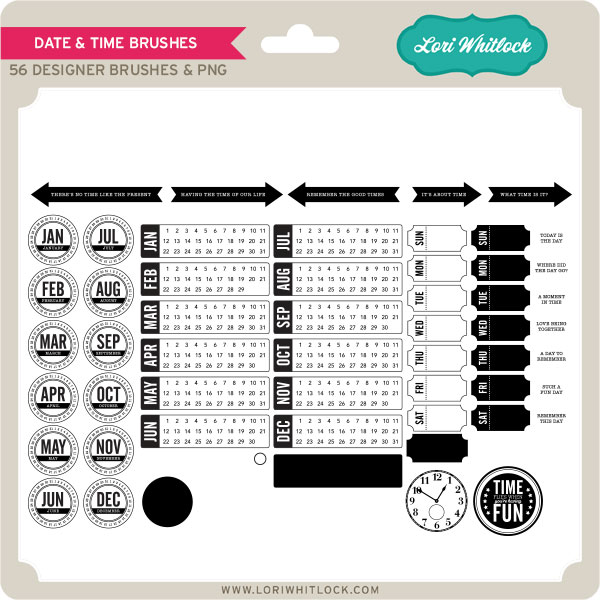
DATE AND TIME BRUSHES 

layout by Kim Lund
products: Date and Time BrushesArrow Brushes Set 1Life Templates Set 1, and Life Cards Mothers Day

And just incase you missed the excitement last week, there were 3 Life Templates released. I think they are beautiful. These templates will also be on sale this weekend for 25% off.


Silhouette Portrait Giveaway + Sale

Are you ready for another GIVEAWAY, yes you read that right another Silhouette Portrait is up for grabs!

a Rafflecopter giveaway

The contest will run from May 23-27. The winner will be announced Tuesday, May 28. Good Luck to you all!

Did you know your Silhouette can cut fabric? Well, it can!! But, before you try sticking your fabric directly to your cutting mat, you need to back it with some interfacing. This month, Silhouette is offering an awesome deal on their fabric interfacing!

Silhouette offers two types of heat transfer fabric interfacing:
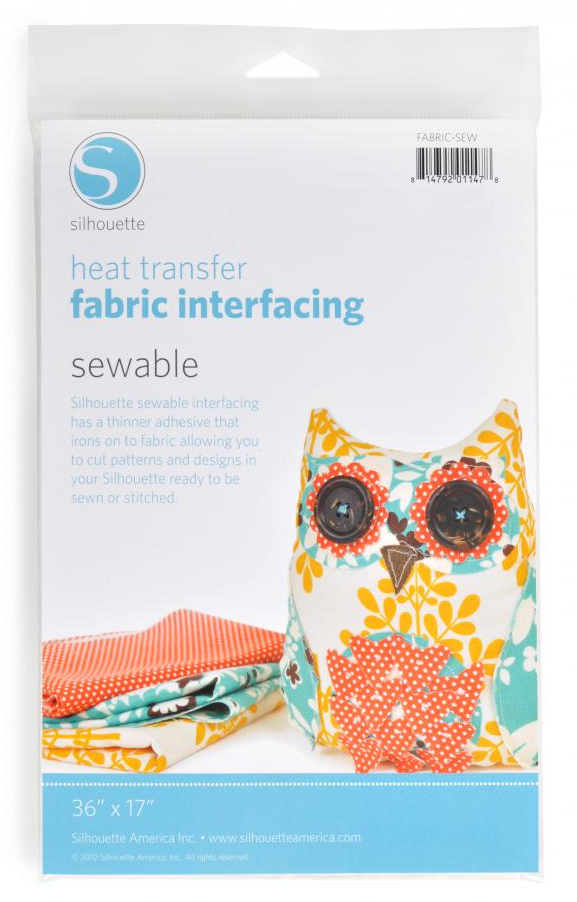
Heat Transfer Fabric Interfacing: SEWABLE. Silhouette sewable interfacing has a thinner adhesive that irons on to the fabric allowing you to cut patterns and designs with your Silhouette and then hand sew or machine sew the fabric.

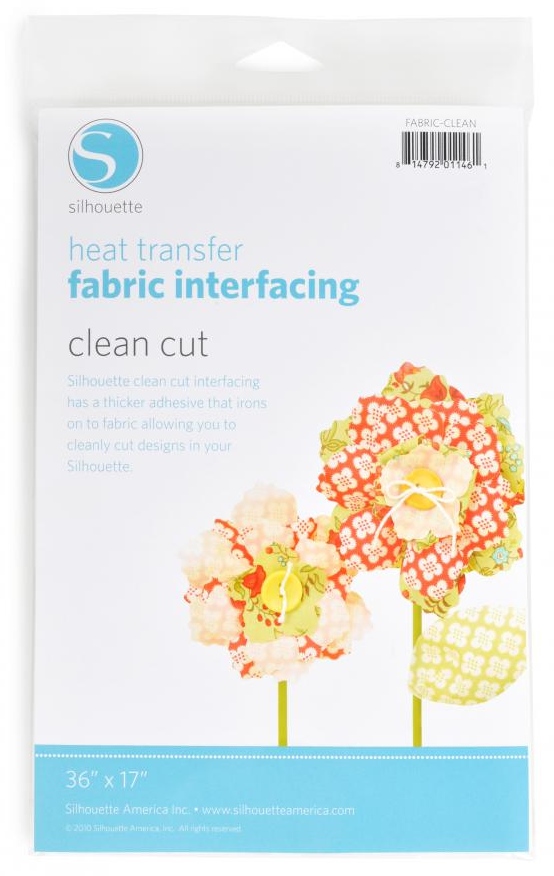
Heat Transfer Fabric Interfacing: CLEAN CUT. Silhouette clean cut interfacing has a thicker adhesive that irons on to the fabric allowing you to cleanly cut designs with your Silhouette. Use this one when you’re not planning to sew the cut out shapes.

So, if you’ve been wanting to cut fabric with your Silhouette, these are the products you need. And, this is the week to get them on SALE! From May 23-31 you can grab any of these fabulous Silhouette Fabric Interfacing bundles for a great price:

1. $29.99 = $25 download card + a fabric blade + heat transfer fabric interfacing sewable + heat transfer fabric interfacing clean cut
2. $129 – includes everything in the first bundle + a Silhouette Portrait
3. $269 – includes everything in the first bundle + a Silhouette Cameo + a 12×24 cutting mat

If you have been waiting for the right deal, now is your chance.

Make sure to use this link www.silhouetteamerica.com/fabric and use the coupon code LORI to buy these bundles at the sale price.


Tutorial: Stitching with your Silhouette

I love all the tutorials our Creative Team has been making! It’s fun to learn new things! Check out how easy it is to make faux stitching lines on your die cuts. Take it away Brigit…

I love stitching but sometimes I just don’t have the time to pull out my sewing machine so I’ll create it in Silhouette Studio and do a print & cut.

For this project I used Lori’s Bracket Shaped card and the pinwheel from the Layered Shapes along with Lori’s Patriotic Picnic digital collection, which I love!!

First place your card on the mat and ungroup, fill the top layer with your digital paper.  Select all, go to Line Color and click none.

Select your top layer, go to the Offset Window, select Internal Offset and set your offset distance, I used .075.

Now the internal offset you just created should be selected, go to the Line Color and select the color you want for your stitching.

Next go to the Line Style Window, select your dash line and I like to change my line thickness to 1.25pt.  Check the Print Lines of Selected Shapes box.

This is important, with the stitching still selected go to the Cut Style Window and choose No Cut, you only want the stitching to print and to cut around the top layer piece.

After that’s complete I like to group the top and stitched layers together.

Here’s a closer look, I used the same steps on the pinwheel, you only need to do one of each color and duplicate to make it easier.  I added some stars to the blue to make it look like the American flag.

I loved the pinwheel so much I created a larger one on a barber straw and placed it in a glass jar.  I added some Stars and Stripes Trendy Twine and a couple of flower elements from the Patriotic Picnic collection.

I hope this tutorial has helped and you get to make some faux stitching on your projects too!!