
This week we have a FABULOUS NEW kit to share with you. You can pick it up now at Snap Click Supply Co. for 20% off.
BASIC BORDER MASKS
BASIC SHAPE MASKS


Happy October Lori fans! It’s Traci, from Artsy Albums here to share a fun tutorial for making a Halloween treat jar!I have to admit before we get started that I had never used etching cream on glass before this, but I was inspired by all of the fun projects I’ve seen, so I had to try it. I was surprised by how easy it was (thank you Gina…you are wonderful teacher)! The key is…if you want “easy” and “quick”, don’t pick a cutting file that is intricate for your first attempt. Go with something chunky for your first try. Lori’s “Trick or Treat” title was perfect, and taught me how the detailed spaces (the spider web) take more time, but I love detail so it was fine with me 🙂You will need the following supplies to complete this project:Vinyl cutting materialTransfer materialEtching creamGlass jar, plate, vase, etc. (don’t you just love discount and dollar stores)?Foam brushScraper or spatulaTweezers or Silhouette hookOkay — this is super fun so let’s get started!First, pick out a cutting file. Sometimes this can be the hardest part 🙂Next, be sure your cut setting is on “vinyl”, and cut out the shape. Remember, if you are using a roll of vinyl, just feed it into your machine…no mat needed, but be sure your machine screen says “load cutting material“, not load cutting mat.Cut your shape out of the vinyl and then use scissors to cut a fairly large area out of the vinyl around your shape. You want to do this because when you apply the etching cream to the glass, you don’t want any cream to get on the glass where you don’t want it. The extra vinyl will act as a barrier around your shape (see picture below).Remove the vinyl from the cutting machine and remember, the etching cream will “etch” the glass wherever the vinyl is removed. If you do a phrase like mine, be sure to carefully remove the “etching areas” with a hook or tweezers (be sure to leave all those little spaces in the centers of the letters!)Once you have removed the spaces that you want “etched” into the glass, apply a piece of transfer paper over the top of the design. This will help you lift the design off of the vinyl backing in one piece. You want to make sure there are no bubbles, so use a spatula or Silhouette scraper to smooth over the entire surface.Once you’re sure all of the pieces of your design are attached to your transfer paper, flip the piece over and peel off the vinyl backing.Replace any tiny pieces that may have been lifted off with the backing, and apply the entire design (vinyl and transfer paper) to your glass.Slowly peel the transfer paper away from the vinyl at a 45 degree angle. Smooth out any bubbles in the vinyl and make sure that all of the vinyl is adhered to the glass. Etching cream is a thick consistency which I applied to my design with a foam brush….a spatula would also work. Make sure you cover the etching area completely, smoothing the cream out in multiple directions to get even coverage. Set your project aside for a while. My etching cream jar says 5 minutes…..I left it for 15 minutes.
After giving the glass a good amount of time to work, run warm water over the glass and rinse off all of the cream. Carefully peel away the vinyl to reveal your wonderful etched glass design 🙂To finish my project, I cut another one of Lori’s files (Ground Bat Wings Canister) to cut a circle for the top of the jar lid. I cut the file twice, trimmed only the bat out of one of the cuts, and added him on foam tape to give the lid a dimensional look. A few gems, some ribbon and twine, and my jar was finished!Whether you are a Halloween fan or just a Fall Fanatic, Lori has lots of files that would be adorable etched into a glass design.Try this! Make fun gifts! Create awesome home decor!….go craft crazy and have a fun fall everyone!!

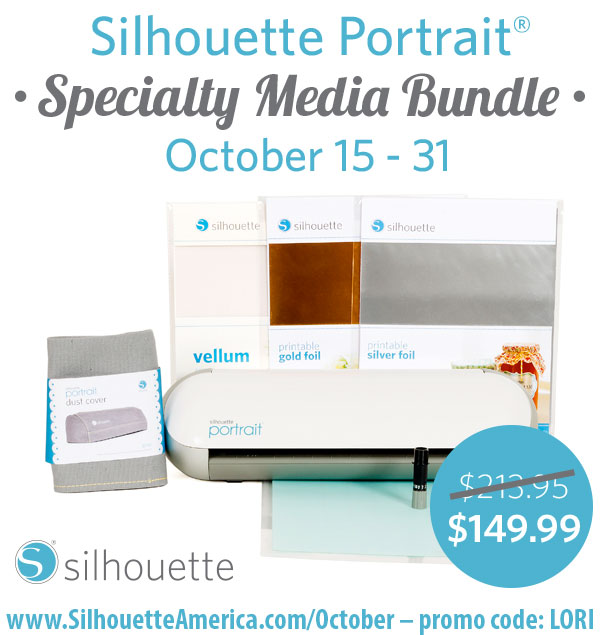
We also have a Silhouette Portrait Bundle promotion going , October 15 – 31
The Portrait Bundle for $149.99 will include:
A Portrait machine, 1 pack of Printable Gold Foil, 1 pack of Printable Silver Foil, 1 pack of Vellum and 1 grey dust cover
To check it out visit: www.SilhouetteAmerica.com/October and be sure to use promo code: LORI to get this pricing.

We are constantly trying to make changes that make your life easier. Our SVG files are Cricut Design Space friendly. Our newest files are color coded and the score marks should appear on one layer. We now provide cut size information and a line art PDF with most of our 3D projects. Check the description on each shape before making your purchase, if you desire the PDF or Cricut friendly files on an older shape that does not include the files needed, please let us know by emailing us HERE. We’re happy to help you get what you need.

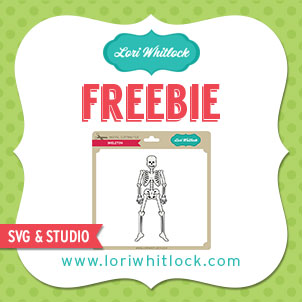
New this week… Check out these adorable new files in the SVG Shop, and they are on SALE through the next week due to the Blog Hop!!! Be sure to use coupon code SCHOOL at checkout. All of Lori’s NEW downloads include Cricut friendly files, cut size instructions and a PDF for hand cutting if so desired.





Finally would you like to see what our amazing team has created? Click the links below for some wonderful projects. If you ever get lost come back here to get on track
Lori Whitlock
Corri Garza
Mendi Yoshikawa
Traci Penrod
Lorrie Nunemaker
Cathy Harper
Linda Kaiser
Tya Smith
Chrissy Guido
Stephanie Chavers
Ashley Cook
Rachael Sheedy
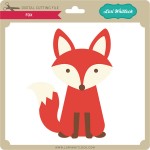
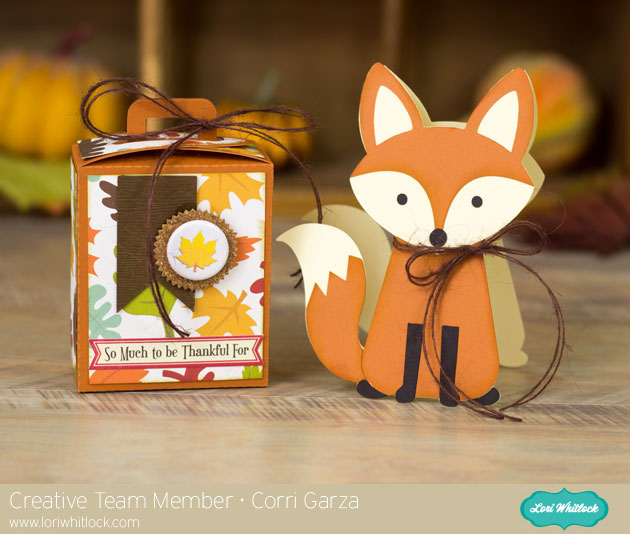
Hi everyone! Corri here today sharing a cute gift set that’s perfect for Fall. Lori recently added this adorable fox to the Silhouette shop and I knew I wanted to make a shaped card with him.
You can find instructions for making shaped cards here.
I cut the box with handle and added some simple embellishments to make a quick and easy gift set. Who wouldn’t love this?
Be sure to stop by the shop to see all of Lori’s newest files!


