$1 Wednesday at Snap Click Supply

One Dollar Wednesday at Snap Click Supply Co!

That means you can pick up 2 products at a great deal. Snap Click Supply Co. is home to ALL of Lori’s digital Scrapbooking kits, both Echo Park and exclusive designs by Lori Whitlock. These kits contain printable papers and/or embellishments (.JPG & .PNG formats), plus a few Photoshop brushes (.ABR).

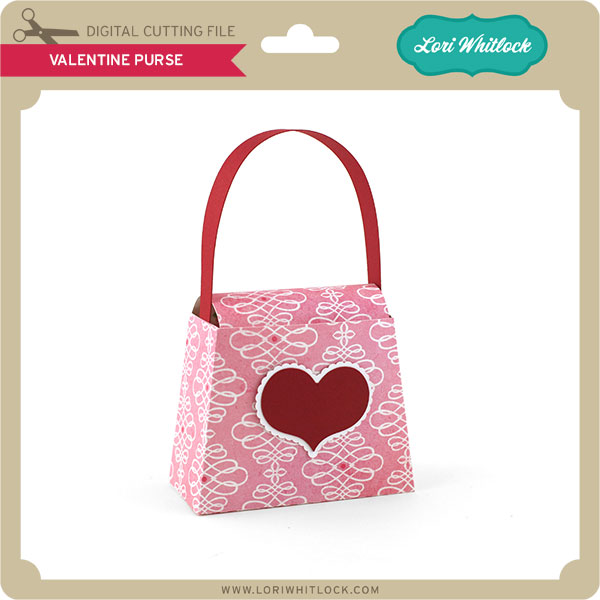
For Lori’s digital cutting machine files, shop at Lori’s SVG Shop (.SVG format – most digital die cutting machines, including the new Cricut Design Space). Silhouette CAMEO & Portrait owners who have NOT upgraded to the Designer Edition software can find Lori’s files at the Silhouette Online Store (.STUDIO format only).

Today only Lori Whitlock’s Kiss Me Collection is available for just $1. This kit is regularly priced at $6.99 and TODAY ONLY it’s just $1.
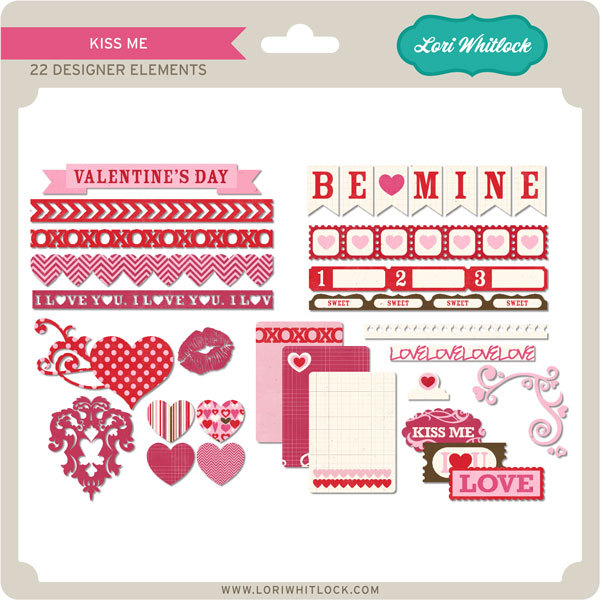
Kiss Me Collection

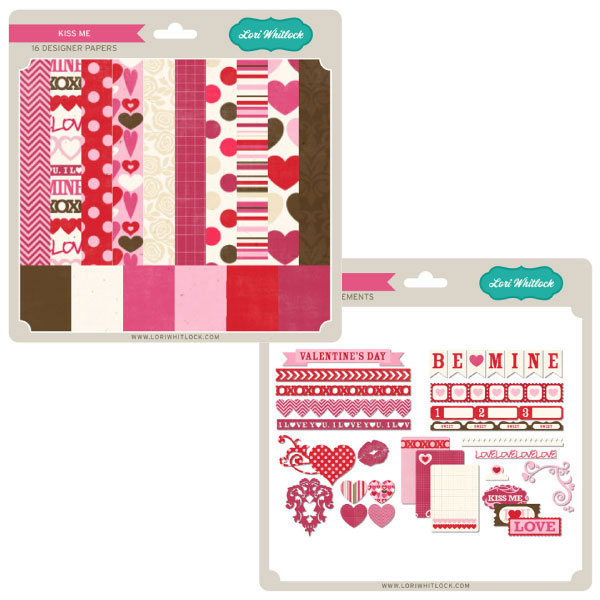
The Kiss Me Collection includes these cute papers + elements… Super cute!!

Kiss_Me_Paper_50d37ec8958f2__30764.1404232845.1280.1280


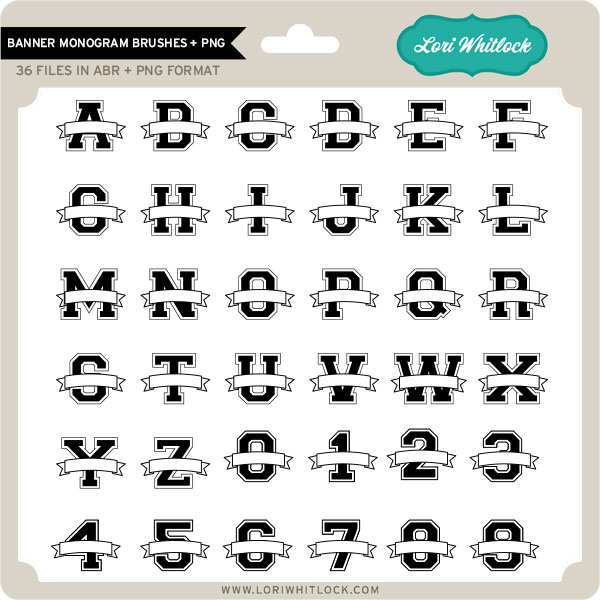
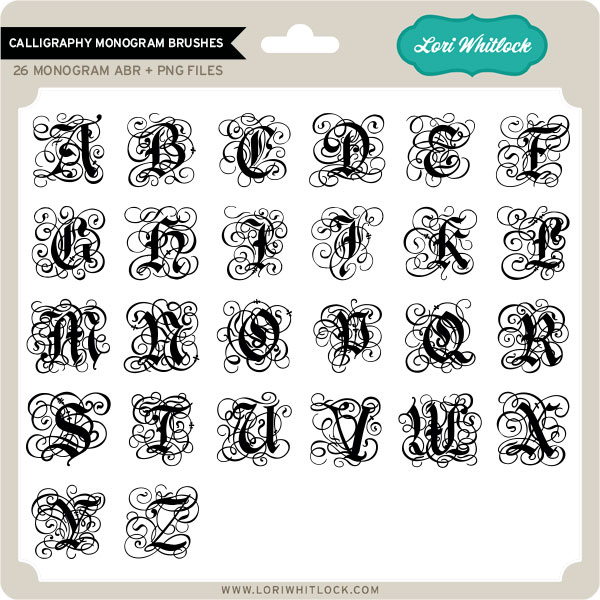
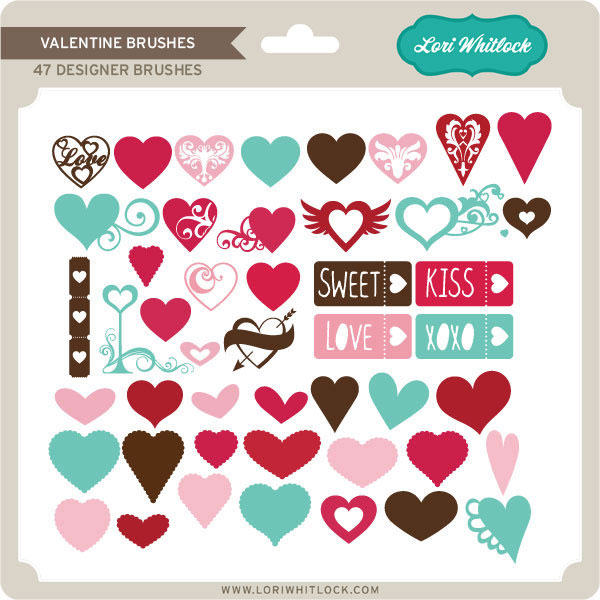
And, you can get the following set of Valentine Brushes for HALF OFF today only…
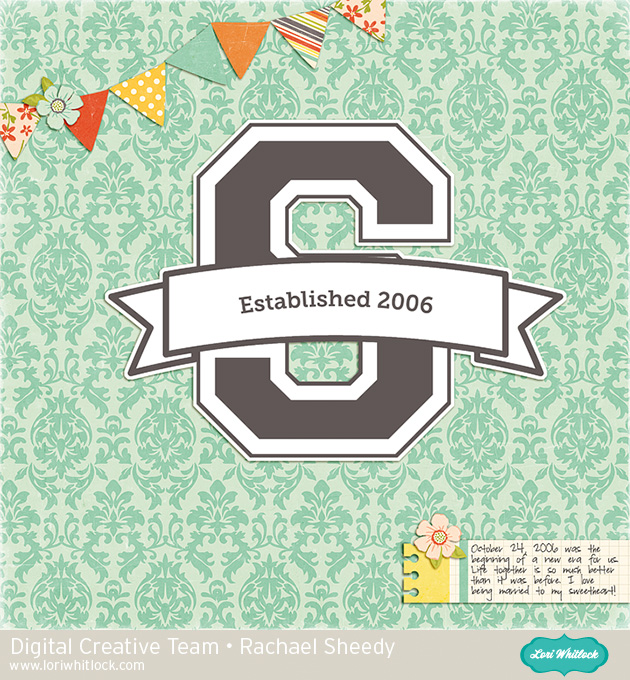
Valentine Brushes

Be sure to go grab these great deals while you can. These offers will end at midnight.

Tuesday Freebie + New in Shop

TODAY & TOMORROW, this Valentine Mailbox SVG file is FREE with Purchase.

We have an adorable free file with purchase today! Simply add this file: Valentine Mailbox to your shopping cart along with any $4 purchase from www.loriwhitlock.com/shop and these files are yours FREE. Your cart must reach at least $5.99 before the coupon will be applied and then $2.99 will be subtracted from your total at checkout. The files will be available for immediate download after you pay for your order.  Be sure to use Coupon Code: MAILBOX (case sensitive) at checkout. Hurry! This offer is good until Wednesday (tomorrow) at midnight!

We have many requests for the PDF file for hand cutting. Now many of new shapes will include a line art PDF. Also, all or our files now come Cricut friendly. If you need measurements for an older file please don’t hesitate to ask by emailing us HERE.

Finally… here are all of the fun NEW files this week in the SVG Shop, and they are ALL on SALE 25% OFF through the weekend!!! These downloads include SVG files. 3D files include cut size information and a PDF for hand cutting if desired. Read description before making your purchase.


To find these files in the Silhouette Design Store click HERE.

Page Layout with Traci

Hi everyone, it’s Traci and I’m glad to be back on Lori’s blog today to share a page layout with you.  I ran across these wonderful pictures of my nieces so I decided to create a sister page with a bit of a Valentine twist.  Lori’s Heart Polaroid Frames were the starting point for me.

I also love this twisted border.  You can cut the two pieces in any colors you want and then wrap them around each other to create the twist effect — super simple and adds a fun look to the page.  For my title, I cut letters out using Lori’s Bubble Letter Font.  This is the perfect font for nice chunky letters that show up great on a page!

Finally, I wanted one more design along the bottom of my page so this family border did the trick.  I hope you like the design and I’ve given you some ideas to use on your next project!  I would love for you to stop by my blog at Artsy Albums and say hello!


Baby Crib/Bed Pop Up Card Tutorial with Traci

Hi everyone!  It’s Traci from Artsy Albums back with you today to share a tutorial on assembling Lori’s adorable pop-up crib card!  This card is just precious, and so easy to put together. Get the Baby Crib Pop Up Card SVG file HERE. Get the Silhouette file HERE.

Start by cutting each of the pieces out of your favorite paper or card stock (I used THIS collection).  I cut my base out of solid white card stock and then cut it out again from pink pattern paper … cute “wallpaper” isn’t it?  For the pink, I trimmed the edges 1/8″ on each side to fit inside the white base card.

Next, glue your pieces together.   Glue the crib by adhering the two ends together into a rectangle.  Adhere the pieces of your base card together as desired.

In order to get the crib to “pop-up”, you will want to adhere the back left leg of the crib into the corner fold of your card, with the “back” of the crib adhered to the right side of the card, and the “left side” of the crib adhered to the left side of your card as shown below.  If adhered correctly on two sides, your crib should fold down when the card is closed and pop back up when the card is opened.

I “decorated” my room with cute stickers from my stash, and added Lori’s cute little shelf on foam adhesive for dimension.

Finally, assemble the front of the card.  I cut out the base card window shape a third time in order to get a cute pattern paper for the front of my card.  Then I cut the adorable little rattle out of card stock, tied a sweet ribbon around it, and added a few more stickers.  So cute!!

Get the Baby Crib Pop Up Card SVG file HERE. Get the Silhouette file HERE.

I hope this has given you a bit more direction on assembling this darling card!  Thanks for letting me share it with you.  Come visit me over at Artsy Albums sometime to say hi!