One Buck Wednesday at Snap Click Supply

*** I apologize, but there was an error in the previous post, these are the correct files for One Buck Wednesday at Snap Click Supply, not the Baby Girl Sets  ***

Today at Snap Click Supply I have two items featured for $1 on Wednesday!. That means you can pick up 2 of my digital scrapbooking products at a steal. TODAY ONLY!

Kiss Me Paper


Kiss Me Elements

Be sure to go grab these great deals while you can. These offers will end at midnight!

And don’t forget about the Tuesday FREEBIE with purchase that I announced yesterday, THIS SVG file is FREE with a $1.99 purchase! Simply add the A2 Box Card Valentine Hearts to your shopping cart along with any $1.99 purchase from my SVG Shop and use code BEMINE. Your cart must reach at least $3.98 before the coupon will be applied and then $1.99 will be subtracted from your total at checkout. The files will be available for immediate download after you pay for your order by visiting the “downloads” section inside of your account. This offer is good until tonight at Midnight! All new files in my SVG Shop are also 25% off through the weekend!

Have a great day!

Tuesday Freebie and New in Shop

Today and Tomorrow, this SVG file is FREE with any $1.99 purchase!

We have a FREE file with purchase Tuesday and Wednesday only! Simply add this adorable A2 Box Card Valentine Hearts to your shopping cart along with ANY $1.99+ purchase from the SVG Shop and this file is yours FREE. It would be perfect for a special friend! Be sure to use Coupon Code: BEMINE (case sensitive) at checkout. Hurry! This offer is good Today and Tomorrow only!

(Your cart must reach at least $3.98 before the coupon will be applied and then $1.99 will be subtracted from your total at checkout. The files will be available for immediate download after you pay for your order by visiting the “downloads” section inside of your account.)

We have a great new release of SVG files this week! And, just like always, the NEW files are ON SALE 25% OFF through the weekend in the SVG Shop! These downloads include SVG files for sure and PNG or PDF files when appropriate. No coupon code necessary, the files are all discounted in the shop! Be sure to go get them while they are on SALE this week.

Thanks for visiting the blog today! Please let us know if you need any help with your files. We want to make sure everyone is happy with their purchase. Have a great week!

How About a Hug?

Hi Everyone!  It’s Kathy today with a couple of my favorite new files in Lori’s Shop!  As soon as I saw these Huggers, I knew I would be making them… take a peek…

I made the Valentine Candy Hugger Dog   (available here in the Silhouette Store) and the Valentine Candy Hugger Cat  (available here in the Silhouette Store.)  Aren’t they just adorable?  I also love the punny print and cut tags that come with the Huggers!  Here are some close-ups…

These go together easily and would be perfect for classmates and friends!  There is also a Valentine Hugger Penguin and Bear and they are just as adorable as these two!  That’s it for me today, thank you for stopping by to peek!


Personalized Valentine Stickers by Tya

Hi friends – It’s Tya and today I am sharing with you a tutorial on how to custom make your very own Valentines Day Stickers! Recently Lori came out with a few darling sets of Print and Cut Valentines with the cutest icons on them. So I thought it would be fun to make some matching stickers with the same icons on them and add a little personal touch to them by saying who they were from as well!

 Let me show you the steps on how I did this!

First off gather your supplies – I used some Double Dot papers from Bo Bunny for my enevelopes, some Silhouette White Sticker paper and some buttons for decor.

First step-

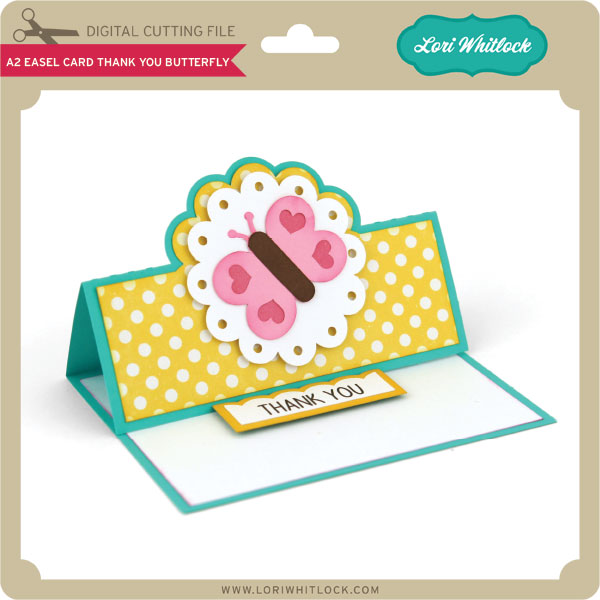
Pull up the files in the the Silhouette Software – I used the Butterfly and Heart Valentine file for my project.

Using the Print and Cut feature – I printed out my cards.

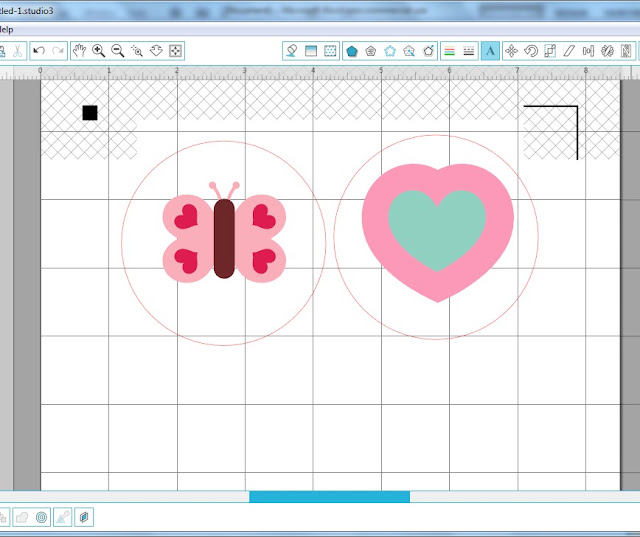
Next I ungrouped the images until I got the Butterfly and Heart Image all by themselves.

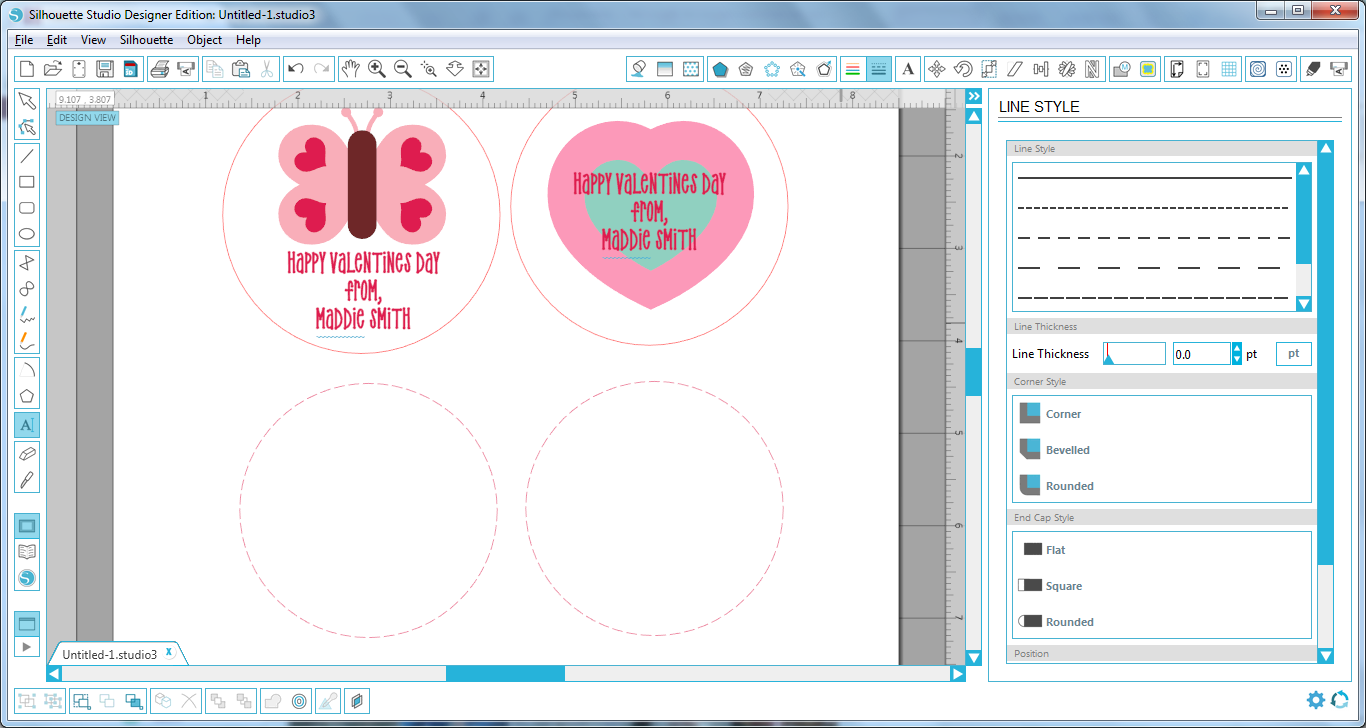
Now I want to draw a circle around the shapes to make the outside of the sticker, so I took the Ellipse tool and made a 3 inch circle around both shapes.

Next, I typed out my sentiment using the Type Tool – I used the LW Simple Dot Font. I added the sentiment onto the shapes.

 Next , using the Ellipse Tool again, I drew a 2 .75 inch circle.Drag that circle into the larger circle and center. Using the Line Style Tool, changed the line from solid to dashed to make it look like it was a sewn edge. You don’t necessarily have to do this step but I thought it was fun. 🙂 Now go ahead and duplicate the shapes to fill your sticker sheet.

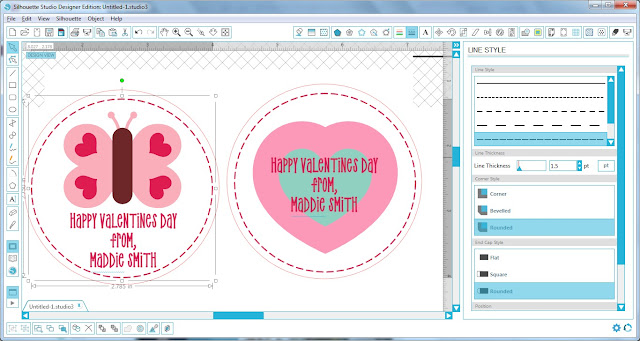
Next we need to make sure that the only lines that the Silhouette is going to cut is the outer line as shown, so go to the Cut Settings tab and make sure you click on every part of the sticker and make sure that the inside shape, sentiment and dotted line circle do not get cut by clicking No Cut. Then select the outer line and select cut edge. This way the only line that will get cut is the very outer edge.

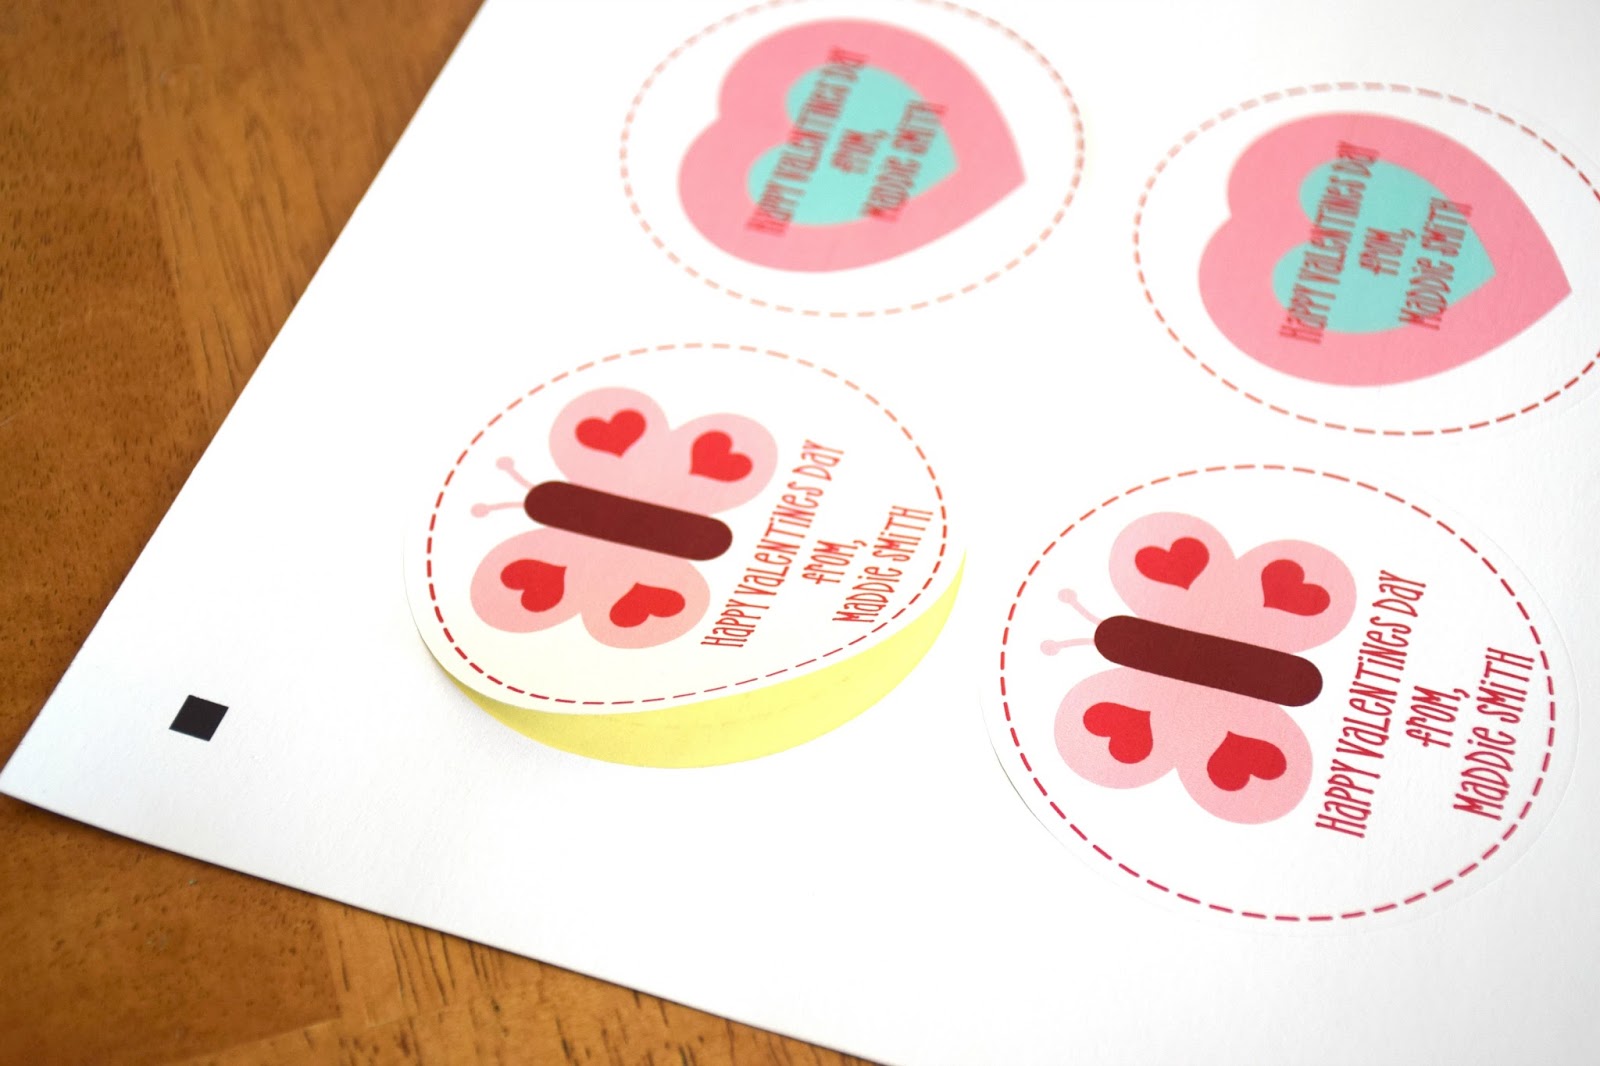
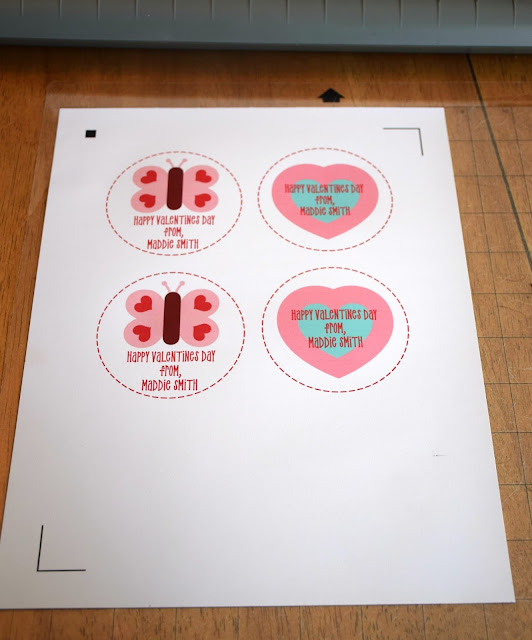
Now we are ready to print the sticker sheet out. Load the sticker paper into the printer. Add registration marks and select the “White Sticker Paper” setting on the Silhouette and then print it out. The settings that are preset for this type of paper are perfect. Here is the paper all printed and ready to cut.

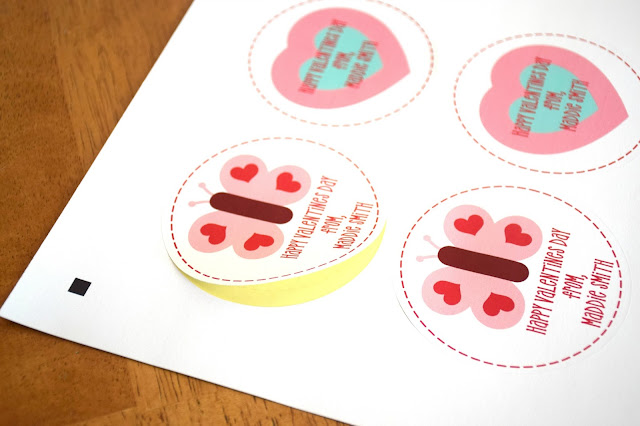
And here are the stickers when then have been cut out.

Next , using pattern paper cut out the envelopes.

Now you are ready to decorate your envelopes with the stickers. I added some fun buttons and twine to fancy them up a bit.

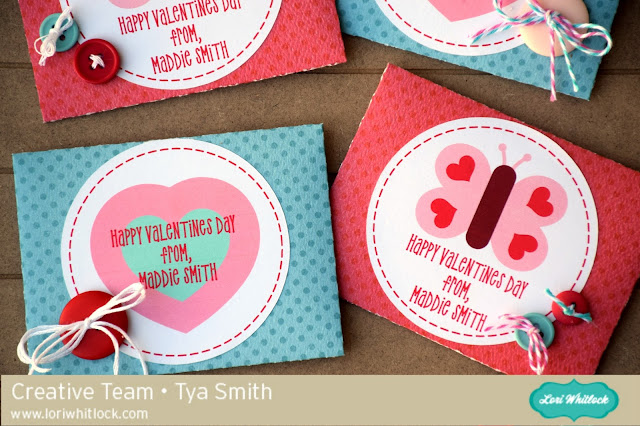
That’s all there is to it! If you are tired of boring, store bought Valentines cards, give these cute cards and stickers a try. This would be so fun to let your kids help with the decorating of the envelopes. Thanks for stopping by! Happy crafting!