
Hi Everyone! It’s Kathy today with a fun tutorial to show you how to put together the new Valentine Birdhouse. (available here in the Silhouette Shop). This is such a cute way to package some sweets or a small gift for a friend!

This is a relatively easy file to assemble… First I cut the pieces. There is a small rectangular piece in the cut file. This is meant to be cut from a transparency to form the window of the box. If you don’t have any transparencies, you can omit this piece, and place your goodies inside a small clear bag.

To start, tape the transparency piece (if using) to the wrong side of the house body window. Make sure your tape doesn’t overlap the opening.

Start assembling the house base by folding on the score lines, and gluing the house sides together, making sure the tab is on the inside of the house.

Next, glue the bottom of the house closed. The smaller flaps go on the inside, and the larger flaps on the outside.

The roof is next. Fold along the score lines as shown.

Fill your birdhouse with your treats or a gift. If you are not using a transparency, make sure the goodies are in a small, clear bag.

Place the roof on top of the house. This piece is not glued down, it is simply a “cover.”

A ribbon is used to hold the roof “cover” on the box. The ribbon should be no more than 1/2″ wide. Start by tipping the house and roof on the side, thread the ribbon around the bottom of the box and up through the slits in the roof.

Both ends f the ribbon should be pulled out through the top of the roof.

To finish it off, tie a nice bow!

That’s it for me today, thank you for stopping by to peek!

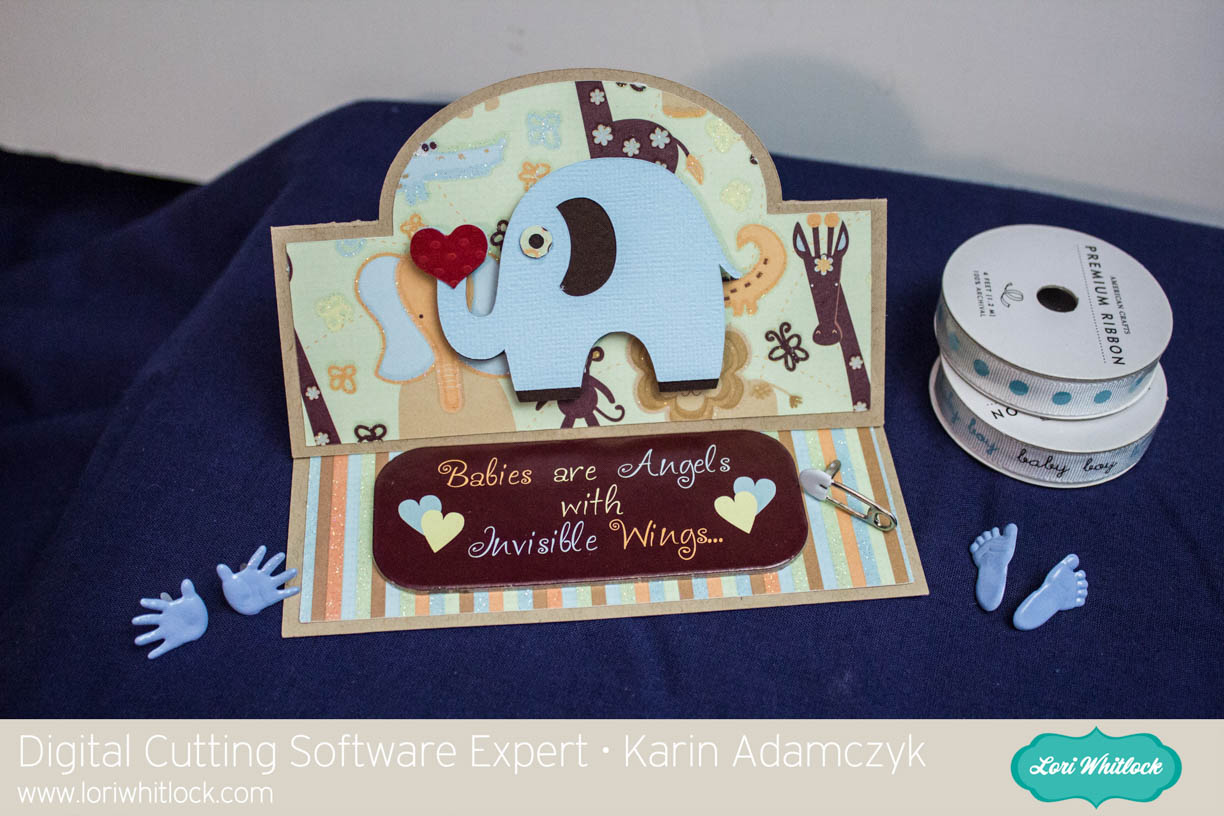

 collection. The brown papers are Recollections brand from Michaels. All of these papers cut beautifully in the Cricut Explore.


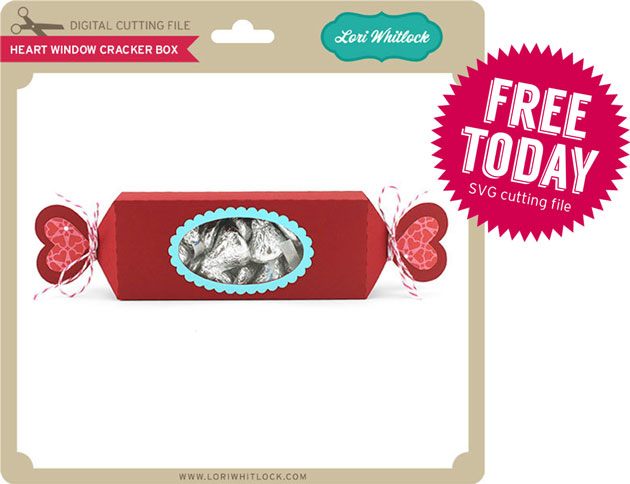
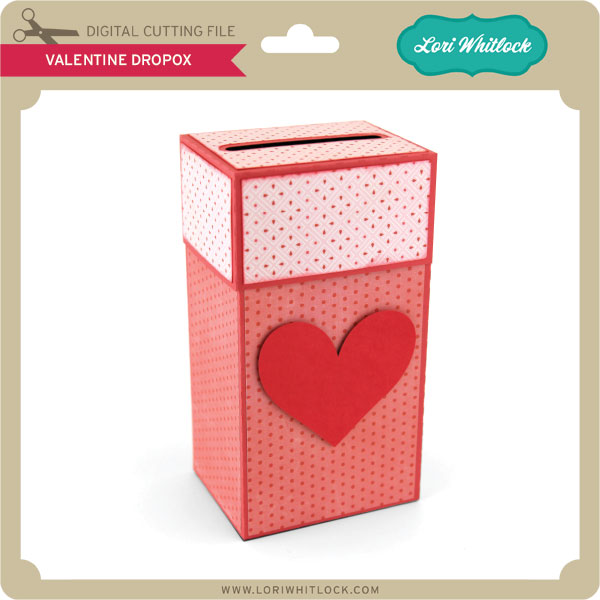
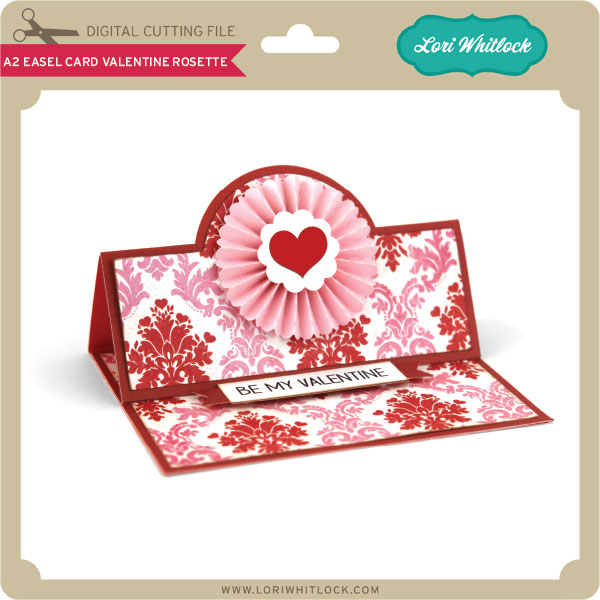
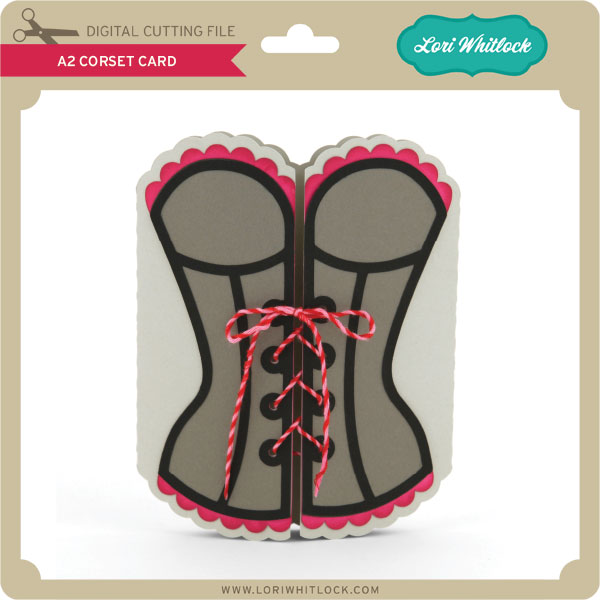


 I hope this inspires you to grab some of Lori’s adorable valentine files! There are SO many cute ones to chose from and the kids have such a great time helping you make them! My two littles are fighting over who gets which ones! Time go to make some more! 🙂 The SVG links to Lori’s shop are above in the text. Here are the Silhouette File links.